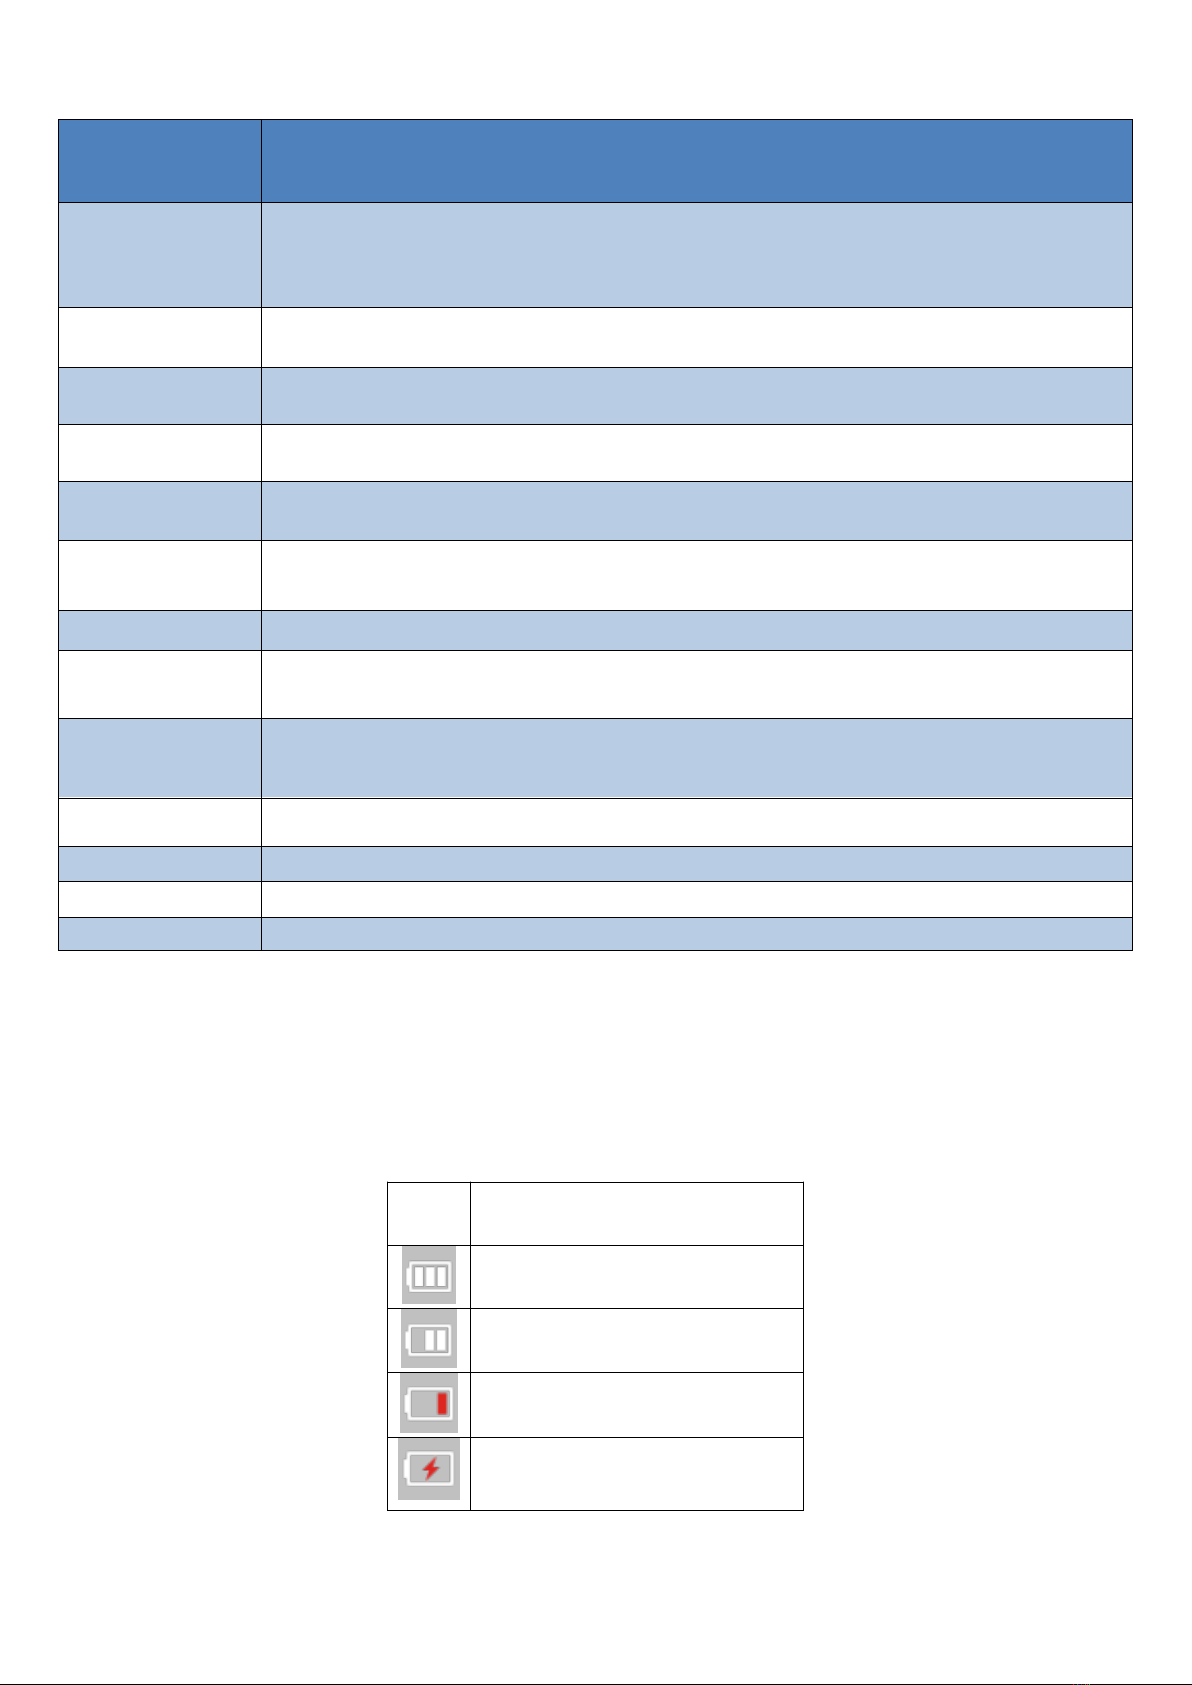
Infrared light night vision function
When the ambient light brightness is insufficient, press the power (OK) button to turn on the night vision function when the camera is
turned on. After turning on the infrared night vision function, the camera can use the recording videos and take photos normally. Press
the Power (OK) button again to switch off the night vision light.
Note: the effect of turning on the infrared lamp is black and white. In addition, this function will increase the battery power consumption.
MIC INPUT
When an external microphone is needed, plug the external microphone into the MIC interface of video camera to record video or audio
for better audio effects. The microphone interface is 1/4 inch.
HD OUTPUT
When the video and sound of the video camera are needed to output to the HD TV, insert the public port of the HD cable into the HD
interface of the video camera, and connect the HD input port to the HD input interface of the HDTV. Please stop recording / playing
videos before accessing / unplugging the HD cable. (switch TV signal into HD mode)
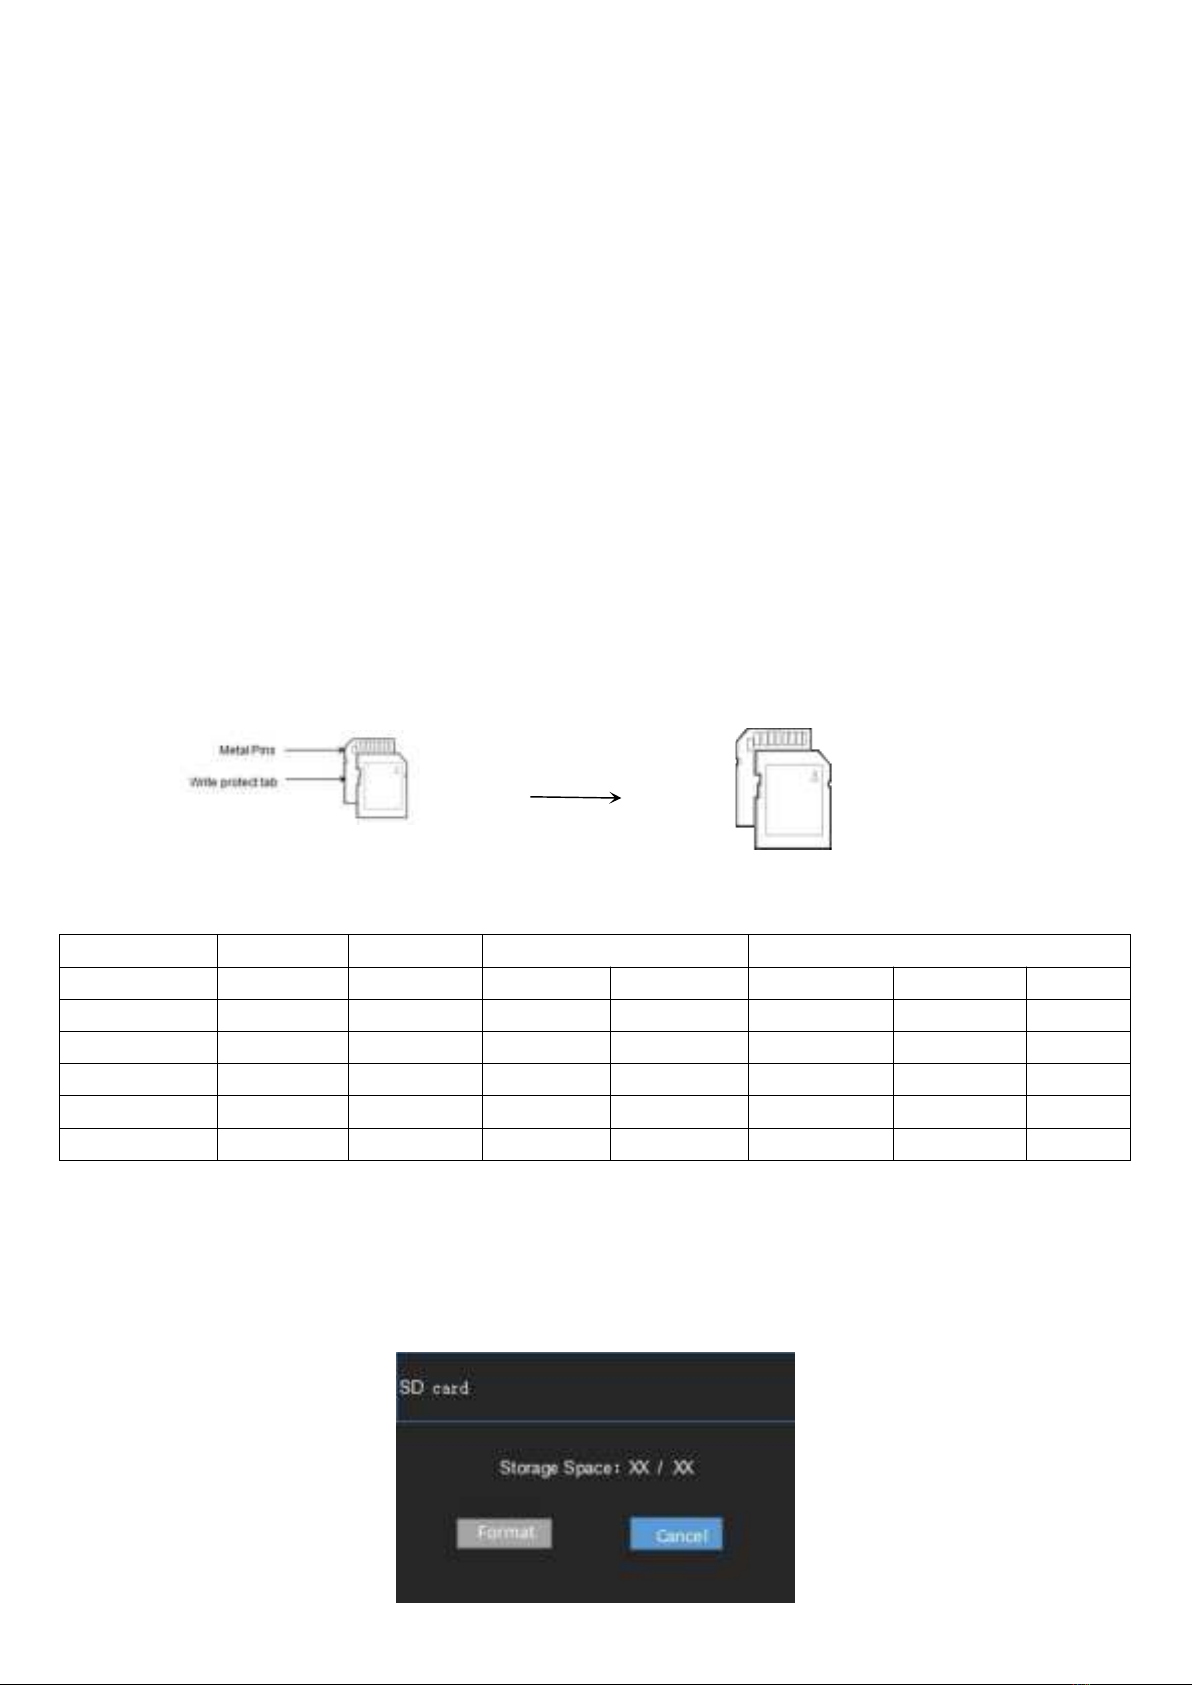
Connect to Computer
Connect the video camera to the USB port on the computer with the USB cable, insert the USB and the camera will automatically turn on,
press UP and DOWN to select the Charging Mode or Mass Storage Mode or PC camera, then press OK to confirm entry.
(1) Select to enter the charging mode, all functions of the camera can be used normally, this camera supports the function of recording
while charging.
(2) Select to enter the storage mode, a removable storage device will be added in the "My Computer" window, and the corresponding
storage file in the memory card can be found in this mobile device.
Note: Do not disconnect the USB connection while downloading files. Do not plug memory card when USB is connected so to avoid data
loss.
(3)Select the PC camera mode, the camera can be used as a webcam.
After turning on the webcam, you can press the W/T button to adjust the digital focal length to bring the distance to an appropriate
distance.
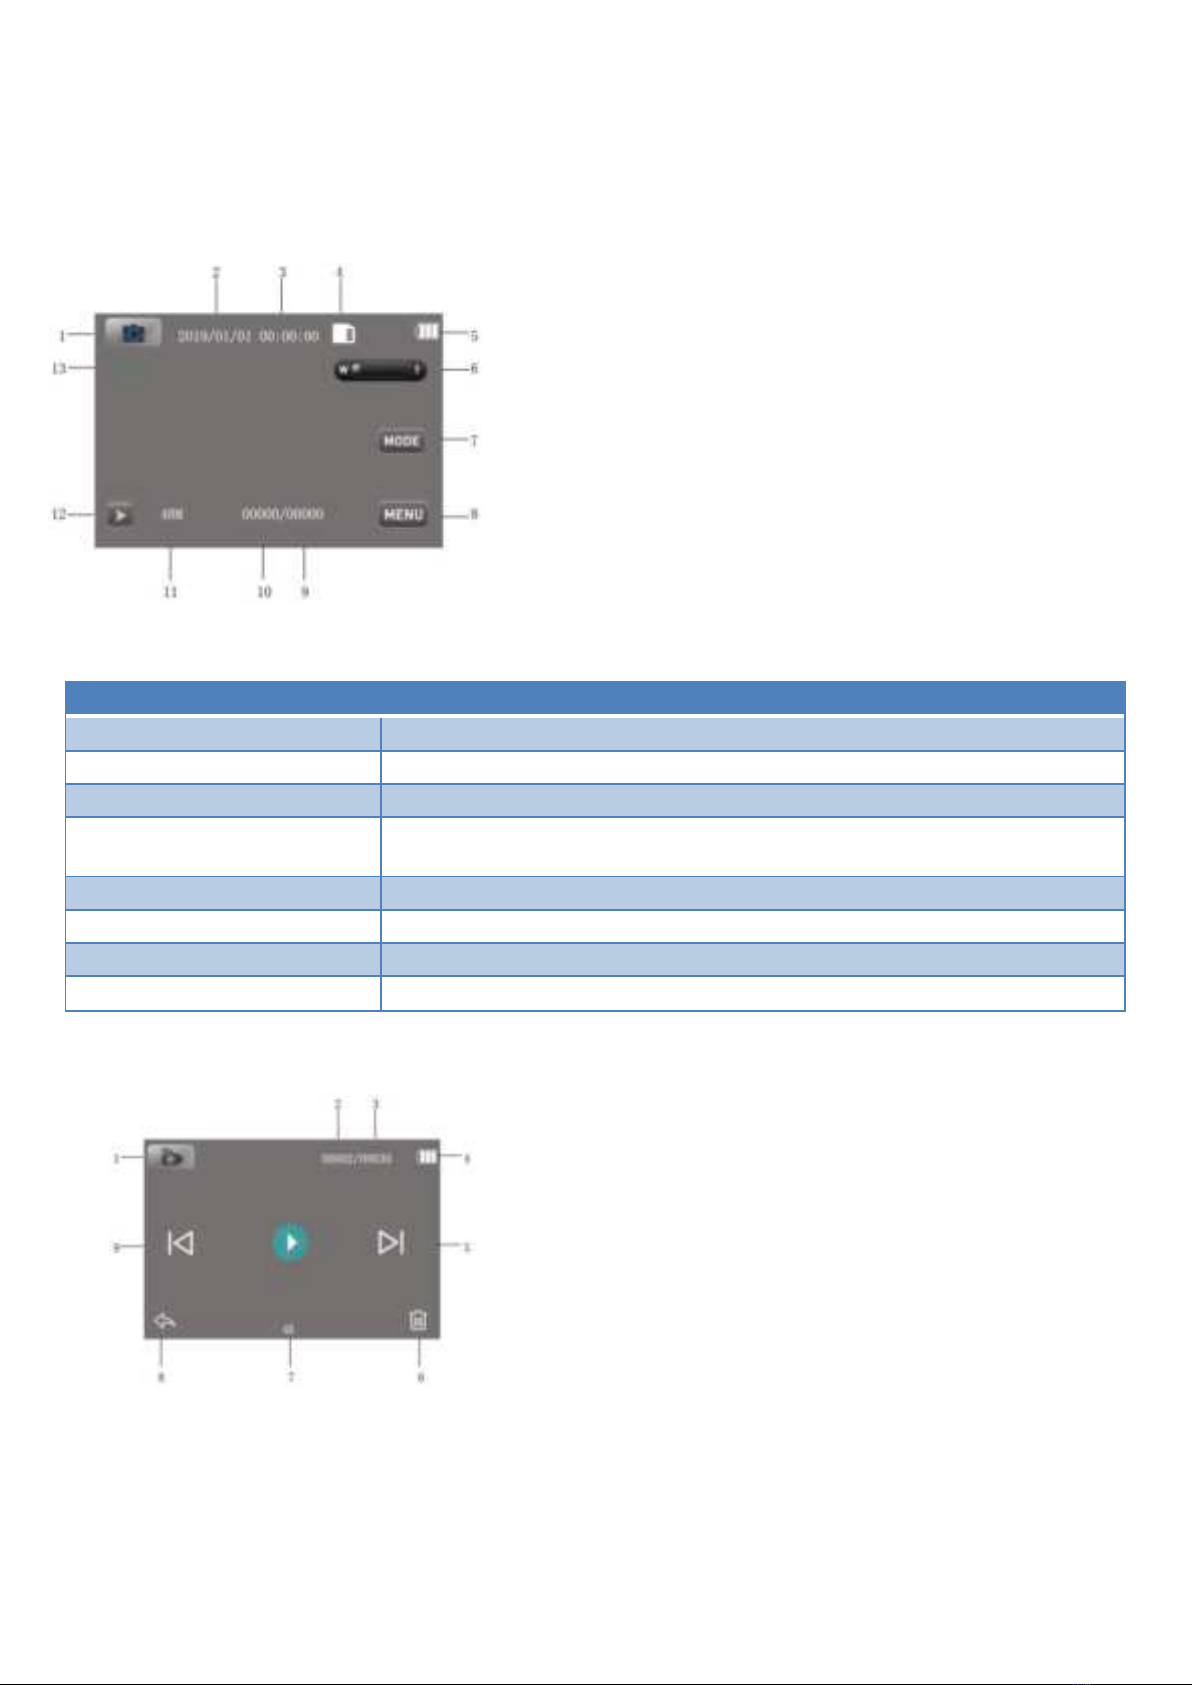
Troubleshooting:
Trouble Measures
Camera cannot start after battery
is installed
The battery is low, please replace it with a new one.
Battery pack not removed.
The battery is not installed in place; please confirm that the battery is installed correctly.
Unable to charge
If the charging indicator light is flashing, the battery is not installed in place or in poor contact.
Please reinstall the battery until the indicator light is on for a long time (the indicator light will go
out when the battery is full).
If the charging indicator is not on, the charger is not plugged in. Please check whether the
charger is connected normally.
Remote control does not work
Check whether the remote control battery is dead.
The remote control can't start the camera remotely. This is not a fault
HD cable connected TV cannot
be connected
Check whether the TV source is set to HD mode.
Check if the HD wire is connected correctly.
Unable to connect to PC
Please check whether the USB data cable is connected correctly.
Please check whether the USB interface of computer is working properly.
Please check the compatibility of the computer system.
Blurred shooting effect
The best distance for shooting is more than 2m.
Check whether the camera shake when shooting.