Blue Creek Blue Creek JRSD209A User manual

Use& Care Manual
Frost Free
Refrigerator
MODEL JRSD209
8y J£NN.AIR**

Your Blue Creek frost-free refrigeratorwas designed, engineered, andmanufactured to
the highest standards ofquality and performance. Sincethis manual explains how you
canobtainthebest use ofyourrefrigerator, It Is essential that youfollow theinstructions
carefully.
Should youhave ar_yquestions about using your appSance,wdte to us.Be sure to previde
the model number ofyour appriance.,Jenn-AIrCustomer Assistance, ¢/o May'tag
Customer Service, PO Box 2370, Cleveland, TN 37320-2370
AutomaticIce Maker TampControl Dairy
and Automatic& Drawer RefrigeratorCompartment
Frse=er DispenserBin
Conve- Door
n(ence Shelves Egg
Light Cecfdy
AdlustsbleSealed
Adlustable ;CrispersLift-Off
Shelves Bulk Glass RemovableShelves Retainer
Storage Cantilever Base Grille
Basket Shelves
1.Usethe three-prongedp}ugon}ywith a groundingreceptacleto provideprotection
frome/ectdcalshock (see below). This appliancemust beinstalledin accordance
with theInstallationand grounding instructions onpages3-4.
2, Unplugyour refrigerator before cleaning condenser, replacing a light bulb, or
makingany repairs. Any servicingshouEdbe performed by a qualified technician.
3.Incaseofpowerfailure,minimizedoor openings,ifpowerfailure is oflongduration,
protectfrozenfoodbyplacingblocks ofdryice ontopofthepackages,or checkwith
alocalfrozenfoods lockerplant abouttemporarystorage. Frozenfoodswhichhave
thawed completely should not be refrozen.
4,Any electdoservicecordthat becomes frayedordamaged shouldbe immediately
repairedor replaced. Never unplug your appliance by pulling on the power cord.
5. Yourrefrigeratorshouldnotbe operatedin thepresenceof exp]osivefumes.
6. Removethedoorsfromanyout-el-userefrigeratortopreventchildentrapmentand
suffocation,
7.Do notplacefingersorhands on theautomaticice makingmechanismwhilethe
refrigeratorispluggedin. Thiswillhelpprotectyoufrompossibleinjury. Itwillalso
preventinterferencewithmovingpartsof the ejectormechanismand theheating
elementthat releasesthe cubes.
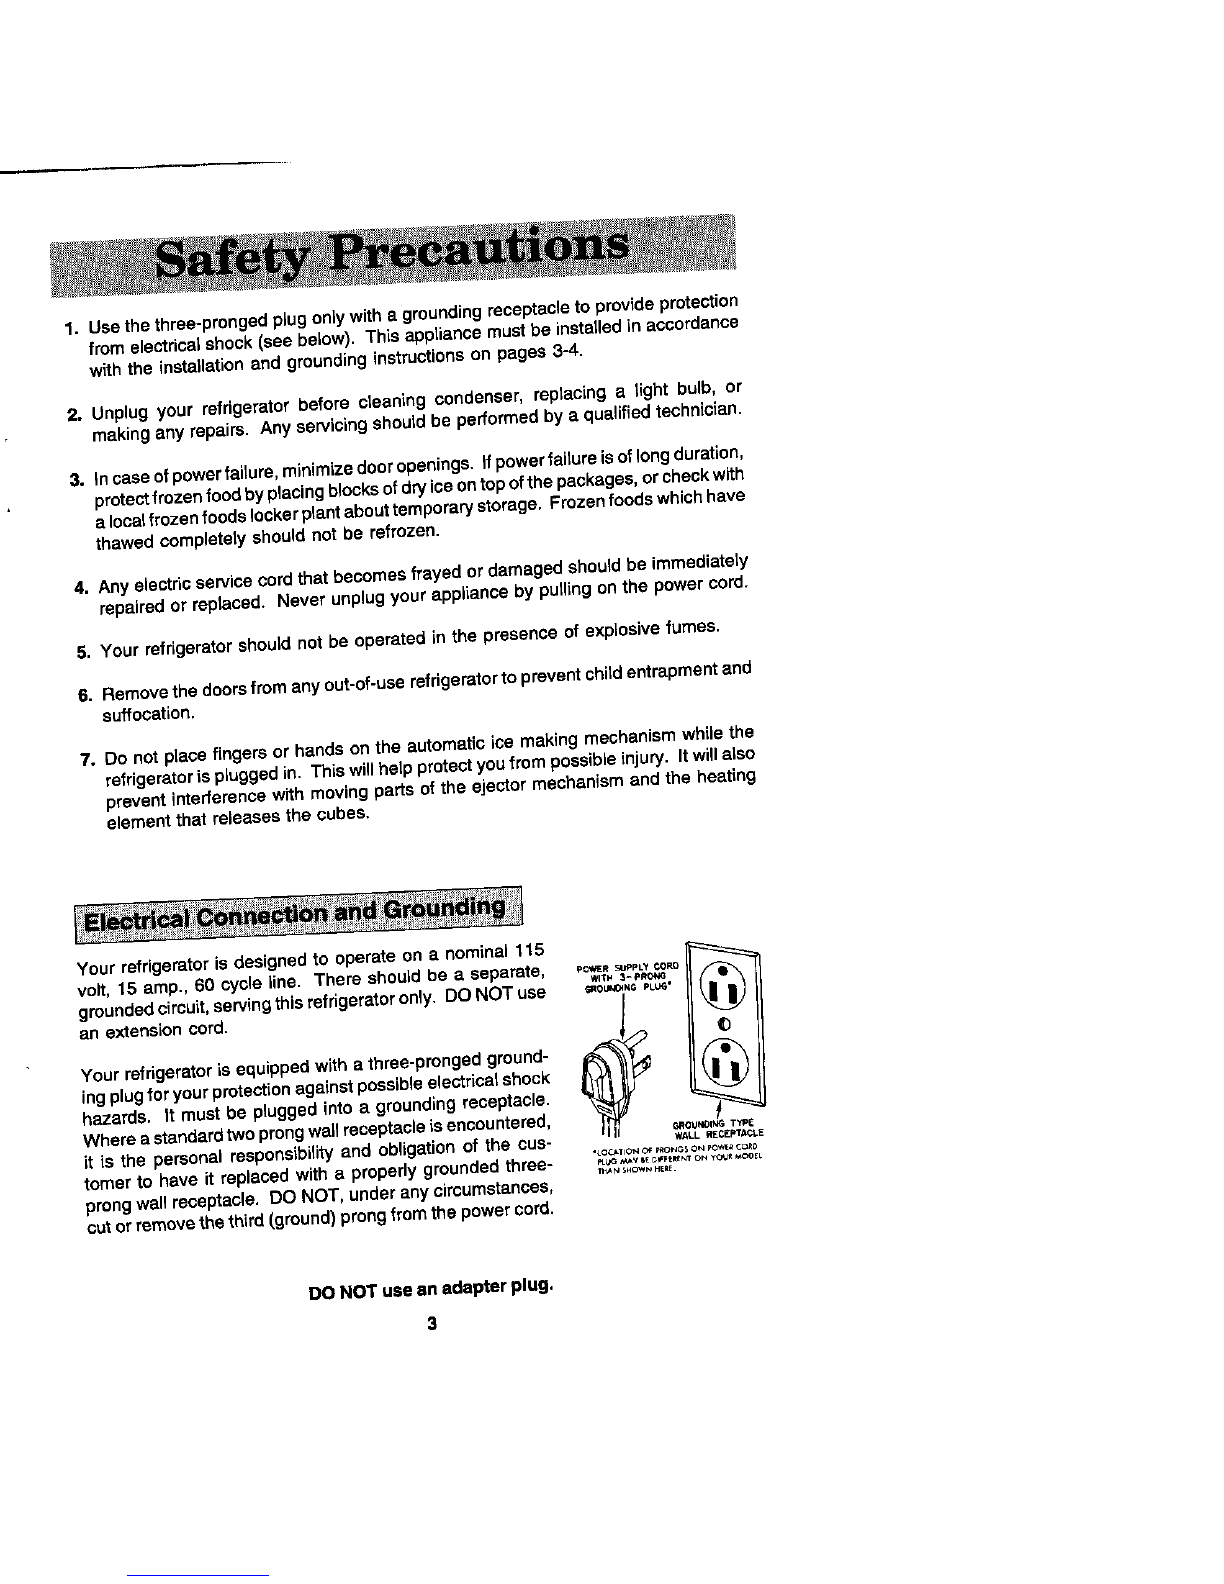
Yourrefrigeratoris designedto operate ona nominal 115IF:=:
volt, 15 amp.,60 cycleline.There shouldbeaseparate, po.t._"PPL_Co.oI /
WW_ 3-P_
groundedcircuit,servingth)srefrigeratoronly.DO NOTuse=ou,_.apLUG"
an extensioncord. _
Your refrigeratorisequippedwith a three-prongedground-
ing plugfor yourprotectionagainstpossibleelectricalshock
hazards.It mustbepluggedinto a groundingreceptacle.
Whereastandardtwoprongwallreceptacleisencountered, r.4_UN01NGT'rl=E
it iSthe personalresponsibilityand obligationof the cus- WALL.Ec¢_
tomerto haveit replacedwithaproperly groundedthree- ,_,,._b,_,,t,_,lo._,_,,oo,_
THAN_HC_NHERE.
prongwallreceptacle. DONOT, underany circumstances,
cut orremovethethird (ground)prongfromthepowercord.
DONOT useanadapter plug,
3

Ifyou are installingyour newrefrigeratoryourself,pleaserenewthese helpfulsugges-
tions.
1.Removebaseskids.Ill_ll I
2.Remove all exterior andinterior tapecarefully and
retain oldtape. Makeasmallpad ofthis tapeto pick
offanyremainingtaperesidues.Thiswilleliminatethe
needto use dangeroussolventsof any kind.
3. Remove and discard the cantilevershelfpacking
clipslocatedjust aboveeachshelf wheretheyhook
ontotheframe. To removetheredplasticclip,wiggle
itsidewaysand pullstraightout.
4.Selecta locationforyournewrefdgeretorawayfromany heatsources.Allowa free
flowof airthroughthe frontbasegrille.
5.Yourmodelshouldnotbe installedwhere the roomtemperaturewillgo below
55°F. becauseitwillnotrunfrequently enoughtomaintafnpropertemperaturein
thefreezer.
To enhanceitsappearance,maintainefficientperformanceand forproperfunctionof
theicemaker,yourrefrigeratorshould belevel. Usingacarpenter'slevel,checkyour
refrigeratortomakesureitislevelfronttobackandsidetoside. The frontwheelswere
adjustedat thefactoryso thecabinet wouldbelevel. However,jarring intransit, or
standingtherefflgerstoronanunevenfloormaycausethedoerstoshiftoutofalignment.
Iflevelingisnecessary,removethebase gdlleandadjustthewheelwitha screwdriver
as shown.
TURNCLOCKWISETO
TOtookthe cabinetin p(aca,turndown oneorboth _._ _mf_cO..E.
locking feet,located near the front wheels. Rear r_l,
levelerfeetarenotrequired.
Tl_ COUNTER.CLOCk_*,'I_
10 I_AISECA_N_I"CO_IE_
[]! TO COSRECTTH_; CONS}-
TIES, R AI SI.=.RIGHT COR- TOCORRECT THiS CONSrrlON, RAISE
NERANI_S LOWER ME_" LEFT CORNER _II_'OR _RSIGHT
CORNER UNTIL SCORECORHERUNTILDOORSALIGHACROSS
_,L_GNAORO_S TOP OF TOPOF CAI_NET.
CASlNET,
4
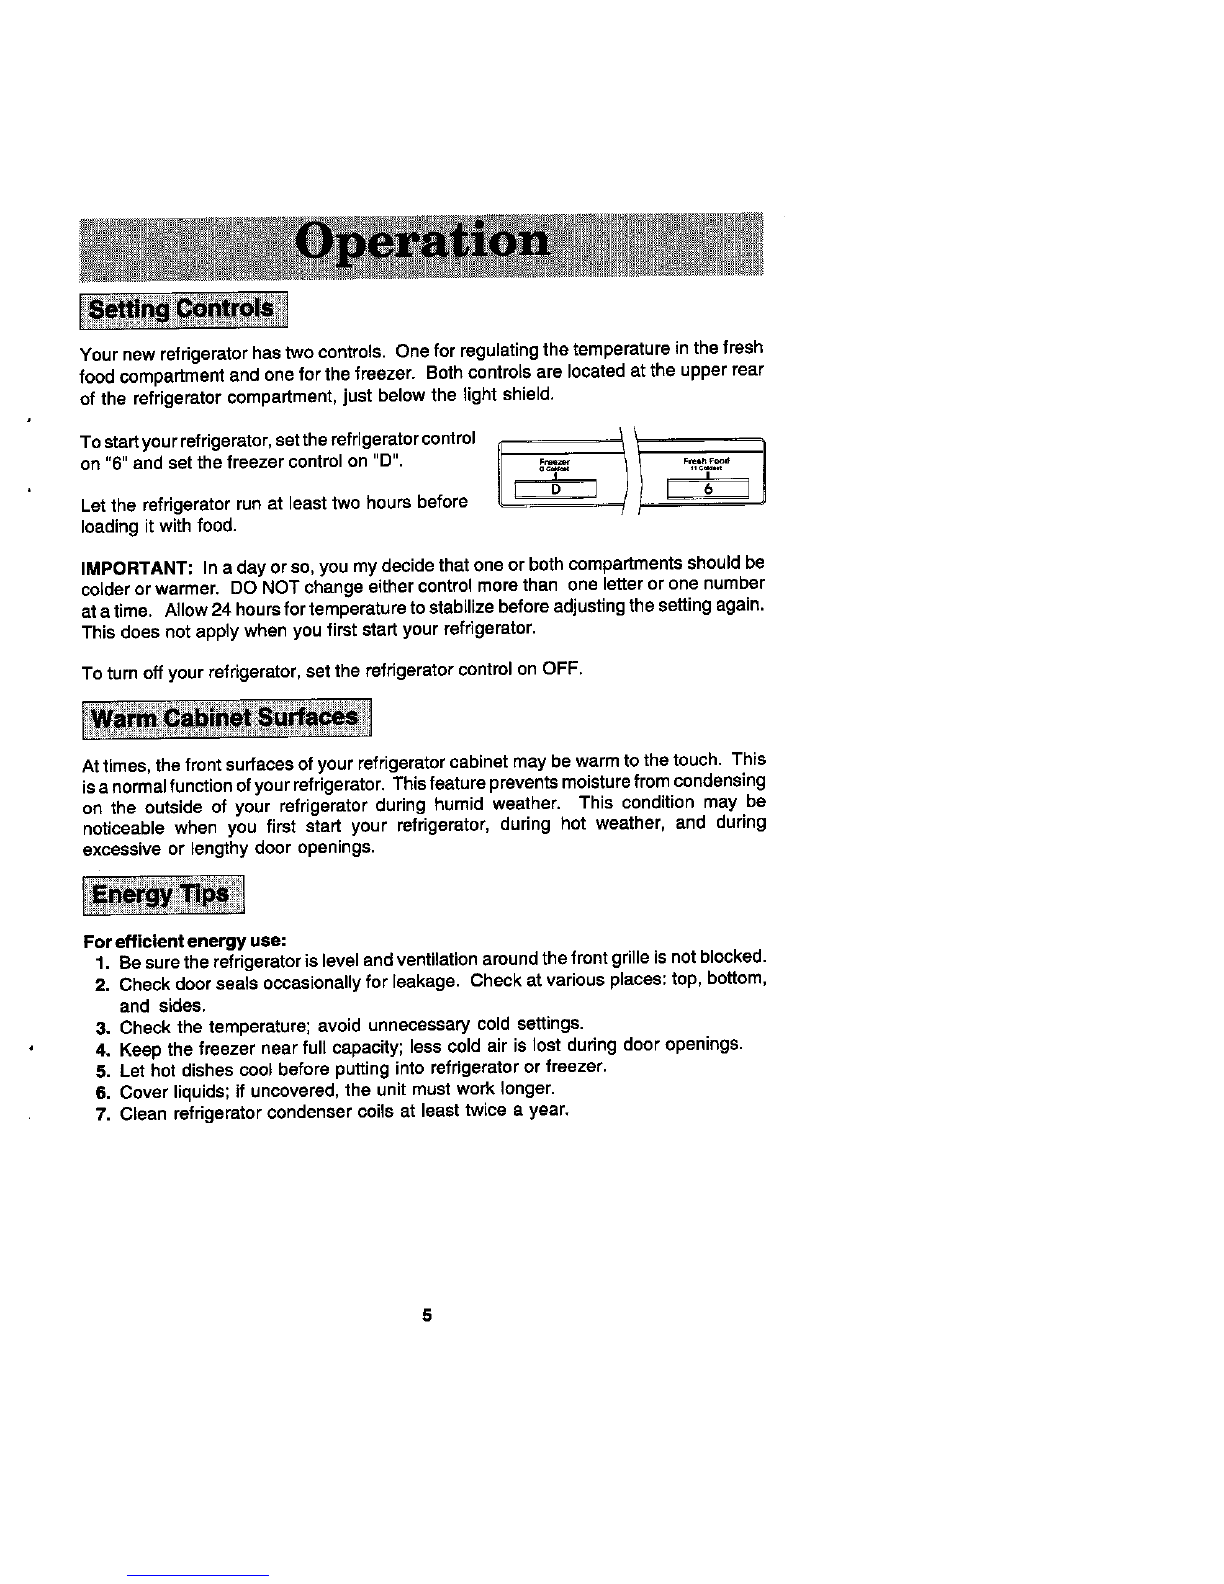
Yournewrefrigeratorhastwocontrols.Onefor regulatingthetemperatureinthefresh
foodcompartmentand oneforthefreezer.Bothcontrolsare locatedattheupperrear
oftherefrigeratorcompartment,just belowthelightshield.
Tostartyourrefrigerator,settherefrigeratorcontrol
on "6"and setthefreezercontrolon "D"._,=_ ,_,_
Letthe refrigeratorrunat leasttwo hoursbefore
loadingitwithfood.
IMPORTANT; Ina dayor so,youmydecidethatoneor bothcompartmentsshouldbe
colderorwarmer. DONOT changeeithercontrolmorethan one letteror onenumber
ata time.Nlow24 hoursfortemperaturetostabilizebeforeadjustingthesettingagain.
Thisdoes notapply whenyou firststartyour refrigerator.
To turnoffyourrefrigerator,setthe refrigeratorcontrolonOFF.
Attimes,thefrontsurfacesofyourrefrigeratorcabinetmaybewarmtothe touch.This
isanormalfunctionofyourrefrigerator.Thisfeaturepreventsmoisturefromcondensing
on theoutsideof your refrigeratorduringhumid weather. This conditionmay be
noticeablewhenyou firs!start yourrefrigerator,dudnghot weather,and during
excessiveor lengthydoor openings.
Forefficientenergy use:
1.Besuratherefdgeratorisleveland ventilatJonaraundthefrontgd]leJsnotblocked.
2. Checkdoorsealsoccasionallyforleakage. Checkat variousplaces:top,bottom,
and sides.
3. Checkthetemperature;avoidunnecessarycoldsettings.
4. Keepthe freezer nearfull capacity;lesscoldair islostduringdooropenings.
5. Lethot dishescoolbeforeputtingintorefrigeratororfreezer.
6. Coverliquids;ifuncovered,the unitmustworklonger.
7. C_eanrefrigeratoroondensercoilsatleast twice a year,
$
Tomaintainthenaturalflavor,moisture,andnutritionoffreshfoods,werecommendthat
alldishes,treys,and containersof foodbecovered.
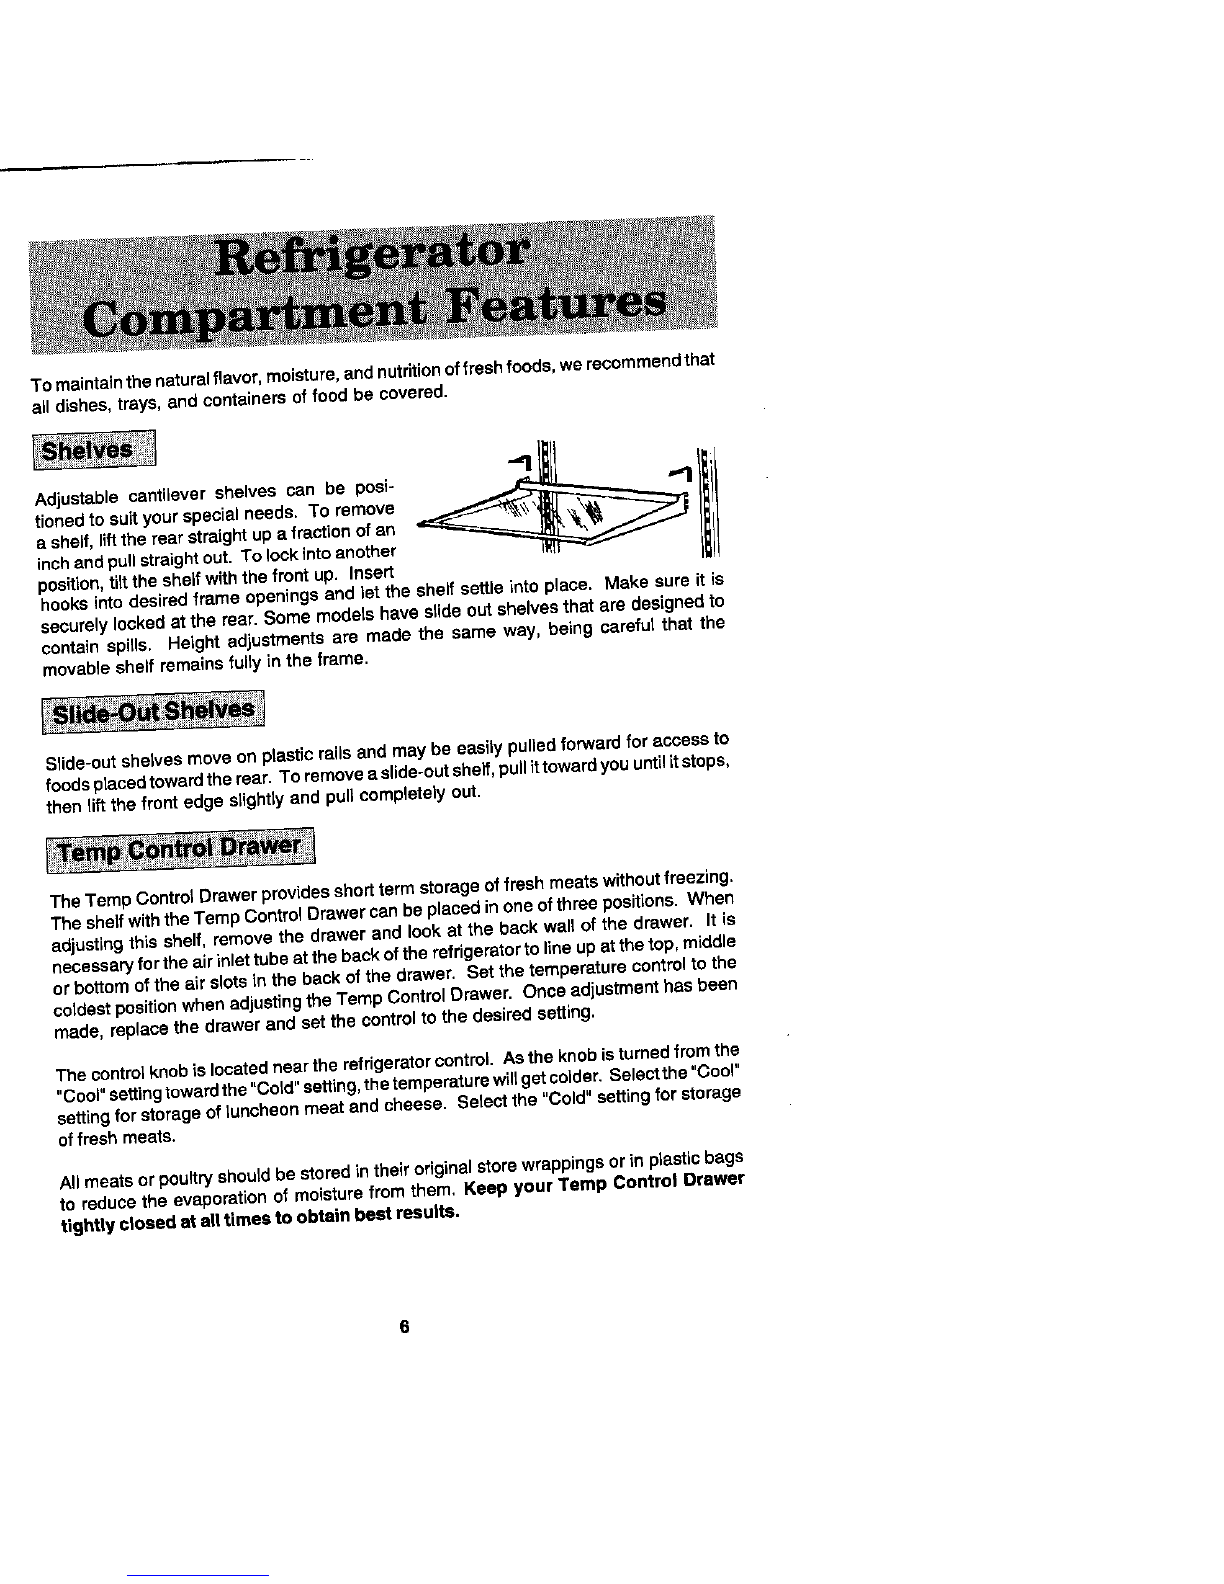
tionedto suityourspecialneeds.To remove
a shelf,lifttherearstraightupa frastlon of an
inchand pullstraightout. Tolock intoanother
position,tilt the shelf withthefront up. Insert
hooks into desired frameopenings and 1stthe shelf settleinto place. Make sureit is
securely locked atthe rear.Some modelshave slide out shelvesthat aredesigned to
contain spills. Height adjustmentsaremadethesame way, beingcareful that the
movableshelf remains fully intheframe.
Slide-outshelvesmoveonplasticrelis and may be easily pulledforwardfor accessto
foodsplacedtowardtherear. Toremoveaslide-outsheff,pullittoward youuntilitstops,
then lifl thefront edge slightly and pullcompletely out.
TheTemp ControlDrawerprovidesshortterm storageoffreshmeatswithoutfreezing.
The shelfwiththeTemp ControlDrawercanbeplacedinoneofthreepositions.When
adjustingthisshelf,removethedrawerand lookat theback wallofthedrawer. It is
necessaryfortheairinlettubeat thebackoftherefrigeratortolineupatthe top,middle
or bottomofthe air slotsIntheback of the drawer. Setthe temperaturecontroltothe
coldestpositionwhenadjustingtheTemp ControlDrawer. Onceadjustmenthasbeen
made, replacethedrawerand set the controlto the desiredsetting.
The controlknobis locatedneartherefrigeratorcontrol. Astheknobisturnedfromthe
"Cool"settingtowardthe"Cold"setting,thetemperaturewiUgetcolder,Selectthe"Cool"
settingforstorageofluncheonmeatandcheese. Selectthe"Cold"settingfor storage
of freshmeats.
All meatsorpoultryshouldbestoredin theiroriginalstorewrappingsorinplasticbags
to reducethe evaporationofmoisturefromthem,Keep your Temp Control Drawer
tightly closed at all timesto obtain best results.

The SealedCrispersare idealforstoringvegetablesandfruit.Keepyourcrisperstightly
closedtoinsurefreshness. Storingleafyvegetables,suchasceleryand lettucein plastic
bags, reduces moisture evaporation.
The crispers slide outfor easy accessto foodsstoredwithin,They are completely
removableforcleaning (hand washonly) or foruse elsewherein your kitchen.
Thetopcrispercover alsoservesasarefrigeratorstorageshelf. To removethecrisper
cover for cleaning,lift the front edgeand pull straight out.
Thehumiditycontrolleverislocatedonthe shelf abovethe crisperdrawers. The slide
controlshouldgenerallybesetat the "Low"settingforfruitsandthe "High" settingfor
vegetables.
Touse rw,ne
either side ofany refrigerator
shelf,engageitsrearnotchtothe
shelf back corner.Laythewine
bottleon therack.
7

Alldoorscontainbuilt-inmechanismsthat automaticallypullthemcompletelyshutonce
theyare closed towithin6 inchesof thecabinet,All doors also havemagnetic door
gasketsthat clingtothe cabinetfront, onoethe doorsare closedto withintheir magnetic
range. It is importantthat your refrigerator bereasonablylevelfor thedoor closuresto
function properly.
Door shelffrontscanberemovedforeasycleaningof the door ' ]
liner and shelffronts. Lift theshelf front straightup untilit clears
the retainer on thedoor liner and pull straight out. Reversethis
procedure when replacingthe door shelf front.
Lift-offdoorshelvesmay be easily adjustedtoanother positionon _, "x_'_-_lI _1_
thedoor. Lift the shelf straight up until it clearstheretainerson the
door liner and pull straight out,Reverse thisprocedure when
replacingashelf.
Some models haveabottleretainerlocatedon the lowerrefrigeratordoor shelf.It
preventstall bottlesfromfallingoutwhenthe doorisopenedor closed. To attachthe
retainerontheshelffront, havethe smoothsidefacingforward,aligntheretainerwith
thefrontlipoftheshelffrontandsnapintoposition.The bottle retainercanbeadjusted
toany positionontheshelfby slidingsideways.
All modelshave aShelf Tender locatedon oneof the refrigeratordoorshelves. It
providesuprightstorageforpackagesorbottles. The ShelfTendercan be adjustedto
any positionontheshelfby slidingsideways.
To maintainthe naturalflavor,moisture,and nutritionoffrozenfoods,andto prevent
freezerburn,werecommendthatall foodsbewrappedorsealed properly.
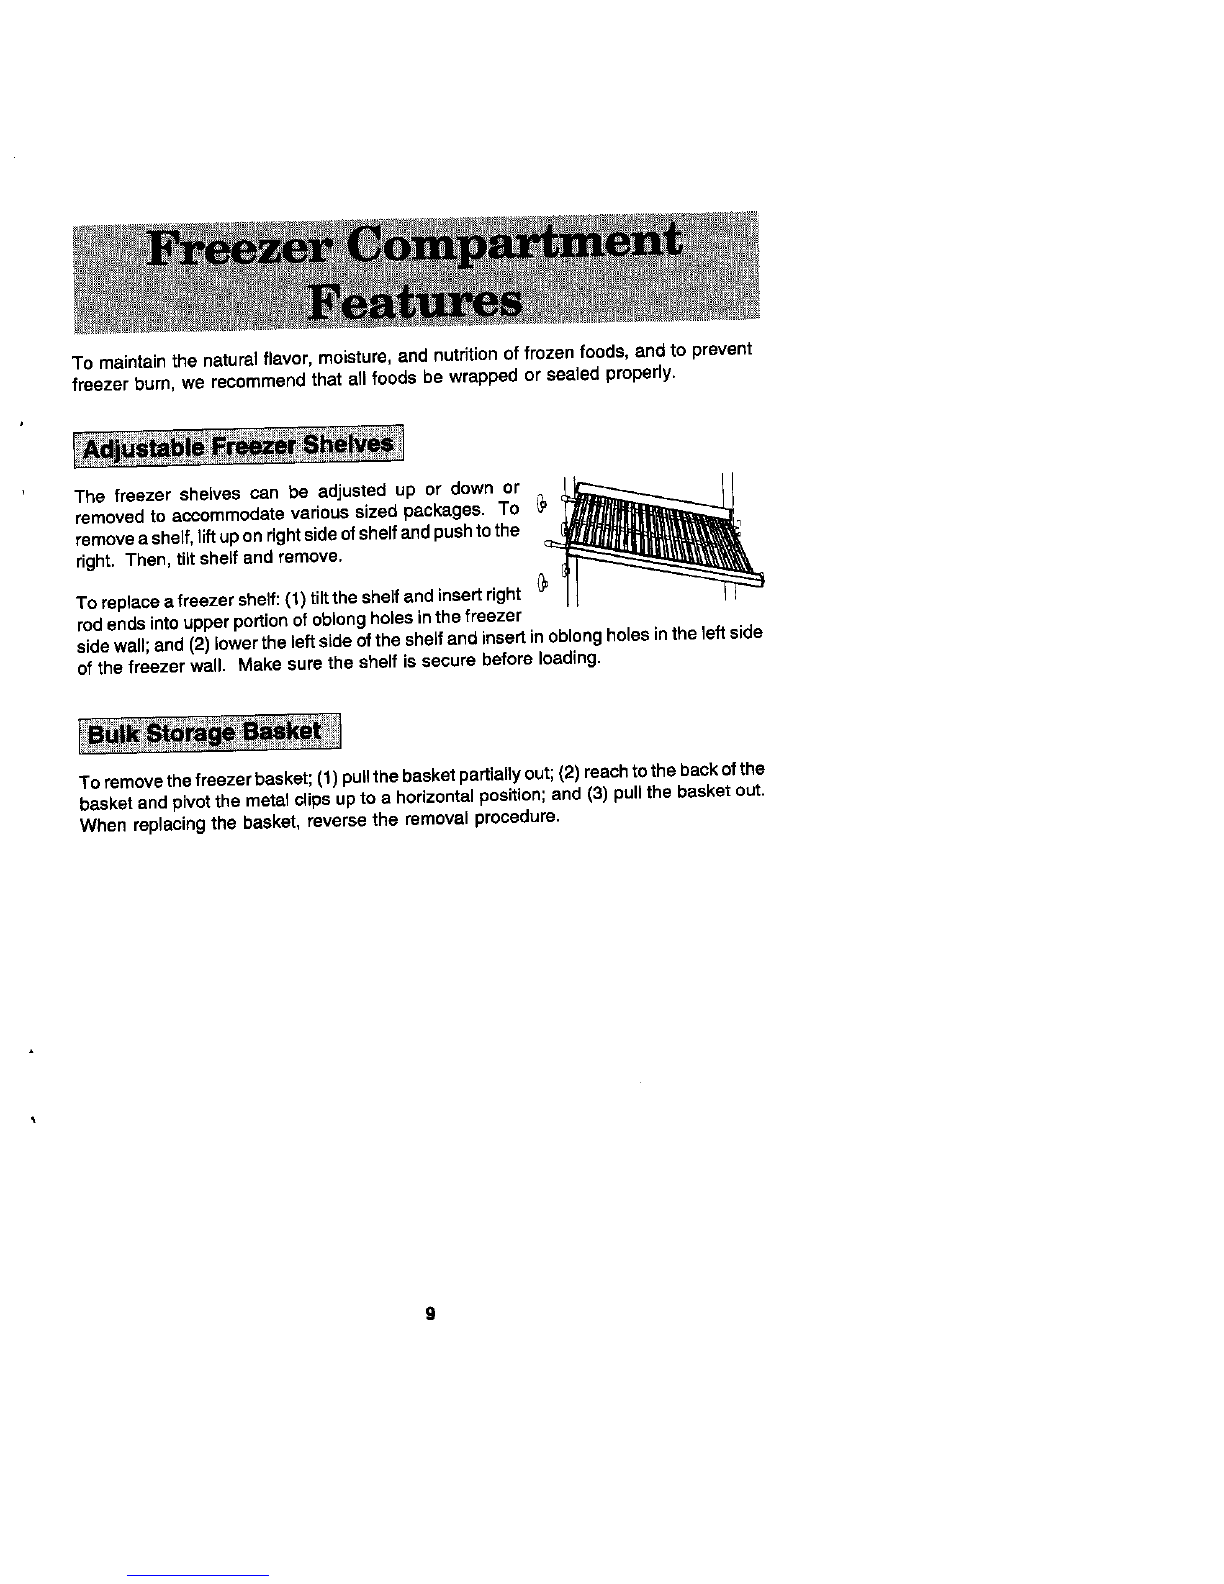
Thefreezer shelves can be adjusted up or down or __
removedto accommodatevarioussizedpackages. To
removea shelf,liftuponrightsideofshelfandpushtothe
right.Then, tiltsheff and remove.
To replacea freezershelf:(1)tilttheshelfandinsertright
rodendsintoupperportionof oblongholesinthefreezer
sidewall;and(2) lowertheleftsideoftheshelfandinsertinoblongholesintheleftside
ofthefreezerwall. Makesurethe shelfissecure beforeloading.
Toremovethefreezerbasket;(1) pullthebasketpartiallyout;(2)reachtothebackofthe
basketand pivotthemetalclipsupto a horizontalposition;and (3) pullthebasketout.
When replacingthe basket,reversethe removalprocedure.
g
Thewaterinlettubingassembly requiredtocompletethewater connectiontothe water
valveislocatedinthecrisperdrawerina bag. Connecttheicemakertothewatersupply
as instructedinthe separateinstructions,furnishedwiththerefrigerator.
Theautomaticice maker isdesignedto furnisha continualsupplyofice cubes. The
amount oficeproduceddepends on thetemperaturein thefreezer sectionofyour
refrigerator.Thecolderthefreezersection,themoreiceisproduced.We suggestyou
startwithyourrefrigeratorandfreezercontrolsat theirmidsettings.Inmostcases,this
is satisfactory. Ifthe door to the refrigeratoror freezer is openedfrequentlyor
temperaturesInthekitchenareabnormallyhigh,acolder settingmay benecessary.
Afteryourmodelhasbeen installedandthe watersupplyconnectedtotheicemaker,
itmaytake8 to12hoursbeforetheicemakerfurnishesanyusableicecubes,Thefirst
oneortwoharvests will probably containundersized andirregularcubesbecause of
airinthesupplyline. The initialharvestmay alsocontainimpuritiesfromthenewwater
supply piping.Therefore, all cubesfromthe first two or three harvestsshould be
discarded.
Undercertainrarecircumstances,icecubesmaybe discolored,usuallyappearingwith
a green-bluishhue. Thecauseofthisunusualdiscolorationisapparentlyacombination
offactorssuchas certaincharacteristicsoflocalwaters,householdplumbingandthe
accumulationofcoppersaltsinaninactivewatersupplylinewhichfeedstheicemaker.
Continuedconsumptionofsuchdiscoloredicecubesmaybeinjurioustohealth. Ifsuch
discolorationisobserved,discardthe icecubesand contactthedealerfromwhomthe
ice makeror refrigeratorwas purchased.
Ice cubesthathavebeen intheice storageforaconsiderablelengthoftimemaypick
upoff-flavor taste,sticktogether, and graduallybecome smaller. Wesuggestthat these
cubes be thrown away. We alsosuggest using anopen box of bakingsoda in the
refrigerator for food odor absorption.
Certainsoundsmay accompanythe variouscyclesofthe icemaker. Examplesare:(f)
themotor mayhaveaslighthum, (2)thecubeswillrattleastheyfall intoan emptystorage
bin, and (3) thewater valvemay click or "buzz" occasionally.Allof thesesounds are
normal and should be ignored.
Note: Whendispensingice cubes,itisimportantthatyouuse onlytheicesuppliedby
thisicemaker.Icefromanyothersourcecouldcauseanicejam.If thishappens,remove
and discardallicefromthe storagebinand any icelodgedin theicechute.
10

AUTOMATIC
ICE MAKER
Yourautomaticice makerislocatednearthe topofrI SENSOR
the freezer compartmentbehindthe Ice Access ARM
f
/
Panel. To gain access tothe ice makingmecha- '_--/-._or_
nism,lifttheIceAccessPanel.
The icemakerhas e wiresensorarm thatis con-
netted to a shut-off switch. This arm stopsthe
mechanismwhen theicecubestoragebin isfull,
and restartsit afterseveral icecubeshavebeenused. Youcanusethestoparmtostop
allproductionoficeatanytime. AllyouneedtodoisraisethearmintotheOFF position.
The ice maker should be turned off (arm up) when:
1.Ice storagebin is tobe removed for extendedperiod of time.
2. Refrigeratorisnottobeusedfora considerabletime,suchasvacations.Also,turn
offthe watersupplytothe ice maker inthis instance,ifpractical.
3. Water supplyisto be shut-offfor severalhours.
FILLWater fills theemptycubemold(Fig. 1)whentheTUB_
freezercompartmenthascooledtofreezingtem-F*_'[_d_-tg_ -
perature.Coldairisforceddirectlyoverthemold.
When frozen, the cubes arerotatedup and outof i_,_iCE
the mold (Fig. 2). Thesweeperarmejectsthem l_jg...=-.--ICE
intothe icestoragebinbelow. 2 II iI e,N
Thesensorarm(Fig.3) senseswhenthebinisfull
and signalsthe icemakerto stopejectingmore Fig.
cubes.
However,themoldhasbeenrefilledandcubes
frozensothenewsupplyisreadywhenneeded.
As soonas ice is removedfrom the bin, the
sensorarmsignalsthat moreisneeded. The
icemakerresumesoperationbyejectingready- DOWNFOR
1,ON,,
and-waitingfrozen cubes. .Posmo.
11

L_ thefront of the AutomaticDispenserbin and pull _tstraightout.Wash thebin
occasionally in mild soap and lukewarm water. To replace the bin,push it all the way
back untilthebottom ofthe bin isbehind the raised edge atthe front ofthe shelfit rests
upon. Makesurethetabs, attheback of the bin,thatturn thespiral augerare positioned
between theprongs from the auger motor.
Water/Ice Control
For dispensingice cubes,the slidecontrolmust be
movedtothe "Cube"position(center). Fordispensing
crushedice,movethecontroltothe"Crushed"position
(left).
For dispensingchilledwater, theslidecontrolmust be
moved completely to the"Water" position (right).
Water from thedispenser is chilled. For colder water
simply add ice beforedispensingthewater. Also, the
first glassofwater dispensedeachtime may bewarmer
than consecutiveglasses. It will becooler if afull glass
ofwater fsdispensed ratherthan a partial glass. Filla
containerwith icebeforeaddingliquidto preventsplash-
ing.
Dispensing
Tofilla glass,positiontheglassagainstthetopportion
oftheactuatorpadandpress,Holdtheglasshighinthe
dispenseropening to reducethe icefalling outside
the glass.
Somecrushedicemay bedispensedeventhoughyou
selectedCUBE. Thishappensoccasionallywhenafew
cubesaccidentallyget channeledin the crusher.
Whenchangingfromcrushedicetocubes,somecrushed
icemaybedispensed.Thismayalsohappenifirregular
sizedcubesor ice chipsare inthestoragebin,
Theremaybea delaywhenyouswitchfromcubestocrushedice, Ittakesafewseconds
forthecubesto bechanneledinthecrusher. Crushedicepieceswillvaryinsize and
shape.
12

Iceshouldnotbedispenseddirectlyintothinglasses,finechinaordelicatecrystal--they
cancrackor chipfromthe combinedpressureofyourhandpressingthem againstthe
actuatorpadand ice droppingintothecontainer,
Iceotherthan thatproducedbyyouricemakershouldnotbeaddedtotheicestorage
bin - it may notcrushand/ordispenseproperly.
For targequantitiesofcubedice, removethe icedirectlyfromthestoragebin. Do not
operatethe icedispensercontinuouslyfor morethanfiveminutes.
Iftheicedispenseris notusedfrequently,icecubesmayclumptogetherandmayneed
tobebrokenapart or discarded.
Releasethepressureonthepadand hardthecontainerinpositionmomentarilytocatch
thelastpiecesoficeordropsofwater. Theicedeliverydoorwillremainopenfora short
time.When itclosesyoumay hear a closingsound.
Donotdiscardwater intothe grilleat thebottomofthe fountain.Thisisa spillarea, not
a drain. Normalspillswill beevaporatedintherecessedarea belowthespilrshelf grille.
Excessivespillsshould be removed with anabsorbent spongeor cloth. Thespill area
should becleaned occasionally.
The pushbutton lightswitchislocatedbehindthepanelatthetopandontherightside
of yourfountain,For replacement,usea 120v, 7 watt bulb.
A child prooftookislocated behind the panel at thetop and on theleft sideof the
dispenser. Thistoggre switch will turn your ice and water dispensers on or off.
13

It isrecommendedthat you disconnectthe power cordbefore cleaning.
Yourrefrigeratorcanbe roiledoutforcleaning. Turnthe levelers,at eachfrontcorner
ofthecabinet,counterclockwiseuntiltheyturnfreely. Thenpullthecabinetstraight
out. Note: Ifyou haveanAutomaticIce Maker installed,werecommendthatyouturn
offthewatersupplybeforemovingthe cabinet.
Aftercleaningbehindyourrefrigerator,pushitbackandturnthelevelersclockwiseuntil
theytouchthefloorand lockthe cabinetin place.
Usemildsoapandwater, DONOT usescouringpowders,automobilewax,orfurniture
polish. Rinsewithclearwater.
Doorgasketsmay becleanedwith soap and water, a bakingsoda solution,or mild
scouringpowder.
Cleanbothcompartmentsand innerdoorpanelswithmildsoapandwater. Donotuse
anabrasivepowder,solvent, polishcleaneror undiluteddetergent.
When cleaninga glass cantilevershelf,you can remove itand submergethe entire
assemblyinwarmwater. Neverusehotwater.Alwaysallow glasstowarmupto room
temperature before immersing in warm water.
14

Defrostwaferdrainsintoashallowpanbeneaththe j./_-_f---_
cabinetand evaporates. Duringperiodsof high
humidity,watercouldremaininthepan. Thispan
shouldbe cleaned once amonth with a strong
solutionofsoapandwater.Itislocatedbehindthe
basegfige. To removethe base grille,graspitat
both endsandpull straightout.
Liftthefrontofthedefrostpanand pullitstraightout.,_,o__,L,
To replacethe defrostpan, reverseprocedureas _l _'_
shown. ___'__
To replacethebasegriUe,lineupthespringclips __
on thebasegrillewiththesquareopeningsinthe
cabinetand gentlytap each end inuntilthe gdlle
locksinplace.._,Lj_ o=_sr_,
TOallowyour refrigeratorto runmore efti-
ciently,the basegdlle andthe area around
thecondensershouldbe cleaned at least ] JI _
twicea year.Theareaaroundthecondens-
ercanbecleanedwhenevertherefrigerator
is moved during routine house-cleaning...
Unplugthe refrigeratorand moveit away
fromthewall. Vacuumthecondenserand ,_F,o=_
OpEN END PA1_ _*
basegrille areaand the area where the
cabinetnormallysits. Pluginthe refrigera-._s_,,_ eASE_.,LU_
tor aftercleaning.
To clean thebasegrille,graspbothends
andpullstraightout. Aftercleaning,replaoe
thebase grille.
1S
it isrecommendedthatyou disconnectthepowercord before replacing light bulbs.
Toreplacetheupper refrigeratorlight bulb:(t) graspthelightshieldneartheendsand
pulloutuntiltheshieldpulisfreeofthe retainerlugs;(2) unscrewbulbandreplacewith
a 40 wattappliancebulb;and(3) hookthelightshieldovertheupperretainerlugsand
pressin at the bottomuntilthe shieldsnaps in place.
To replacethe lower refrigerator light bulb on some models: (1) removethe Temp
ControlDrawer;(2)usingtwohands,spreadthetopadbottomofthelightshieldvertically
awayfromeachotherandpulltothe frontto remove;(3) unscrewthebulbandreplace
itwitha 40 wattshowcase bulb;(4) usingtwohands,spreadthe topandbottomof the
lightshieldandpushitintoplaceengagingtabsinslots;and(5) replacetheTempControl
Drawer.
To replace thefreezer light bulb:(f) removethe ice cubedispenser binandthetop
freezer shelf;(2) unhookthetabsonthetop ofthe lightshieldbypressinginwithyour
thumbonthecentertopofthe lightshield; (3)pivottheshielddown;(4) unscrewthebulb
whenitiscoolandreplaceitwithastandard40 wattappliancebulb;(5)pivottheshield
upintoplace,snappingthe tabs intothe slots:(6)replace the freezer shelf andthe ice
cube dispenserbin.
If youwillbe gonefor a monthor less,leavethecontrolknobatitsusual setting.
Duringlongerabsences,(a)removeall food, (b) disconnectfromelectricaloutlet,(c)
cleantherefrigeratorthoroughly,includingdefrostpan,(d) leavedoorsopento prevent
odorformation,and e) turnoffwatersupplyto icemaker,ifpractical.
16
Problems?Saveyourselfthenuisanceofunnecessaryservicecalls; checkthesefirst:
Refrigerator run•too frequently.
• Frequentrunningprovidesmorestabtetemperatures.
• Too many dooropenings.
•Prolongeddoor openings.
Refrigerator run• too long.
•Undernormalconditions,due to largersize and co(dertemperatures,modern
refrigeratorsrunagreaterpercentageofthetime.
•Prolongedor frequentdoor openings.
•Condenserneeds cleaning.
•Poorair circulationaroundcondenser.
Refrigerator won't run.
•TemperaturecontrelturnedtoOFF.
•Powercordnotpluggedin.
•No powerat electricaloutlet.
•Housefuseblownor circuitbreakertripped.
Cabinet vibrates.
•Cabinet notlevel
•Weak floor.
Warm air from cabinet bottom.
•Normalair flowfor condensercimulation.
Front cabinet surface warm to touch.
•Specialdesignto preventcondensationduringperiodsof high humidity.
Moisture on outside surface.
•Hot,humidweatherincreasescondensation.When humiditydrops,condensation
disappears.
Red glow visible infreezer.
•Reflectionofdefrostmechanismduringnormaldefrostcycle.
Sizzling sound in freezer.
•Normalsoundcausedby defrostwaterdrippingondefrostmechanism.
17
Water on floor under cabinet.
• Defrostpan missingor notpositionedcorrectly.
• Water connectionlooseonwatervalve.
Noisy operation.
•Fan noise perfectlynormal in frost-freerefrigerators. Youmaynotbeusedtothis
ifpreviousmodelwas manualdefrost.
• Cabinet notlevel,
• Weakfloor.
•Defrostpannotpositionedcorrectly.
Odor in cabinet.
• Defrostpan needscleaning,
• Foodleftuncovered.
• Intedorneeds cleaning.
Food• dry out (Fresh or Frozen),
• Packagesnotwrappedor sealedproperly.
• Crispernottightlyclosed.
Fresh food compartment too cold.
• Refrigeratorcontrolset too cold.
Fresh food compartment too warm.
•Refrigeratorcontrolset toowarm.
• Freezercontrolset at coldestposition.
• Prolongeddoor openings.
Freezer compartment too warm.
• Freezercontrolset toowarm.
•Prolonged door openings.
Ice cube• evaporate.
# Cold air movingover icecubes causes shrinkage.
Automatic ice maker not operating.
• Stoparm inOFF position.
• Watersupplyturnedoff.
• Water pressuretoo low.
•Freezertoowarm.
Ice Dispenser not operating.
•Icejam in thedispenser.(Clearwith plasticor woodenutensil.)
• Ice makernotoperating.
•Thepadlock switchactivated.(Toggleswitch to check.)
• Theiceisclumpedinthe bin.(Breakup or discard.)
•An icejam inthecrusher.(Removeicefromstoragebinand turnaugerby hand.)
18
Water Dispenser not operating.
• Water supplyturnedoff.
•Water pressuretoolow.
Cabinet light not working.
•Bulb burned out.
•NOpowerat outlet.
If You Need Service
• CaUthe dealerfrom whomyour appliancewas purchasedor the authorized
Jenn-AirServiceContractorlistedintheYellowPages. YourJenn-AirContractor
canprovidebetterandfasterserviceifyoucanaccuratelydescribeproblemsand
givemodelandsedalnumberoftheappliance,Besuretoretainproofofpurchase
toverify warrantystatus.RefertoWARRANTY forfurther informationofowner's
responsibilitiesfor warranty service.
• Ifthedealeror servicecompanycannotresolvetheproblem,writeto Jenn-Air
CustomerAssistance,c./oMaytagCustomerService,POBox2370, Cleveland,
TN 37320-2370,1-800-688-1100.
• Useand care manuals,servicemanuals,and partscatalogsareavailablefrom
Jenn-AirCustomerAssistance,clo MaytagCustomerService.
All specificationssubjectto changeby manufacturerwithoutnotice.
19
This manual suits for next models
1
Table of contents
Popular Refrigerator manuals by other brands


Hotpoint
Hotpoint FFA45W Instructions for installation and use

Fisher & Paykel
Fisher & Paykel ActiveSmart E402B Installation instructions and user guide

Beko
Beko CS 232020 manual

Electrolux
Electrolux EN6086JOX user manual

SUNFEEL
SUNFEEL FG1661 user manual

U-Line
U-Line U-1215RB-00B User guide & service manual