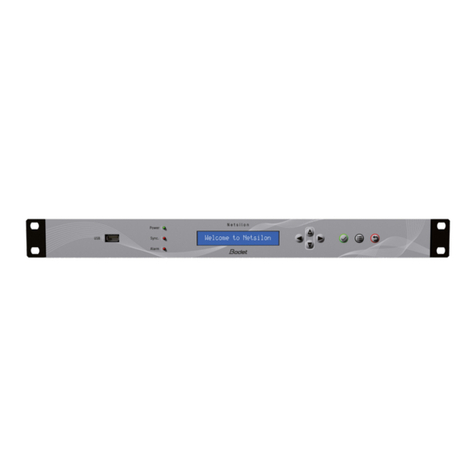
Bodet Time Sigma H Instructions and recipes

1
Sigma H master clock
Upon receipt, always check the product for damage during shipment. If any is found, you may le a damage claim with the carrier.
SIGMA
Installation and start-up instructiond
BODET SA
1 rue du Général de Gaulle
49340 TREMENTINES
Tél: 02 41 71 72 99
Fax: 02 41 71 72 01
Usine de Trémentines
Système de
Management certifié
Réf : 606528 Z
www.bodet-time.com

2
Table of contents
1) General 4
2) Safety rules 5
3) Description 7
4) Installation 8
4.1 Mechanical installation 8
4.2 Electrical connections 9
Connection for D1D2 distribution : 10
Connection of DHF transmitter : 11
5) Installation examples 12
5.1 Set the 24V impulse output 12
5.2 Set the DHF output 12
5.3 Set a 24V TBT output 13
6) Keypad: Key functions 14
7) Main menu programming 16
7.1 Standby state 16
7.2 User menu 16
7.3 USB loading and backup 17
7.4 Adding DHF receivers 17
7.5 Access code 18
7.6 Time and date 19
7.7 Dynamic radio reception 20
7.8 Language 20
7.9 Version 20
8) Technician menu programming 21
8.1 Time synchronisation menu 22
8.1.1 Programmable time changeover 23
8.1.2 Setting the time base 24
8.2 Time output management menu 25
8.3 Function setting menu 27
8.4 CPU software download menu 28
8.5 Factory setting restoration menu 28
9) Alarm messages 29
10) Technical characteristics 31
11 ) Appendix: Time Zones predened 33
12 ) What to do if ...? Check that … 35

3
SIGMA H
Installation and start-up instructions

4
1) General
The Sigma is a master clock which can be used to control receiver clocks.
The SIGMA has functions which can be programmed from the technician
menu.
On rst installation, it is essential to program the technician menu (see
page 21) before the customer menu.
It is also essential when installing the SIGMA to program the technician
functions in the order in which they appear in the menu.
This product must be installed in a residential, commercial or light industry
environment.
Bodet declines all responsibility in the event of an accident resulting from use
not in accordance with the recommendations of this manual.
CAUTION :
Any modication on the product renders the guarantee null and void.
Checking the equipment:
One SIGMA master clock.
This instruction manual.
To verify the model of the master clock,
press the key. SIGMA H

5
2) Safety rules
• Maintenance of this equipment must be carried out by qualied
personnel.
• If the SIGMA is connected to the 230 V mains power supply, its installation
must comply with the European standard IEC 364 (NFC 15.100 for France).
PROTECTIONS :
• 110-230V version: the mains supply for this device must include a neutral
phase circuit breaker of maximum 6 A C curve, rapidly accessible upstream
from the supply.
• 24V DC version: the SELV 24 V power supply for this device must include a
protection of maximum 6 A.
• 36-72V DC version: the SELV 36-72 V power supply (according to NFC 15-
100) for this device must include a protection of maximum 6 A.
• The circuit breaker must be switched off during maintenance operation.
Refer to labels in the product.
• All cables must be attached either to the wall (wall-mounted version) or
to the frame of the cabinet (Rack version) before being connected to the
various terminals strips, to prevent any pulling on these terminal strips. In
addition, the wires of each terminal strips must be attached to each other to
maintain the various isolations if an initial fault occurs.
• The time distribution cables must not run alongside high power mains
cables (to avoid interference with communication between the SIGMA and
the clocks).
• The SIGMA must be attached (to the wall or on its support) before being
switched on.
• “Rack” models must be mounted in a slide-in unit for 19” cabinets or racks.
These components will provide mechanical, electrical and re protection
(only the front panel may remain accessible).
6
• IMPORTANT: before any installation, refer to the “technical
characteristics” paragraph.
•
Caution :
• In case of replacement of the CR2032
battery, it is IMPERATIVE to respect the
polarity following the opposite indications.
• There is risk of explosion if the battery is
replaced by a battery of incorrect type.
• Dispose of used batteries according to the
instructions of the manufacturer.
-
+

7
3) Description
Wall box
A) LCD screen
B) Keypad (see page 14)
C) Alarm indicator light (red
LED)
D) Mains indicator light (green
LED)
19” Rack
A
C
D
B
D
C
A B

8
4) Installation
4.1 Mechanical installation
Choose a room with low temperature variations
away from any source of electrical interference
(contactors, motors, etc.).
WALL-MOUNTED version: Unscrew the 2
screws on the front, remove the cover (for the
lower cover, press on the 2 clips (N) and slide it
upwards). Disconnect the at jumpers (Q) (be
careful to connect them the same way round
on reassembly) and attach the SIGMA to the
wall. When your unit is in place, remove the
protective lm on the keypad.
RACK version: Install the rack in its slot in an
electrical bay or cabinet.
QN

9
4.2 Electrical connections
Connect the cables (mains power supply, impulse line or AFNOR output and
radio synchronisation input, depending on the model) to the corresponding
terminal strips as shown in the gure below.
(*) See page 25, the “Time outputs” menu to set this output (Pulse minute,
½ minute, second 24V or power TBT 24VDC 1A).
(**) depending on the SIGMA model.
RACK version: The mains power supply, impulse line and AFNOR output and
radio synchronisation input terminal strips are directly accessible at the rear of
the Rack slide-in unit.
(**) 110 to
230VAC or
24VDC
or
36/72VDC
Circuit C1
Circuit C2
Circuit C3
GPS input
DCF
radio input
(*) Minute, ½ mn or
second 24V, or SR2-59
Afnor output
DHF output
External input
See the limit
characteristics of
these circuits on
page 31
Attach the wires to each other, near
the terminal strips.

10
Connection for D1D2 distribution :
D1 D2 uses the relays of circuits 1 and 2
Circuits must be protected by fuse disconnector or circuit breaker 4A
maximum. Indicate on the label above the terminal block the location of
these protections.
LN
ND1 D2 To Bodet
D1D2
movement.
Make a shunt between
terminals 1 and 3, 0.75² <
cross section of wires <1.5².
Table of contents
Popular Network Time Server manuals by other brands

Meinberg
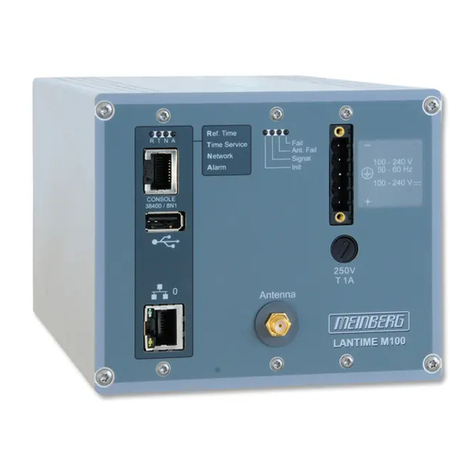
Meinberg LANTIME M300/GPS/2LNE/AD10-AD10 Technical reference

Gorgy Timing
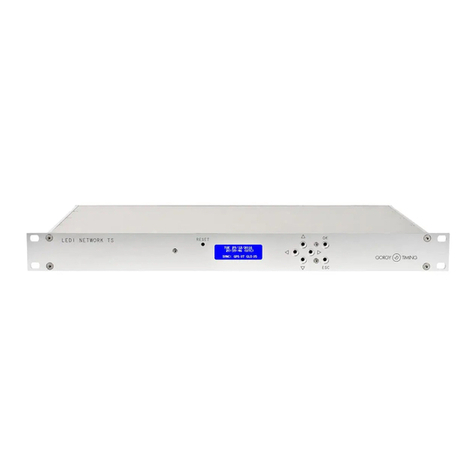
Gorgy Timing LEDI NETWORK iTS user guide

Mobatime
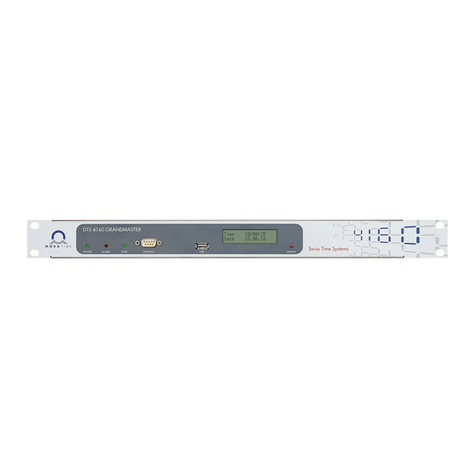
Mobatime DTS 4160.grandmaster Mounting and instruction manual

Meinberg
Meinberg LANTIME M300/GNS/RPS Technical reference

Mobatime
Mobatime DTS 4128.timeserver instruction manual

Meinberg
Meinberg IMS LANTIME M1000 manual