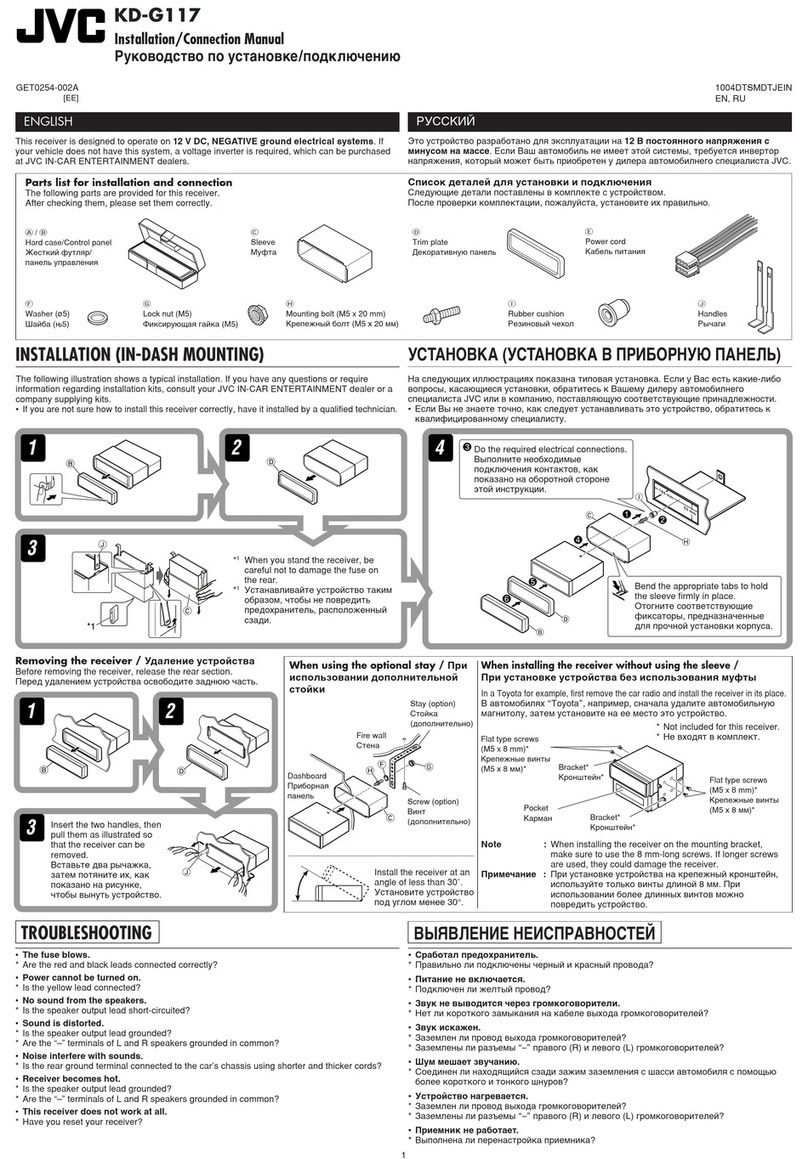
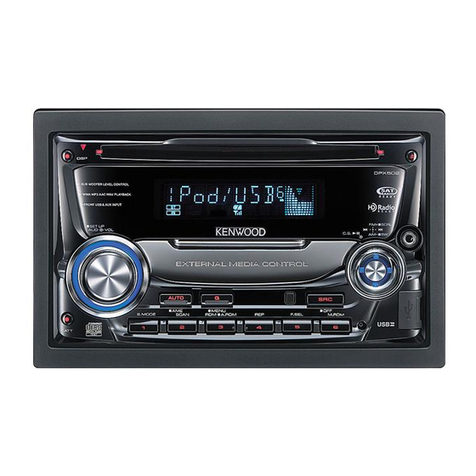
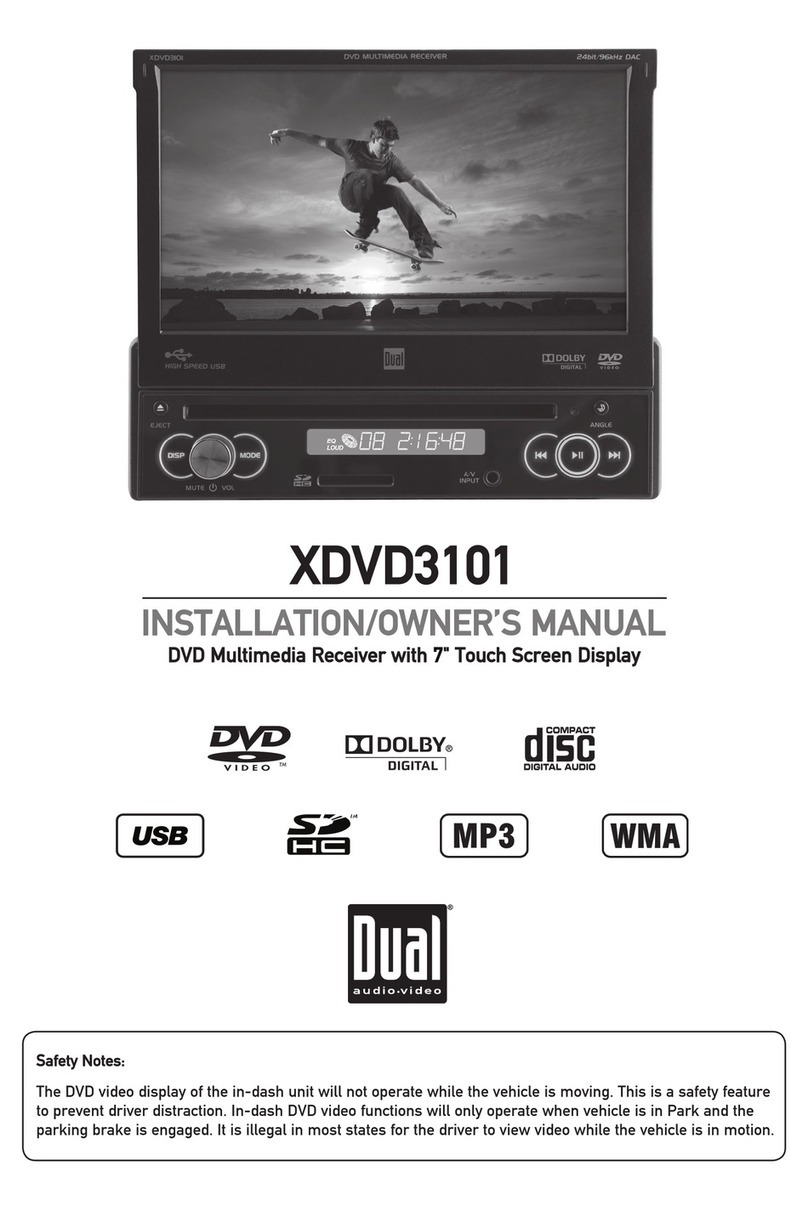
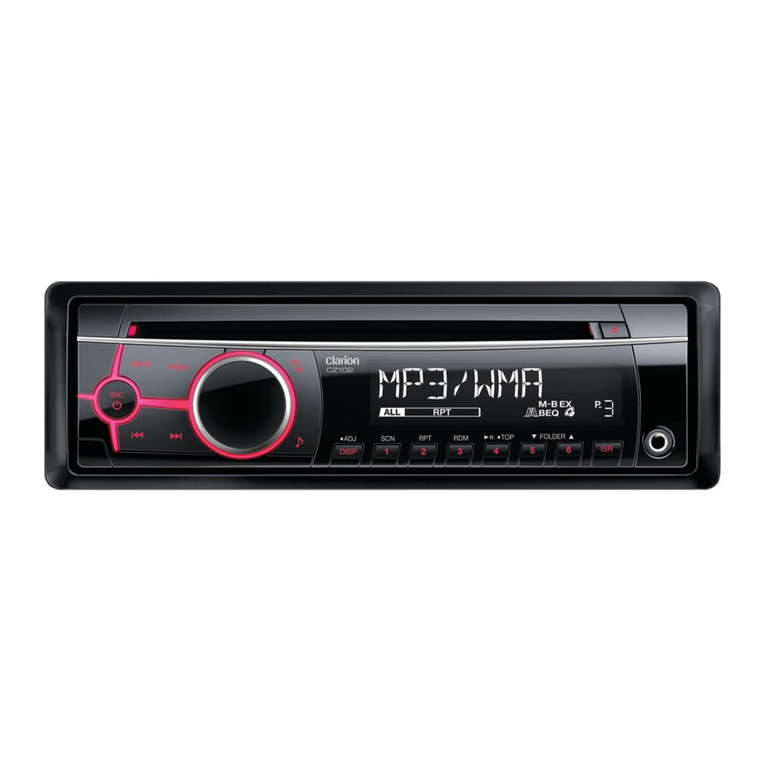
Bremmen Parts UB8512 User manual

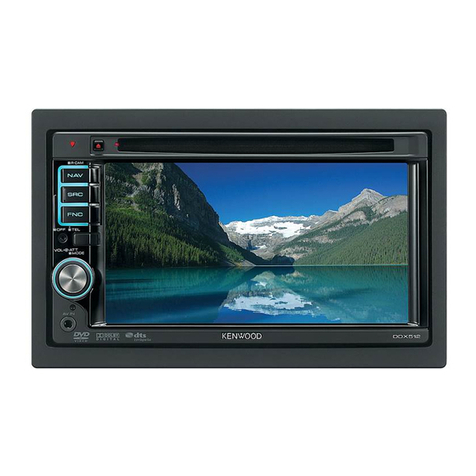
Vibrant Touch Display
• This radio features a responsive
8.8” touch display capable of
stunning HD resolution.
Thousands of Apps:
• From the Google play store you
can download your favorite audio
streaming service, video stream-
ing apps, navigation apps, or
even apps that can diagnose and
monitor your vehicles’systems.
Easy Installation:
• This kit utilizes the stock mount-
ing hardware, making installation
quick and seamless.
Easy Audio Streaming:
• Music can be easily streamed
from your mobile device via blue-
tooth or USB.
• Music can also be listened to via
ash drive, Micro SD, or imported
to the radio’s internal storage.
Enjoy your new Android Radio from Bremmen Parts,
we appreciate your business.
Proper service and repair procedures are vital to the safe, reliable operation of all motor vehicles as well as the personal safety of those performing the
repairs. Standard safety procedures and precautions (including use of safety goggles and proper tools and equipment) should be followed at all times
to eliminate the possibility of personal injury or improper service which could damage the vehicle or compromise its safety.
BMW E6x/E9x Android Touch Screen
Radio Installation Instructions

1000 SEVILLE RD. WADSWORTH, OH 44281 1.800.924.5172 WWW.ECSTUNING.COM PAGE 2 OF 10
BMW E6X/E9X ANDROID RADIO INSTALLATION
© 2018 ECS TUNING
Listed below are the
components which will
need to be removed in
order to install the new
radio:
1. Factory radio screen
2. Dash trim panel
3. Climate control panel
4. Factory Radio
Listed below are the
dierent ports on the
back of the radio and
components we will be
plugging into them:
1. Wiring harness
2. LVDS cable
3. GPS antenna
4. USB port
5. Ground wire
This photo shows what
the radio will look like
once installed. All of
the stock mounting
hardware is reused for
an easy and reversible
installation.
2
1
1
2
3
4
5
4
3

1000 SEVILLE RD. WADSWORTH, OH 44281 1.800.924.5172 WWW.ECSTUNING.COM PAGE 3 OF 10
BMW E6X/E9X ANDROID RADIO INSTALLATION
© 2018 ECS TUNING
Here’s what’s included in the box:
Here’s all the tools required for this install:
1. Phillips Screwdriver
2. T10 Torx
3. Angled Pick
4. Trim Removal Tools
1
1
2
2
3
3
4
4
5
1. Wiring Harness
2. Aux Cord
3. USB Port
4. Component Input Adapter
5. GPS Antenna

1000 SEVILLE RD. WADSWORTH, OH 44281 1.800.924.5172 WWW.ECSTUNING.COM PAGE 4 OF 10
BMW E6X/E9X ANDROID RADIO INSTALLATION
© 2018 ECS TUNING
Section 1: Removing the Stock Radio
Step #1
Step #2
Step #3
Step #4
• Ensure that your battery is disconnected prior to beginning installation.
• Locate and remove the two vertical screws (arrows).
• Rotate the screen down and pull it partially out of the dash.
• Disconnect the two connectors (arrows) from the back of the stock screen.
• Carefully pry the trim panel free from the dash.
1 2
43

1000 SEVILLE RD. WADSWORTH, OH 44281 1.800.924.5172 WWW.ECSTUNING.COM PAGE 5 OF 10
BMW E6X/E9X ANDROID RADIO INSTALLATION
© 2018 ECS TUNING
5 6
87
Step #5
Step #6
Step #7
Step #8
• Disconnect the connector (arrow) from the back side of the vent, then set the entire trim
panel aside.
• Locate the two screws which secure the climate control panel to the vehicle (arrows).
• Carefully pull the climate control panel away from the vehicle.
• Disconnect the three connectors (arrows) from the back of the unit, then set it aside.
Section 1: Removing the Stock Radio

1000 SEVILLE RD. WADSWORTH, OH 44281 1.800.924.5172 WWW.ECSTUNING.COM PAGE 6 OF 10
BMW E6X/E9X ANDROID RADIO INSTALLATION
© 2018 ECS TUNING
9 10
Step #9
Step #10
Step #11
Step #12
• Remove the four screws (arrows) which secure the factory radio into the dash.
• Remove the big block connector (arrow) by releasing the sliding lock and pulling it free
from the back side of the radio.
• Route the wiring harness (highlighted in RED) up around the vent to the screen mounting
location as shown.
• Using a pick, release the fiber optic cable from the stock radio connector and transfer it to
the new radio connector on the wiring harness.
11 12
Section 1: Removing the Stock Radio
To Stock
Harness
To New
Screen
To Back
of Radio

1000 SEVILLE RD. WADSWORTH, OH 44281 1.800.924.5172 WWW.ECSTUNING.COM PAGE 7 OF 10
BMW E6X/E9X ANDROID RADIO INSTALLATION
© 2018 ECS TUNING
Step #1
Step #2
Step #3
Step #4
• Connect the stock connector into the new wiring harness as shown.
• Reinstall the radio connector on the new harness into the back of the radio and close the
sliding lock.
• Install the radio back into the cage and secure it with the four screws (arrows).
• Lift the new android radio screen up into the opening in the dash and connect the connector
on the new wiring harness into the back of the new screen as shown.
21
3 4
Section 2: Installing the new Radio
Stock
Connector
New
Harness

1000 SEVILLE RD. WADSWORTH, OH 44281 1.800.924.5172 WWW.ECSTUNING.COM PAGE 8 OF 10
BMW E6X/E9X ANDROID RADIO INSTALLATION
© 2018 ECS TUNING
Section 2: Installing the New Radio
Step #5
Step #6
Step #7
Step #8
• Plus the LVDS cable into the back of the new screen.
• Install the new GPS antenna by doing the following:
-Find a suitable location to mount the GPS antenna which is clear of obstacles that may
cause signal interference.
-Mount the GPS antenna in the desired location using double-sided tape or the
integrated magnet.
-Route the cable from the mounting location to the back of the new radio, removing
trim panels to tuck and secure the cable as needed.
• Install the GPS cable connector into the back of the new screen as shown.
• Install the USB cable connector into the back of the new screen as shown.
5 6
87

1000 SEVILLE RD. WADSWORTH, OH 44281 1.800.924.5172 WWW.ECSTUNING.COM PAGE 9 OF 10
BMW E6X/E9X ANDROID RADIO INSTALLATION
© 2018 ECS TUNING
Step #9
Step #10
Step #11
Step #12
• Install the USB port by doing the following:
-Find a convenient location to mount the USB port, we found the glove compartment
to work well on this model.
-Route the USB port to the desired mounting location, removing trim panels to tuck
and secure the cable as needed.
• Locate the auxiliary ground wire on the back of the screen.
• Route the ground wire down to a suitable ground source, such as this metal bracket located
behind the gauge cluster.
• Reconnect the connectors and install the climate control panel into the dash with the two
screws (arrows).
Section 2: Installing the New Radio
9
1211
10

1000 SEVILLE RD. WADSWORTH, OH 44281 1.800.924.5172 WWW.ECSTUNING.COM PAGE 10 OF 10
BMW E6X/E9X ANDROID RADIO INSTALLATION
© 2018 ECS TUNING
Step #13 • Turn the radio on and test for functionality (sound, video, steering wheel controls, GPS,
Wifi, etc.) then:
-Reconnect the connector and install the trim panel.
-Slide the new screen into the dash and rotate it up until it sits flush.
-Install the two vertical screws (arrows) to retain the screen in place.
Congratulations, your installation is complete!
13
Section 2: Installing the New Radio
Table of contents
