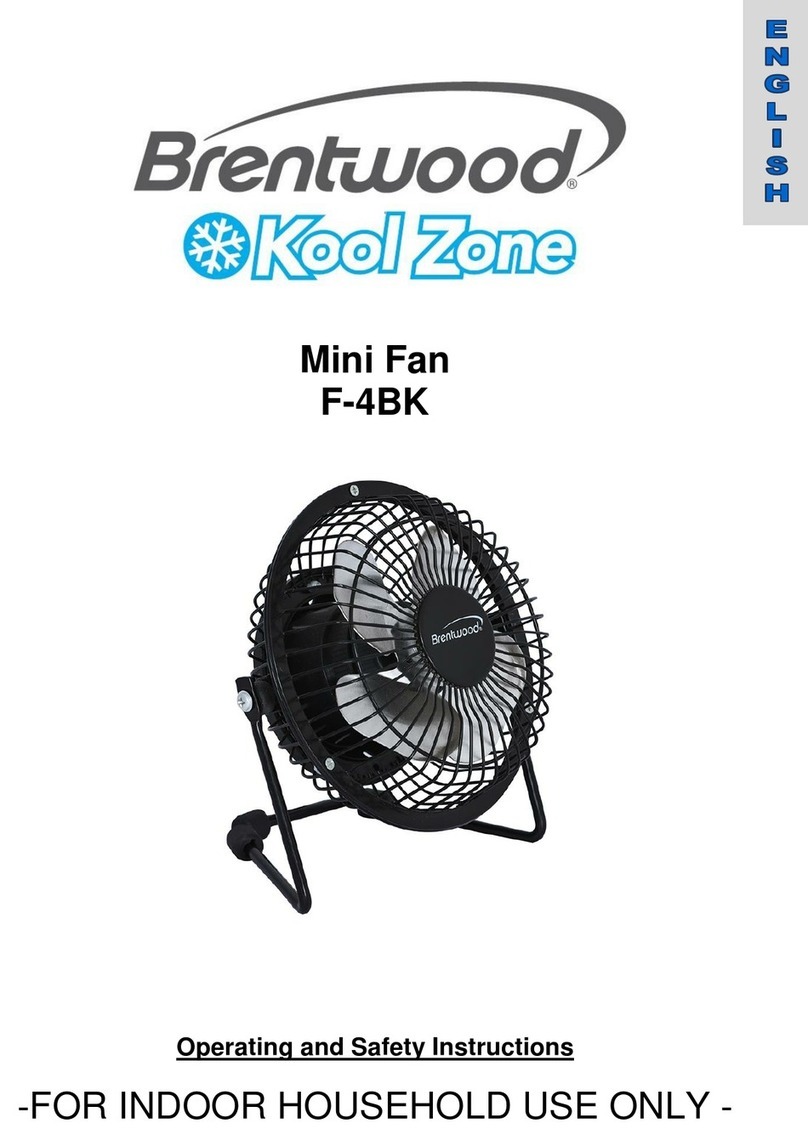
Brentwood Kool Zone F-1831B Quick guide

18” 3-in-1 Industrial Stand Fan
Model No.: F-1831B
Operating and Safety Instructions
-FOR INDOOR HOUSEHOLD USE ONLY -

2
IMPORTANT SAFEGUARDS
When using this or any other electrical appliance, always follow these basic safety
precautions, especially when children are present.
READ ALL INSTRUCTIONS BEFORE USE
WARNING-To reduce the risk of fire, electric shock, serious personal injury and property
damage please note the following:
•Never insert finger or any type of objects in the grill especially while in use.
•Do not use in areas with high levels of humidity such as restrooms.
•Do not install or position this fan in a window.
•Please discard or store all packing materials away from the reach of children.
•Make sure fan is in the OFF position before connecting to power supply.
•This product is not intended for use by children.
•Keep the product out of the reach of children and pets. Extra caution is necessary
when using this appliance near children.
•Always ensure the product is unplugged from the electrical outlet before
assembling, disassembling, relocating, or cleaning it.
•Do not leave the product unattended while it is in use. Always unplug the product
from the electrical outlet when not in use.
•Do not place on or near a hot gas or electric burner, or other heated surfaces.
•Use extreme caution when moving an appliance.
•Use the product in a well-ventilated area. Keep at least 4-6 inches of space on all
sides of the product to allow adequate air circulation.
•Use on a flat surface.
•Keep the product away from curtains, wall coverings, clothing, dishtowels, or
flammable materials.
•Do not plug or unplug the product from the electrical outlet with a wet hand.
•Do not operate the product if it has a damaged or cut Power Cord or plug, if wires
are exposed, if it malfunctions, if it is dropped or damaged, or if the Motor Housing
is dropped in or exposed to water.
•This product has no user-serviceable parts.
•Do not attempt to examine or repair this product yourself. Only qualified service
personnel should perform any servicing; take the product to the appliance repair
shop of your choice for inspection and repair.
•Do not put any stress on the power cord where it connects to the product, as the
power cord could fray and break.
SPECIAL INSTRUCTIONS:
A short power supply cord is provided to reduce the risk of becoming entangled in or
tripping over a longer cord. An extension cord is not recommended for use with this
product, but if one must be used:

3
The marked electrical rating must be at least as great as that of the product;
If the product is of a 3-prong grounding type, the extension cord must be a
grounding-type 3-wire cord.
Arrange the extension cord so that it will not drape over the countertop or
tabletop where it can be tripped over or pulled.
WARNING: This product is equipped with a polarized plug (one blade
is wider than the other blade) to reduce the risk of electrical shock.
This is a safety feature. The plug will fit into a polarized outlet only
one way. If you are unable to insert the plug into the electrical
outlet, try reversing the plug. If the plug still does not fit, contact a qualified
electrician. Never use the plug with an extension cord unless you can fully insert the
plug into the extension cord. Do not alter the plug. Do not attempt to defeat the
safety purpose of the polarized plug.
SAVE THESE INSTRUCTIONS
FOR FUTURE REFERENCE
Assembly Instructions
Do Not plug in before properly assembling Fan.
IMPORTANT: Please check all packaging material carefully before discarding as there
may be accessory parts contained within the packaging material.
Attention: First use may cause a slight odor or small smoking upon heating, it is
normal. This is a result of the heating element chemical reaction. It quickly goes away.
Stand Fan (See Figure 1)
1. Using nut and bottom weight to secure the STAND to the BASE.
2. Assemble FRONT and BACK GRILLS with BLADES and secure with screws to the
MOTOR HEAD.
3. Attached MOTOR HEAD to assembled STAND and tighten screw.
Floor / Table Fan (See Figure 2)
1. Using screws, assemble both BAR pieces together to form the floor stand (Detail
B).
2. Assemble FRONT and BACK GRILLS with BLADES and secure with screws to the
MOTOR HEAD.
3. Attached MOTOR HEAD to assembled STAND (Detail A).
Wall Fan (See Figure 3)
1. Assemble GRILLS with BLADES and MOTOR HEAD same as above.
2. Attach to floor stand same as above.
3. Secure HOOKS into wall with screws and nuts. Hang fan on HOOK

4
Parts and Assembly for Fans:
1
Front Grill
2
Blade
3
Rear Grill
4
Motor
5
Switch
6
Stand(2 pieces-
one inside the
other)
7
Base Cover
8
Base
9
Weight
1
Front Grill
2
Blade
3
Rear Grill
4
Motor
5
Switch
6
Bar
7
Front Bar

5
Cleaning Your Fan:
WARNING: Make sure the blades have come to a complete stop before proceeding
with cleaning.
NOTICE: Always unplug the product before cleaning or storing it.
1. Turn the dial to “Off” and disconnect the power cord from the electrical outlet.
2. Allow the blades to come to a complete stop and remove the grill plate.
3. With a soft damp cloth carefully wipe the blades. Making sure water does not drip
into the fan motor housing.
NOTE: Do not use thinners, benzene or any other type of abrasive materials to clean
the fan. For stubborn spots use a small amount of mild soap to scrub the area. Wipe
clean.
4. Carefully wipe clean and replace the grill plate securing it in place.
FAN STORAGE:
Your fan can be stored partially disassembled or assembled. Make sure to store it in a
safe and dry location away from the reach of children.
For disassembled storage we recommend using keeping the original box as it is
appropriately sized.
For assembled storage we recommend using a dust cover to protect the fan from
dust, place it away from where parts can be damaged.

6
ONE-YEAR LIMITED WARRANTY
FOR ONE YEAR FROM THE DATE OF PURCHASE, WHEN THIS APPLIANCE IS OPERATED AND
MAINTAINED ACCORDING TO INSTRUCTIONS FURNISHED WITH THE PRODUCT, BRENTWOOD
APPLIANCES, INC. WILL REPLACE THE PRODUCT WITH AN EQUIVALENT UNIT OR A NEW UNIT, SOLEY
AT OUR OPTION.
TO OBTAIN WARRANTY SERVICE AND TROUBLESHOOTING INFORMATION:
Call Customer Service at 1-888-903-0060 in the U.S.
BRENTWOOD will not pay for:
1. Service calls to correct the installation of your appliance, to instruct you how to use your
appliance, to replace house fuses or correct house wiring, or to replace light bulbs.
2. Repairs when your appliance is used in other than normal, single-family household use.
3. Pickup and delivery
4. Damage resulting from accident, alteration, misuse, abuse, fire, flood, improper installation,
acts of God, or use of products not approved by Brentwood Appliances.
5. Repairs to parts or systems resulting from unauthorized modifications made to the
appliance.
6. Service or warranty support for units located and/or operated outside the United States.
NO WARRANTIES, WHETHER EXPRESS OR IMPLIED, INCLUDING BUT NOT LIMITED TO, ANY
IMPLIED WARRANTIES OF MERCHANTABILITY FOR A PARTICULAR PURPOSE, OTHER THAN THOSE
EXPRESSLY DESCRIBED ABOVE SHALL APPLY. MANUFACTURER FURTHER DISCLAIMS ALL
WARRANTIES AFTER THE EXPRESS WARRANTY PERIOD STATED ABOVE. NO OTHER EXPRESS
PRODUCTS SHALL BE BINDING ON BRENTWOOD APPLIANCES, INC. REPAIR OR REPLACMENT IS
THE EXCLUSIVE REMEDY OF THE CONSUMER. BRENTWOOD APPLIANCES, INC. SHALL NOT BE
LIABLE FOR ANY INCIDENTAL OR CONSEQUENTIAL DAMAGES CAUSED BY THE USE, MISUSE OR
INABILITY TO USE THE PRODUCT. NOT WITHSTANDING THE FOREGOING CONSUMERS RECOVERY
AGAINST BRENTWOOD SHALL NOT EXCEED THE PURCHASE PRICE OF THE PRODUCT SOLD BY
BRENTWOOD. THIS WARRANTY SHALL NOT EXTEND TO ANYONE OTHER THAN THE ORIGINAL
CONSUMER WHO PURCHASED THE PRODUCT AND IS NOT TRANSFERABLE.
Some states or provinces do not allow the exclusion or limitation of incidental or consequential
damage or allow limitations on warranties, so limitation or exclusions may not apply to you. This
warranty gives you specific legal rights, and you may have other rights that vary from state to
province. Outside the 50 United States, this warranty does not apply. Contact you authorized
Brentwood Dealer to determine if another warranty applies.
Keep this Warranty and your sales slip together for future references. You must provide proof of
purchase for in-warranty service.
Write down the following information about your appliance to better help you obtain assistance
or service if you ever need it. You will need to know your complete model number and serial
number. You can find this information on the model and number label / plate.
CUSTOMER RECORD
Date of Purchase _ Store/Dealer
Model No: Serial No.:

7
18” 3-en-1 Ventilador Industrial
Modelo No.: F-1831B
Instrucciones de Operación y Seguridad
-SOLO PARA USO DOMESTICO -

8
MEDIDAS DE SEGURIDAD IMPORTANTES
Al usar este o cualquier otro electrodoméstico, siga las precauciones básicas de
seguridad, especialmente cuando niños están presentes.
LEA TODAS LAS INSTRUCTIONES ANTES DE USAR
ADVERTENCIA-- Para reducir el riesgo de incendio, choque eléctrico, lesiones
personales graves y daños a la propiedad, por favor tenga en cuenta lo siguiente:
•Nunca meta los dedos o ningún otro tipo de objeto a el ventilador, especialmente durante
uso.
•No use en áreas con altos niveles de humedad como baños.
•No instale o coloque este ventilador en una ventana.
•Por favor deseche o almacenar todos los materiales de empaque lejos de niños.
•Este producto no está destinado para su uso por los niños. Mantenga el producto fuera del
alcance de los niños y las mascotas. Precaución adicional es necesario cuando se utiliza
este aparato cerca de niños
•Asegúrese siempre de que el producto está desenchufado de la toma de corriente antes
de montar, desmontar, trasladar o limpiar.
•No deje el producto desatendido mientras está en uso. Siempre desenchufe el producto
de la toma de corriente cuando no esté en uso.
•No coloque electrodoméstico sobre o cerca de una hornilla de gas o eléctrica, en un horno
caliente, u otras superficies calientes.
•Tenga mucho cuidado cuando mueva el ventilador.
•Utilice el producto en un área bien ventilada. Mantenga por lo menos 4-6 pulgadas de
espacio en todos los lados del producto para permitir la circulación de aire adecuada.
•Use sobre una superficie plana.
•Mantenga el producto lejos de cortinas, revestimientos de paredes, ropa, paños de cocina,
u otros materiales inflamables.
•No enchufe ni desenchufe el producto de la toma de corriente con las manos mojadas.
•No utilice el producto si tiene un cable de alimentación dañado o cortado o el enchufe, si
los cables están expuestos, en caso de mal funcionamiento, si se ha caído o dañado, o si la
armadura del motor se ha caído o este expuestos al agua .
•Este producto no tiene piezas que el usuario pueda reparar.
•No trate de examinar o reparar este producto usted mismo. Sólo el personal de servicio
cualificado realice reparaciones, lleve el producto a la tienda de reparación de
electrodomésticos de su elección para su inspección y reparación.
•No ponga presión sobre el cable de alimentación que se conecta al producto, ya que el
cable de alimentación podría desgaste y se rompa.
INSTRUCCIONES ESPECIALES:
Un cable de suministro eléctrico corto para reducir el riesgo de enredarse o tropezarse con
un cable más largo. Un cable de extensión no se recomienda para su uso con este producto,
pero si se debe utilizar:

9
El voltaje eléctrico debe ser al menos tan grande como la del producto
Si el producto es de un tipo de conexión a tierra de 3 patas , el cable de extensión debe
ser un cable de toma de tierra de 3 hilos
Organice el cable de extensión de manera que no cuelgue del mostrador o de la mesa
donde alguien se pueda tropezar con él ni tirar.
ADVERTENCIA: Este producto está equipado con un enchufe polarizado (una
pata es más ancha que la otra) para reducir el riesgo de descarga eléctrica.
Esta es una característica de seguridad . El enchufe encajará en un
tomacorriente polarizado de una sola manera. Si no puede insertar el
enchufe en la toma de corriente , intente invertir el enchufe. Si aún así no encaja,
comuníquese con un electricista calificado. No utilice nunca el enchufe con un cable de
extensión a menos que pueda insertar completamente el enchufe en el cable de extensión.
No altere el enchufe. No intente anular la característica de seguridad del enchufe
polarizado.
GUARDE ESTAS INSTRUCCIONES
COMO REFERENCIA
Instrucciones de montaje:
No enchufe antes de ensamblar correctamente el ventilador.
IMPORTANTE: Por favor, revise todo el material de empaque con cuidado antes de tirar ya
que puede haber partes accesorias contenidas en el material de empaque.
Atención: El primer uso puede causar un ligero olor o pequeño humo ya que el aparato se
calienta. Esto es normal y es resultado de la reacción química de calentamiento. Rápidamente
se va.
Ventilador de soporte (consulte la Figura 1)
1. Con la tuerca y el peso inferior, asegure el SOPORTE a la BASE.
2. Ensamble las PARRILLAS DELANTERAS y POSTERIORES con las CUCHILLAS y asegúrelas con los
tornillos a la CABEZA DEL MOTOR.
3. Conecte la CABEZA DEL MOTOR al soporte ensamblado y apriete el tornillo.
Ventilador de suelo / mesa (consulte la Figura 2)
1. Usando los tornillos, ensamble los dos pedazos de BAR juntos para formar el soporte del piso
(detalle B).
2. Ensamble las PARRILLAS DELANTERAS y POSTERIORES con las CUCHILLAS y asegúrelas con los
tornillos a la CABEZA DEL MOTOR.
3. Conecte la CABEZA DEL MOTOR al SUJETADOR montado (Detalle A).
Ventilador de pared (vea la figura 3)
1. Ensamble las PARRILLAS con las CUCHILLAS y la CABEZA del MOTOR igual que arriba.
2. Fijar al soporte del piso igual que arriba.
3. Asegure los HOOKS en la pared con tornillos y tuercas. Colgar el ventilador en HOOK

10
Piezas y ensamblaje para ventiladores:
1
Parilla Delantera
2
Cuchilla
3
Parilla Trasera
4
Motor
5
Interruptor
6
Barra
7
Barra delantera
1
Parilla Delantera
2
Cuchilla Parilla
3
Parilla Trasera
4
Motor
5
Interruptor
6
Soporte
7
Cubierta de la Base
8
Base
9
Peso

11
Como Limpiar su Ventilador:
ADVERTENCIA: Asegúrese de que las cuchillas se hayan detenido por completo antes
de proceder con limpieza.
NOTA: Siempre desconecte de la toma de corriente antes de limpiar o guardar.
1. Gire el dial de control a “O” (apagado) y desconecte el cable de la toma de
corriente.
2. Permite que las cuchillas se detengan por completo y retire la parrilla de enfrente.
3. Con un paño suave y húmedo limpie con cuidado las cuchillas. Asegúrese que agua
no entre al motor de ventilador.
NOTA: No utilice diluyentes, benceno o cualquier otro tipo de material abrasivo para
limpiar el ventilador. Para manchas rebeldes utilice un poco de jabón suave para
lavar el área y seque bien.
4. Cuidadosamente limpie y remplace la placa de parrilla en su lugar.
ALMACENAMIENTO:
Su ventilador puede almacenarse parcialmente desarmado o armado. Asegúrese de
guardarlo en un lugar seguro y seco, lejos del alcance de los niños.
Para el almacenamiento desmontado recomendamos utilizar la caja original, ya que
está dimensionado adecuadamente.

12
Table of contents
Languages:
Other Brentwood Fan manuals