Dapper Lighting V1 User manual

V1 & V2 PROJECTOR
Installation Guide
Halogen Kits
HID Kits

Table of Contents
Halogen Kit Install Guide............................................................................................ Page 4
Halogen Kit Install Guide:
What You’ll Need........................................................................................................ Page 5
Testing Your Headlights…........................................................................................ Page 12
HID Kit Install Guide….................................................................................................... Page 14
HID Kit Install Guide:
What You’ll Need…..................................................................................................... Page 15
Testing Your Headlights…........................................................................................ Page 27
Headlight Aiming Instructions…............................................................................... Page 30
Troubleshooting & FAQs… ......................................................................................... Page 33
2

WARNING
IMPORTANT:
READ THESE INSTRUCTIONS BEFORE OPERATING. BEFORE USING THESE HEADLIGHTS,
READ THIS MANUAL COMPLETELY AND THOROUGHLY, UNDERSTAND ITS OPERATING
PROCEDURES, SAFETY WARNINGS, AND MAINTENANCE REQUIREMENTS.
LIMITED WARRANTY
DAPPER LLC WARRANTS TO ITS CUSTOMERS THAT THE COMPANY'S DAPPER LIGHTING
BRANDED PRODUCTS ARE FREE FROM DEFECTS IN WORKMANSHIP AND MATERIALS.
Dapper LLC will repair or replace its Dapper Lighting branded products which fail to give
satisfactory performance due to defective workmanship or materials, based upon the terms and
conditions of the following described warranty plans attributed to that specific product.
Most products carry a FIVE-YEAR warranty. During this warranty period, Dapper LLC will repair or
replace at our option any part or unit which proves to be defective in material or workmanship.
This warranty does NOT cover damage to equipment arising from alteration, abuse, misuse,
damage, installation error, and does not cover any repairs or replacement made by anyone other
than Dapper LLC.
The foregoing obligation is Dapper LLCs' sole liability under this or any implied warranty and
under no circumstances shall we be liable for any incidental or consequential damages.
Some states do not allow the exclusion or limitation of incidental or consequential damages, so
the above limitation or exclusion may not apply to you. If you have any questions regarding
warranty service, please contact Dapper LLC.
3

Universal Projector
Halogen Kit Install Guide
Thank you for choosing Dapper Lighting for your projector headlight upgrade!
The following is an install guide for our universal projector headlight systems, both 7" round and 7x6" square.
If you have any suggestions on how to improve the simplicity of our guide, or if you need more technical assistance,
This guide is for the Dapper Lighting HALOGEN kit install only. If you
purchased a Dapper Lighting Projector kit WITH an HID kit, please see
our HID kit install guide on page 14.
Warning:
STOP!
4
Let’s get started.
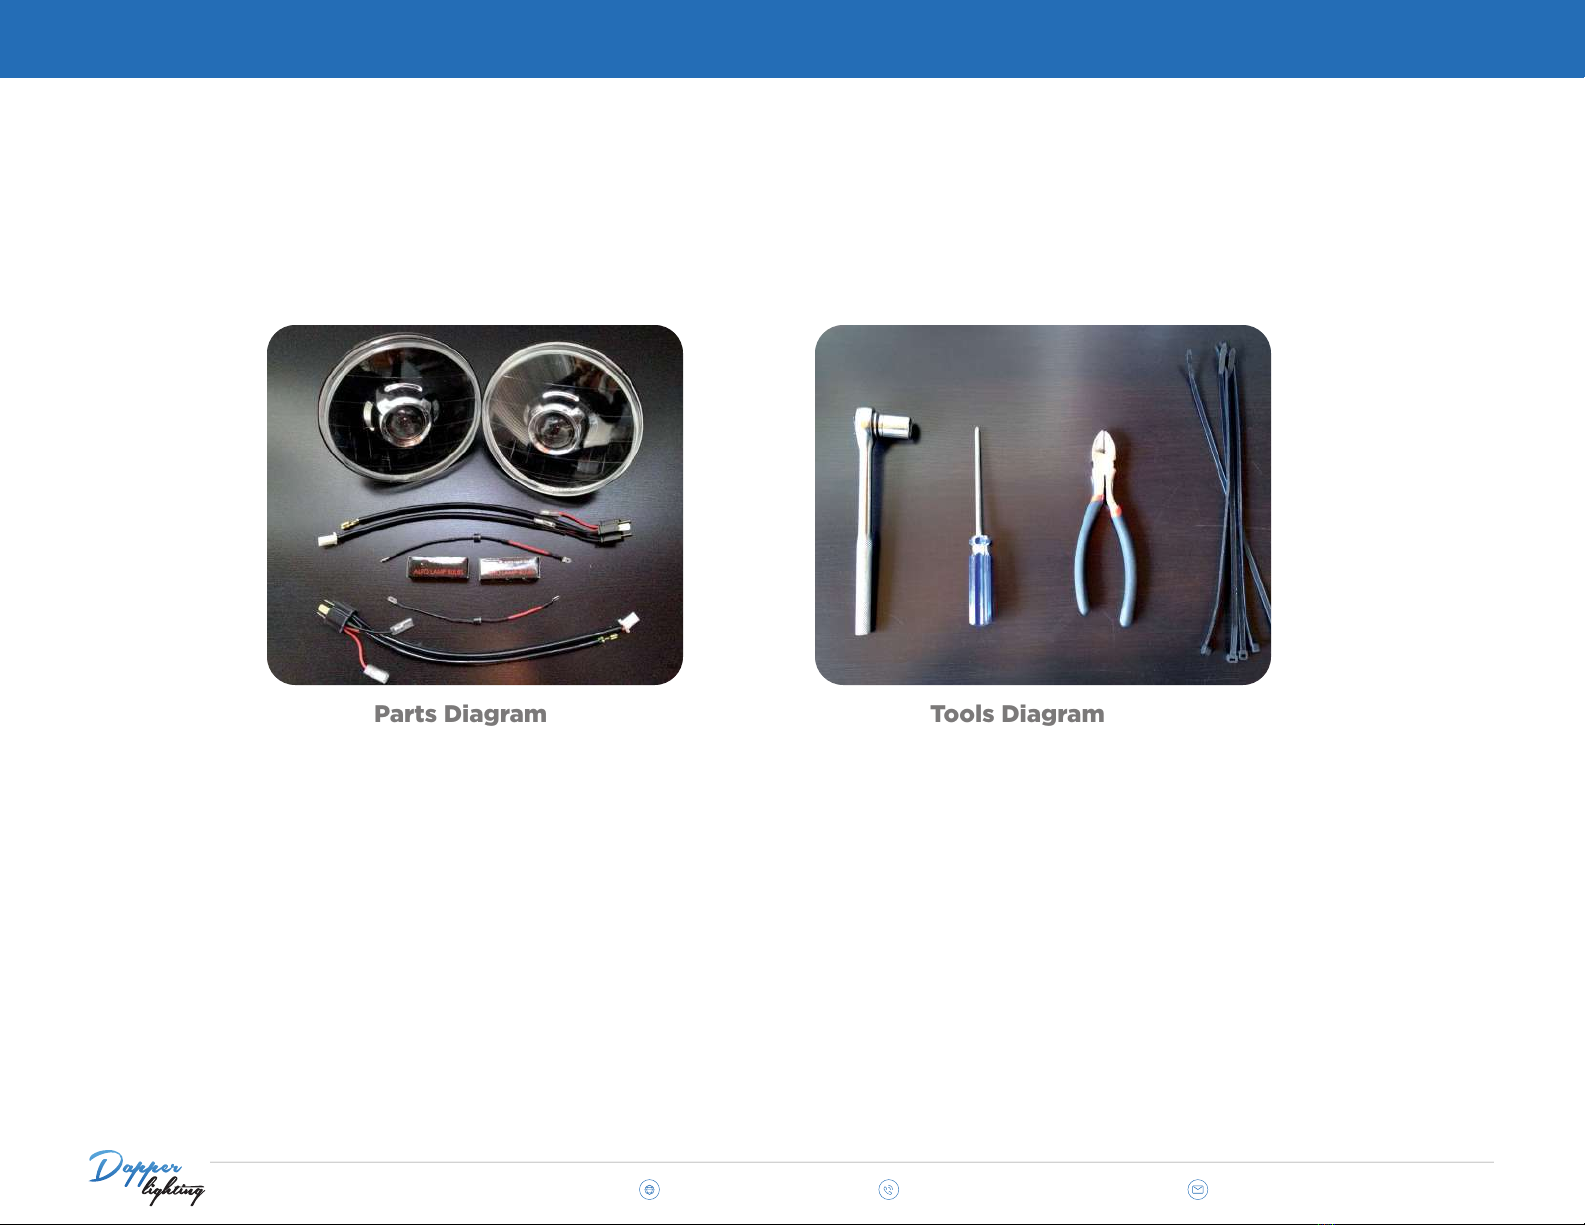
To begin, make sure you have all necessary Dapper Lighting components as well as a few
common tools. Below is a list of what is required:
For your safety, please disconnect your battery and prepare to remove your stock headlamps.
1. Dapper Lighting Projector Headlight x2
2. H4-H1 Adapter x2
3. 6A Diode x2
4. Halogen Bulb x2
(Not needed if using HID Kit)
5. City/Running Light (Mounted Below
Projector - Not seen in photo)
1. Socket Wrench
2. Phillips Screwdriver
3. Wire Cutters
4. Zip Ties
Parts Diagram
Tools Diagram
2
3
4 4
3
2
1
1
1234
Halogen Kit Install Guide
5

Halogen Kit Install Guide
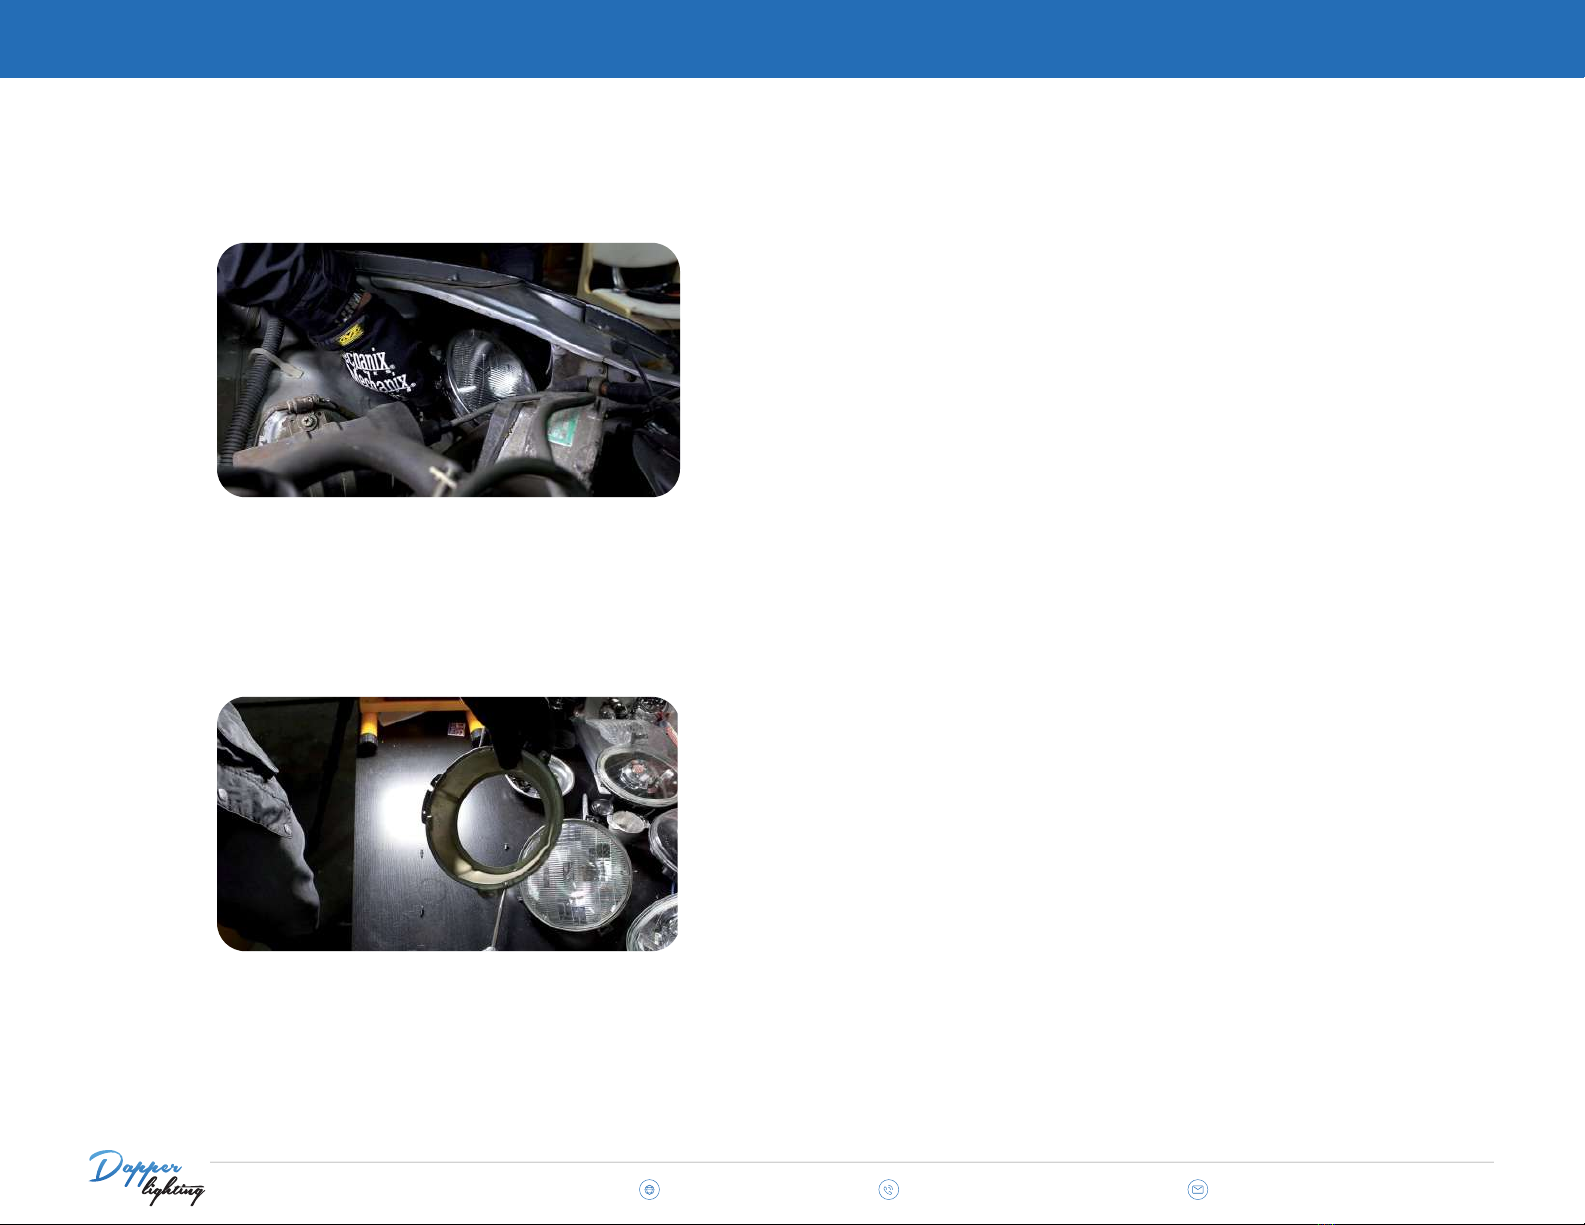
Locate mounting screws and/or bracket on your
currently installed headlights.
Dismount your headlight by loosening the screws.
Dismounting Headlights
Currently Installed Headlight
6
Halogen Kit Install Guide
You will most likely be reusing the stock headlight
mounting brackets, so be careful when removing
them. After removing them from the original
headlights, reinstall them on your new Dapper
Headlights.
Carefully pull your headlight from its fixed
position. Try not to lose any loosened screws!
Removing Headlight
Removing Mounting Brackets
7
Halogen Kit Install Guide
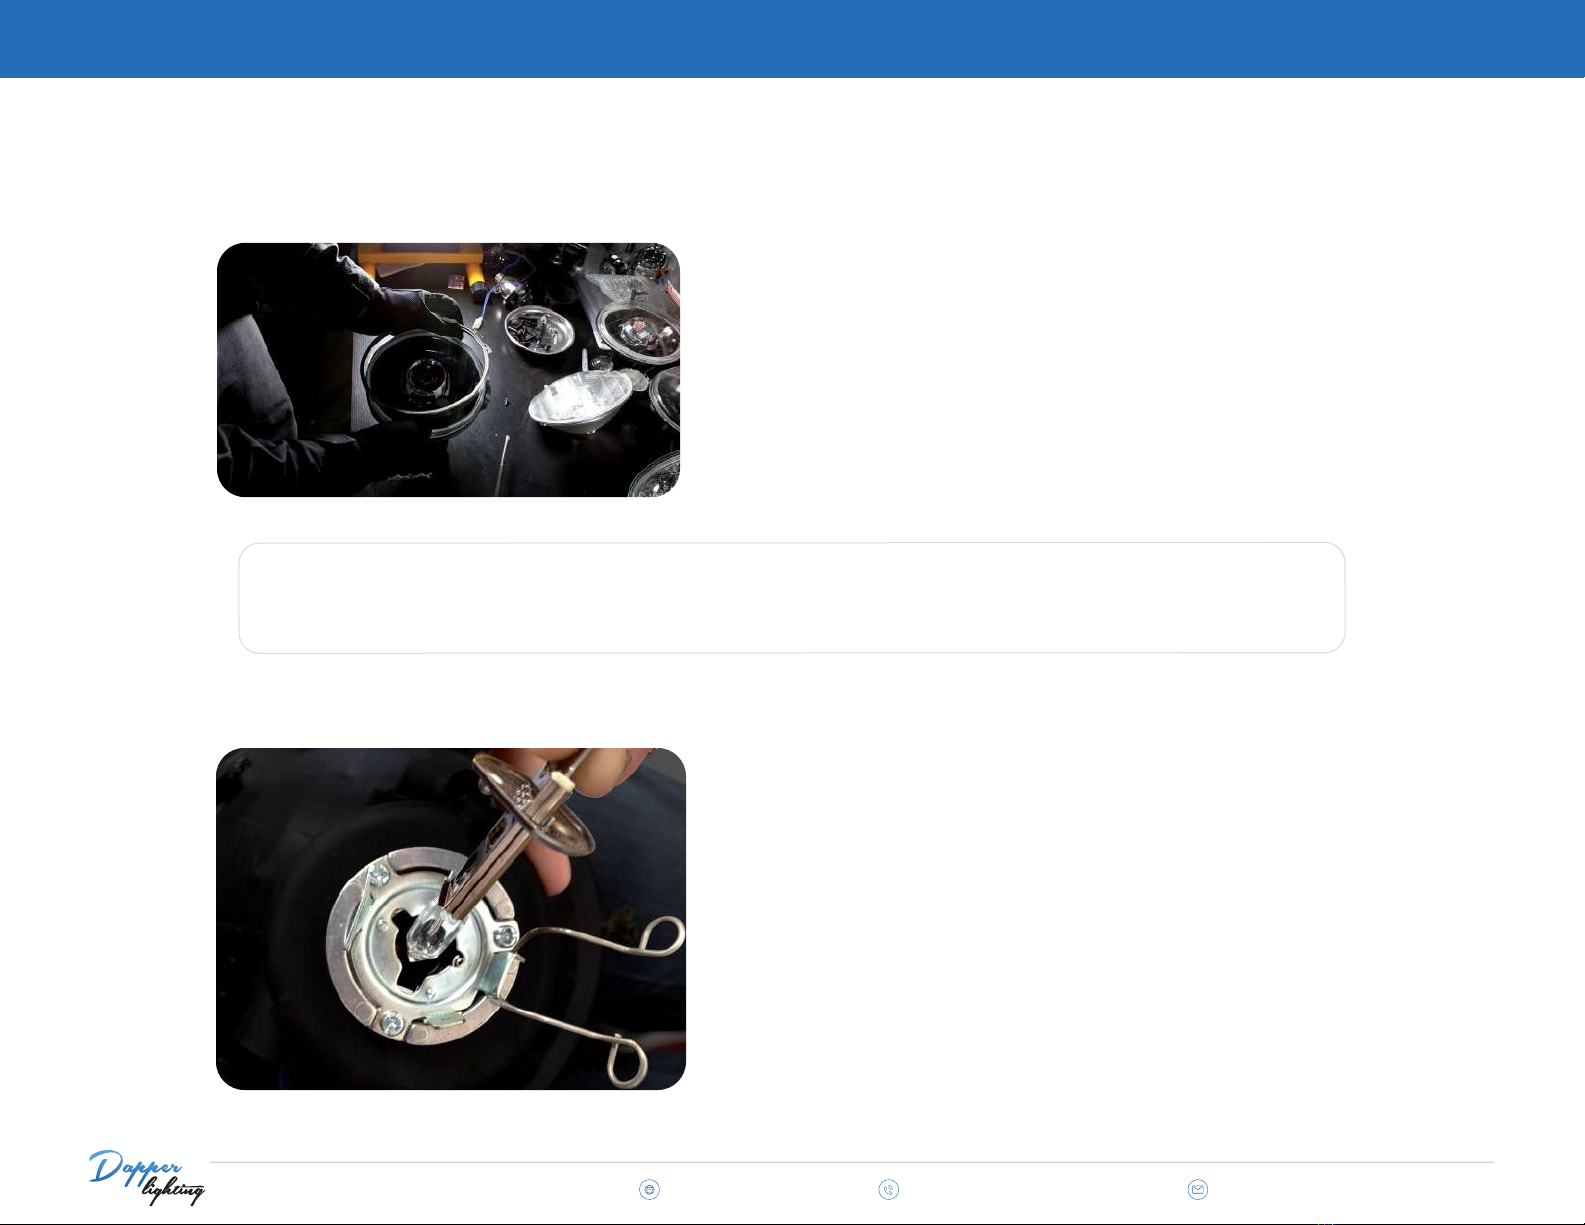
Installing Halogen Bulbs
You may need to shape or shave the tabs with a file if they do not sit completely flush.
Warning:
Reinstalling Mounting
Brackets
Once your old headlights are out of your
mounting brackets, secure your Dapper
Headlights by lining up the three tabs with the
TOP side of the housing on top.
Take your Dapper Lighting halogen bulbs
(Part #4) and clip them into your Dapper
Lighting projector housing securely.
Figure 7
8

Halogen Kit Install Guide
Test fit Dapper Headlights
Once your HID bulbs are secured inside your
Dapper Lighting projector and your extra spade
adapters are removed, TEST FIT your headlights
to make sure they fit snug just like your OEM
headlights.
There should be no excessive play or protrusion.
Wiring Your Headlights
Locate the two prong white connector on the
headlight and plug it into the matching
connector on the harness.
9

Halogen Kit Install Guide
Securing Dapper Headlights
Now that the Dapper Lighting headlights fit
correctly, you will need to refasten them.
Using the same mounting hardware associated
with your OEM headlights, tighten your headlights
into place and prepare to start the wiring.
Wiring Bulbs
Next take the spade connector (green wire)
coming from the Dapper Lighting H4-H1 Adapter
(Part #2), and plug it into the back of your
halogen bulb.
Now take the spade connector (black wire)
coming from your Dapper Lighting H4-H1 Adapter
(Part #2) and plug it into the small metal
GROUND tab located near your halogen bulb.
Repeat with other headlight.
10
This manual suits for next models
1
Table of contents


