Diamond Digital DV42P2 User manual

ENGLISH
High Definition 42" Plasma Display
USER'S MANUAL
Thank you for purchasing the High Definition Plasma Screen.Before using your
DV42P2, please read the "SAFETY PRECAUTIONS" section of this manual
carefully to learn how to operate the box properly.
Keep this manual in a safe place.
Notes on lnstallation
This product is marketed with the assumption that it is to be
installed by qualified personnel with relevant skills and
competence. It is recommended to consult with an installation
specialist or your dealer install and set up the product. We cannot
assume liabilities for damages caused by improper installation or
mounting, misuse, modifications or natural disasters.
D V 4 2 P 2
to

Colour Plasma Display Panel
User’s Manual
Content
Safety Precautions...............................................1
Features and Functions.......................................... 2
Preparation
Preparation ................................................... 3
Setup and Turn on Power ...................................... 4
Turn on the Plasma Display ..................................... 5
Remote Control Setup.......................................... 5
Front Panel Controls .......................................... 6
Connection to other equipment
Input Connection of Video Signal (DVD/VCD/VCR) .............. 7
Input Connection of PC Signal (PC/DVI-D) ..................... 8
Output Connection of Video Signal ............................... 9
Operation
Operation of Remote Control .................................... 10
Menu Function ................................................ 11
Main Menu.................................................... 11
Picture Menu.................................................. 12
Sound Menu .................................................. 13
.................................................
14
....................................
15
Setup Menu...................................................
16
Timer Menu ................................................... 17
Safety Notice ................................................... 18
Specifications................................................... 20
Troubleshooting ................................................ 21
Service Contacts ................................................ 22
To obtain maximum benefit from your set, please read these Instructions
before making any adjustments, and retain them for future reference.
Display Menu
Layout Menu (MultiWindows)

Safety Precautions
WARNING
1) To prevent damage which may result in fire or shock hazard, do not
expose this appliance to rain or moisture.
Do not place containers with water (flower vase, cups, cosmetics, etc.)
above the set. ( including on shelves above, etc.)
2) To prevent electric shock, do not remove cover. No user serviceable parts
inside. Refer servicing to qualified service personnel.
3) Do not remove the earthing pin on the power plug. This apparatus is
equipped with a three pin earthing-type power plug. This plug will only fit an
earthing-type power outlet. This is a safety feature. If you are unable to
insert the plug into the outlet, contact an electrician.
Do not defeat the purpose of the earthing plug.
CAUTION
This appliance is intended for use in environments which are relatively free
of electromagnetic fields.
Using this appliance near sources of strong electromagnetic fields or where
electrical noise may overlap with the input signals could cause the picture
and sound to wobble or cause interference such as noise to appear.
To avoid the possibility of harm to this appliance, keep it away from sources
of strong electromagnetic fields.
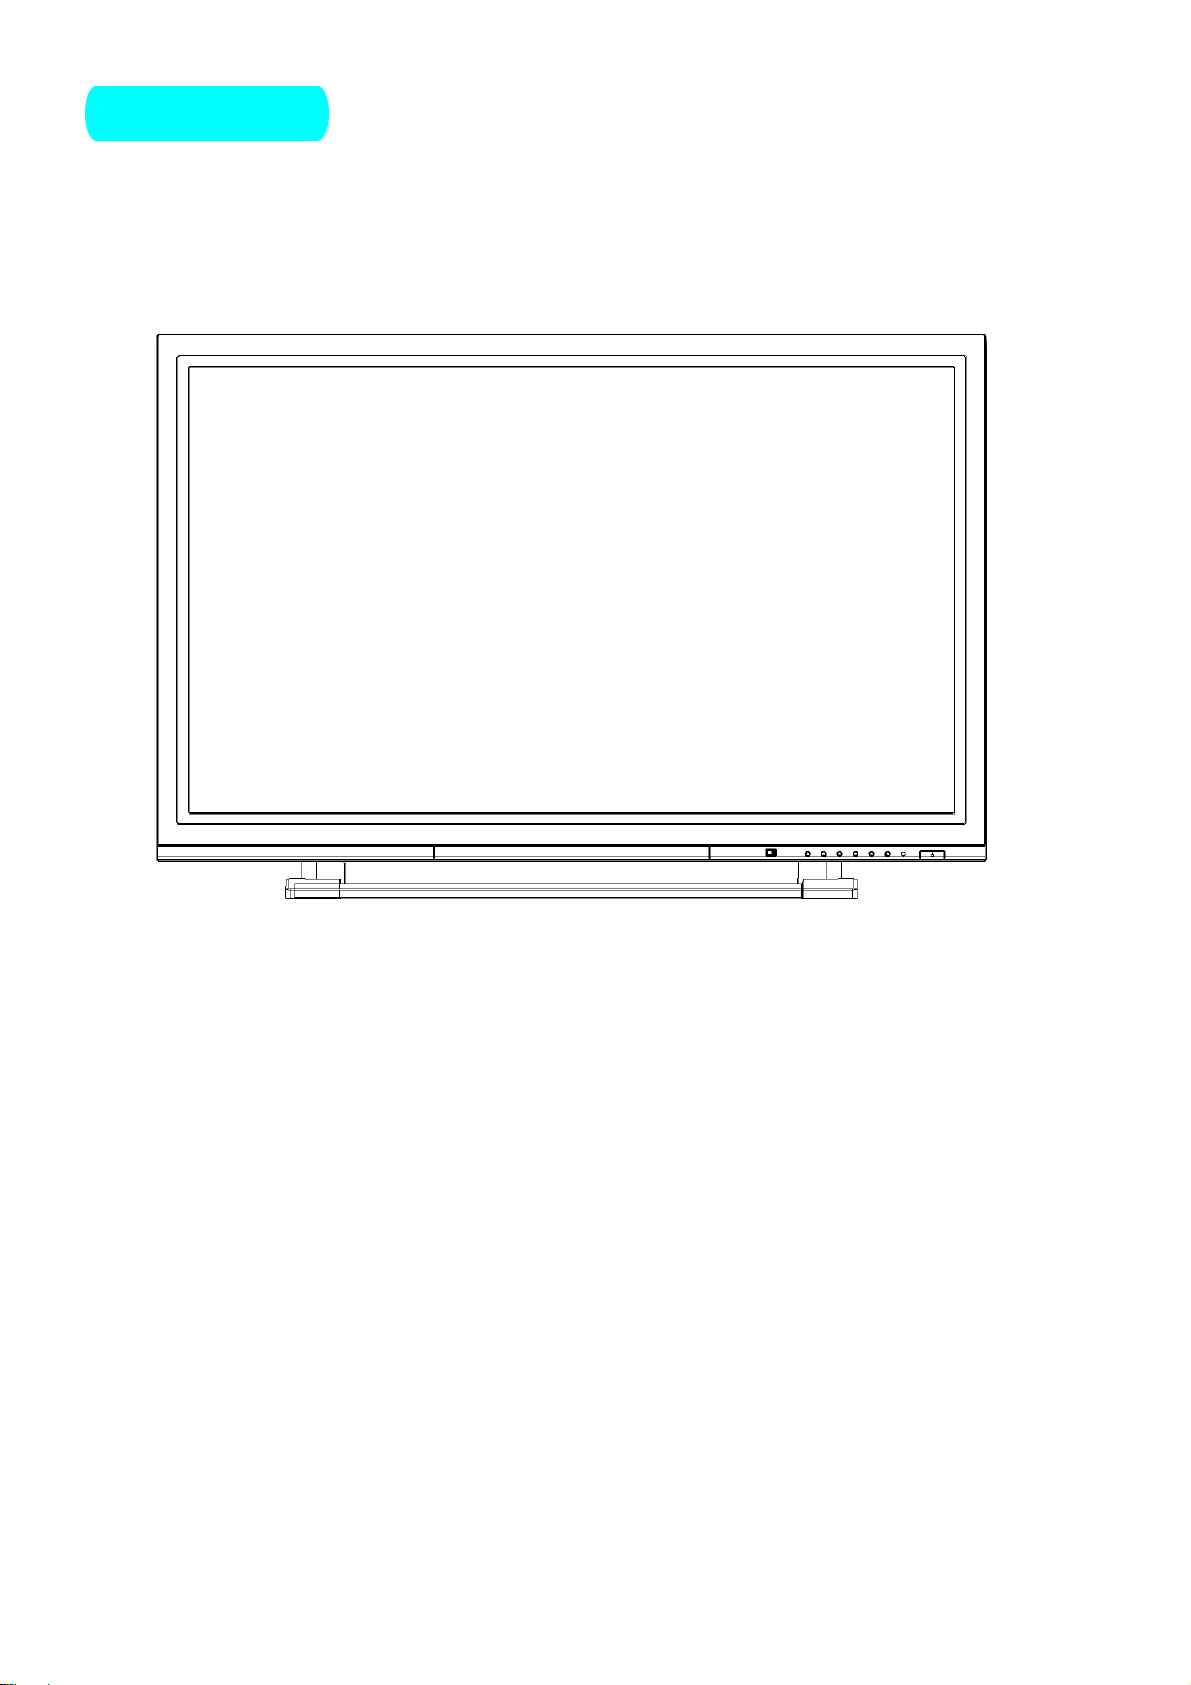
Symptoms
After-images appear
Check
Do not allow a still picture to be displayed for
an extended period, as this can cause a
permanent after-image to remain on the
Plasma Display.
Examples of still pictures include logos, video
games, computer images, Teletext and images
displayed in 4:3 mode.
Note: Permanent after-image on the Plasma
Display resulting from fixed image use is not an
operating defect and as such is not covered by
the Warranty.
This product is not designed to display fixed
images for extended periods of time.
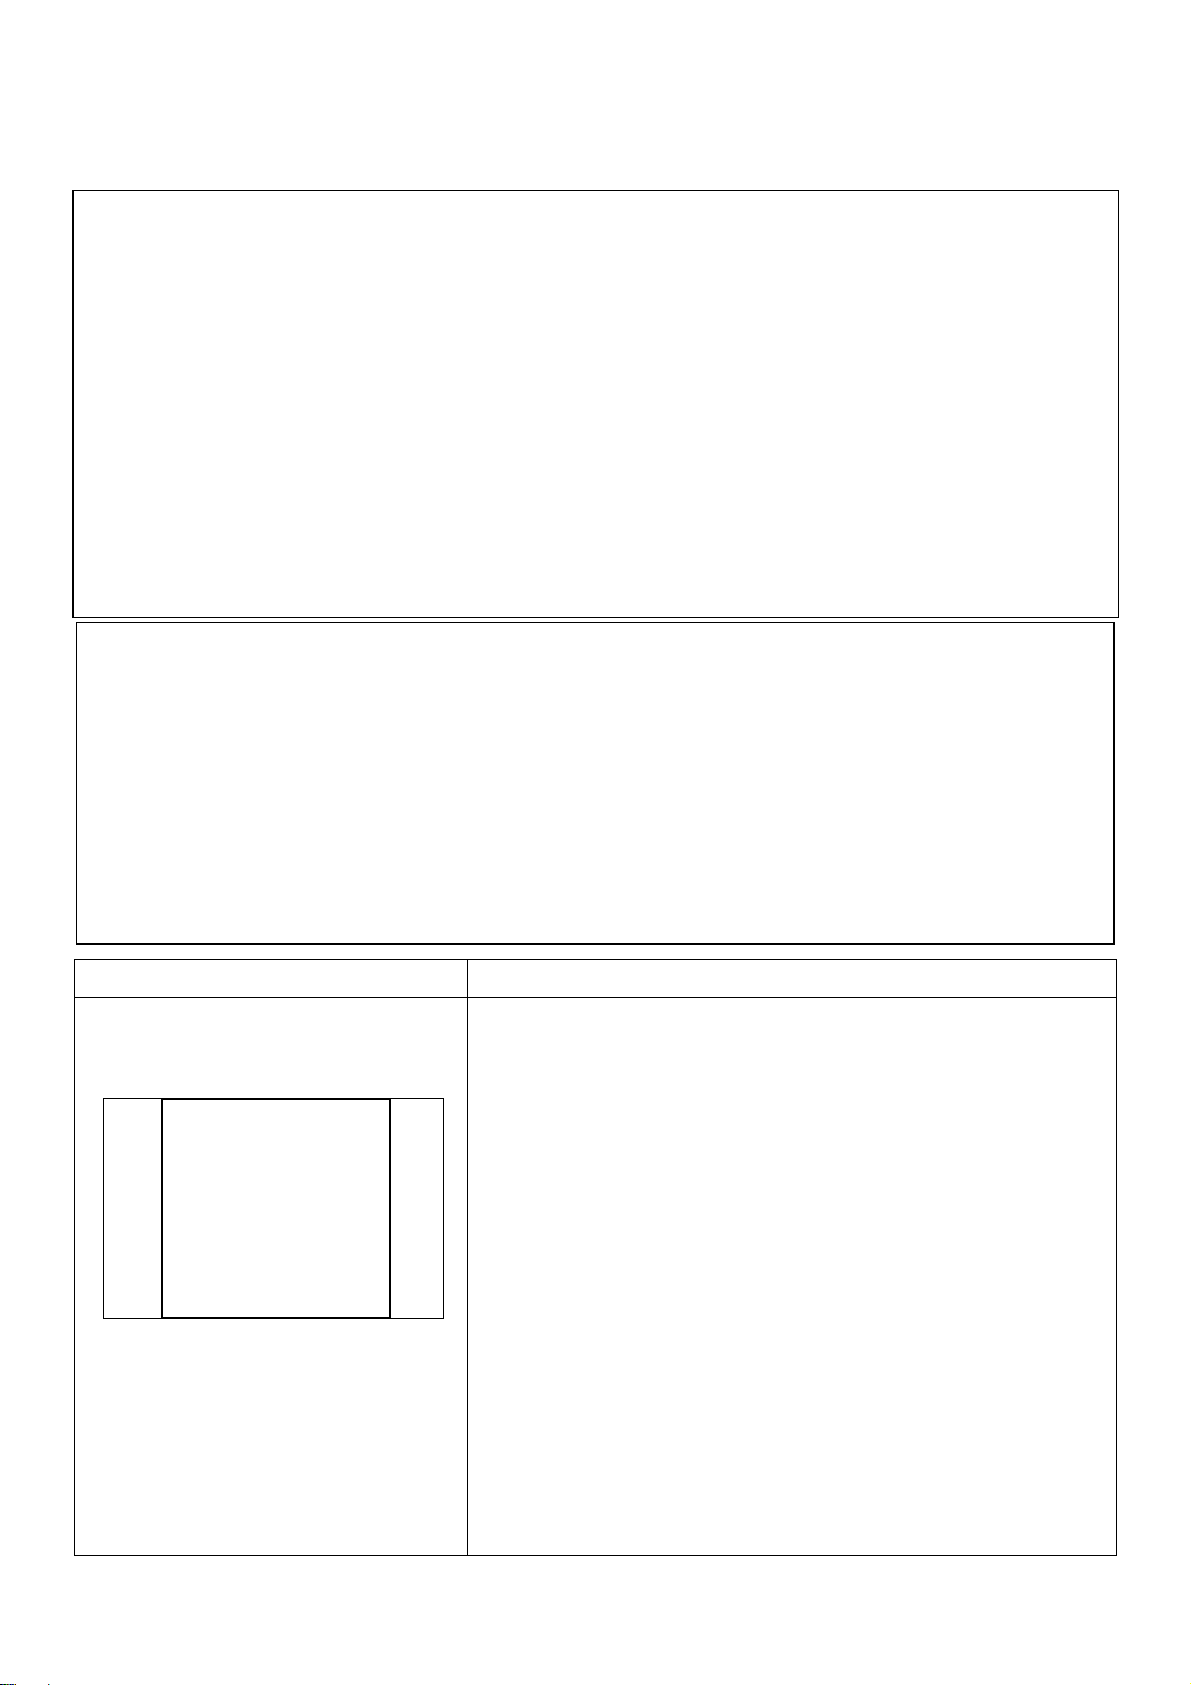
Welcome
1

Features and Functions
42 inch(107cm)Large Screen Flat Panel Plasma Display
Panel Resolution: XGA(1024 x 768 Pixels)
MAX Brightness of Panel: 1000 cd/m2
MAX Contrast Ratio of Panel: 3000:1
View Angle: Greater than 160°H&V
Dual Video, Dual S-Video, Single Y/Cb/Cr(480i, 576i)
Single Y Pb Pr (480P, 576P, 720P, 1080i, 1080P)HDTV Ready
Single Video, Audio(L/R)Output
PC D-SUB 15Pin Signal Receiver
DVI-D Signal(TMDS)Receiver, Support HDTV, SDTV
External 10W×2 Speaker
Intelligent Volume Control Function
PIP(Picture in Picture)
POP(Picture Out Picture, Split Plane)
High Effective 8 bits Digital Video Decoder
Digital 4H Comb Filter
3:2, 2:2 Pull Down
DLTI / DCTI Digital Brightness/ Chroma Adjust
Digital I / P Processor, Progressive Display
HDSPT(High Definition Scalar Processor Technology)
Timer to Turn ON / OFF TV Set
MTS, Stereo, Mono Sound, Surround Function
2

Preparation
1. Preparation
This picture is for reference only .
● Do not place the Plasma Display on sloped or unstable surfaces.
● Do not place any objects on top of the Plasma Display.
● This Plasma Display radiates infrared rays, therefore it may affect other infrared
communication equipment.
● Install your infrared sensor in a place away from direct or reflected light from your
Plasma Display.
● This Plasma Display is designed for use in standard atmosphere conditions under 2000m.
● Avoid installing this product near electronic equipment that is sensitive to
electromagnetic waves.
3

2. Setup and Turn on Power
This picture is for reference only.
Connect the AC cord plug to the Plasma Display Panel:
Connect the AC power cord plug to the ”AC IN” jack, Connect the other side
plug to the Wall Outlet. Press the Power switch“○”on the Plasma Display to turn
the set on.
View from back of the Panel
4

3. Turn on the Plasma Display Panel
When the Display is on, the Power Indicator LED will be lit as follows:
Power Indicator Green: Turned On
Power Indicator Red: Stand by
If the Power Indicator is red, press the “ ” key on the Front panel controls or the
“POWER” key on the Remote Control, to turn on the unit.
4. Remote Control Setup
① Slide off the battery cover
② Insert batteries
Note correct polarity (+and -).
③ Replace the cover
5. Front panel controls
• Make sure that the batteries are fitted the
correct way round.
• Do not mix different battery types or use
rechargeable batteries.
5

5. Front Panel Controls
①
IR: Remote Control Receiver
②
: Power Key. Press to toggle between Standby and On state.
③
Power Indicator:
Power Indicator: Green = Turned On
Power Indicator: Red = Standby mode
④
MODE: Signal Source selection.
Press repeatedly to select from the available Signal Inputs:
S-VIDEO2 →AV2 →YCbCr →D-SUB
AV1 ←S-VIDEO1 ←YPbPr ←DVI
⑤
MENU: Displays the On Screen Display to configure the Plasma Display.
●Press this key to open the Main Menu, press “- CH +” key select an item.
Press Volume Up (+) key “ VOL + ” to open a submenu.
●Press MENU key to return to main menu or exit menu.
⑥
- VOL +: Volume Down (-) / Up (+)
●Press - VOL + key to enter a menu or adjust a function.
⑦
- CH +: Programme Number Down (-) / Up (+)
●Press - CH + key to move up or down the list of menu items.
6
⑦
⑥
⑤
④
③
②
①

Connection to other equipment
Please connect this Plasma Display Panel to other equipment as pictured below.
You may connect several types of equipment eg: DVD, VCD, VCR,
Set Top Box, X-Box and so on.
Video Signal Input Connections (DVD/VCD/VCR)
There are 2 Video inputs and 2 S-VIDEO inputs.
Each video source has its own set of R/L audio inputs.
There are 2 Component inputs: Y Cb Cr and Y Pb Pr.
Each Component source has its own set of R/L audio inputs.
If your DVD or Set Top Box has Y Cb Cr or Y Pb Pr outputs,
connect it to the appropriate component input jacks, then
select Y Cb Cr or Y Pb Pr source input using the Display Panel or Remote Control.
Notice: If the displayed picture appears corrupted, check the cable connection
and DVD output signal setup.
VIDEO INPUT
VIDEO1 R L
VIDEO2 R L
S-VIDEO INPUT
S-VIDEO1 R L
S-VIDEO2 R L
COMPONENT INPUT
Y Cb Cr R/L(480i,576i)
Y Pb Pr R/L(480P,576P,720P,1080i)
7

PC Signal Input Connection(VGA / DVI-D)
PC INPUT
D-SUB AUDIO
DVI INPUT
DVI-D AUDIO
▲ Notice: The highest Resolution input is 1280 X 1024 / 60Hz
If a higher resolution is selected, “signal out of range”
will be displayed on the screen.
8
Some PC models cannot be connected to the set.

●D-SUB 15 Pin:
Attach a VGA cable from your PC to the D-SUB input on the back of your Plasma
Display Panel.
Connect a 3.5mm line cable from your PC soundcard to the AUDIO input jack
beside the D-SUB input.
Change the source to “D-SUB” by pressing the “GRAPHIC”button on the
Remote Control, or by pressing the“MODE”button on the front panel
controls. Then turn on the PC.
●DVI-D:
Attach the DVI-D 24 pin signal cable (TMDS cable) from your equipment to the
DVI-D jack at the back of your Plasma Display Panel. Connect a 3.5mm line cable
from the headphone output on your equipment to the AUDIO input beside
the DVI-D jack.
Change the source to “DVI” by pressing the “GRAPHIC” button on the
Remote Control, or by pressing the “MODE” button on the front panel controls.
Then turn on the equipment.
Video Output Connection
VIDEO OUTPUT
The VIDEO output is analogue Video (CVBS).
L & R are left and right Audio out channels. They can be connected to analogue
Video (CVBS) and Audio inputs on other devices. See picture above.
9

Operation
Operation of Remote Control
“VIDEO”
S-Video2, AV2, YCbCr,
S-Video1, AV1 source
select input
“POWER”
Display Panel
on/off key
“MENU”
Enter or exit MENU.
Exit other operation
“DISPLAY”
Display source state
“SLEEP”
Select timer into Power
down state. off→30→60
→90→120→off
“PIP”
Picture in Picture
On/Off key
“SOUND”
TV: Stereo, Mono
AV: Left, Right Stereo
“CH+▲/ CH -”
Press to select next or
previous program
number.
(Certain models only)
Move cursor up or down
on the Menu
“VOL- / VOL+ ”
Volume adjustment
or adjust item in Menu
“W.SELECT”
Select Main picture PIP
“P-MODE”
Select Picture Mode:
Normal,User, Movie,Bright
“0~9 number”
Number key
“CHRTN”
TV channel return, see
last TV channel
(certain models only)
“S-MODE”
Sound mode select:
cinema, music, news, User
“FAVOURITE”
Enter favourite channel Menu.
/ VOL+ and
CH+▲/ CH -key to adjust,
then Enter (certain models
only)
“GRAPHIC”
D-SUB、DVI、Y,Pb,Pr
(HDTV) source select
input
“TV”
TV1, TV2 source select
(Certain models only)
“FREEZE”
Press to freeze the picture,
press again to continue
“WIDE”
Select Aspect Ratio
“SWAP”
Toggle PIP / POP state
“MUTE”
Press to cancel sound,
press a
gain to continue
10
▲
▲
▲
▲

Menu Function Menu pictures are for reference only.
1. Press “ MENU” key on Remote Control or Front panel controls
2. Press “CH+▲/ CH -” To move the cursor up and down to highlight sub menu items
3. Press “ VOL+ ” To enter a sub menu item, or to adjust the item.
Main Menu Press “MENU” key to enter Main Menu, as below.
PICTURE: Picture Menu SOUND: Sound Menu
DISPLAY: Display Menu
LAYOUT: Lay out Menu
SETUP: Setup Menu
TIMER: Timer Menu
Press “VOL+ ” to enter sub Menu
11

1、PICTURE Picture adjustment menu
CONTRAST: Contrast adjust 0 ~ 100 Adjust
BRIGHTNESS: Brightness adjust 0 ~ 100 Adjust
COLOUR: Colour chroma adjust 0 ~ 100 Adjust
SHARPNESS: Sharpness adjust
TINT: Tint adjust only in NTSC system Mode
H.PHASE: Horizontal Phase adjust(only in D-SUB Mode)
COLOUR TEMP: Colour temperature selection, standard→Warm →Cool
Press “CH+▲/ CH -”Move the cursor up and down to select a sub item
Press “ VOL+ ” to enter a sub menu item, then press “VOL - / VOL + ”adjust in
the item
12

2、SOUND To Sound adjust menu
BASS: Adjusts lower deeper sounds 0 ~ 100 Adjust
TREBLE: Adjusts higher sharper sounds 0 ~ 100 Adjust
BALANCE: Adjusts the sound level difference between left and right speakers
0 ~ 50 / 50~100 Adjust
SURROUND: Surround On / Off
INTER SPEAKER: Internal speaker On / Off
Press “CH+▲/ CH -”Move the cursor up and down select sub item
Press “ VOL+ ” to enter sub menu item, then press “VOL - / VOL + ” to adjust the
item
13

3. SETUP Setup menu
COLOUR SYSTEM: Select TV colour system. AUTO, PAL, NTSC, SECAM.
If unsure, select AUTO.
SOUND SYSTEM: Select local TV Sound system B/G
LANGUAGE: Select language in menu. English →简体中文 →繁体中文
MENU BKG: Menu background select Opaque →Translucent
OSD TIMER: OSD timeout. 5 sec →15 sec →60 sec
OSD POSITION: Set OSD position. 5 OSD MENU positions can be selected
Press“ VOL – ” key to select: Upper left →Upper Right →Middle Center
Press“ VOL + ” key to select: Lower left →Lower Right →Middle Center
Choose Auto config for the best display, available on D-SUB input only.
14

4、DISPLAY Display menu
H.POSITION: Horizontal picture adjustment
V.POSITION: Vertical picture adjustment
H.RES: Horizontal resolution adjustment
V.RES: Vertical resolution adjustment
(H.RES And V.RES function is available on D-SUB input only,
It is normal for the Plasma Panel to display a black screen during adjustment. )
PAN AND ZOOM: Press “ VOL + ” to enter the zoom menu
Press “ CH+▲/ CH -” to adjust zoom level
When scale is set larger than 1x, press the “DISPLAY/INFOR” key
to enter pan function.
Press the “ CH+▲/ CH -
” or “VOL – / VOL + ” keys up / down or left / right
to centre the selected area of the picture.
IMAGE SIZE: Press “ VOL + ” to cycle through the options below:
Fill all →Normal →Wide →Zoom →Fill all
PIP SIZE: Adjust Picture In Picture the sub picture size
PIP POSITION: Adjust Picture In Picture the sub picture location
15

5、LAYOUT(Multi Windows)Layout menu
FULL SCREEN: Single Picture mode, press “VOL + ”key to select.
PIP: Picture In Picture mode, press “VOL+ ” key to select.
SPLIT SCREEN: Two windows display mode, press “VOL+ ” key to select.
PIP
● PIP: Picture In Picture mode
After selecting it, the main picture is
source 2, sub picture is source 1, and
sound is from source 2.
User can press“W. SELECT”key to
select which one is the main picture. The
sound is determined by the main picture.
Press the“COMP”key to select the main
picture source: S-VIDEO2 , AV1, AV2 etc.
Press the“PIP-SWAP”key to toggle
between two pictures. These features can
be controlled via the Remote Control.
Transmitter, see page 10.
●SPLIT SCREEN: Two windows display
mode If selected, the main picture is source 2,
and sub picture is source 1, with sound from
source 2.
The user can press the“W.SELECT”key to
select which is the main picture. The sound is
determined by the main picture.
Press the“COMP”key to select the main
picture source: S-VIDEO2 , AV1, AV2 etc.
Press the“PIP-SWAP” key to toggle between
two pictures. These features can be
controlled via the Remote Control, see pg 10.
SPLIT SCREEN
16
▲Some sources can’t be selected, and some sources may take a moment to display.
▲If picture looks abnormal, power cycle the Plasma Display Panel.

6. TIMER Timer menu
CURRENT TIME: Set the current time.
POWER ON TIME: Set the power on time.
To enter Standby mode, current time and power off time must be set.
POWER OFF TIME: Set the power off time. Current time must be set first.
POWER SAVING TIMER: If no signal input is detected, the Panel will enter standby.
Power saving timer options: 5Min →10Min →15Min →20Min →25Min →30Min
●All time settings are configured as above.
● POWER ON CHANNEL: Once power is on, the Panel will display the
selected channel.
/ VOL+ ” keys to increase or decrease the channel
number.
●How to set the time:
Press“VOL+ ”key to enter time set sub menu. Press“ ”or
“VOL+ ”key set Hours :Minutes .
17
▲
▲
▲
▲
▲

Safety Notice
WARNING
Do not place the Plasma Display Panel on sloped or unstable surfaces.
• The Plasma Display may fall off or tip over.
Do not place any objects on top of the Plasma Display Panel.
• If water is spilt onto the Plasma Display or foreign objects get inside it, a short-circuit may occur
which could result in fire or electric shock. If any foreign objects get inside the Plasma Display,
please consult your local dealer.
If using the pedestal (optional accessory), leave a space of at least 10 cm at the top, left
and right, at least 6cm at the bottom, and at least 7 cm at the rear. If using some other
setting-up method, leave a space of at least 10 cm at the top, bottom, left and right, and
at least 10 cm at the rear.
Avoid installing near electronic equipment that is sensitive to electromagnetic radiation.
• It will cause interference in image, sound, etc. In particular, keep video equipment away from
this product.
When using the Plasma Display Panel
The Plasma Display Panel is designed to operate on 100-240 V~, 50/60 Hz.
Do not cover the ventilation holes.
• Doing so may cause the Plasma Display to overheat, which can cause fire or damage to the
Plasma Display.
Do not stick any foreign objects into the Plasma Display Panel.
• Do not insert any metal or flammable objects into the ventilation holes or drop them onto the
Plasma Display, as doing so can cause fire or electric shock.
Do not remove the cover or modify it in any way.
• High voltage which can cause severe electric shocks are present inside the Plasma Display. For
any inspection, adjustment and repair work, please contact your local dealer.
Securely insert the power cord plug as far as it will go.
•If the plug is not fully inserted, heat may be generated which could cause fire. If the plug is
damaged or the wall socket plate is loose, they should not be used.
Do not handle the power cord plug with wet hands.
• Doing so may cause electric shocks.
Do not do anything that may damage the power cable. When disconnecting the power
cable, pull on the plug body, not the cable.
• Do not damage the cable, make any modifications to it, place heavy objects on top of it, heat it,
place it near any hot objects, twist it, bend it excessively or pull it. To do so may cause fire and
electric shock. If the power cable is damaged, have it repaired at your local dealer.
If the Plasma Display Panel is not going to be used for any prolonged length of time,
unplug the power cord plug from the wall outlet.
If problems occur during use
If a problem occurs (such as no picture or no sound), or if smoke or an abnormal odour
starts to come out from the Plasma Display Panel, immediately unplug the power cord
plug from the wall outlet.
• If you continue to use the Plasma Display in this condition, fire or electric shock could result. After
checking that the smoke has stopped, contact your local dealer so that the necessary repairs
can be made. Repairing the Plasma Display yourself is extremely dangerous, and should not be
attempted.
18
Table of contents