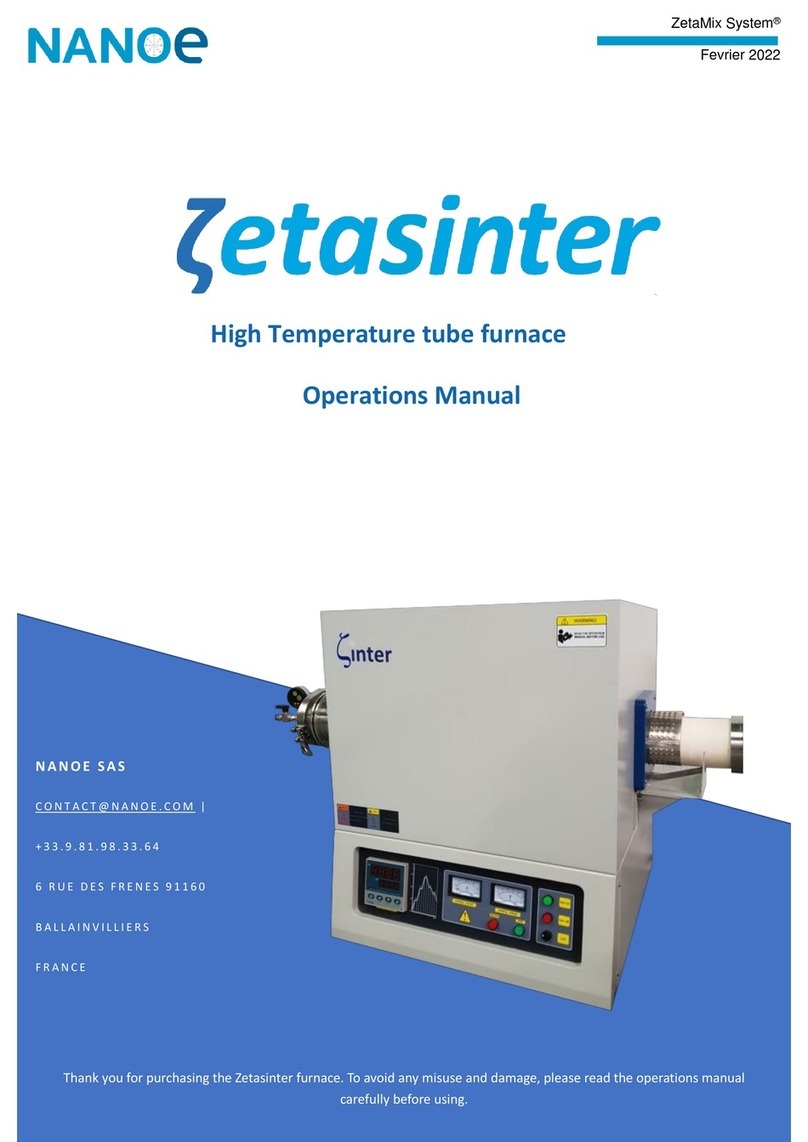
DuoTron Burn EX-1000 User manual


- 1 -

- 2 -
Index
1. Introduction......................................................... 3
2. Product Information.............................................. 7
3. Technical Data..................................................... 8
4. Install............................................................... 10
5. Appearance and Name........................................ 11
6. Front Panel Information....................................... 12
7. Changing Name ................................................. 15
8. Temperature Setting........................................... 16
9. Setup ............................................................... 18
10. Trouble Shooting .............................................. 20
11. Warranty ......................................................... 25

- 3 -
1. Introduction
Thank you for purchasing ORIGIN DuoTron-Burn Furnace. DuoTron-Burn
Furnace is subject to stringent quality control procedures and patiently follow
standard procedure. As a results of our quality system, DuoTron-Burn Furnace
has better performance.
Also, DuoTron-Burn has sturdily and gracefully designed and programmed as
user friendly.
This Operators Manual will explain the installation and operation of the oven as
well as help you get the most out of your new DuoTron-Burn Furnace. Please
read carefully the instructions in this manual for the best user experience.
⊙Attention
Please ensure that all safety information has been read by the operator
before using the oven.
- The Safety information is divided into two sections: Warning and
Caution as described below:
Warning
Violations of instructions may cause increased risk of
serious injury or death.
Caution
Violations of instructions may cause increased chance
of material waste or injuries.

- 4 -
Warning
1. Do not disassemble, repair or modify any part of the machine without prior
approval from an authorized technician. It could be out of warrantee and
could cause damage, electric shock or fire.
2. Ensure the oven is properly grounded to prohibit error or electrical hazard.
3. Do not cut or modify the power cord. Do not stretch or bend the power
cord that may cause electrical hazard.
4. Keep flammable materials away from the oven at all time.
5. Keep liquid away from the oven and avoid using the oven in damp
environment to prevent electrical hazard.
6. Ensure that the power plug is firmly plugged into the proper section.
Unstable contact may cause a electric spark and a fire.
7. Always wear heavy thermal insulated gloves when handling units with door
open to avoid burns.
8. Always ensure that the oven is completely stopped before working with the
oven and only operate the door when the machine is not in a cycle.
9. Do not touch or handing the power plug. It may cause a electric shock or a
fire.
10. Carefully use tongs without touching wires when takeout Casting Ring
from inside of Furnace.
11. Do not place flammable materials or body inside of Furnace. It may
cause a burn or a fire.

- 5 -
Caution
1. Keep away from Furnace during operation. While running, furnace
generates high temperature.
2. Please handle the oven carefully to avoid damage. The furnace contain
fragile parts.
3. Do not use in places with a lot of vibration.
4. Please read the manual and understand the instructions before using the
oven.
5. Do not leave Furnace with a door open.
6. Keep away from flammable spray or materials from Furnace.
7. Do not install Furnace on place with gradient or rocking table
8. Do not pull a plug out with a strong force.
9. Keep temperature lower than 40 Celsius degree and sweep the dust out.
10. If detecting any defect during the operation, stop using and inquire
manufacturer.
11. Use dry cloth and unplug power cords when cleaning Furnace. Do not
use any detergent.
12. While operating and right after, do not touch Furnace. Especially, do not
touch the upper part of furnace. It may cause a burn or a fire.
13. Keep away flammable materials from Furnace. It may cause a fire.
14. If Furnace is not in use, turn off switch to power off.
15. If Furnace is not in use for long term, pull out power plug.

- 6 -
Caution
16. Changing insulation : Contact particulate from insulator with the
eyes or skin may cause irritation. Long term and inhaling a large
quantity of the particulate from insulator may cause respiratory
disorders. Try protect skin, eyes and respiratory organs with wearing
safety glasses and mask.
<Compliance matters : wear long sleeves clothes, safety glasses,
mask and using vacuum machine. After work, wash unprotected skin
with fresh water.>
17. Cracks in insulator should occur by a high temperature or a rapidly
changing temperature. However, cracks by thermal shock in insulator
does not critically affect Firing result. (In case of cracks on Tray
insulator may affect on temperature. In that case, need to change tray
insulator through manufacturer or local distributor.)
18. Do not start firing schedule without tray insulator. Starting
schedule without tray insulator may cause fire or damaging in furnace.

- 7 -
2. Product Information
(1) Characteristics
►Easy to operate and full set of features
►7”TFT LCD High quality display
►Touch screen
►15 custom temperature settings
►Maximum ramp up rate 25℃/min
►Capable of program 5 different stages in each schedule.
►Easy to use by set schedule
►Compact size.
►Capability of using USB mouse with plug in USB port.
►Applied platinum catalyst filter cut down most emitted harmful gases
from Furnace.
(2) Main Functions
►User defined programs
►Progress graph
►Display remaining time.
►User can fine-tune temperature.
►Easy to upgrade software.

- 8 -
3. Technical Data
Temperature Sensor
Sensor Type
Sensor Range
Thermocouple K-type
0~1,200℃
Main Controller
Voltage
Display
Control(RS-232)
USB
DC 5V
7”TFT LCD (Touch screen capability)
1 Ch. : Communicate with I/O Controller
1 Ch. : USB port for updates
I/O Controller
Voltage
Output
Input
Control(RS-232)
DC 12V
2 Ch. : Transformer,, Fan
2 Ch. : Door, Reserved
1 Ch. : Communicate with Main Controller
General
Voltage
Consumption
Dimensions
Chamber
Max. temp.
Temp. range
Working humidity
Working altitude
Weight
Capacity of Schedule
Stage
AC 230V, 50/60 Hz
2 kW
385(W) x 440(D) x 520(H)<710(H) with filter>
180(W) x 230(D) x 160(H)
1,100℃(Do not set temp. over 1,100℃)
+2℃~ +40℃
Lower than 80%
Lower than 3800m
35kg
Capacity of 15 programmable schedules
Can program 5 different stage in each schedule.

- 9 -
4. Install
(1) List of parts
After open a box, ensure there are every list of parts. Also, check any visual
damage. If you find any damages and defects, contact seller.
< List of parts >
- Furnace housing .................................................... 1pc
- Instruction............................................................. 1pc
- CATALYST FILTER .............1pc (assembled in main body)
- Ceramic gas outlet .............1pc(assembled in main body)
- Ceramic tray .......................................................... 1pc
- POWER CORD........................................................ 1pc
(2) Installation
Avoid sunlight or moist when installing the product. Also, install on a level
place. Dust could damage on heating elements, thus, install in clean
environment. Place a furnace at least 30 cm apart from the wall and 1.5 m
away from the ceiling. If too close to wall or ceiling, may cause a fire and
damage on product. To protect from harmful materials during firing, install a
ventilator on the ceiling or install CATALYST FILTER in product.
Do not discard packing box and pad for in case of return or move product.

- 10 -
5. Appearance and Name
List of parts
1 Furnace Housing
2 CATALYST FILTER
3 Insulation - inner
4 Insulation –Door
5 Door Cover
6 Touch Screen Monitor
7 USB port for program upgrades
8 Nickle Chrome Heating Coil

- 11 -
6. Front Panel Information
(1) Display
<Information in picture is only for examples>
1) Time and Mode display
①Displays current time and date.
②Changing time or date : Double clicking time or date.
③Displays the current mode.
Ex) Gold-600, Metal-900...
2) Current Temperature Display

- 12 -
(2) Button Explanation
Button
Description
Set the temperature for selected mode.
< Reference-Section 8. Temperature setting, p-16 >
Setting additional functions
- Goes to main menu
- Settings reset
Starts the current program. If no mode is selected the
oven will not start
Stops the current program during operation

- 13 -
Button
Description
Displays if the power is going to the heating
elements
Move between pages. (Total 15 schedules can
be saved)
Change name of the schedule.(After clicking this
button, click the schedule wanted to be
changing name)
<Reference-Section 7. Changing Name, p-
15>
Returns to previous menu

- 14 -
7. Changing Name
①To change the name of the program, press the tool button( )then,
press the mode button( )
②Type the name of the new program then press the OK button.
*Change font size : Click this button ( ) <This function apply to
all letters>

- 15 -
8. Temperature Setting
①Press the mode you want to modify. (ex : Select Gold - 600 button)
②Press the Temp Set button ( )
③The display will change to below
○
4Change the Temp, time and hold time to desired settings and then press
the Enter button ( ).

- 16 -
To move back to the main menu press the back button ( )
<Detail Information>
Delay(h:m) : Setting delay starting of sintering time
TEMP(℃) :Setting set point temperature <Max : 1,100℃>
TEMP(℃/min) : Temperature ramp rate <Max : 25℃/min >
HOLD(h:m) : Setting holding time at given temperature <hour :min.>
<ex 0:02 = 2 min., 0:20 = 20 min., 2:00 = 2 hour, 20:00 = 20 hour >
Setting T5 when temperature ramp down ( / / )
-Select : Keep temperature at T5 after finish program.
-Select : Ramp up temperature at T5 then start cooling.
-Select : Cooling till temperature at T5 with heater power off.
-Setting temperature for filter : 20℃~ 600℃
**Do not change setting.<Contact manufacture or seller before
change>
1. May occur an incomplete combustion gas if starting temperature
is too high
2. Ending temperature should lower than 600℃. Fire from a
catalyst.

- 17 -
9. Setup
①Press the setup button to enter setup menu ( ).
②Press the setup to enter the screen below ( )

- 18 -
Button Description
Button
Description
Change the alert sound for Start,
End and Stop functions.
Temperature Fine Tuning.
Use caution when changing value as
it may affect units.<Before use,
contact manufacturer or seller>
(ex)
1. For lowering 10℃= Set Temp.
960
2. For increasing 10℃= Set Temp.
940
<Value after change will display
right before Apply>
Setting Trans cooling fan working
temp.
Perform Software Upgrade
Upload temperature date for
program
Download temperature date for
program
Exits to Windows CE menu
(To restart the program please shut
the oven off)

- 19 -
Software Upgrade
1. Create Run_V folder in USB drive,
then copying a file want to upgrade.
2. Insert USB drive to USB port
where right hand side of DuoTron
Oven.
3. Click ( ) button will start upgrade and program will restart.
4. Upload and Download are following same steps as well.
Table of contents
Popular Furnace manuals by other brands
VERDER
VERDER CARBOLITE GERO GSM 11/8 Installation, operation and maintenance instructions
Central Boiler
Central Boiler CL 4030 owner's manual

Lennox
Lennox G24M SERIES User's information manual

Fire Chief
Fire Chief FC1900 owner's manual

York
York PC9B12N060UP11 Technical guide

Goodman
Goodman GMH95 installation instructions

ECR International
ECR International BCL Installation, operation and maintenance manual

Lennox
Lennox ML193DF045P36B Unit information

Tempstar
Tempstar F97CMN Installation, start-up, operating and service and maintenance instructions

VERDER
VERDER CARBOLITE GERO AAF-BAL 11/17 Installation, operation and maintenance instructions

Bard
Bard FLF075V42A installation instructions

York
York 65075-N4U installation instructions