CCD-0005727 Rev: 09-22-22- 8 -
On/Off
●Long press Function button for 5 seconds to turn the refrigerator’s
LOW POWER mode on/off.
●Temperature displays illuminates with --, long press Function button
for 5 seconds to turn refrigerator back on.
Off Grid Vacation Mode (Holiday Mode)
In this mode, the refrigerator runs at 43°F and the freezer runs at 5°F.
Setting this mode can help conserve energy after disconnecting from
shore power, and using only DC12V power source and solar power
sources. Limit the frequency of door openings, and length of time open.
Sensitive foods should be consumed more quickly, and stored toward
the rear of the fridge to maintain freshness.
To optimize DC12V power source runtime performance:
●Ensure the refrigerator and food stored is down to desired
temperature before disconnecting shore power.
●Avoid adding significant amounts of warm items, especially
beverages, at one time unless already cooled.
●Adding new items is best in the morning to utilize solar power
(if available) during the day to bring the temperature back down
without consuming DC12V power source capacity.
Super Freezer Mode
When the Super Freezer Mode is selected, the compressor will operate
continuously to freeze foods faster, and keep them fresh. The super
freezer mode will automatically turn off either after 24 hours of operation
or when the freezer sensor reaches -18°F. The super freezer icon will
turn off, and the freezer will continue to operate at the last temperature
setting you have set before.
Super Fridge Mode
When the super fridge mode is selected, the fridge compartment
reaches the set temperature in the shortest period, in order to keep the
food as fresh as possible. In this mode, the set temperature of the fridge
compartment locks on 32°F.
The program runs 150mins then exits automatically, the super fridge
icon goes out,which means the super fridge function is disable, the
temperature setting returns to the last one before the super fridge mode
operates.
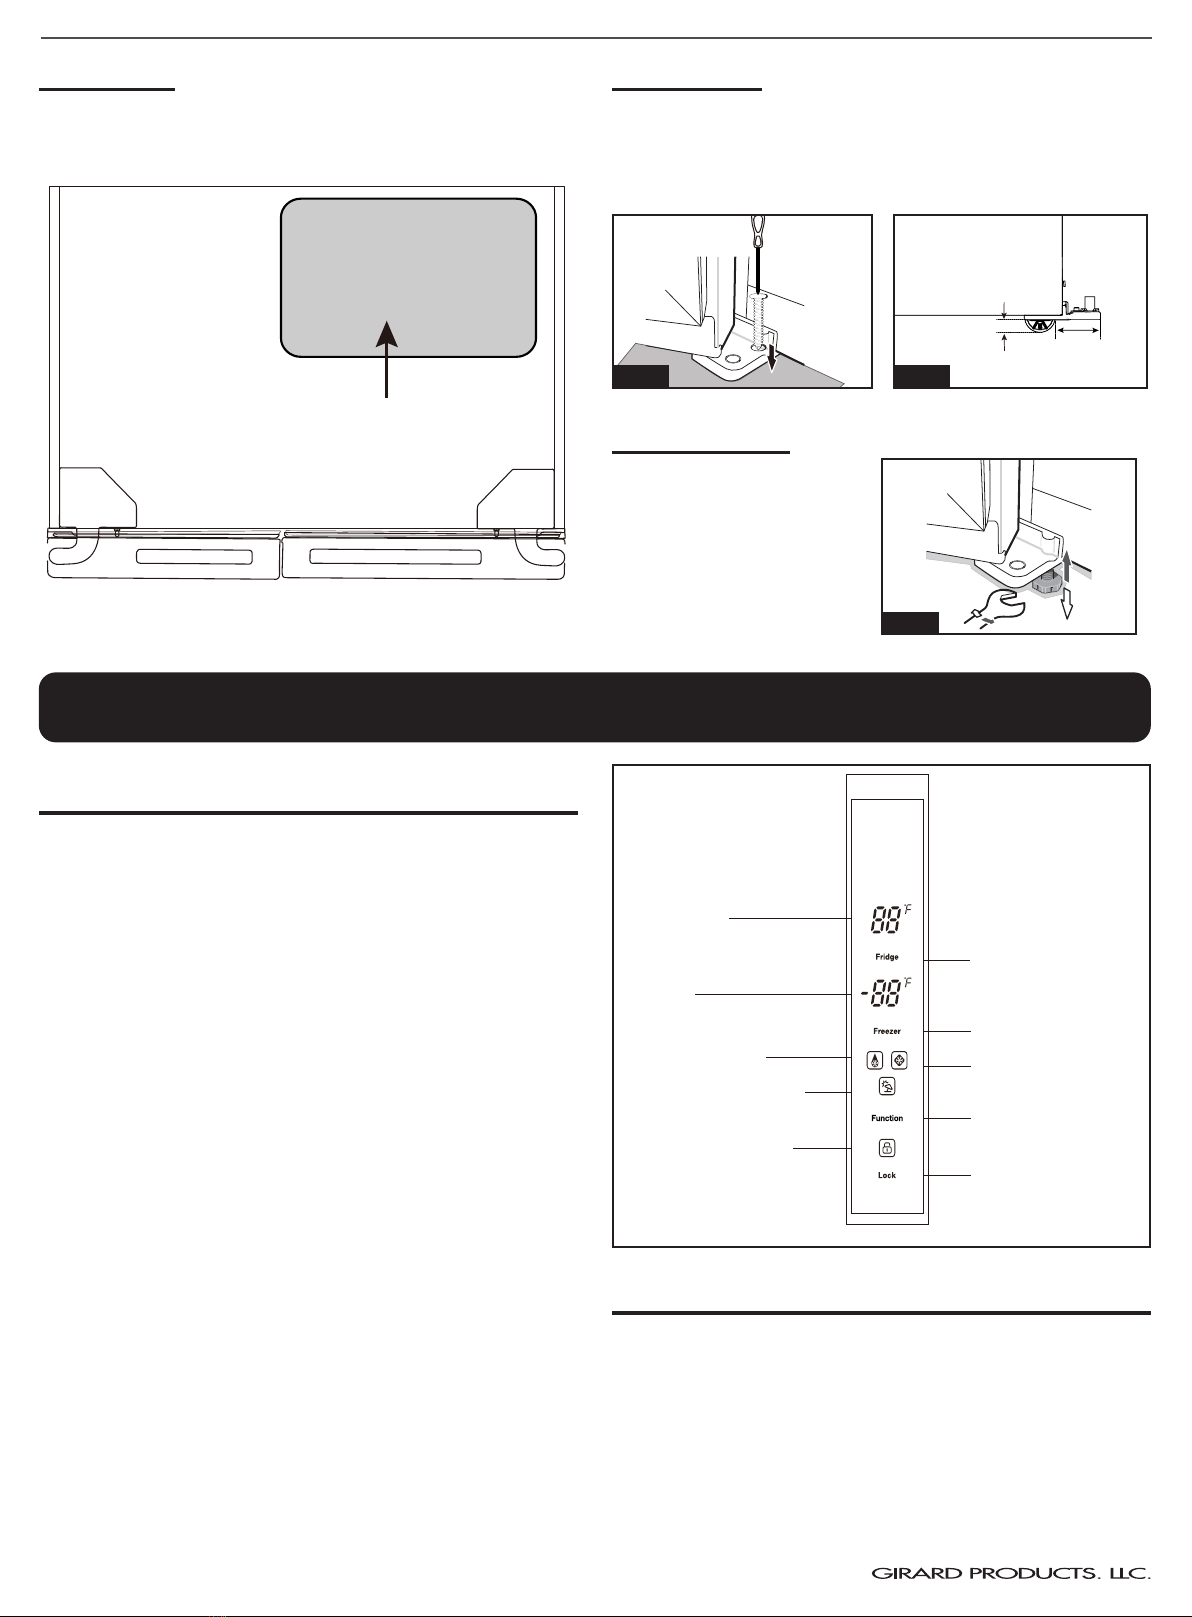
Controls
Fridge Settings
You can change the temperature or settings of the refrigerator
compartment by pressing the “Fridge” icon under the temperature
display.
The default temperature of the refrigerator compartment is 41°F. To
change the temperature press the “Fridge” button to cycle through the
set temperatures: 41°F > 39°F > 38°F > 36°F > 34°F > 32°F > 43°F.
Stop cycling when the desired setting is selected.
Freezer Settings
You can change the temperature or settings of the freezer compartment
by pressing the text ‘Freezer’ under the temperature display.
The default temperature of the refrigerator compartment is 0°F. To
change the temperature press the “Freezer” button to cycle through the
set temperatures: 0°F > -2°F > -4°F > -6°F > -8°F > -10°F > 5°F>
4°F> 2°F.
Stop cycling when the desired setting is selected.
Lock/Unlock
●This refrigerator is able to lock the control panel to stop accidental
operation.
●All buttons are locked if you press the Lock/Unlock button.
●The lock icon is illuminated when the control panel is locked.
●Hold the Lock/Unlock button for 3 seconds to Unlock. And the lock
icon is no longer displayed.
Open Door Alarm
When the refrigerator door is left open for more than 1 minute a buzzer
will alarm to remind you the door is open. After the door is closed, the
alarm sound will stop automatically.
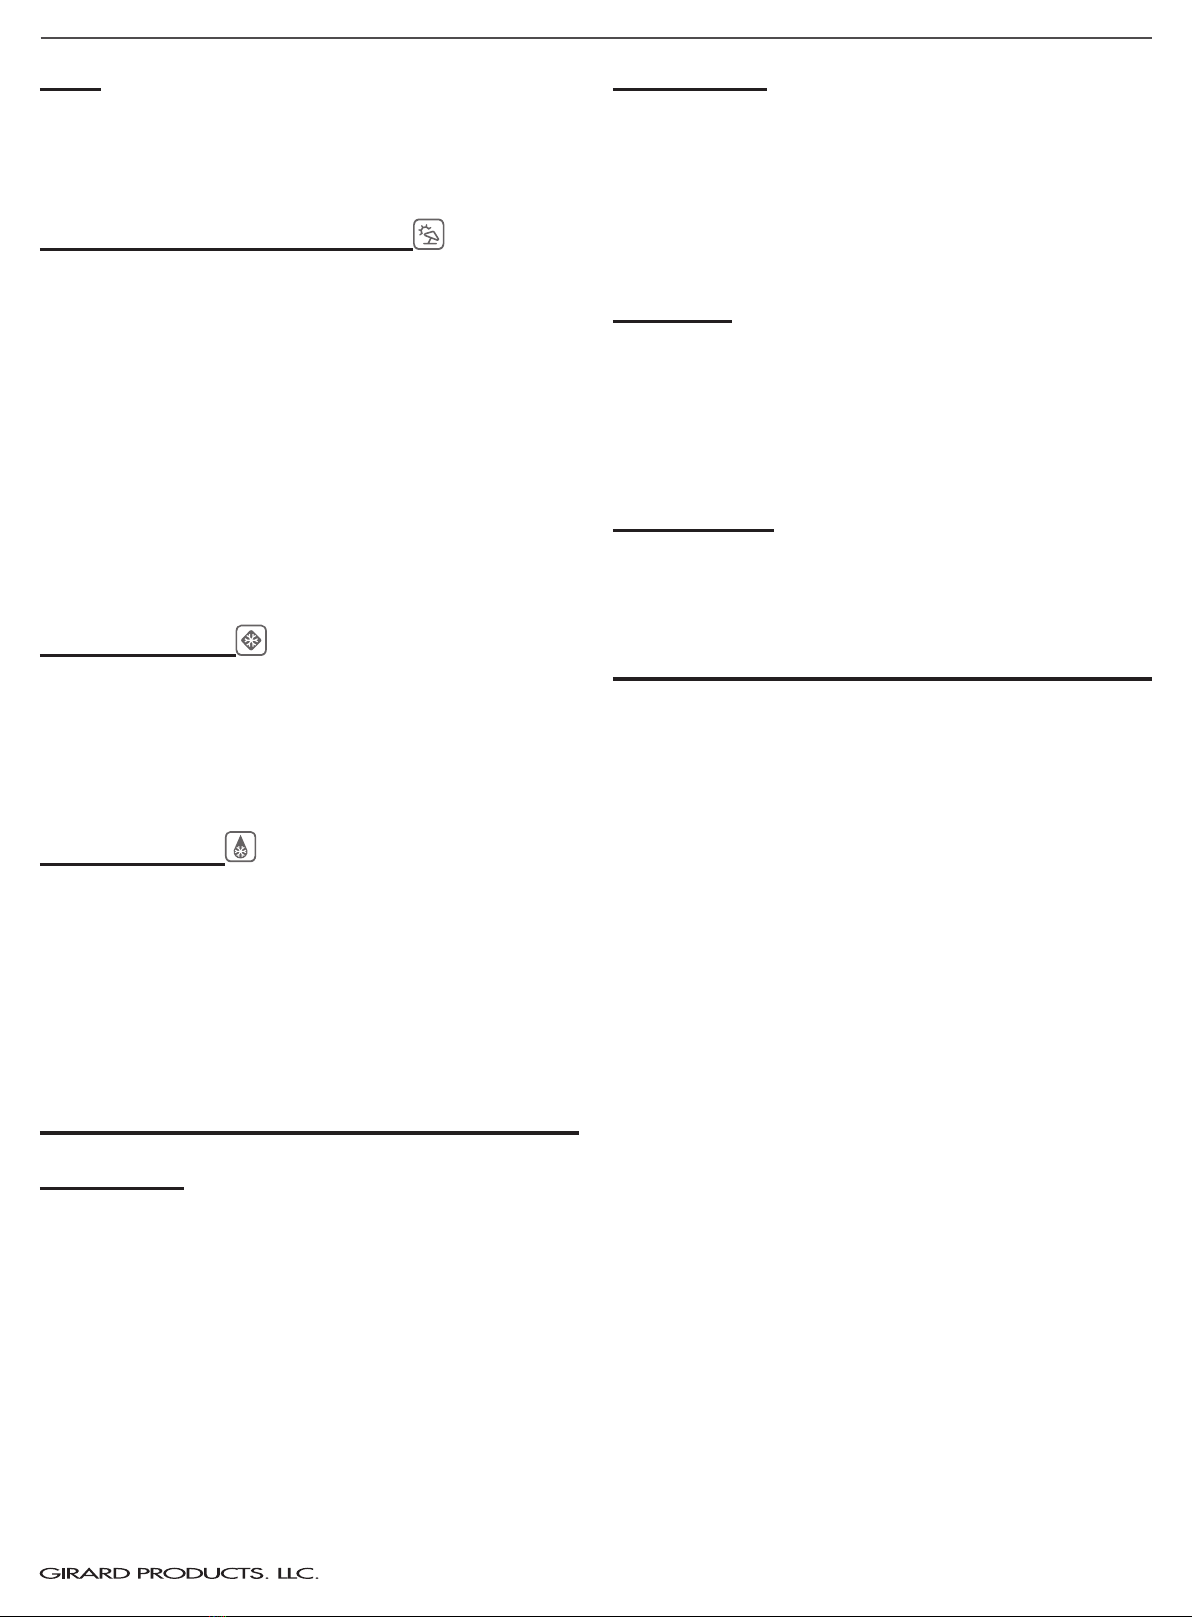
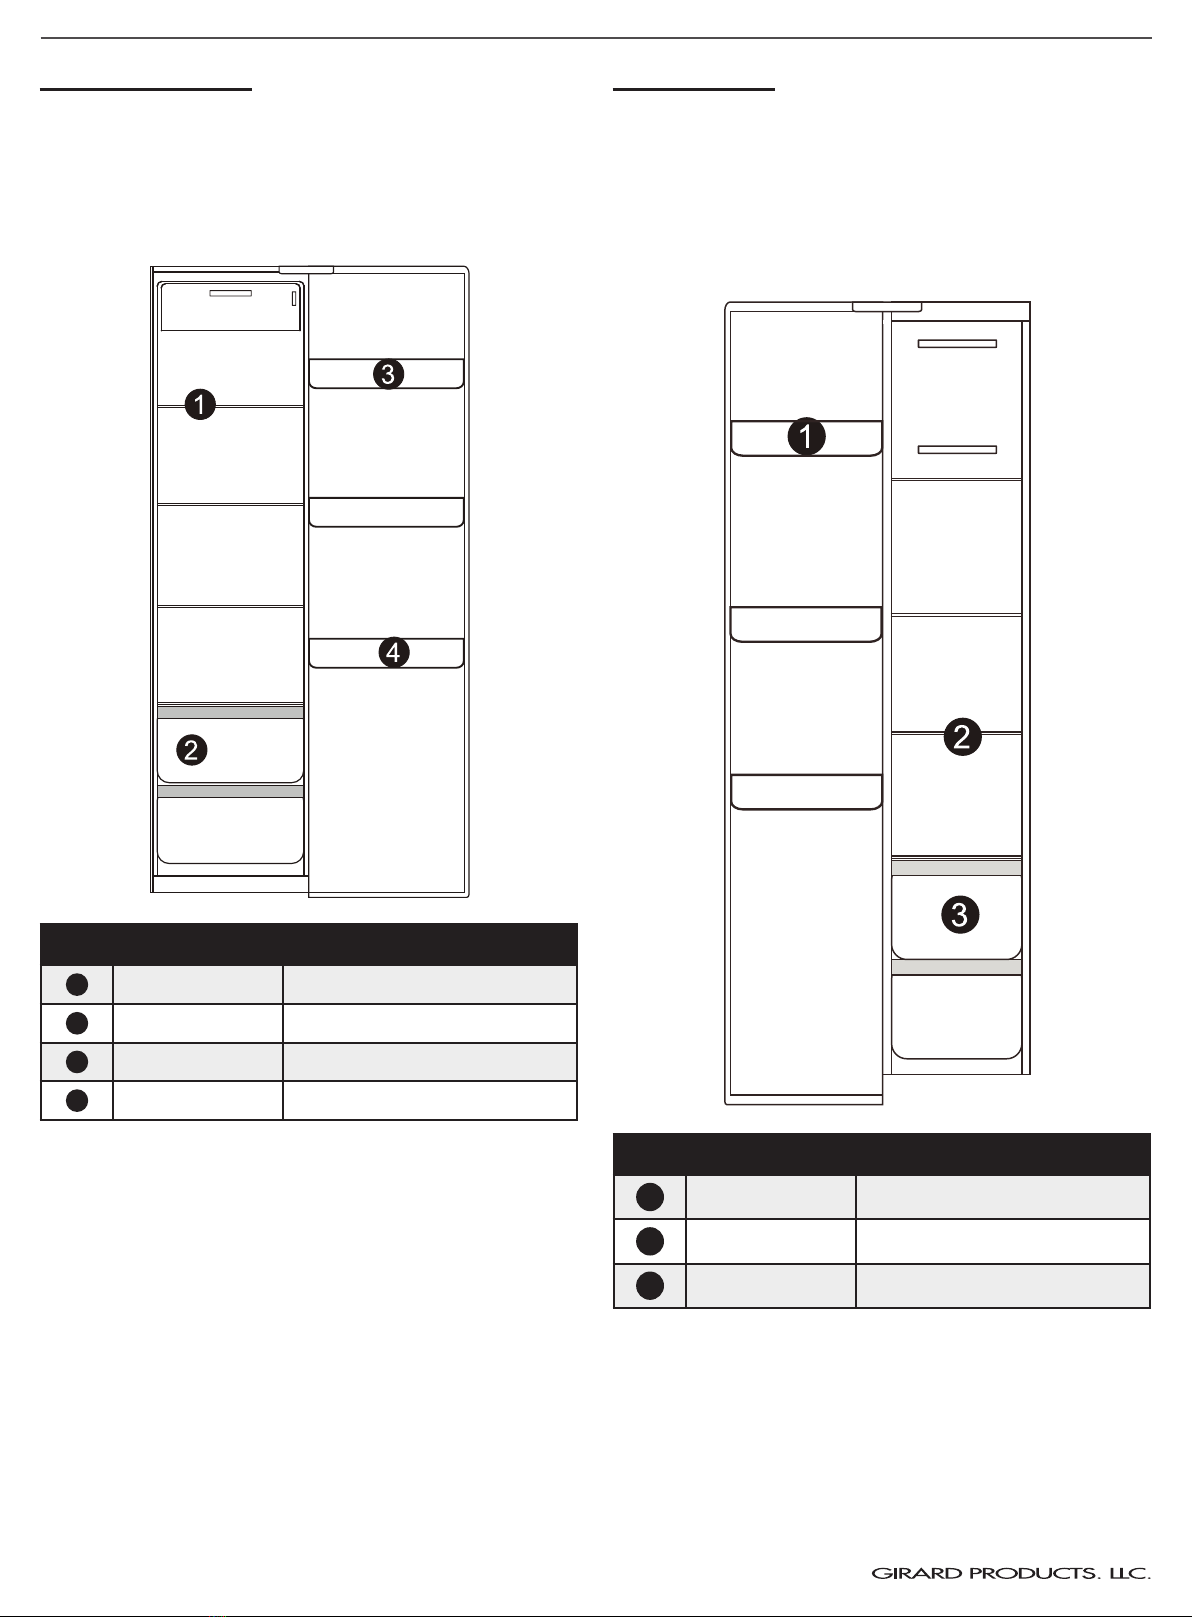
Food Storage
IMPORTANT!
●When storing freezing foods, put them to the inside of freezer
chamber, other than the bottle rack.
●Do not put bottled or canned foods into the freezer chamber to
prevent frost cracking.
●Before putting hot foods into the refrigerator, cool them down to
room temperature first; otherwise, power consumption will increase.
●Mark the freezing date on the packaging bag according to different
storage lives of foods, so as to prevent foods from exceeding the
freezing time limit.
●Divide foods into proper pieces and package them separately so as
to freeze thoroughly and avoid being frozen together.
●The packaging materials shall be odorless, airtight, watertight and
pollution-free, so packaged foods are not tainted by other odor and
without quality reduction.
●Do not put too many fresh foods into the freezing chamber at once,
preferably not exceeding the freezing capacity value of refrigerator.
●Melted foods cannot be frozen again, unless they are made into
dishes; otherwise, their appearance will be affected.
●Glass bottles or containers shall not be placed into the freezer
chamber or at the air outlet of fridge chamber duct, otherwise they
may explode.
●Foods cannot block the air outlet, otherwise abnormal air circulation
will be caused.