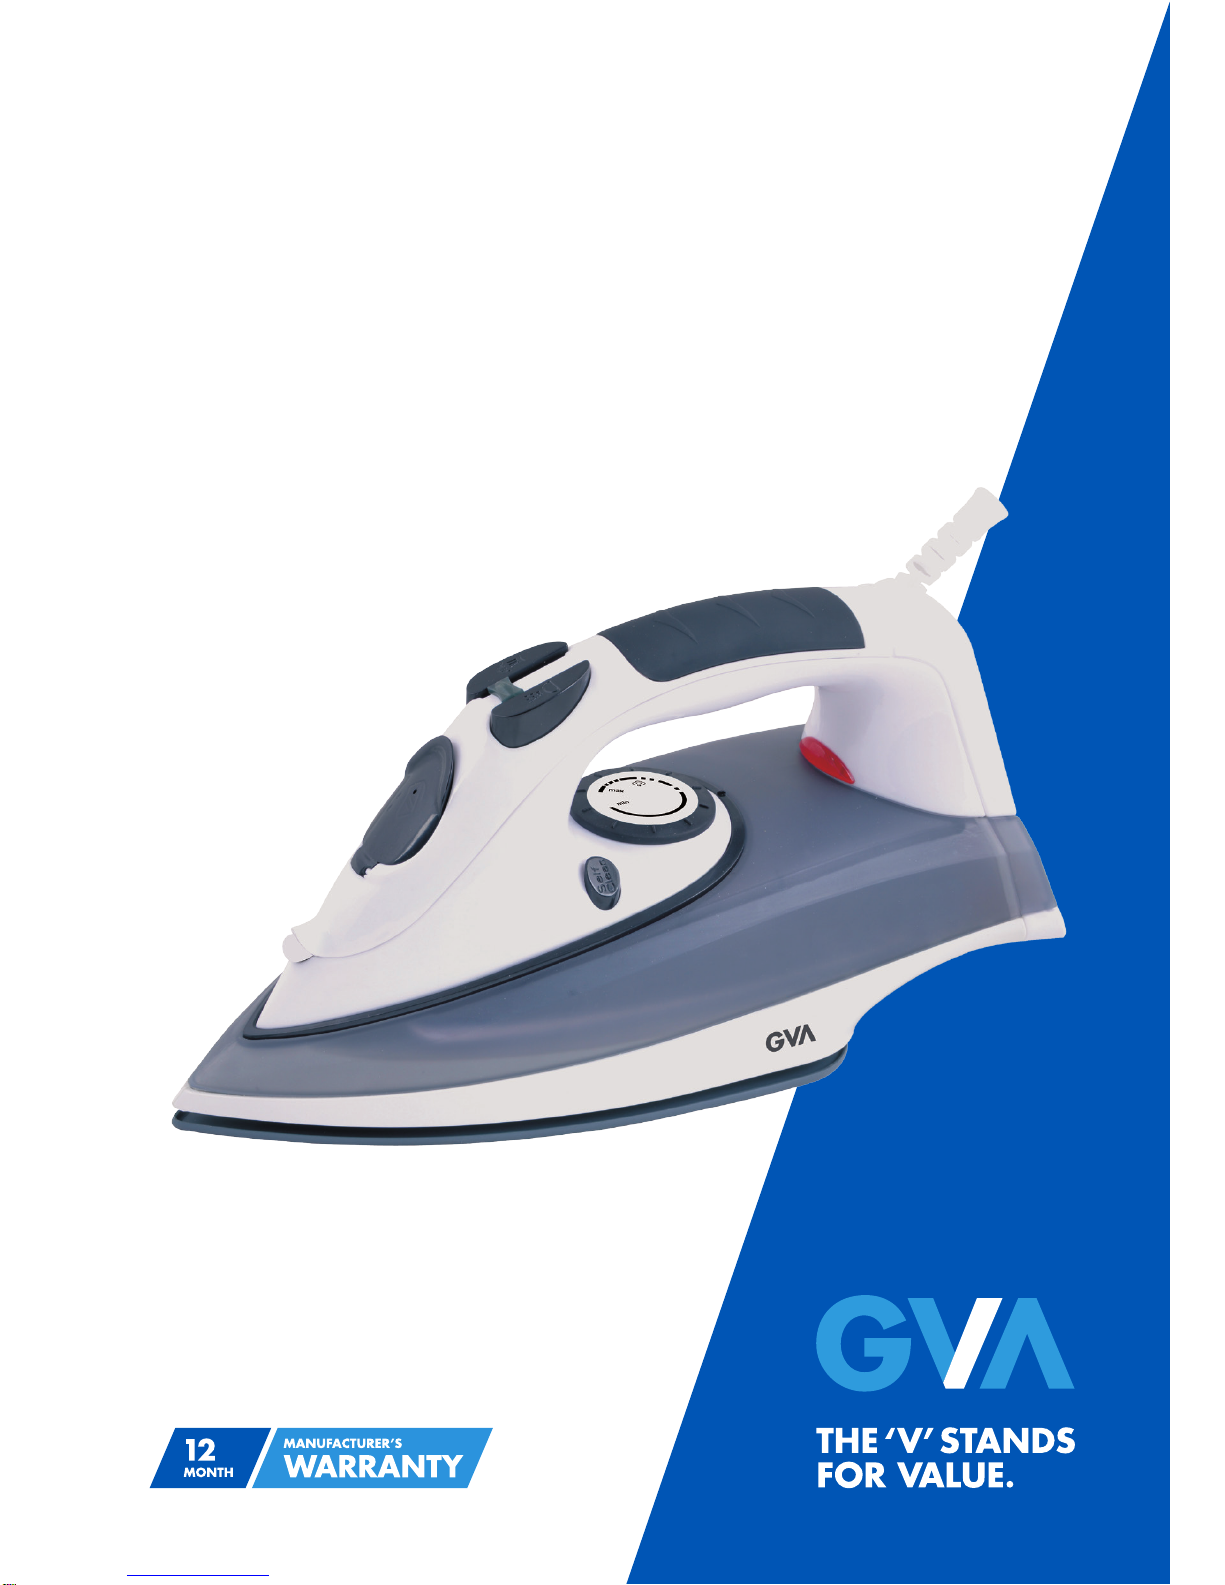
GVA GVASIS User manual

Instruction Manual
GVASIS
STEAM
IRON

1
Contents
Guide to the Appliance 2
Caring for the Environment 3
Safety Information and Warnings 4
Getting Started 7
Operation Instructions 8
Troubleshooting 11
Care and Maintenance 12
Technical Specifications 13

2
1. Spray nozzle
2. Water filling inlet
3. Steam regulator
4. Burst steam button
5. Spray button
6. Self cleaning button
7. Thermostat dial
8. Power indicator light
9. Water reservoir
10. Soleplate
Guide to the Appliance
1
2
3
4
5
6
78
9
10

3
Caring for the Environment
Responsible disposal of the packaging
The packaging of your appliance has been selected from environmentally friendly
materials and can usually be recycled. Please ensure these are disposed of correctly. Plastic
wrapping can be a suffocation hazard for babies and young children, please ensure all
packaging materials are out of reach and are safely disposed of. Please ensure they are
offered for recycling rather than throwing these materials away.
Responsible disposal of the appliance
At the end of its working life, do not throw this appliance out with your household rubbish
An environmentally friendly method of disposal will ensure that valuable raw materials can
be recovered and used again. Electrical and electronic appliances contain materials and
substances which, if handled or disposed of incorrectly, could be potentially hazardous on
the environment and human health.

4
Read this manual thoroughly before first use, even if you are familiar with this type of product.
The safety precautions enclosed herein reduce the risk of fire, electric shock and injury when
correctly adhered to. Keep the manual in a safe place for future reference, along with the
warranty card, purchase receipt and carton. If applicable, pass these instructions on to the
next owner of the appliance.
Always follow basic safety precautions and accident prevention measures when using an
electrical appliance, including the following:
Electrical safety and cord handling
• Voltage: Make sure your outlet voltage and circuit frequency correspond to the voltage
indicated on the appliance rating label and your outlet socket is properly earthed. If this is
not the case, do not use the iron.
• Separate circuit: Do not use any other appliance at the same time on the same electrical
circuit as it may overload the circuit and trip the circuit breaker.
• Water: To reduce the risk of electrocution,never operate the iron with wet hands. Never
immerse the cord, plug or iron in water or other liquid.
• No extension cord: Do not use this iron with an extension cord.
• Protect the power cord. Do not damage the cord, do not kink or squash it and protect
it from sharp edges. Do not let the cord touch any hot surface, including the ironing
soleplate. Run the cord in such a way that there will be no risk of anyone pulling it
inadvertently or tripping over it during use. Unwind and straighten the cord before use. Do
not roll the cord around the iron for storage until the iron has cooled down, then loop the
cord loosely around the iron.
• Damage: Do not pick up or operate the appliance after it malfunctions, is leaking or has
been dropped or damaged in any manner. Do not use it if it works intermittently or stops
working entirely. In case of damage, contact the after sales support line for advice.
• Damaged cord: If the power supply cord is damaged, do not attempt to change it yourself.
A damaged cord or plug must be replaced by the manufacturer or a qualified person in
order to avoid a hazard.
• Repair: To avoid the risk of electric shock, do not disassemble the iron. Incorrect
reassembly can cause a risk of electric shock when the iron is used. Never insert any
objects into the appliance.
• Disconnect: Turn all controls off and unplug the iron from the power socket before filling
the water tank with water, before emptying the tank and after use. Grip the plug when
disconnecting, do not pull on the cord.
Safety Information and Warnings

5
Usage conditions and restrictions
• This appliance is intended to be used in household and similar applications such as:
– staff kitchen areas in shops, offices and other working environments;
– farm houses;
– by clients in hotels, motels and other residential type environments;
• It is not suitable for commercial or outdoor use. Do not use it for anything other than its
intended purpose and only use it as described here.
• Usage restriction: The appliance is not intended for use by persons (including children)
with reduced physical, sensory or mental capabilities, or lack of experience and
knowledge, unless they have been given supervision or instruction concerning use of
the appliance by a person responsible for their safety.
• Children: Young children should be supervised to ensure they do not play with the
appliance. Close supervision is necessary when any appliance is used by
or near children. Do not let children touch the iron while it is in use.
• Liability: Improper use or installation may result in the risk of fire, electric shock and/
or injury. We assume no liability for any eventual damages caused by improper use
or inappropriate handling, or by any other noncompliance with the instructions in this
manual.
• This appliance is not intended to be operated by means of an external timer or
separate remote-control system.
• RCD: Unless your home is already fitted with a residual current device (safety switch),
we recommend installing an RCD with a rated residual operating current not exceeding
30mA to provide additional safety protection when using electrical appliances. See
your electrician for professional advice.
Safe operation
• Work surface: Only use and rest the appliance on a firm, flat and stable surface.
• Water tank: Only fill water into the water tank. Do not add scented water, vinegar or
any other additives into the water tank; they can damage the iron. Empty the water
tank after use.
• Water inlet: Do not open the water inlet cover during use.
• Temperature control: Ensure the temperature dial is set to the minimum (MIN) position
before plugging the iron into a wall outlet and before unplugging it.
• Heel rest position: When not in use or during storage, place the iron upright (on its
heel rest position) on a flat surface to avoid overturning.
• Unattended: Do not leave the appliance unattended when it is connected to a mains
power supply outlet or when it is resting on an ironing board.
Safety Information and Warnings

6
CAUTION: HOT
The iron generates high temperature steam that can cause scalding. Always handle with
care and warn other users of potential danger.
Do not touch the iron rest or soleplate during or just after ironing. It is hot!
Use caution when turning the iron upside down to avoid spillage of hot water.
Safety Information and Warnings

7
Getting Started
Before first use
• Unpack the appliance but keep all packaging materials until you have made sure
your new iron is undamaged and in good working order. Plastic wrapping can be a
suffocation hazard for babies and young children, so ensure all packaging materials
are out of their reach.
• Remove any protective films, covers or stickers from the soleplate and the iron body.
• Unwind and straighten the power cord. Inspect the cord for damage or wear before
each use. Do not use the appliance if the appliance or its cord have been damaged or
are not working properly. In case of damage, contact the after sales support line for
advice.
• Fill the iron as described in “Filling with water”, page 8.
• Connect the iron to a suitable power point. The indicator light will turn on.
• For first time ironing, we recommend using an old towel or similar cloth and ironing it
with full steam until no more steam is produced.

8
Filling with water:
1. Set the steam regulator to”0”(=no steam)(only for steam iron).
2. Hold the iron by hand and slant the iron with 45°down, open the water filling inlet.
3. Fill water through the water filling inlet.
Dry ironing:
1. Before running the iron, please classify the clothes as per its washing label, as it will
be quicker for the iron to heat up than to cool, the clothes (such as synthetic fabric,
silk etc.)with lower ironing temperatures shall be ironed first, and then iron the clothes
(such as wool, cotton and linen etc.)with higher ironing temperature.
2. Stand the iron on its end, and turn the thermostat dial to the MIN position.
3. Plug in the iron and select the temperature by turning the thermostat dial. If there is
water in the reservoir, turn the steam regulator to OFF position. Wait until the indicator
light goes off showing that the required temperature has been reached.
Steam ironing:
1. Fill water in the iron as per the water filling methods.
2. Plug the appliance in the socket.
3. The thermostat dial must be set to MAX position as per the temperature indicator, for
steam iron to become available, otherwise water may leak from the soleplate.
4. The iron is at the selected temperature when the indicator light turns off.
5. Set the steam regulator correctly, increase the steam output by rotating the steam
regulator anticlockwise.
Caution: Synthetic Fabric, Nylon, Synthetic Silk and Silk cannot use the steam function.
Otherwise it will damage the finish surface.
Burst of steam:
This function will be able to provide more steam to remove stubborn creases.
1. Set the thermostat dial button to MAX until the indicator light goes off.
2. Release the steam by pressing the steam button.
3. Wait for several minutes and let the steam penetrate through the fabric, and then
release more steam through pressing this buttons again.
Operation Instructions

9
Operation Instructions
Note:
1. There should be 3-5 seconds rest between pressing of the steam button in order to
obtain the best steaming result.
2. Fill the water to the MAX position before using this function.
3. In order to prevent the water leaking from soleplate , please do not press the steam
button continuously without waiting at least 5 seconds.
Spraying methods:
1. Fill the water in the iron as per water filling methods.
2. Press water spray button.
3. Note: No matter if steam ironing or dry ironing is selected, spray will always be
available in either case.
Self-cleaning:
To remove dirt and dust, the iron should be cleaned at least once a month.
1. Fill the iron with water. Turn the steam regulator to no steam position and the
thermostat dial to the MIN position. Plug the iron into the mains socket. Turn the
thermostat dial to Max position.
2. When the power indicator light goes off. i.e. the steam iron is in its presetting
temperature.
3. Hold the iron horizontally over a sink or basin.
4. Press the “Self-Cleaning” button and hold it down while shaking the iron lightly to
eliminate the dirt. The plate gives off hot water and steam.
5. During this operation you can press the steam button a number of times, remembering
to pause for at least five seconds between one burst of steam and the next.
6. When the tank is empty, release the self-cleaning button.
7. Turning the thermostat dial to the MIN position and unplug the iron from the mains
socket. Leave the iron to cool and clean the plate with a soft cloth.

10
Operation Instructions
Type of fabric and thermostat dial form:
Caution: If the fabric consists of various kinds of fibers, always select the lowest ironing
temperature of the composition of those fibers.
After ironing:
To extend the working life of the iron, whenever you finish ironing, it is recommended to
empty the reservoir as follows:
Unplug from the mains socket. Empty the iron by opening Water filling inlet and holding it
with the tip pointing downwards. Shake it lightly above a sink then close the cover. To dry
the remaining moisture, turn the iron on again with the thermostat dial in the MAX position
with steam regulator in MAX position until Power Indicator Light goes off. Unplug from the
mains socket and allow to cool. Clean the plate with a dry cloth as traces of moisture could
mark it.

11
Troubleshooting
Problem Possible Cause Solution
The iron is
plugged in but
the soleplate is
cold.
The socket does not work. Plug the iron in another socket.
There is a connection problem. Check if the plug is properly
connected to the wall socket.
The temperature setting has been
set to MIN. Set the temperature setting to the
required temperature.
No steam comes
out. There may not be enough water
in the water tank. Fill the water tank.
The steam control knob is in the
'Steam Off' position. Turn the steam control knob to the
'Steam On' position
No steam is
coming out when
using the burst of
steam.
There may not be enough water
in the water tank. Fill the water tank.
First time usage. Press the burst of steam button a
few times until steam is produced.
No spray mist is
coming out. There may not be enough water
in the water tank. Fill the water tank.
First time usage. Press the water spray button a
few times until spray mist comes
out.
The soleplate is
not hot enough. Incorrect temperature setting. Set the temperature dial
according to the garment label.
Water is
leaking from the
soleplate.
The soleplate temperature is too low
to produce steam. Set the temperature dial to the
MAX position.
The steam control knob is set to
'Steam On' while refilling the
water tank.
Turn the steam control knob to
the 'Steam Off' position before
refilling the water tank.
Garment
damage. The soleplate is too hot for the
garment. Follow the garment guide (see
opposite), or test on the inside of
the hem of the garment.
Flakes and
impurities
come out of the
soleplate holes.
You have been using hard water,
which has caused scale flakes to
develop inside the soleplate.
Clean the iron once or more times
using the self-clean function (see
page 9).

12
Care and Maintenance
Self-cleaning function
This function removes any built-up lime scale and mineral deposits in the steam chamber.
For optimum performance of your iron, we recommend you use the self-cleaning function
at least once a month, or more regularly depending on the hardness of the water used.
• Half-fill the water reservoir.
• Set the steam control knob to the (Steam Off) position.
• Place the iron on a stable surface in upright, standing position.
• Connect the iron to a mains supply outlet. The indicator light will glow for a second
and then go off.
• Turn the temperature dial in clockwise direction to the MAX position. The indicator
light will glow to indicate the iron is heating up. It will go off when the required
temperature is reached.
• Wait for one more cycle, until the indicator light has come on and gone off again.
• Now turn the temperature dial in anticlockwise direction to the MIN position.
• Disconnect the iron from mains supply outlet.
• Holding the iron horizontally over a sink, press and hold the self-clean button.
CAUTION: Steam and boiling hot water will drain from the holes on the soleplate,
washing away any scales and minerals that have built up inside the steam chamber.
Take care not to burn yourself.
• Still holding the self-clean button, gently move the iron back and forth until the water
tank is empty.
• When the self-cleaning process is complete, release the self-clean button, rest the iron
back on its heel rest and allow it to cool down completely.
• Wipe the soleplate with a cold, damp cloth.
CAUTION: Always keep your skin/body away from the hot steam and water.
Manually cleaning the iron
• Disconnect the iron from the mains power supply and allow it to cool down
completely.
• Use a dampened cloth or non-abrasive sponge to remove any deposits off the
soleplate or the housing.
NOTE: Never use sharp or rough objects to remove deposits off the soleplate. Never use
abrasive cleansers, vinegar or descaling agents on any part of the iron.

13
Specications:
Model: GVASIS
Functions: Dry ironing, spraying, steam, vertical steam, burst of steam,self-cleaning.
Features: 350ml water tank capacity, stainless steel soleplate, adjustable thermostat.
Rated parameter: AC220-240V 50/60Hz 2000W
Type of fabric suited: Nylon,silk,wool cotton,linen
Made in China
Technical Specications

14

M.E.W. (Australia) Pty Ltd
15 Vaughan St
Essendon Fields VIC 3041
ACN 152 719 036
1300 725 885
gvaproducts.com.au
While every effort has been made in the preparation of this instruction manual, the publishers cannot be held
responsible for the accuracy of the information contained herein or any consequences arising from it.
Other manuals for GVASIS
1
Table of contents
Other GVA Iron manuals