2
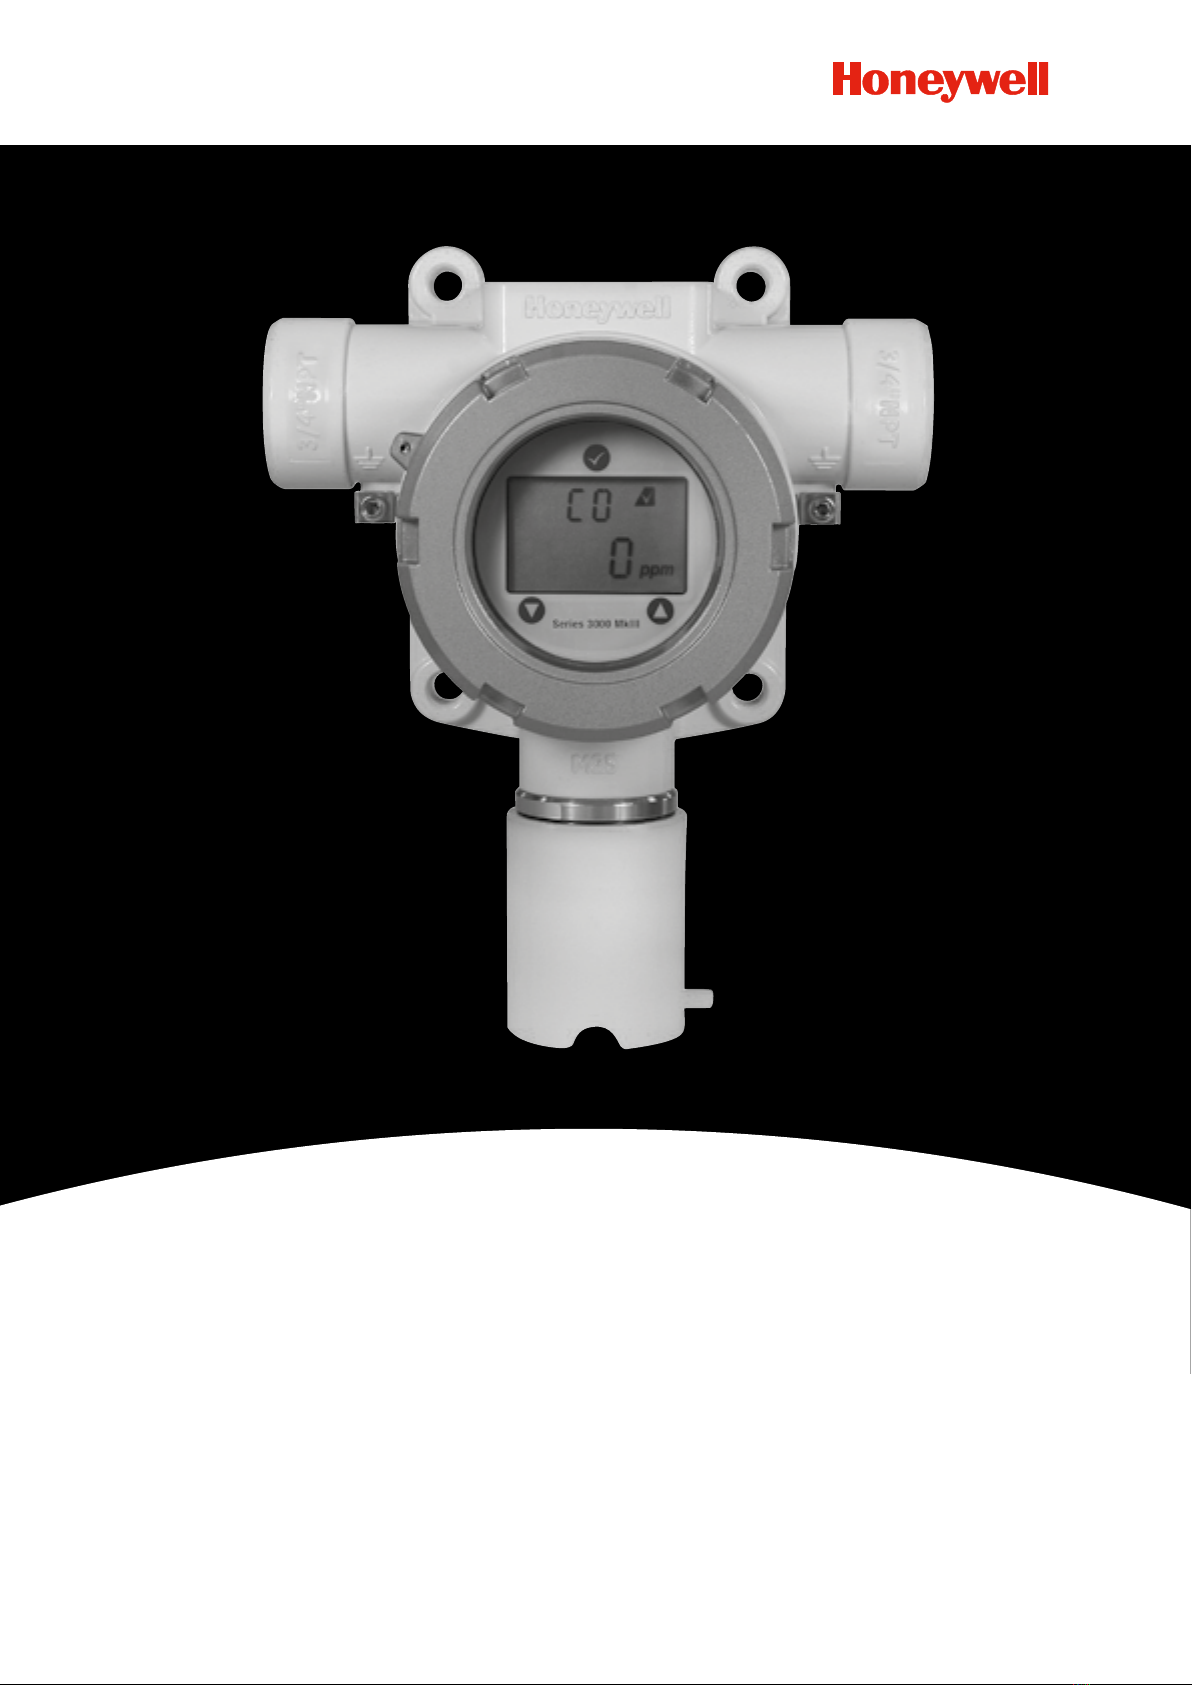
SERIES 3000 MKIII TECHNICAL MANUAL MAN0917_Issue 6_08/2015
1. Safety
Ensure that this Operating Manual is read and understood BEFORE installing / operating /
maintaining the equipment.
Pay particular attention to Warnings and Cautions.
All document Warnings are listed here and repeated where appropriate at the start of the relevant
chapter(s) of this Operating Manual.
Cautions appear in the sections / sub-sections of the document where they apply.
WARNINGS
• Series 3000 MkIII is designed for intrinsically safe installation and use in Zone 0 or 1 or 2 or 20 or 21 or 22
hazardous areas in Europe, and hazardous locations Class I, Divisions 1 & 2, Groups A, B, C & D; Class II,
Divisions 1 & 2, Groups E, F & G application in North America.
• Installation must be in accordance with the recognized standards of the appropriate authority in the
country concerned.
• Access to the interior of the detector, when carrying out any work, must only be conducted by trained
personnel.
• Before carrying out any work ensure local regulations and site procedures are followed. Appropriate
standardsmustbefollowedtomaintaintheoverallcerticationofthedetector.
• Toreduceriskofignitionofhazardousatmospheres,conduitrunsmusthaveasealttingconnected
within 18 inches of the enclosure.
• For intrinsically safe installation, to maintain intrinsic safety, the transmitter wiring must be routed through
a galvanic isolator or zener diode barrier which meets the entity parameters indicated in the control
drawing 3000G3303. The selected barrier shall be approved with intrinsically safe circuits for the hazardous
location class and group as appropriate for the application. The cable capacitance plus the transmitter
capacitance (Ci) must be less than or equal to the Ca (or Co) on the barrier. The cable inductance plus the
transmitter inductance (Li) must be less than or equal to the La (or Lo)on the barrier. The barrier must be
located in the non-hazardous area.
• Barrier enclosure must meet requirements of ANSI/ISA S82 for use in non-hazardous or Class I, Division
2, Groups A,B,C and D hazardous locations. Use a UL listed or NRTL approved dust tight enclosure and
conduitttingsappropriateforenvironmentalprotectioninClassII,Division2,GroupsFandG,and
Class III, hazardous locations.
• To reduce the risk of ignition of hazardous atmosphere, de-classify the area or disconnect the equipment
from the supply circuit before opening the detector enclosure. Keep assembly tightly closed during
operation.
• Never attempt to open a junction box / enclosure in potentially hazardous atmospheres.
• The detector must be earthed / grounded for electrical safety and to limit the effects of radio frequency
interference. An earth / ground point is provided inside and outside the unit. The internal grounding shall
be used as the primary equipment ground. The external terminal is only a supplemental bonding
connection where local authorities permit or require such a connection.
• The enclosure of the remotely mounted sensor assembly contains Aluminium.
• Care must be taken to avoid ignition hazards due to impact or friction when installed in a Zone 0 or 1 location.
• Take care when handling sensors as they may contain corrosive solutions.
• Do not tamper or in any way disassemble the sensor.
• Do not expose to temperatures outside the recommended range.
• Donotexposesensortoorganicsolventsorammableliquids.
• At the end of their working life, sensors must be disposed of in an environmentally safe manner. Disposal
should be according to local waste management requirements and environmental legislation.
• Alternatively, sensors may be securely packaged and returned to Honeywell Analytics clearly marked for
environmental disposal.
• Electrochemical cells should NOT be incinerated as they may emit toxic fumes.