7
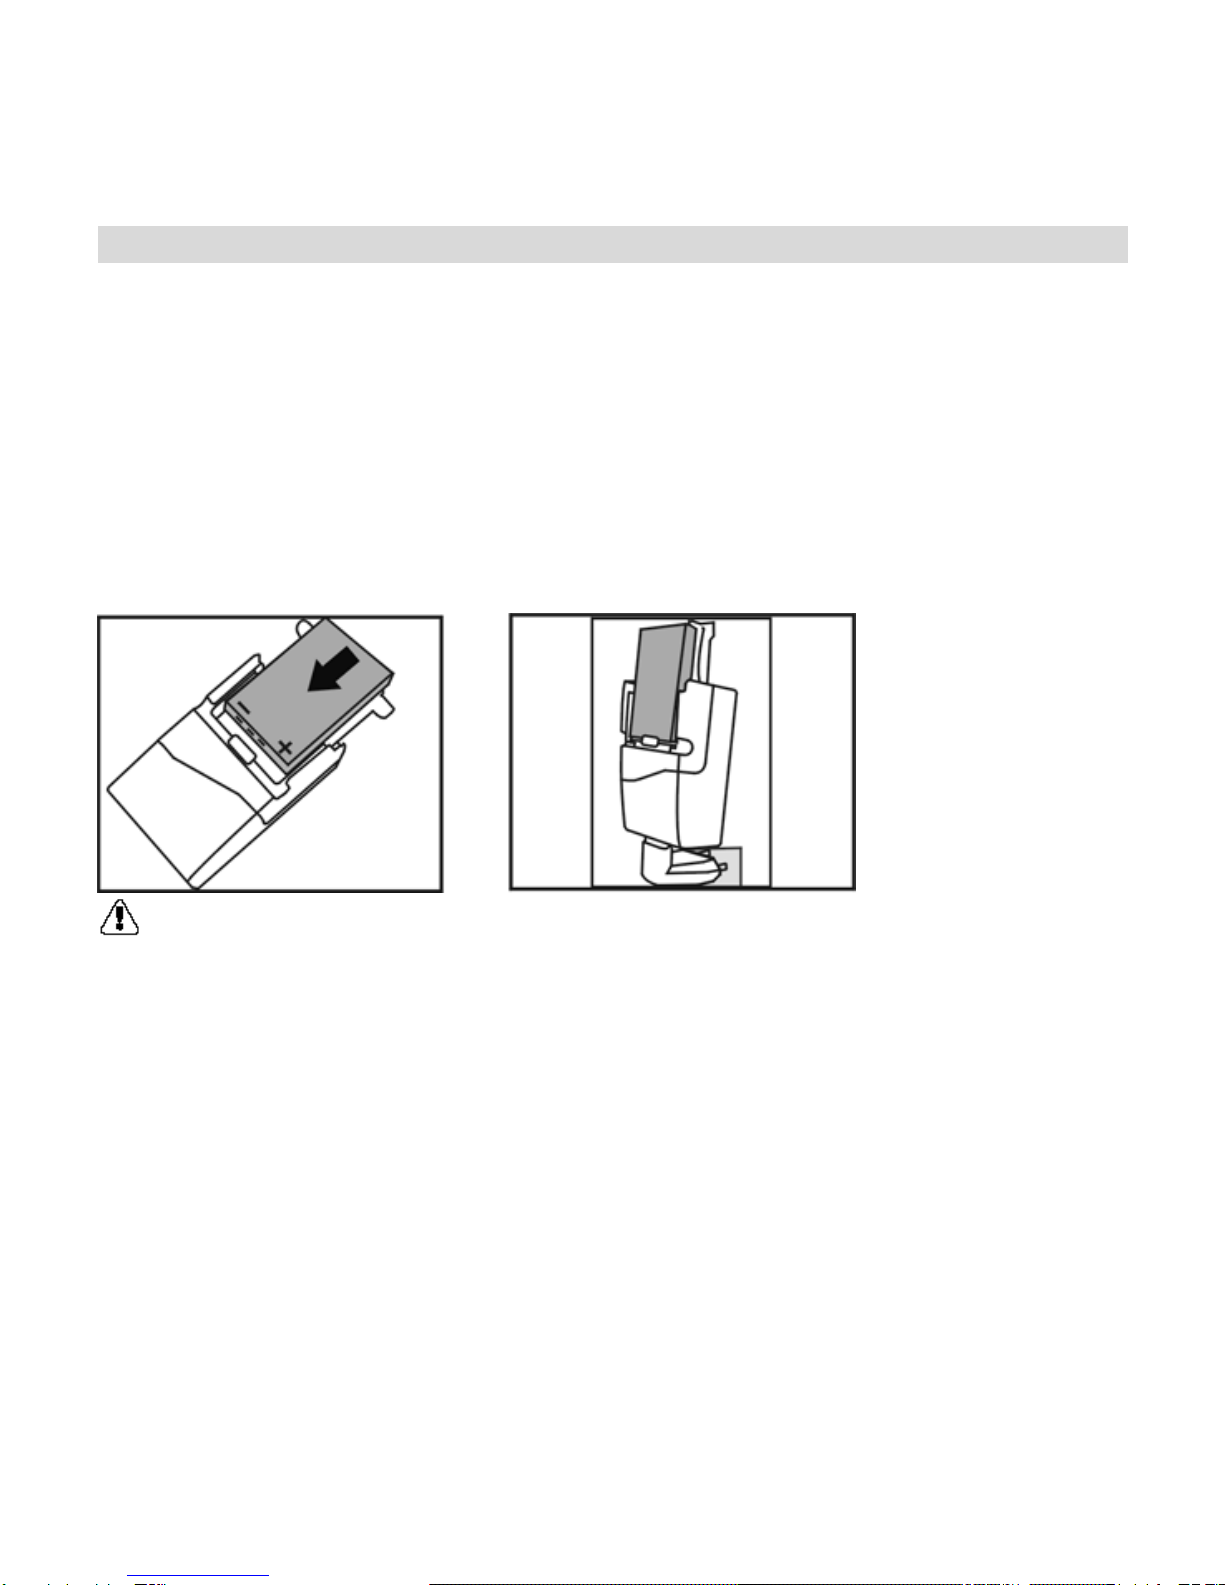
Charging the Battery Pack
The battery pack is not charged at the time of purchase and therefore needs to be
charged before use. If the battery charge becomes low while you are using the
camera, it is recommended to recharge it as soon as possible.
1. Connect the AC adaptor/ charger to a power outlet.
2. Insert the battery pack onto the charger. When installing the battery pack in the
charger, pay attention to the indicated polarity (+ and -), and insert it correctly.
3. When the battery pack is fully charged, remove it from the AC adaptor/ charger.
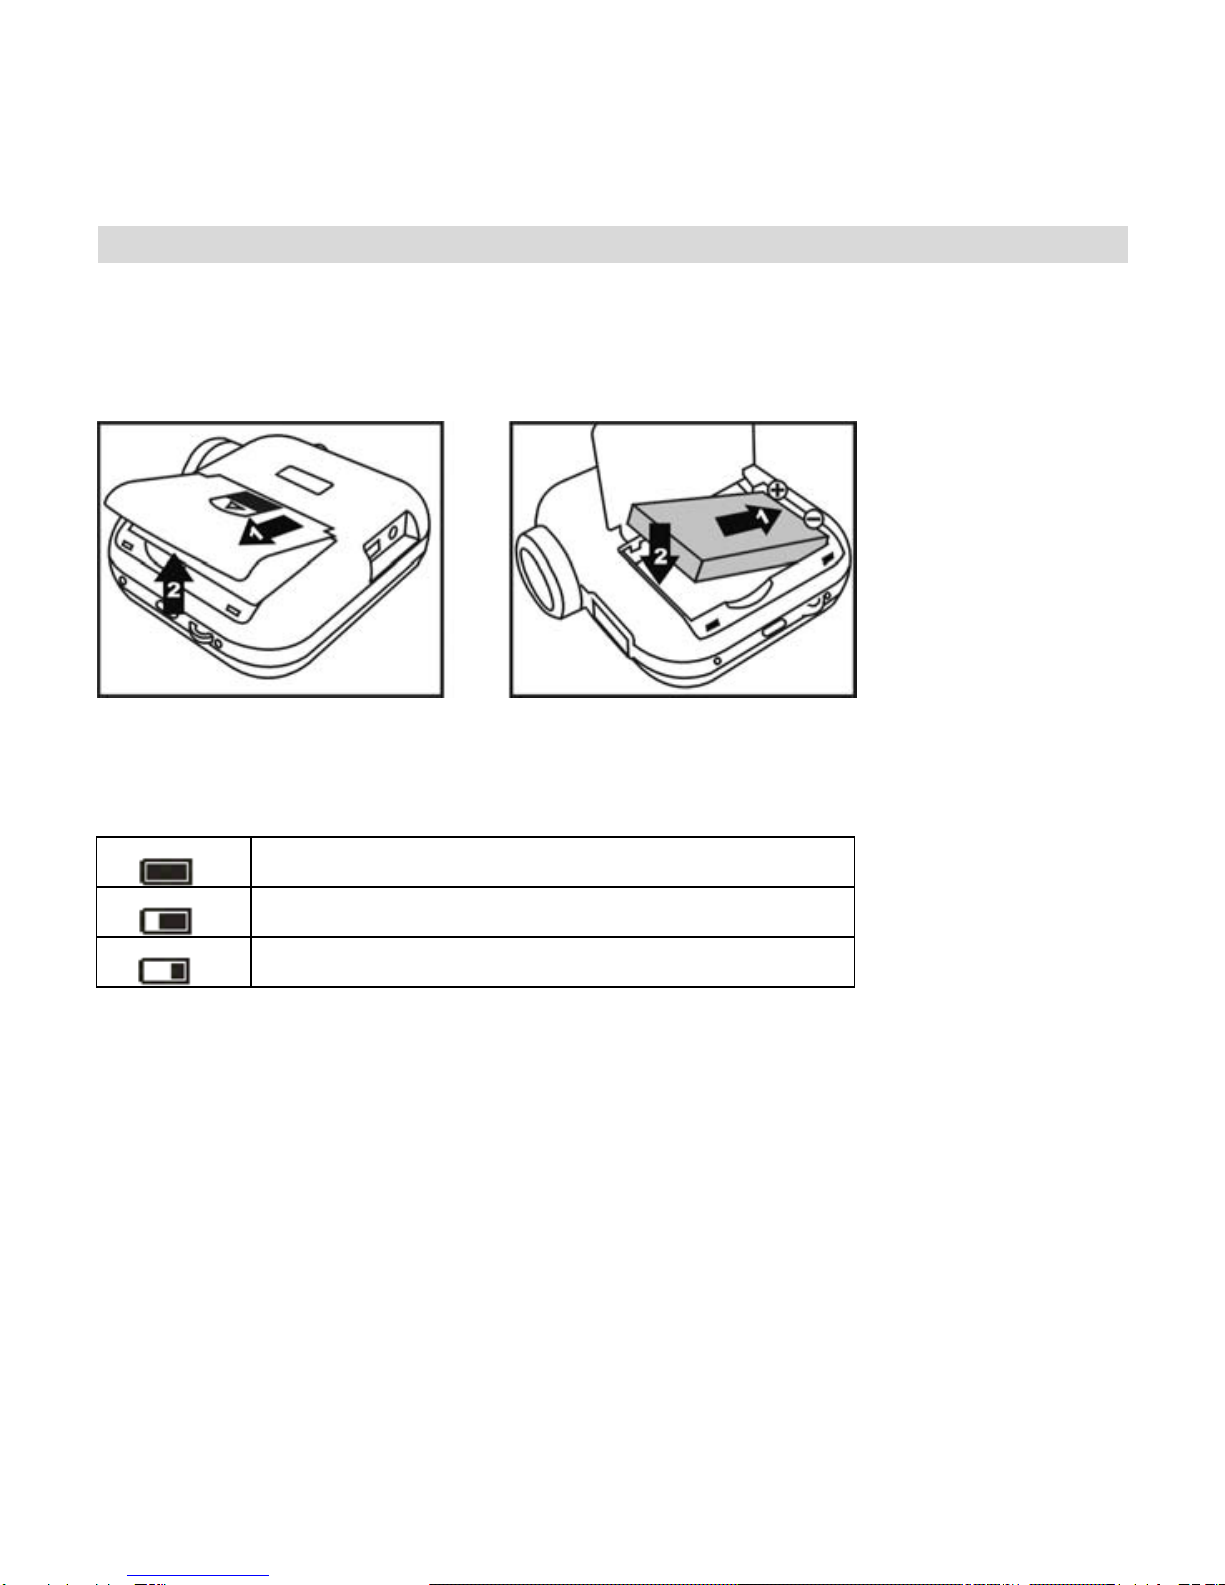
CAUTION!
* If there is leaking, discoloration, change of shape, rise in temperature, damaged
exterior, strange odor or any other abnormal condition, immediately discontinue
use and remove the battery pack form the camera, taking care to keep it well away
from fire.
* To conserve the environment and for efficient use of natural resources, please
discharge the used battery pack, cover the (+) and (-) terminals with tape and
recycle the insulated battery pack.
* If disposing of the battery pack as unburnable trash, please follow all applicable
regulations of your area.