INKSUPPLY.COM Stylus Pro 7600 Photographic Dye Ink User manual

Epson Stylus Pro 4000, 4800, 7600, 9600
Installation Instructions for the 4000, 4800, 7600, 9600
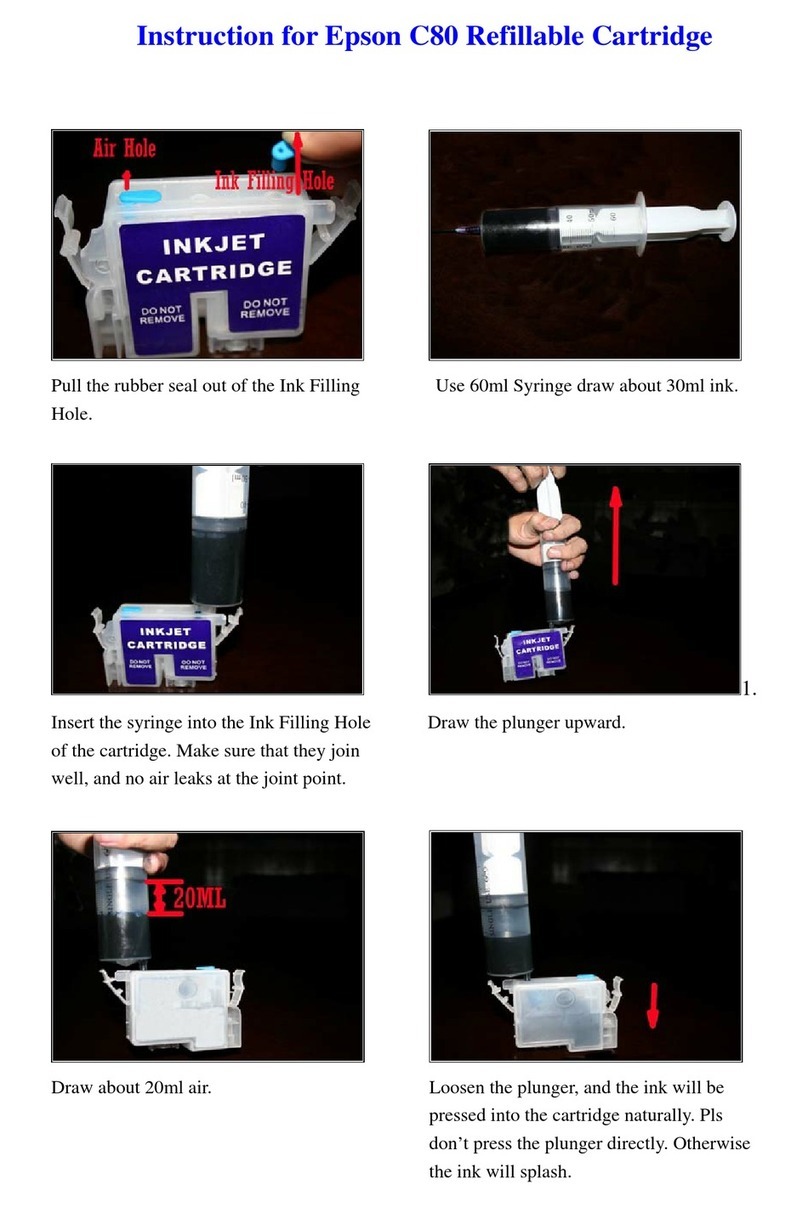
Fill the cartridge to approximately 90% full before installing in printer. Do not fill above the
vent hole on the end of the cart.
Remove the plug from the vent hole on the end of the cartridge. Then remove fill plug on
the top of the cartridge to fill with ink. Insert either the funnel or the spout on the Goose-
Neck fill bottle, and fill cart with ink. Go slow at first and tilt cart so air is not trapped at the
other end (septum end). Don't fill above the vent hole.
Install the small white Filter Element in the vent hole where the vent plug was previously.
Replace the larger fill plug on the top of the cart.
Use a syringe and bottom fill adapter (MIS-FADP) to extract a small amount of ink from
the end of the cartridge. This will remove any air bubbles trapped at the exit.
Ready to print. Install cartridge in printer and print, as you would with an Epson cartridge.
3000, 7000, 7500 Carts -
These Funnel Fill carts are also clear, but they do not have chips on them. Remove the
orange fill plug on the top of the cartridge to fill with ink. Insert either the funnel or the
spout on the Goose-Neck fill bottle, and fill cart with ink. Go slow at first and tilt cart so air
is not trapped at the other end (septum end). Don't fil
l above the vent hole. The vent hole is

on the end of the cart near the orange plug. Do not cover or block this small vent hole.
There is no mechanical tab to signal the printer that the cartridge is empty. So the printer
will not stop printing, but the monitoring system will warn you it is empty. DO NOT LET
THE CARTRIDGE RUN OUT OF INK.
Disabling the Epson Ink Monitoring System on 4000, 7600, 9600
The following procedures will let you disable or enable the ink monitoring system on the
printer. With the monitoring system disabled, you will be able to print continuously, but you
MUST NOT LET THE CARTRIDGE RUN EMPTY.
*Warning*
The following procedure will disable and enable the ink level indicator on Epson
4000/7600/9600 Wide Format printers. Disabling the ink level indicator will prevent the
printer from being able to recognize an empty cartridge condition. This could result in air
being drawn into the lines and possible damage to the print head. If the ink level indicator is
disabled the user must manually monitor the level of ink in the cartridges to prevent printer
damage.
The alternate to using this procedure is to use an MIS SK188 Chip Resetter. However, this
requires removing the cartridge from the printer and re-installing. This repeated "in and out"
can limit the life of the cartridge.
7600 & 9600 Ink Level Indicator Disable or Enable Procedure
1. Press the "<", "V", "enter" and "power switch" key on the panel together, then
power on. The LCD will display "VIEW CONFWTERS".
2. Press the "V" key twice. The LCD will display "SERVICE CONFIG".
3. Press the ">" key, the LCD will display "XXD".
4. Press the "V" key five times. The LCD will display "EDMODE".
5. Press the ">" key to find "*/O" in the LCD, then press the "enter" key. The count
function of ink level will be disabled. Or press the ">" key to find "*/X" in the
LCD, then press the "enter" key. The count function of ink level will be enabled.
6. Turn the printer off and on.
Note:
If the above procedure does not work, try the following.
1. Press the "<", "V", "enter" and "power switch" key on the panel together, then
power on. The LCD will display "VIEW COUNTERS".
2. Press the "V" button until the "Service Config" option appears.

3. Press the "<" once and then "V" to "EDMODE".
4. Press the "V" button to find "O" in the LCD, then press the "enter" key. The count
function of ink level will be disabled. To reverse the procedure choose "N" instead
of "O". The count function of ink level will be enabled.
5. Turn the printer off and on.
7600 & 9600 Print Head Cleaning Procedure
1. Press the "^", "V", "enter", and "power switch" key on the panel together, then
power on. The LCD will display "Cleaning".
2. Press the "V" twice to find "kk1,kk2".
3. Press the "enter" key to clean the print-head after the "kk2" display.
4. Power off and on after cleaning cycle is finished.
4000 Ink Level Indicator Disable or Enable Procedure
1. Press the "<", "^", "V", and "power switch" key on the panel together, then power
on. The LCD will display "SELF TESTING".
2. Press the "V" key. The LCD will display "SERVICE CONFIG".
3. Press the ">/enter;" key, the LCD will display "CHG DEVICE-ID".
4. Press the "V" key twice. The LCD will display "EDMODE".
5. Press the ">/enter" key, press "^" or "V" to find "*/O" in the LCD, then press the
"enter" key. The count function of ink level will be disabled. Or press the ">" key,
press "^" or "V" to find "*/X" in the LCD, then press the "enter" key. The count
function of ink level will be enabled.
6. Power off and on.
4000 Print Head Cleaning Procedure
1. Press the "<", "^", "V", and "power switch" key on the panel together, then power
on. The LCD will display "SELFTESTING".
2. Press the ">" and "enter" key, the LCD will display "Test".
3. Press the "V" key twice the LCD will display "cleaning".
4. Press the ">" key and "enter" key, the LCD will display "std kk0".

5. Press the "V" key twice, the LCD will display "std kk2".
6. Press the ">" key and "enter" key, the LCD will display "cleaning".
7. Power off and on again after cleaning is finished.
4800 Ink Level Indicator Reset - Or Resetting the Cartridge Chip
The 4800 Funnel Fill Carts have auto reset chips on them if the letters “ARC” appear on
the cartridge label. When the printer senses that the ink level is low, there will be a
flashing light on the console. This means that the level indicator is getting low. If it is
totally out of ink, the light will be on steady. These indicator lights may or may not
correspond with the amount of visible ink in the cartridge. It depends if you top them off
or not.
When the low ink light flashes, remove the cartridge by pulling back on it, far enough so
the printer can no longer contact the chip on the front of the cartridge. Wait a few
seconds, then re-insert the cartridge. This will reset the chip back to full. The flashing
light should go out.
If the 4800 Funnel Fill Carts DO NOT have auto reset chips on them if the letters
“ARC” DO NOT appear on the cartridge label. This indicates that a Standard and not an
Auto Reset chip is installed. When the printer signals that the cartridge is low on ink, use
the MIS SK188 chip resetter to reset the chip. The wide format chip resetter can be
found on this page on our website… http://www.inksupply.com/sk188.cfm
This manual suits for next models
4
Table of contents
Other INKSUPPLY.COM Printer Accessories manuals
