Müthing MU-H 100 User manual

Operating manual
Replacement Parts List
MU-H 100-200
EN
Original
www.muething.com
www.shop.muething.com
F
Edition 08.2016
Version 1.0
Reference number MU-H_BA-ET_1-0_2016-08_EN


Front and Rear
Flail-Mower
MU-H
Instruction Manual
Replacement Parts List
For tractors up to 64 KW ( 85 HP)
Please read before initial use and retain for future reference.
Müthing GmbH & Co KG Soest
Am Silberg 23 D - 59494 Soest
Tel. ( 0049 ) 02921 / 96510 Fax ( 0049 ) 02921 / 73080
www.muething.com / shop.muething.com
Edition 08 / 2016 – Version 1.0
Copyright 2001 by Müthing GmbH & Co KG Soest

2
Contents Page
1. Introduction 3
Registering the equipment 4
CE – Compliance declaration 5
Warranty registration 6
Instructions for use and reasons for retaining the Instruction Manual 9
2. General Safety Precautions 10
Appropriate applications 10
Traffic regulations 12
Safety and accident prevention 16
Warning and information signs 16
3. Useful information for Mowing Work 18
Fitting the correct cutting flail 18
Shredding bars usage 20
Engaging P.T.O. 21
Damage free guidelines for Flail-Mower and ground care 21
4. Operation 23
Delivery Checklist of the Flail-Mower 23
Installation of optionals and modifications 24
Mounting operations on to tractor/vehicle 25
Installation of P.T.O. shaft 26
Hydraulics 27
General checks and service information 28
Transport of the Flail-Mower 30
Operational setting 31
Operational instructions 33
Demounting the Flail-Mower 35
5. Cleaning, Servicing and Maintenance 36
General service information 37
Lubrication and maintenance schedule 38
Cutting flails conversion 38
Tensioning and replacing the drive belt 40
Oil level check and oil change 42
Overhaul work 44
6. Description of the Flail-Mower, Technical information 46
and Torque Setting Table
7. Replacement parts list 49
8. Faults, Fault Diagnosis and Solutions 68

3
1. Introduction
Dear Customer,
We would like to congratulate you on your choice of Flail-Mower from the Müthing range and wish to
thank you for placing your trust in us.
We will reward this trust by providing you with a Flail-Mower with good performance, high reliability
and an excellent customer service.
Contained within this message is a complete information package for your Flail-Mower including use
and maintenance instructions
The Maintenance Manual will provide you with all the necessary information required to care for the
Flail-Mower and informs you of all the necessary regulations required to minimise the danger to you
and to others when using this Flail-Mower.
We therefore ask you to read this Manual very carefully before using the Flail-Mower. Please
forward this information on to all the relevant persons who are to use this Flail-Mower or are
connected with its use.
By doing this, you will play a decisive part in ensuring that your Müthing Flail-Mower provides a
satisfactory service and reduces the chance of damage from incorrect use or from inappropriate
applications.
Please follow the following points:
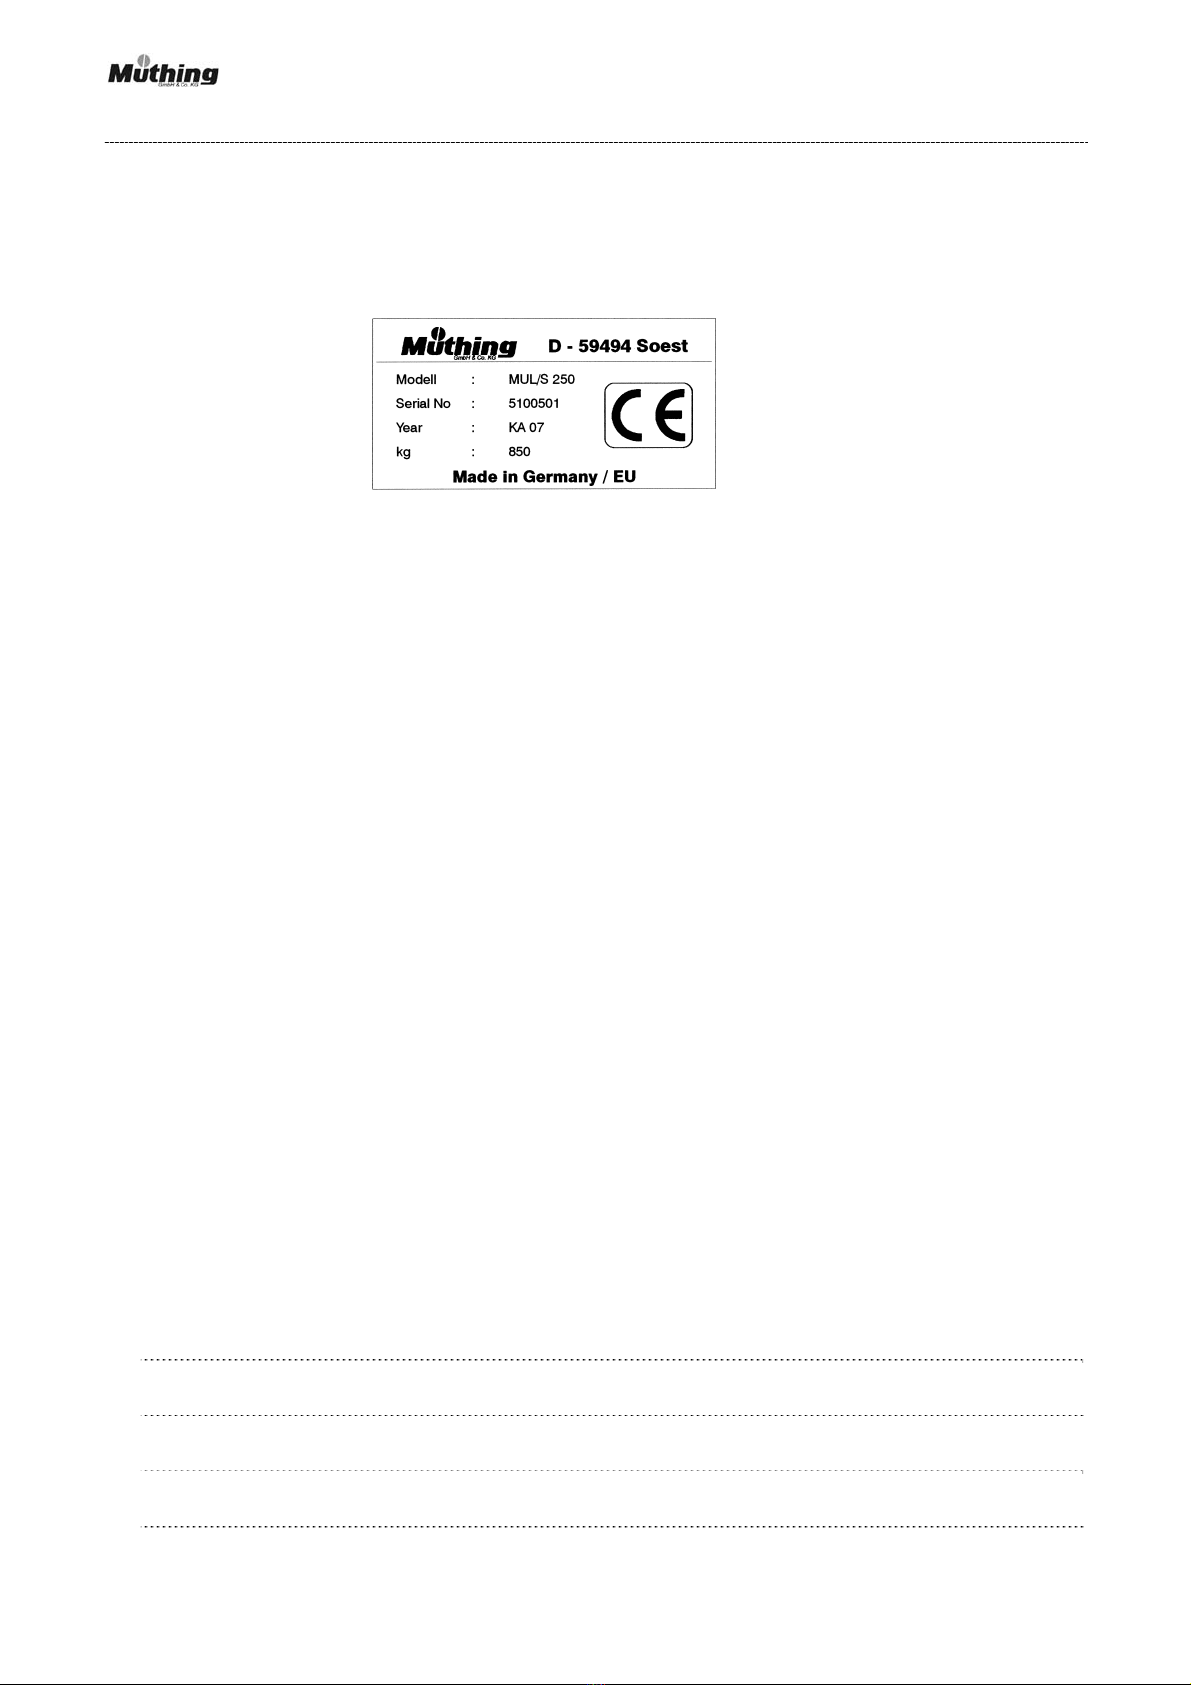
1. Fill out the details from the serial plate (model, serial number and year of
manufacture) as well as the delivery and acceptance dates on the following pages.
2. Complete the Warranty Certificate and send one copy to us. The second copy
should remain with the Instruction Manual.
3. Before initial use follow the general controls instructions, maintenance
procedures and tension the drive belts no later than 30 minutes after the initial
use.
4. Only engage and disengage the drive at low speeds. Once engaged, power can be
increased slowly to the maximum setting.
Please Note:
It is our aim, to constantly improve and develop the Müthing product range. Therefore we maintain
the right to include any improvements and changes to our product range that we find necessary
without notice. We have no obligation to make these improvements or changes to machines which
have already been sold.
All proposals, suggestions, questions and information from you will be welcomed and we ask that
you share any ideas so that we can work together with you, our customer, for the further
development of our machines and in return provide you with a better product.
Yours sincerely
Müthing GmbH & Co KG.

4
Registering the Equipment
Please register the information of your equipment and that of the fitted drives which is to be
found on the serial plates. The serial plate for the drive is on the gearbox and the serial plate for
the Flail-Mower is on the left-hand outer side at the rear of the casing and is in the following
format.
Model/Type: …………………………………………………
Serial number: …………………………………………………. (the serial number
can also be found
…………………………………………………. on the machine
itself under the
drive belt cover)
Year of manufacture: …………………………………………………
Description: …………………………………………………
The following information could be useful in the future:
Machine bought by: …………………………………………………
First used on: …………………………………………………
Oil and grease used: …………………………………………………
Additional information :

5
CE –Compliance declaration
EC – Declaration of conformity
pursuant to EC Guideline Machines 2006/42/EG, Appendix IIA
-Original-
Product:
Type:
Flail mower
MU-H
For mulching grass and light vegetation and for chopping organic crop residues (maximum
finger-thick) above ground.
Manufacturer:
Address::
Müthing GmbH & Co KG Soest
Am Silberg 23 - D 59459 Soest
We confirm that the above product conforms to the following guidelines and standards:
2006/42/EG
Safety of machinery, Machine guideline
EN 12100 - Part 2
Safety of machinery –
technical guidelines
EN ISO 4254-1
Agricultural machinery – safety
Part 1 pursuant requirements
EN 13857
safety distance to the hazard area to protect the
upper and lower limbs
EN 982
Safety Hydraulic system
EN 12100 - Part 1
Safety of machinery –
terminology, methodology
EN 745
Agricultural machinery - rotary mowers and
flail mowers - safety
EN 13524
Machinery for use on roadways - Safety
requirements
EN 349
Safety distance to protect crushing of body
parts
Soest, 25.08.2016
Christian Jungmann
CEO and authorised person for compiling technical documentation

6
Warranty Registration
(to remain with the customer)
Surname: ……………………………………… First Name: ……………………………………..
Address: …………………………………………………………………………..………………………..
Postcode (Zip code): ……………………………. Country: ……………………………………
Telephone: ..…………………………………….. Fax: ……………………………..……..
E-Mail: ……………………………………… Date: …………………………………….
Customer copy (Please keep this copy attached to the Instruction Manuel.)
I hereby confirm that I have purchased a Müthing-Flail-Mower. The delivery was complete and
included an Instruction Manual with Replacement Parts List and Instructions for Use.
I confirm that I have read and understood the Instruction Manual and agree with its contents. This
includes the chapter on General Safety, Acceptance and Warranty.
Flail-Mower Model: ……………………………. Drive: …………………………………….
Working width: ……………………………
Serial number: ..…………………………..
Year of manufacture: ……………………………
Delivery date: ……………………………
Delivered by: ………………………………………………………………..………………………
…………………………………..…………………………………..……………….
……………………………………. ………………………………………………..
Signature: Firm stamp and representative's signature
To comply for the full 9 points listed in the Warranty from Müthing Soest this form must be returned
within 10 days of delivery of the Flail-Mower.

7
Warranty Registration (Please return to Müthing)
Surname: ……………………………………….. First Name: …………………………………..
Address: ………………………………………..…………………………………..……………………
Postcode (Zip code): ………………………...
Firma Country: …………………………………..
Müthing GmbH & Co KG
Am Silberg 23 Telephone: …………………………………..
D – 59494 Soest Fax: …………………………………..
E-Mail: …………………………………..
Date: …………………………………..
I hereby confirm that I have purchased a Müthing-Flail-Mower. The delivery was complete and
included an Instruction Manual with Replacement Parts List and Instructions for Use.
I confirm that I have read and understood the Instruction Manual and agree with its contents. This
includes the chapter on General Safety, Acceptance and Warranty.
Flail-Mower Model: ……………………………. Drive: …………………………………….
Working width: ……………………………
Serial number: ..…………………………..
Year of manufacture: ……………………………
Delivery date: ……………………………
Delivered by: ………………………………………………………………..………………………
…………………………………..…………………………………..……………….
……………………………………. ………………………………………………..
Signature: Firm stamp and representative's signature
To comply for the full 9 points listed in the Warranty from Müthing Soest, this form must be returned
within 10 days of delivery of the Flail-Mower.

8

9
Instructions for use and reasons for keeping this Instruction Manual
This Instruction Manual and Replacement Parts List should be considered as an
important part of your Flail-Mower and as such kept in a safe place. In the event of the
Flail-Mower being sold on, the Instruction Manual should be included in the sale.
The Instruction Manual should be kept “ready to hand”, so that it can be referred to during
its use.
The Instruction Manual should be read carefully before the initial use. Each chapter is a
complete document in itself and can be referred to later for specific applications.
The information contained within the Instruction Manual should be read by all persons
who are to work with the Flail-Mower or who are connected with the working of the Flail-
Mower. It is advisable to check that all these persons have understood the contents of
this Instruction Manual.
Special attention should be paid to Safety Instructions and the Danger warnings that are
applicable when using the machine.
Complete the warranty form with the Model, Serial Number and Year of Manufacture and
return it to us as soon as possible.
When working on or with a P.T.O. shaft it is necessary to read the P.T.O. shaft Instruction
Manual.
Before fitting any additional units to a tractor, it is essential that the tractor's Instruction
Manual is read first.
The Instruction Manual includes the essential Information for the safe use of the Machine.
The practical experience that you as a user gain is equally important.
The information contained in this Instruction Manual and Spare Parts List is attached to a
product that we are developing. Therefore we must hold the right to include any
improvements and changes to our product range that we find necessary without notice.
We are under no obligation to make these improvements and changes to machines that
have already been sold or to their Instruction Manual.
When enquiring after replacement parts, please enclose the machine details. This is
especially important for older machines so that we can be sure that we can identify the
component that you require and avoid an incorrect delivery.
For further information please contact us directly and we shall be happy to help you.

10
2. The following words “Attention!” and “Please Note!” are often
used in the following chapters and carry the following meaning.
Attention ! Special functions, information, instructions or restrictions for the protection
of persons, materials and the prevention of accidents.
On seeing this word there is a possibility of personal injury or damage. Please
read the paragraph closely and pass on the information to all other persons.
Please Note! Special function, efficiency characteristic or commercial feature of the
machine.
Appropriate Applications
The Müthing Flail-Mower has been built to meet all the latest safety regulations. Despite this, there still
remains a danger to life and limb as well as damage to property, the tractor and the Flail-Mower itself if
the Flail-Mower is used for unsuitable applications or misused.
The Flail-Mower can only function safely, efficiently and technically problem free if the Instruction
Manual is followed closely.
Attention ! Only a trained mechanic should rectify damage that can effect the safety
and operation of the Flail-Mower.
The Flail-Mower has been designed specifically for grass and similar light undergrowth, such as the
trimming of plant stems to within a finger width from the ground.
The Flail-Mower is only suitable for Mowing flat areas and such as ditches, slopes, path edges and
dikes etc. in farming, landscape gardening or communal areas. Generally speaking a Flail-Mower can
only be used where the whole Flail-Mower casing is parallel to the ground at the absolute minimum
distance. There are no other acceptable uses for a Flail-Mower. If used for another application then
the user alone is responsible for any resulting damage.
Attention ! The Flail-Mower should never be used to break up or loosen the ground or
any other such ground orientated work.
Included in the Appropriate Applications section is the compliance with the manufacturer's guidelines on
acceptable applications, servicing and repairs and the servicing schedule.
The Flail-Mower may only be serviced or repaired by someone who has an in-depth knowledge of its
technical characteristics and is aware of the necessary safety precautions.
It is advisable to practise the separate working stages several times, so that you are familiar with the
effect that the Flail-Mower has on the tractor, before carefully beginning the first jobs.
All Accident Precaution Regulations and Health and Safety Regulations as well as Traffic Regulations
must be complied with.

11
Children, teenagers or other persons who are not familiar with the Instruction Manual must never use
the Flail-Mower.
Attention ! The carrying of persons on the Flail-Mower is not permitted even without
the motor running. No one should stand on the Flail-Mower without the
Flail-Mower being suitably supported. When starting and during use it is
forbidden for a person to be in the danger area of the Flail-Mower.
The safe distance for people to stand behind the Flail-Mower is 80 meters.
The Flail-Mower may not be used at night or in bad visibility.
No changes or alterations may be made to the Flail-Mower without our consultation and written
permission. This is especially important for all the safety devices.
Attention ! Existing safety devises must not be removed or altered.
Changes and alterations will result in a loss of the warranty and legal action in the event of
damage or injury to a third party by the user.
Attention ! The Flail-Mower is restricted to maximum tractor performance. The use of
a more powerful tractor can damage the Flail-Mower. Such damage is not
covered by the warranty.
Before using the tractor and Flail-Mower make yourself familiar with its
characteristics and be sure to read the tractor and Flail-Mower Instruction
Manuals.
Please Note ! Only fit original Müthing replacement parts. These ensure a perfectly
fitting quality component and preserve your Warranty.

12
Traffic Regulations
As soon as the fitted Flail-Mower ventures onto the public roads it must comply with the relevant
National Road Regulations.
Tractors with fitted Flail-Mower must be checked before entering onto a public road in respect to
weight and axle loads.
Attention ! If the Flail-Mower is fitted on the rear, the front axle might be under loaded
and require an additional front weight fitted.
If the Flail-Mower is fitted on the front, the rear axle might be under loaded
and require an additional rear weight fitted.
Please ensure that the maximum weight and permissible axle loads are
not exceeded.
Please check the handling, stability, steering and the braking performance of the tractor with the
Flail-Mower and counter weight attached and if necessary adjust until the tractor is well balanced.
Be careful when turning corners at speed.
Attention ! When transporting the Flail-Mower always ensure that the tail lights of the
tractor are not obscured, the Flail-Mower is in the middle transport position
and the transport lock is activated.
Fit all necessary warning plates and additional lights.

13
Safety and Accident Prevention
The majority of accidents that happen during working, transport, fitting, removal and servicing are a
consequence of ignoring the most elementary rules. Therefore it is necessary that all persons who
are to use the Flail-Mower, whether they be the buyer, a family member, an employee or from an
external source must fully understand the following safety rules, recognise the warning signs fitted
to the machine and follow the safety instructions to the letter.
Follow the information included in the Instruction Manual as well as the general safety and
accident prevention regulations.
Read the Instruction Manual before beginning and make yourself familiar with all the
functions of the machine.
Before each working shift, check that the Flail-Mower is safe for transport and safe to work
with.
Ensure that the machine is properly located and secured onto suitable mountings. To avoid
being crushed never step in between the tractor and the Flail-Mower.
Attention ! Check carefully that after fitting the Flail-Mower the lower linkage of the
tractor is properly secured.
Ensure that the Flail-Mower is perfectly fitted to the tractor, that the mountings for the cutting
flails are in good condition and all safety devices are secure before each working shift.
Check all screwed elements for security and where necessary tighten.
Attention ! Only P.T.O. shafts that have been approved by us may be used. The
Instruction Manual from the P.T.O. manufacturer must be consulted
before fitting.
Only start work when you have checked that all protective devices are fitted and secure, the
P.T.O. shaft is fully operational and that all locating elements of the moving parts have been
secured with a split/clinch pin. Ensure that all protective chains and linkages at the front of
the machine move freely.
When lowering the Flail-Mower from the transport position to the working position or lifting
into the transport position, please observe the required safety distance to prevent injury to
others.
When working or transporting the machine it is always important to ensure that the centre of
gravity of the Flail-Mower is so positioned that the stability of the machine is not impaired.
Attention ! The middle position for transport is always to be used. This applies for
all Flail-Mower mounting positions be it at the front, laterally or at the
rear. This minimises the danger from tipping over or from the lights
being covered. Always use the transport lock.

14
Before engaging the Flail-Mower`s drive and during use always ensure that the danger area
behind the Flail-Mower is clear. Please give special consideration to children.
Attention ! Danger from flying parts or foreign objects!
Inform all persons that you are about to engage the drive to the Flail-
Mower and that the danger area of 80m behind the Flail-Mower is clear.
Also check that the plate guards or chain guards are fitted and intact.
Attention ! Danger from rotary machine parts! Never allow hands, feet, long hair
or clothing to come in contact with any of the rotary components. Do
not touch the rotor, the support wheels or any part of the drive system.
Please wear close fitting working clothes and avoid wearing loose fitting
jackets, skirts or trousers.
Never leave the Flail-Mower running without someone in attendance.
Exercise great caution when working uneven land.
If the Flail-Mower becomes damaged turn off immediately. Turn the tractor off and remove
the key and repair the damage or have the Flail-Mower repaired before further use.
In the case of a blockage never try to remove the offending object before the Flail-Mower
has been disengaged and the tractor turned off, key removed and ensure all turning parts
have come to a complete stand still.
Attention ! After disengaging the Flail-Mower drive, The momentum will ensure
that the rotor will remain turning for short time. DANGER! Never stand
close to the Flail-Mower until you are sure that all turning parts have
come to a complete stand still.
Repair all damage to the P.T.O. shaft before restarting work with the machine.
Before transporting the Flail-Mower always bring the Flail-Mower into the middle transport
position and activate the transport lock.
Before leaving the tractor, place the Flail-Mower on the ground, turn the tractor off, remove
the key and ensure that the handbrake is on.
Nobody should stand in between the tractor and the Flail-Mower without first ensuring that
the handbrake is on or the tractor wheel is wedged, so as to prevent the tractor from rolling
away.
Before fitting or removing the Flail-Mower ensure that the three point linkage is secured to
prevent unintentional lifting or lowering of the linkage.
Before removing the Flail-Mower, remove the universal shaft from the P.T.O. and, where
applicable, remove the hydraulic pipes and place in the holders provided.

15
Before beginning any work, always place the Flail-Mower on the ground, disengage the
drive, turn the tractor off, remove the key and ensure all turning parts have come to a
standstill. When working or inspecting the Flail-Mower ensure that it is not possible for the
machine to be turned on.
Attention! Before starting to work on the the Flail-Mower, disengage the drive,
place the Flail-Mower on the ground, turn the tractor off, remove the
key and ensure that the handbrake is on.
When undertaking work such as repairs, maintenance or removing blockages, where the
machine has to be lifted for ease of work, suitable supports or locking device should be
used.
Attention! Never work under unsupported loads.
All connections that have been removed or loosened during servicing or maintenance must
be tightened, then after a short period, checked for security.
The Flail-Mower should be inspected regularly for signs of damage and defects. This
applies especially to the cutting flails and their mountings which should be checked for signs
of cracks, breaks or excessive wear and tear.
Attention! If signs of cracks, breaks or excessive wear and tear are found on the
cutting flails or mountings they should be replaced immediately. If a
cutting tool or mounting breaks during use the flying parts could cause
injury.
We recommend that the Flail-Mower be inspected by a specialist technician/mechanic at
least once a year to ensure that critical components such as the cutting flails, tool mountings
and drive belts are properly checked.

16
Warning and Information Signs
Please take a note on all Operation Warning Signs on the Flail-Mower.
Please note the Information Signs for all service and maintenance of the Flail-Mower such as
grease points, oil level and the drive belt tensions.
Damaged Warning and Information Signs should be immediately replaced with spare signs located
within the Replacement Parts List.
Please remove all dirt, oil, dust and grease ensuring the surface is clean and dry, before sticking
Replacement Signs onto the Flail-Mower
When fitting new components as part of a repair the necessary signs will need to be fitted to the
replacement part.
Warning and Information Signs on the Flail-Mower
You will find Warning or Information Signs on certain points on the Flail-Mower, these indicate
danger, required maintenance work or information about how to use the Flail-Mower.
You will find the Warning and Information Signs together with their positions and a short
description on the following pages.
Positions of Warning and Information Sign on the Flail-Mower.
12 4 11 10 7 6 3 12
2 5 1 9 8

17
1 Serial plate
2 Important information. Read and take note.
3 Read the Instruction Manual
4 Keep a distance of 80m. Danger Area!
5 Rotary Parts, risk of injury, keep hands and feet clear.
6 Before operation read the Instruction Manual. Park the
tractor and remove key.
7 Rotary parts/drive belt, do not touch, risk of injury.
8 Stop, do not touch, aggressive cutting flails, risk of injury.
9 Drive belt tension 10mm travel by 6 kg pressure.
10 Gearbox speed 540 rpm.
11 Use SAE 90 EP Oil
12 Grease points.

18
3. Useful information for Mowing Work
Mowing is a method of cutting vegetation, which combines several processes in one with the
reduction of the vegetation which is to remain on the ground in an energy, work and cost saving
way.
This provides quick rotting and composting of the biological substance ensuring the re-circulation of
the nutrients directly into the soil leading to an additional build up of humus. This will in turn improve
the biological environment and has a positive effect on the water balance.
If the biological substance should be removed from the surface for various reasons (sufficient soil
quality, hindrance of a second crop, or for nature preservation reasons) the cuttings are compacted
for transport, easy to store and turn to compost quickly.
The optimal composting substance is dependent on the Flail-Mower settings with the wide range of
cutting sizes and variable height control ensures the optimal substance.
When the mowing must be completed quickly it is also possible to increase the driving speed and at
the same time save energy through a lower energy requirement providing the quality of cut still
meets the required standards.
Finding the optimal performance isn’t easy, but as a rule the working performance can be improved
by following the points in the next chapters.
Fitting the correct cutting flail.
Various cutting flails can be used depending on the vegetation (grass, harvest remains, twigs and
woody materials, bushes with various foreign objects), but in most cases the original Müthing “M”-
Hammer Flail has proved itself more than adequate in all the above mentioned cases.
The Müthing “M”- Hammer Flail with wide, self-sharpening straight cutting edge for a clean cut is
the middle weight at 1150g and can cut material without any problem up to a thickness of 5-6cm .
The Müthing “M”- Hammer Flail with its reinforced rib for increased fracture prevention and
specialised mounting can swing backwards when meeting foreign objects but still provides, through
the centrifugal force, a high cutting resistance and gives a quality cut.
This cutting tool is suitable for all jobs where value is placed on an even, clean cut, good material
reduction and high throughput.
This quality of work can require, under difficult working conditions, higher energy requirement and/or
slower driving and working speeds, to obtain the same quality of cut.
It is also important to note that ground with a high foreign object content, as found on stony ground
or when working along road edges, can limit the effectiveness of the “M”- Hammer Flail. In these
case it has proved beneficial to use one of the following variations.
The shackle attached Müthing “L” Flail also has a straight cutting edge and special hardening to
provide a level cutting pattern. The Müthing “L” Flail is slimmer than the Hammer Flail and on
coming in contact with foreign objects can be deflected in all directions to minimise the impact
through its shackle attachment.
The Müthing “L” Flail is a lighter tool, therefore it produces a lower working centrifugal force which
is beneficial when coming across foreign objects and is still sufficient to provide a stable cutting
This manual suits for next models
8
Table of contents
Popular Lawn Mower manuals by other brands

Cub Cadet
Cub Cadet GSS-1291 owner's manual

Husqvarna
Husqvarna LC 142iS Operator's manual

Gude
Gude Big Wheeler 554.1 R LI-ES Translation of the original instructions

Jacobsen
Jacobsen 63280 PGM 22 Technical manual

Toro
Toro Greensmaster 3420 TriFlex Operator's manual

Craftsman
Craftsman 917.271651 owner's manual