Musical Surroundings NOVA III User manual

MUSICAL SURROUNDINGS
NOVA III
PHONO PREAMPLIFIER

!2
OWNER’SMANUAL
TABLE OF CONTENTS
1.0) INTRODUCTION……………………………………………………………..3
2.0) EXTERNAL CONFIGURATIONS SETTINGS………………………………4
2.1) BASIC GAIN SETTINGS………………………………………………….4
2.2) ADVANCED GAIN SETTINGS CHART……………………….…………4
2.3) BASIC INPUT LOADING…………………………………………………5
2.4) ADVANCED INPUT LOADING SETTINGS CHART………….………..5
3.0) AUDIO CHASSIS PLACEMENT…………………………………………….6
4.0) POWER SUPPLY………………………………..……………………………6
5.0) AUDIO INPUTS AND OUTPUTS……………………………………………6
6.0) USING YOUR NOVA III..…………………………………………………….7
6.1) SUBSONIC FILTER MODE………………………………………………7
6.2) MUTE MODE..……………………………………………………………7
7.0) WARRANTY INFORMATION.………………………………………………8
8.0) OPTIONAL LINEAR CHARGING POWER SUPPLY………………………8!

3
1.0) INTRODUCTION
Our 3rd generation Michael Yee design, the Nova III features an updated discrete,
dual mono audio circuit with maximum 65dB of gain and a new power supply
design that Yee describes as “effectively eliminating the wallwart”. The Nova III
incorporates a large, regulated power supply providing greater dynamics and image
dimensionality, instead of batteries as in previous generations. Further performance
enhancements are available by adding the optional $650 Linear Charging Power
Supply, originally developed for our $5,000 SuperNova III.
Featured AUDIO CIRCUIT highlights:
•Discrete dual-mono circuit
•Super Matched Pair/Low Noise input devices
•Multiple gain settings on rear panel with 65dB maximum
•Extensive resistive loading settings on rear panel
•Improved Ground System
•Micro-processor control for Mute and Subsonic functions
•Michael Yee proprietary Subsonic filter
NEW POWER SUPPLY design:
•Super Low Noise voltage regulation
•Isolated DC to DC converter
•Dual Inductor de-coupling
•10 x 1000µƒ capacitors for 10,000µƒ of regulation
•Made in California
The Nova III is a complete phonograph preamplifier with RIAA equalization that
amplifies the output signal of either a moving coil or moving magnet phono
cartridge to a nominal “line level”. The Nova III may be used with a receiver or an
integrated amplifier. If you use separate components, a line level control unit
(preamp) is required before the power amp, since there is no built-in volume
control for the Nova III. The Nova III’s power supply is external and connects to the
wall with the supplied wall mount transformer.
The Installation of the Nova III is quite simple and involves:
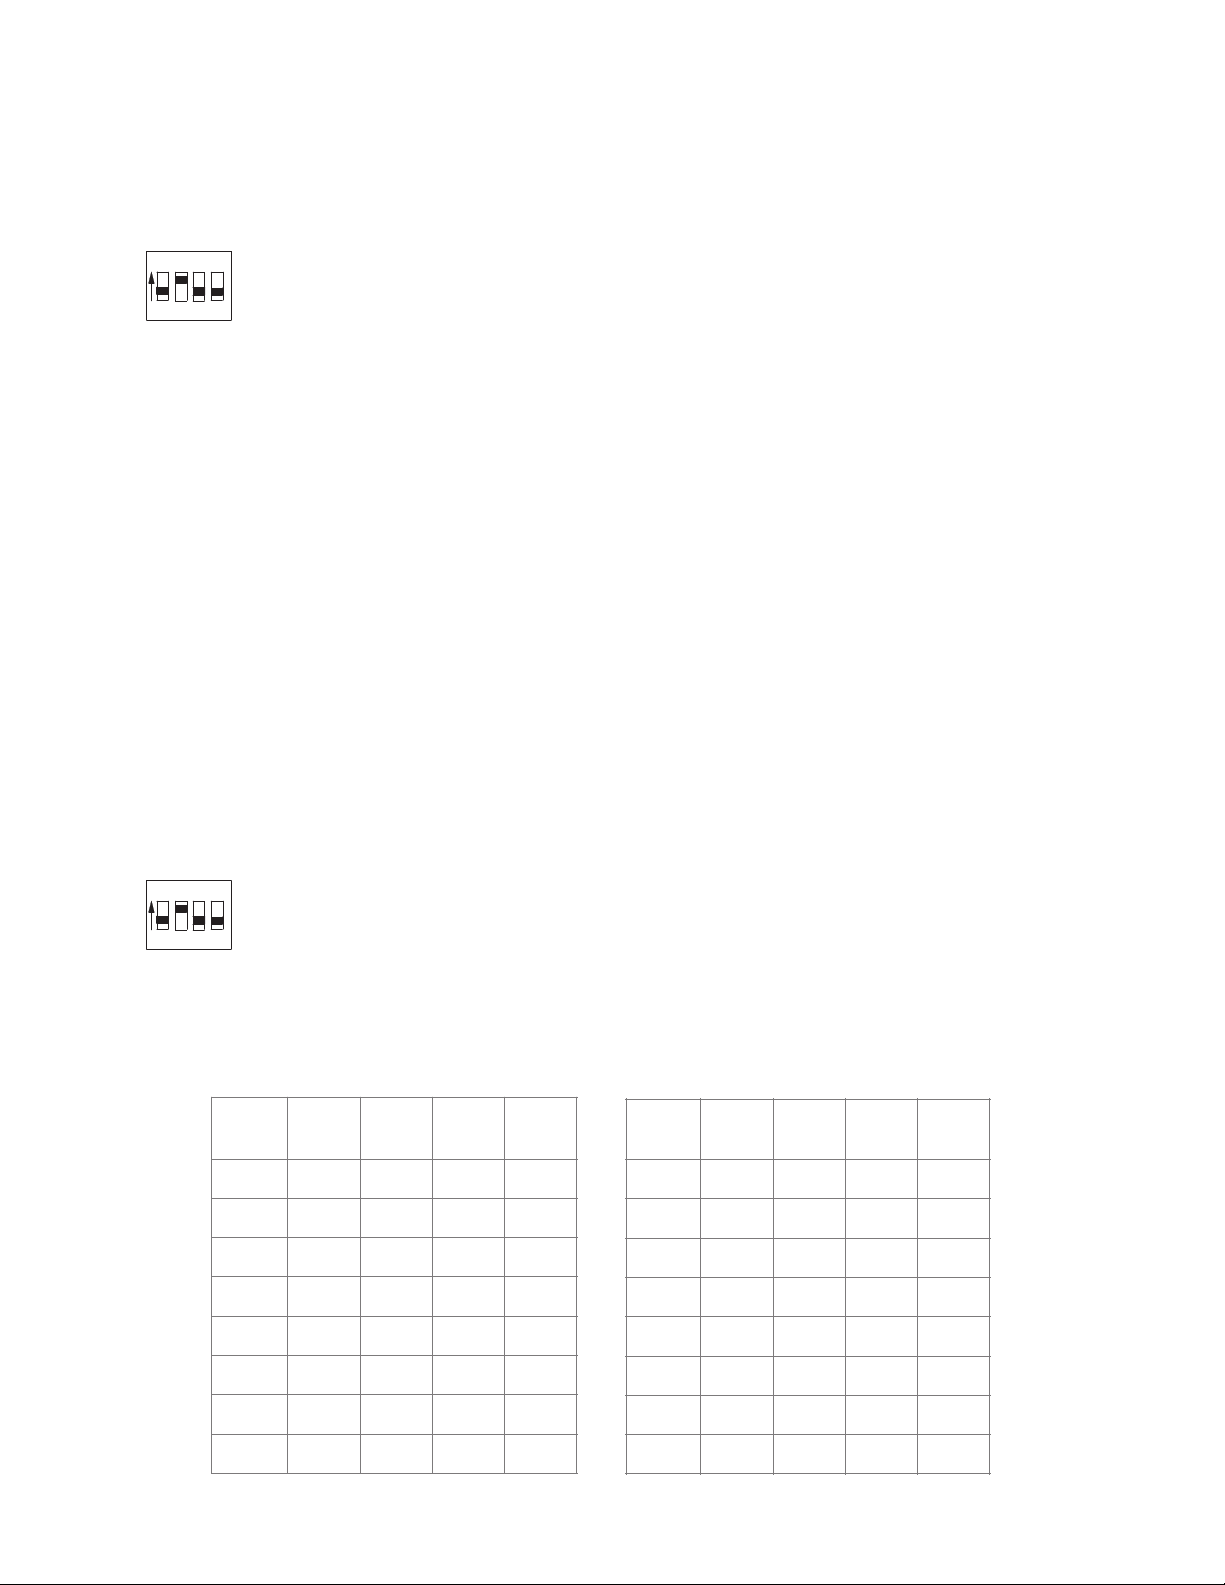
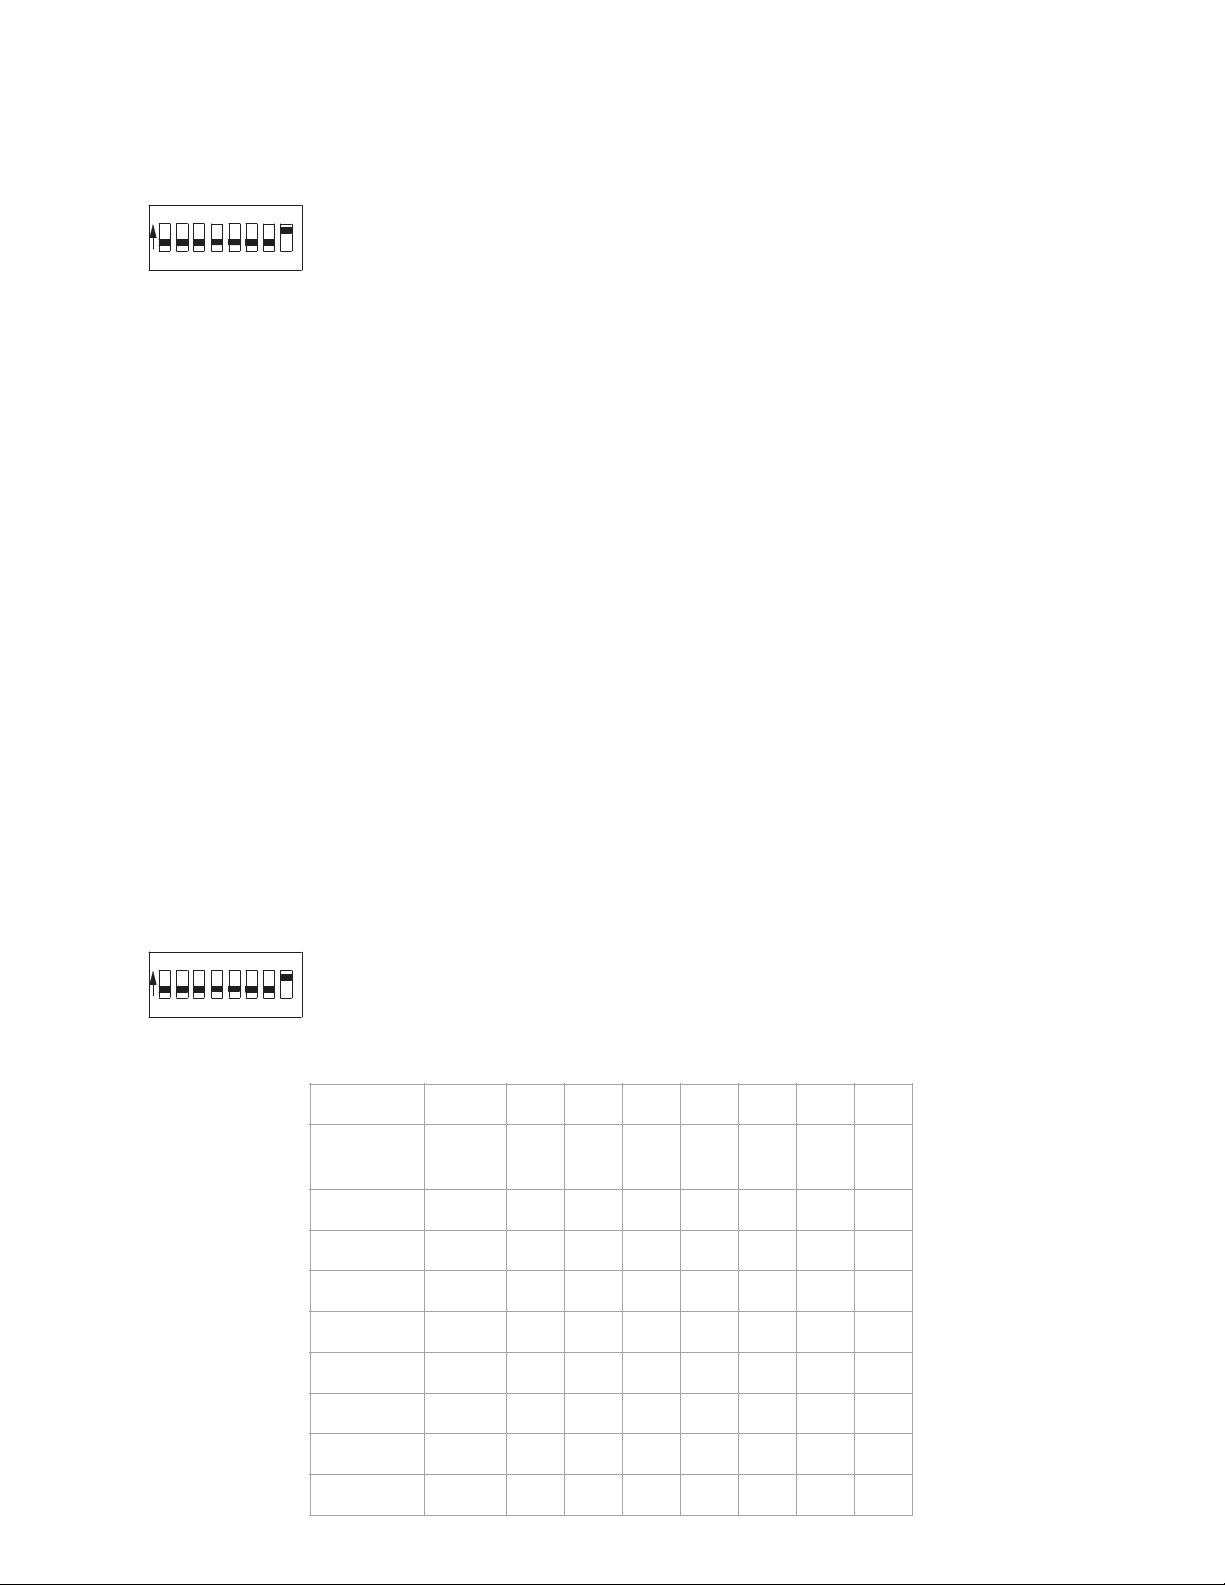
a) Setting the two rear panel configuration settings (one for each channel) for
Gain and Input Loading (see section 2).
b) Placing the unit (see section 3).
c) Connecting the power source (see section 4).
d) Connecting the Audio Inputs and Outputs (see section 5).

!4
2.0) EXTERNAL CONFIGURATION SETTINGS
2.1) BASIC GAIN SETTINGS
GAIN SWITCHES
The Gain switches are located on the back panel. Use a non-metallic tool to adjust
the settings (up=on, down=off).
• The chart below provides a general guide to choosing Gain settings appropriate
to your cartridge.
• There are 16 total possible Gain combinations.
• After adjusting the gain to match factory recommendations, settings may be
further fine-tuned to personal taste or system characteristics.
• Generally, lower Gain settings (40dB) are intended for moving-magnet
cartridges or high-output moving-coil cartridges.
• Higher Gain settings are intended for low-output cartridges (0.5mV or so).
Note: Always let the unit settle for 60 seconds after any configuration changes are
made before listening. Slowly raise the volume control to insure that the unit is
stable and will not damage your system if the configuration is not set correctly.
2.2) ADVANCED GAIN SETTINGS
GAIN SWITCHES
• The chart below provides a general guide to choosing Gain settings appropriate
to your cartridge. BOLD settings are listed on the back panel.
1234
O
N
1234
O
N
GAIN
(dB)
Pos 1
Pos 2
Pos 3
Pos 4
40
OFF
OFF
OFF
OFF
46
OFF
OFF
OFF
ON
50
OFF
OFF
ON
OFF
52
OFF
OFF
ON
ON
54
OFF
ON
OFF
OFF
55.6
OFF
ON
OFF
ON
56.9
OFF
ON
ON
OFF
58
OFF
ON
ON
ON
GAIN
(dB)
Pos 1
Pos 2
Pos 3
Pos 4
60
ON
OFF
OFF
OFF
60.5
ON
OFF
OFF
ON
61
ON
OFF
ON
OFF
61.6
ON
OFF
ON
ON
62.3
ON
ON
OFF
OFF
63
ON
ON
OFF
ON
64
ON
ON
ON
OFF
65
ON
ON
ON
ON

!5
2.3) BASIC INPUT LOADING SETTINGS
INPUT LOADING SWITCHES
To set the input loading, there are two eight-position switches, one for each
channel, located on the rear panel. Refer to your cartridge owner’s manual to
determine proper input loading settings. The factory setting for input loading is
47,000 Ohms. The chart below provides a general guide to choosing Resistive
Loading settings appropriate to your cartridge. BOLD settings are listed on the back
panel.
Switch #1 controls capacitive loading, which is often used with moving-magnet
cartridges and has little effect on moving-coil cartridges. When using a moving-coil
cartridge, you can try both capacitive loading positions to determine the effect.
CAPACITIVE LOADING (SWITCH #1): OFF=100pF; ON=200pF.
Switches #2-8 control resistive loading, which is primarily used with lower-output
moving-coil cartridges. Most moving-magnet along with medium and high-output
moving-coil cartridges use approximately 47,000 Ohms. Low-output moving-coil
cartridges typically use 2000 Ohms or less. Check the chart below and select the
closest loading value to the cartridge manufacturer’s recommended value. Typically,
a lower resistive setting provides increased focus and tighter bass, while a higher
setting provides more openness. Use a non-metallic object to select the proper
settings, flipping the switch UP to activate the ON setting.
2.4) ADVANCED INPUT LOADING SETTINGS
INPUT LOADING SWITCHES
1234678
5
O
N
1234678
5
O
N
SWITCH #
1
2
3
4
5
6
7
8
LOADING
(OHMS)
100pF
200pF
30
X
ON
ON
ON
ON
ON
OFF
OFF
40
X
ON
ON
OFF
OFF
OFF
OFF
OFF
50
X
ON
OFF
OFF
ON
ON
OFF
OFF
59
X
ON
OFF
OFF
OFF
OFF
OFF
OFF
80
X
OFF
ON
ON
OFF
OFF
OFF
OFF
100
X
OFF
ON
OFF
OFF
ON
ON
OFF
121
X
OFF
ON
OFF
OFF
OFF
OFF
OFF
150
X
OFF
OFF
ON
ON
OFF
ON
OFF

!6
3.0) AUDIO CHASSIS PLACEMENT
The Nova III may be placed near your turntable if space allows, on a separate shelf
in your audio rack, or on top of another source or line-level component. Please
make sure that ventilation to the unit is not restricted, and that the unit is away
from magnetic fields or noise from other components’ motors, transformers or
displays.
4.0) POWER SUPPLY
The Nova III connects to a wall outlet or power strip with the supplied wall-mount
transformer.
The Nova III will NOT operate without the wall-mount transformer plugged into an
outlet.
5.0) AUDIO INPUTS AND OUTPUTS
Please make sure that the volume control on your receiver, integrated amp, or pre-
amp is turned completely down before plugging in the audio connections. Connect
the phono cables of your turntable to the inputs of the Nova III, noting proper left
and right connections. Attach the turntable’s ground lead to the ground lug on the
rear panel of the Nova III.
Using a high-quality interconnect cable, connect the outputs of your Nova III unit to
a line-level input of your receiver, integrated amplifier, or pre-amp, again noting
proper left and right channels. DO NOT PLUG THE NOVA III’s OUTPUT INTO
ANOTHER COMPONENT’S “PHONO” INPUT. Some line-level pre-amps have an input
labeled “phono” for convenience but which does not contain phono circuitry. Please
check your pre-amp’s owner’s manual if you have concerns.
SWITCH #
1
2
3
4
5
6
7
8
243
X
OFF
OFF
ON
OFF
OFF
OFF
OFF
280
X
OFF
OFF
OFF
ON
ON
ON
OFF
380
X
OFF
OFF
OFF
ON
OFF
ON
ON
475
X
OFF
OFF
OFF
ON
OFF
OFF
OFF
660
X
OFF
OFF
OFF
OFF
ON
ON
ON
1,000
X
OFF
OFF
OFF
OFF
ON
OFF
OFF
2,000
X
OFF
OFF
OFF
OFF
OFF
ON
OFF
47,000
X
OFF
OFF
OFF
OFF
OFF
OFF
ON
100,000
X
OFF
OFF
OFF
OFF
OFF
OFF
OFF

!7
6.0) USING YOUR NOVA III
If you have followed the above instructions along with mastering the following two
user options, your Nova III is ready to play music. Simply cue down your cartridge
on a favorite record, select the correct input on your receiver, integrated amp or
pre-amp, and slowly bring up the volume level. Then sit back and enjoy the music.
6.1 Subsonic Filter
Some records have sonic components due to cutting artifacts or off center “center
hole” that are low in frequency and causes woofers to move at a worrisome way.
These subsonic components can cause distortion such as “Doppler Shift”.
Implementing a subsonic filter usually involve adding quite a lot of electronics which
can degrade the sonic integrity. The Nova III has a very novel implementation of a
subsonic filter where a subsonic filter is implemented with OpAmps, but the audio
portion of the signal is “stolen” from the OpAmps before the OpAmps can degrade
the signal but the low frequency noise is already removed. This “stolen signal” is
then amplified by the Nova III’s discrete circuitry. This allows the Nova III preamp
section to pristinely amplify the signal.
The Nova III has a button for alternating between Normal and Subsonic Filter
modes.
The system automatically mutes when the Subsonic filter is activated or is
deactivated. This is a 5 second mute."
The LED indicates the Subsonic Filter is activated.
6.2 Mute Selection
The Nova III has a button for alternating between Normal and Mute modes.
The LED indicates the Mute Mode is activated."
The Mute Mode cannot be changed if the Mute is activated automatically by the
Subsonic Filter selection. The user must wait approximately 5 seconds for the
automatic mute to change back to unmute automatically.

8
7.0) WARRANTY INFORMATION
This product is automatically warranted for 90 days from date of original purchase,
extended to 3 full years with the return of this form and a copy of your sales
receipt. These forms must be received within 30 days of the date of original
purchase. Items not covered include improper installation, improper handling,
accidental damage, shipping damage or acts of nature. Warranty is valid only for
the original owner and is non-transferable.
We do not assume any liability for any damage to any other component in the
system due to a failure in the Nova III. If you believe your Nova III is
malfunctioning, please contact the dealer where you purchased the unit, or contact:
Musical Surroundings
5662 Shattuck Ave
Oakland, CA 94609 USA"
Telephone: (510) 547-5006 (x-101)"
Fax: (510) 547-5009"
Email: [email protected]
If the unit needs to be sent in for repair, contact Musical Surroundings at the above
number and you will be issued you a Return Authorization (RA) number. You must
then send the unit (packed in its original box) back to Musical Surroundings.
8.0) OPTIONAL LINEAR CHARGING POWER SUPPLY
Further performance enhancements are available by adding the optional $650
Linear Charging Power Supply. Originally developed for our $5,000 SuperNova III,
the LCPS utilizes ultra sophisticated circuitry in its proprietary AC-to-DC conversion
process including a Japanese Tamura transformer along with ultra low noise, ultra
fast recovery linear regulators to bring out the most of what the Nova III has to
offer.
Table of contents
Other Musical Surroundings Amplifier manuals

Musical Surroundings
Musical Surroundings Fosgate Signature User manual

Musical Surroundings
Musical Surroundings PHONOMENA II User manual

Musical Surroundings
Musical Surroundings NOVA II User manual

Musical Surroundings
Musical Surroundings SuperNova 2 User manual

Musical Surroundings
Musical Surroundings SuperNova 2 User manual

Musical Surroundings
Musical Surroundings THE PHONOMENA II + User manual