Neolab Neo smartpen N2 User manual

Neo smartpen
USER QUICK GUIDE
This is a quick user guide for rst-time Neo smartpen user.
Please refer to the following site for detailed manual
www.neosmartpen.com
Support E-mail (English & Español)
Support E-mail (Korean only)
Support E-mail (Japanese only)

CONTENTS
FCC Information to User
This equipment has been tested and found to comply with the limits for a Class B
digital device, pursuant to Part15 of
the FCC Rules. These limits are designed to provide reasonable protection
against harmful interference in a residential
installation. This equipment generates, uses and can radiate radio frequency
energy and, if not installed and used in
accordance with the instructions, may cause harmful interference to radio
communications. However,there is no
guarantee that interference will not occur in a particular installation. If this
equipment does cause harmful interference
to radio or television reception, which can be determined by turning the
equipment off and on, the user isencouraged
to try to correct the interference by one of the following measures:
· Reorient or relocate the receiving antenna.
· Increase the separation between the equipment and receiver.
· Connect the equipment into an outlet on a circuit different from that to which
the receiver is connected.
· Consult the dealer or an experienced radio/TV technician for help.
Caution
Modifications not expressly approved by the party responsible for compliance
could void the user’s authority to operate
the equipment.
Copyright©2016 NeoLAB Convergence Inc.
1. How to use Neo smartpen
(1) Charging the pen
•Make sure to charge the product after the purchase as it may have low battery.
•The LED lamp will turn red while the battery is being charged. Once charging is complete,
it’ll change back to green.(If the battery is being charged with PC, PC will recognize the pen
as a removable disk an the LED light turns violet.)
(2) Power ON/OFF
•If you press the power button or put the pen tip on the paper, the pen will be activated
with LED lights on within a second.(The Auto Power function is enabled when the pen is first
connected to the App. You can change the setting in the App.)
•When the power is on, hold the power button for more than 2 seconds, and the power
will turn off with flashing LED lights.
•
If there is no action taken for more than 20 minutes, the power will be turned off automatically
.
(You can change the auto-power-off time in the setting. The longer auto-power-off time is set,
the shorter pen usage time is available.)
•If you do not use this product for more than 10 seconds, it will automatically change to
standby (low power consumption) mode to reduce battery power consumption.
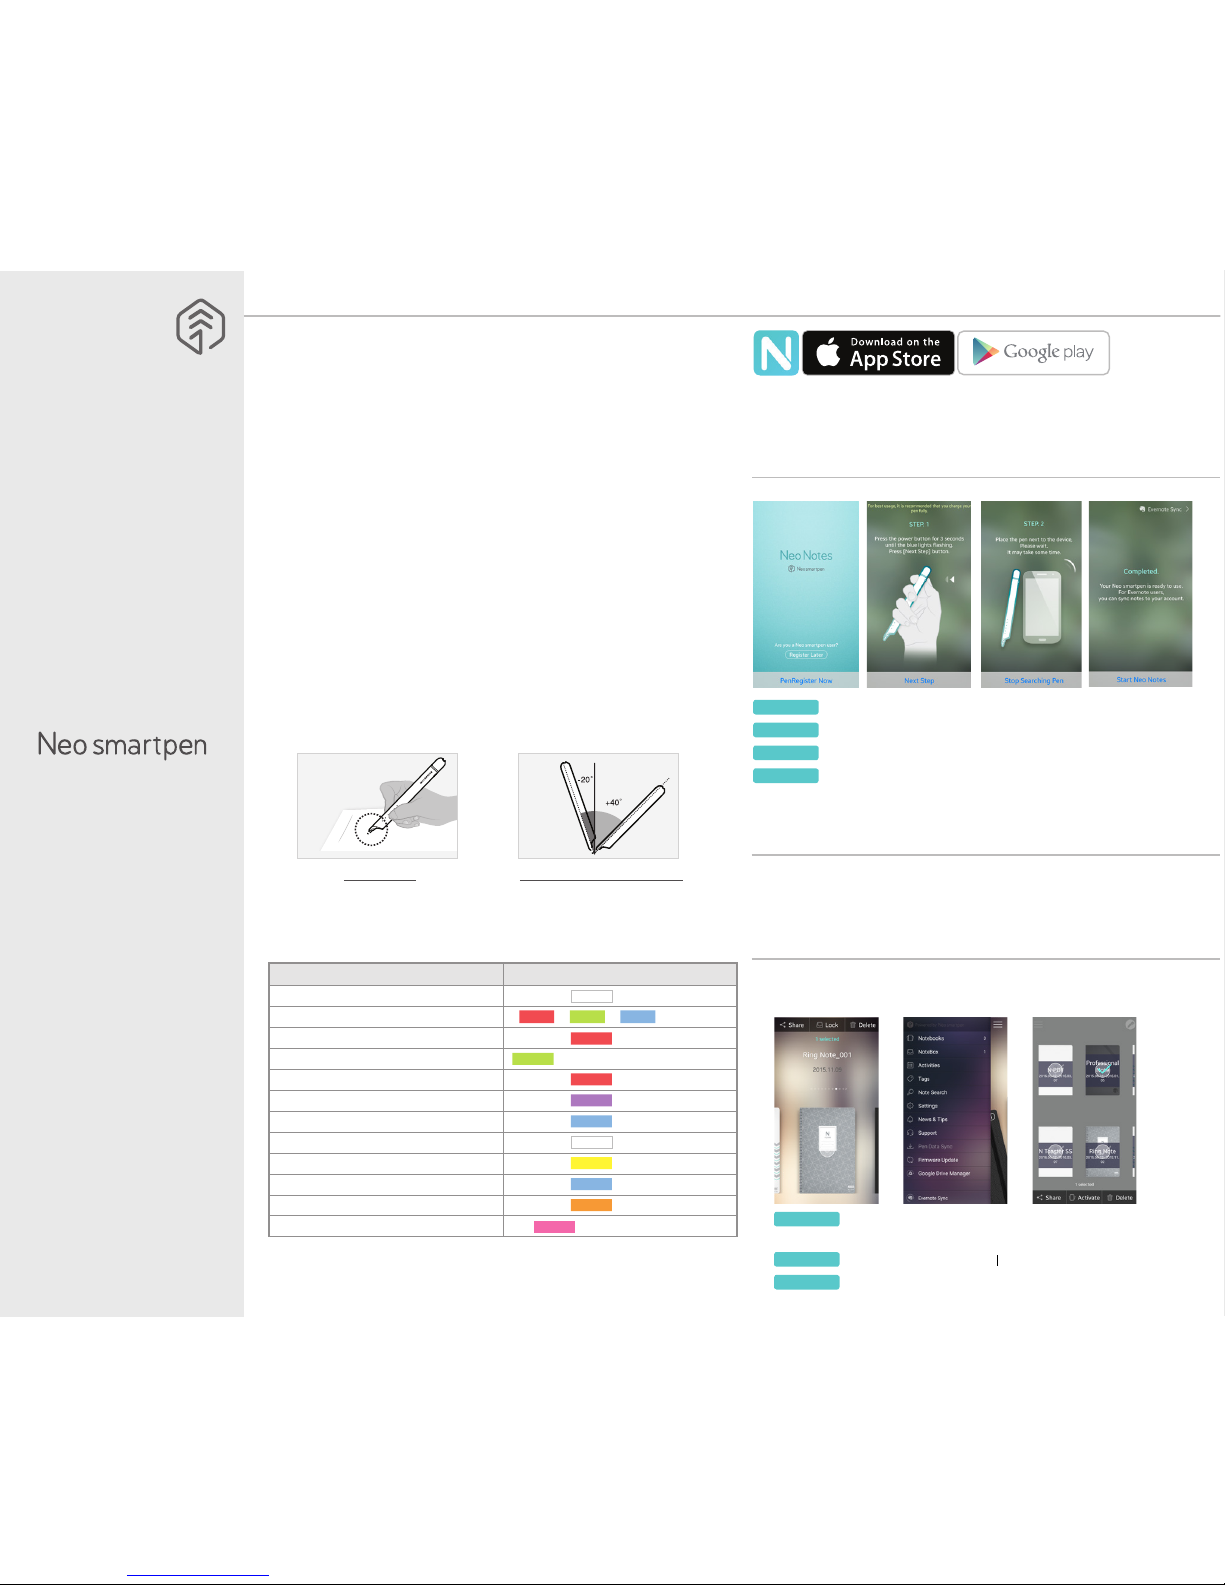
(3) How to grip
The recognition rate is heavily affected by the direction of the optical sensor’s angle.
Sensor(oval shaped part adjacent to the pen tip) should face downwards. Deviating
from the appropriate degree, or holding the pen in the wrong direction could cause
difficulties with capturing your writing or drawing.
Usage Angle
Hold the pen that does not cause
pressure on the wrist and maintain a
natural writing angle.
Allowable Recognition Angle
Product’s acceptable recognition
angle is -20° ~ +40°.
(90° vertical standard)
2. Neo Notes App
•Smartpen works in tandem with mobile app “Neo Notes”
•The app can be downloaded from Google play or Applie app store.
•Please search for ‘Neo Notes’, ‘Neo smartpen’ in the search bar to find the App
Neo Notes
4. Using without app connection
•Neo smartpen can be used when the mobile app is not running.
•The content that you write while the mobile app is off will be transferred
later when the app and Neo smartpen are connected
Enable the Bluetooth function of the smart device.
Run Neo Notes and tap the ‘Pen Register Now’ button below.
Please follow the instructions as shown in the app.
STEP 01.
STEP 02.
STEP 03.
If the pen has been successfully registered, the Pen Registration screen
appears in the App. Now, press ‘Start Neo Notes’ button and start
writing on N notebooks.
STEP 04.
3. Registering Smartpen to mobile app
STEP 04.STEP 01. STEP 02. STEP 03.
5. How to use Neo Notes
Place long tap on the notebook that you wish to lock,
then ‘Share’,’Lock’ & ‘Delete’ button will appear
Select ‘Lock’ button to move your notebook to NoteBox
You can unlock the notebooks anytime.
STEP 01. STEP 02. STEP 03.
(1) NoteBox •Use notebook “Lock” function if you want to use the same type
of notebooks for multiple times.
STEP 01.
STEP 02.
STEP 03.
(4) LED color status display
(1)Dimming : Indicates slowly getting dark and then bright while flashing.
(2)Check if there’s any dirt around optical sensor or on papers.
Status LED Color
illuminating
illuminating
illuminating and thenturned OFF
Flashing
illuminated
Flashing
Flashing
Flashing
illuminated (with alarms)
- -
(1)Dimming
Power ON
Power OFF
Being charged
Fully charged
Low battery power notification
During USB connection
Bluetooth connection standby
During App connection
Low storage notification
During firmware update
Firmware update failure
(2)
Verify optical sensor or usage environment
(1)Dimming
(1)Dimming
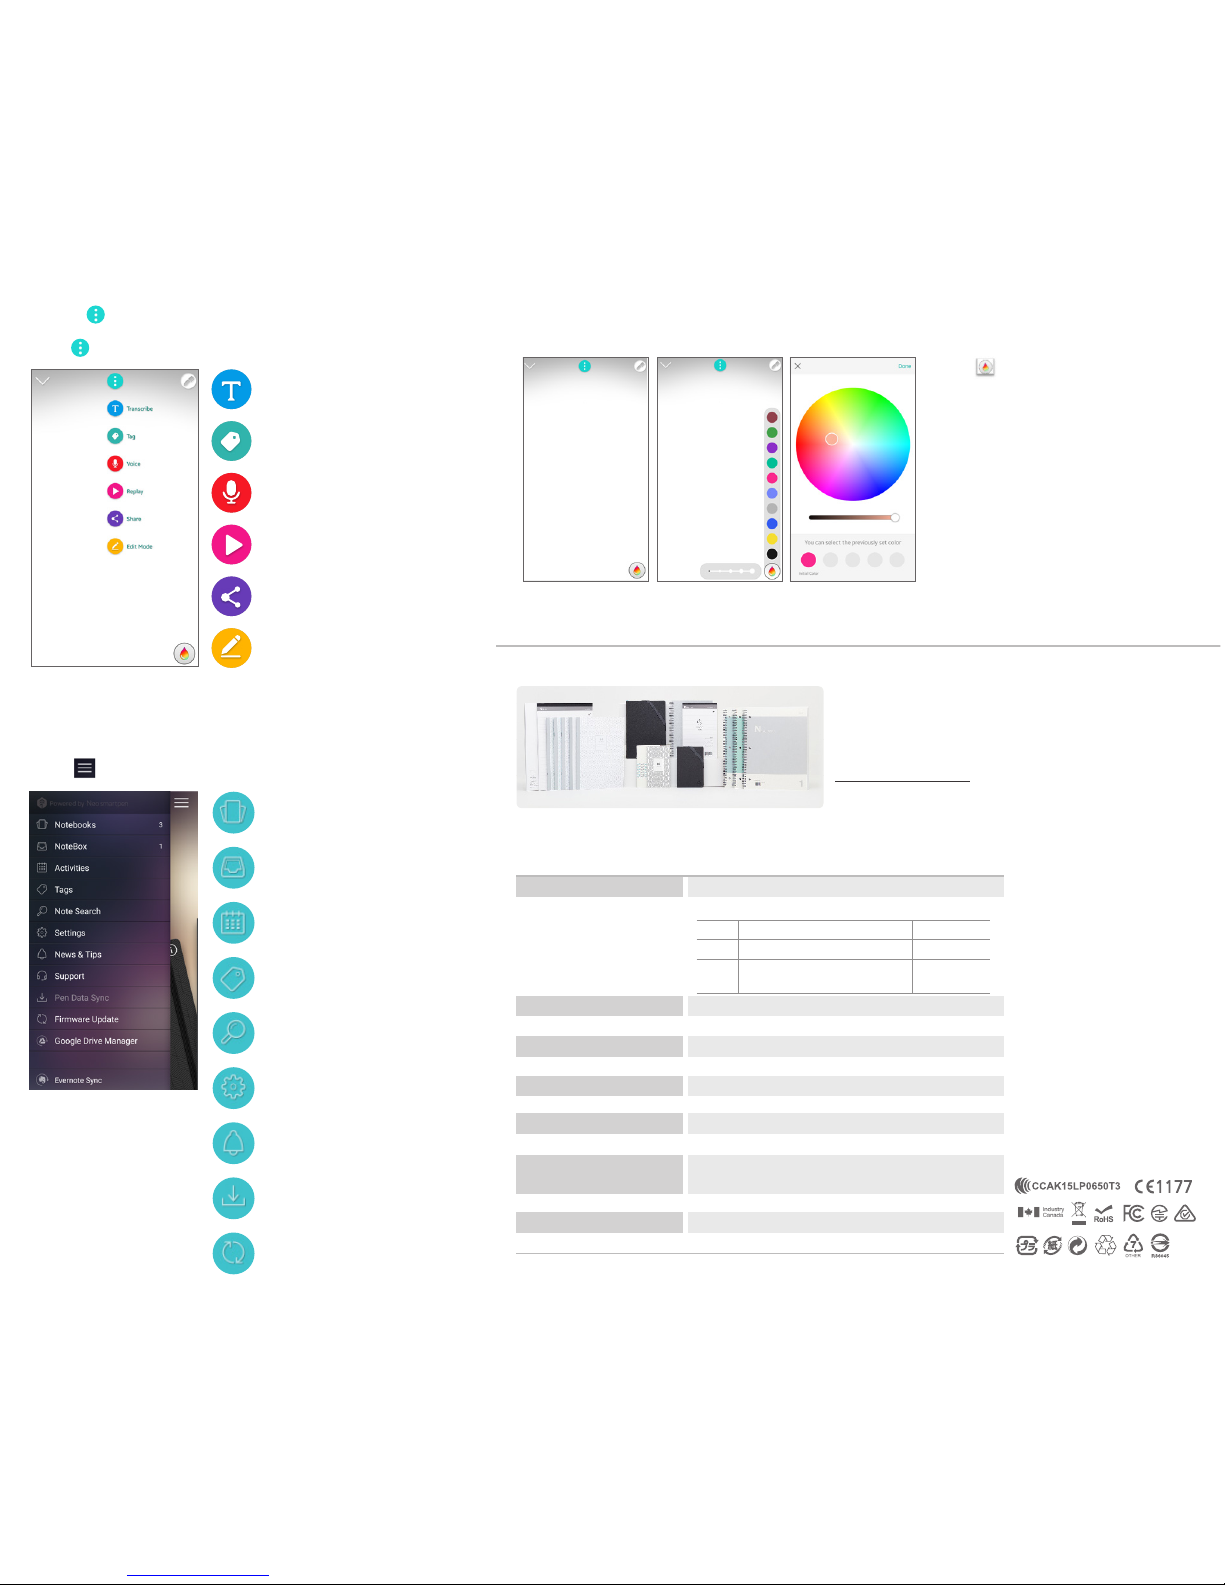
Notebooks
Check your current notebooks
Notebox
Check Your locked notebooks to NoteBox
Activities
Check your writing by date
Tags
Search tagged pages
Note Search
Search transcribed text
Settings
Select your pen & app settings
News & Tips
Check latest news & updated tips
Pen Data Sync
Transfer stored writing data to the app
Firmware Update
Update pen’s firmware to the latest version
(3) Pen preference settings
•Press button to see pen setting menu.
•Press button on your note page to see.
(2) Using button
Edit Mode
Edit,erase,change color/thickness or highlight
your writing in the notebooks
Transcribe
Transcribe your handwritten notes into digital text
Tag
Tag your notes to organiza and search them
Recording
Record voice while writing notes
Replay
Replay your written notes and/with voice
Share
Share the notes in PNG,PDF, TEXT & SVG format
•Tap on icon, then a color palette will open
and select a thickness and color
(while the smartpen is connected to the app)
•Tap anywhere outside the palette to make it
disappear.
(4) Color & Thickness change
•You have various pen colors and thickness settings to choose from in the app.
6. Notebooks & Stores
Find the perfect fit for among our wide range of notebooks.
World
shop.neosmartpen.com(except Latin America and Africa)
* Pentips are D1 type which you can buy from any online or stationery store
* Direct sunshine or any strong light may cause the loss of recognition of writing.
Product specification table
Model Name NWP-F121
Support Supported OS / Bluetooth Specification
OS version
Bluetooth version
Android
Kitkat 4.4 or higher 2.1 or higher
iOS
iOS 8.1 or higher[iPod 5th generation,
iPhone 5, iPad 3rd generation]
4.0 LE
Wireless Connection Bluetooth 4.2 (CLASSIC / BLE)
Receiving / Transmitting Frequency
2402 ~ 2480MHz
Antenna Output Class 2
Storage Media
Battery
Charging Time
Rated Input
Usage Time
90MB of internal memory
Rechargeable Lithium Polymer Battery 3.7V / 280mAh
About 2 hours
DC 5V / 300mA
125 days in standby mode, 5 hours for continuous writing
PC Connection Method USB2.0HS (microUSB)
Usage Environment Temperature: 10~35℃/ humidity: ~95%
Ink refills D1 multi pen ink refills
Size and Weight Length: 156mm (without a pen cap),
thickness: 11.5~11.8mm / 22g (without a pen cap)
FCC Information to User
This equipment has been tested and found to comply with the limits for a Class B digital device, pursuant to Part
15 of the FCC Rules. These limits are designed to provide reasonable protection against harmful interference in a
residential installation. This equipment generates, uses and can radiate radio frequency energy and, if not installed
and used in accordance with the instructions, may cause harmful interference to radio communications. However,
there is no guarantee that interference will not occur in a particular installation. If this equipment does cause harmful
interference to radio or television reception, which can be determined by turning the equipment off and on, the user is
encouraged to try to correct the interference by one of the following measures:
· Reorient or relocate the receiving antenna.
· Increase the separation between the equipment and receiver.
· Connect the equipment into an outlet on a circuit different from that to which the receiver is connected.
· Consult the dealer or an experienced radio/TV technician for help.
Caution
Modifications not expressly approved by the party responsible for compliance could void the user’s authority to operate the equipment.
IMPORTANT NOTE : FCC RF Radiation Exposure Statement
This equipment complies with FCC RF radiation exposure limits set forth for an uncontrolled environment.
This equipment should be installed and operated with a minimum distance of 20 centimeters between the radiator and your
body. This transmitter must not be co-located or operating in conjunction with any other antenna or transmitter.
NOTE : THE GRANTEE IS NOT RESPONSIBLE FOR ANY CHANGES OR MODIFICATIONS NOT EXPRESSLY APPROVED BY THE PARTY
RESPONSIBLE FOR COMPLIANCE. SUCH MODIFICATIONS COULD VOID THE USER’S AUTHORITY TO OPERATE THE EQUIPMENT.
THIS DEVICE COMPLIES WITH PART 15 OF THE FCC RULES. OPERATION IS SUBJECT TO THE FOLLOWING TWO CONDITIONS: (1)THIS
DEVICE MAY NOT CAUSE HARMFUL INTERFERENCE, AND (2) THIS DEVICE MUST ACCEPT ANY INTERFERENCE RECEIVED, INCLUDING
INTERFERENCE THAT MAY CAUSE UNDESIRED OPERATION.
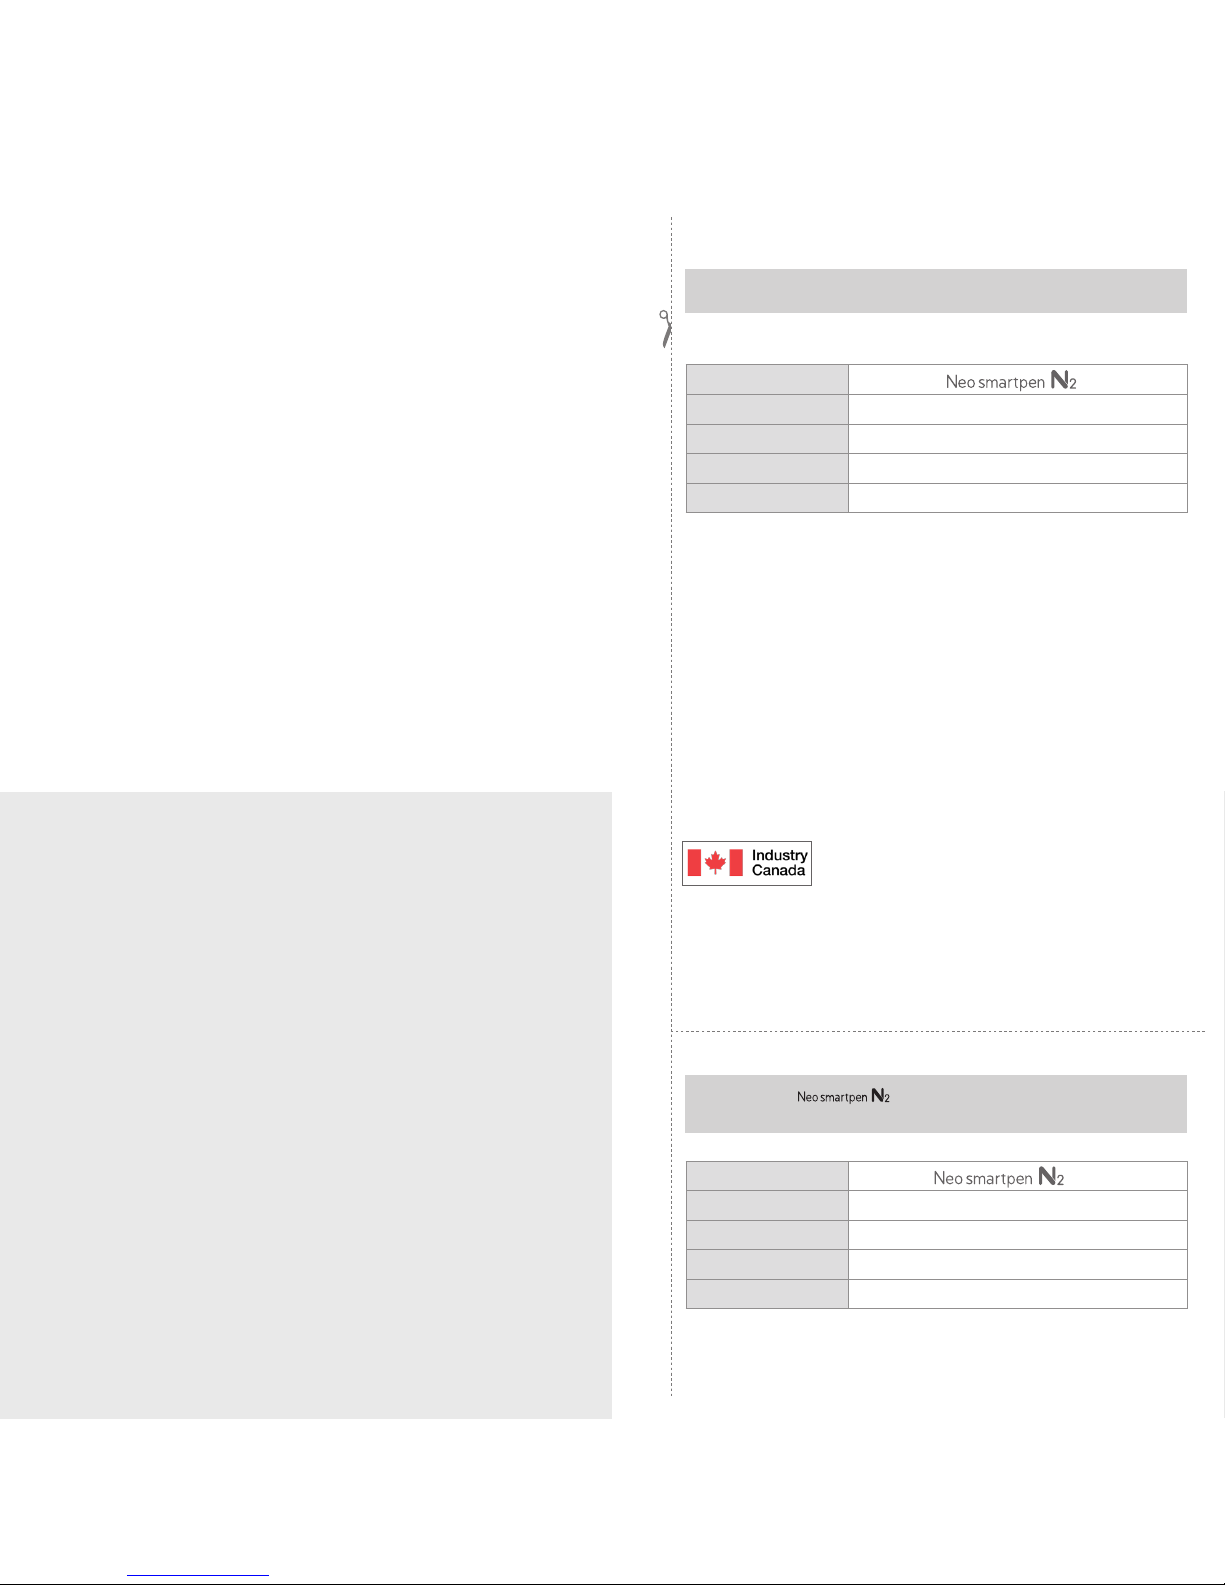
IC Information to User
This device complies with Industry Canada’s licence-exempt RSSs. Operation is subject to
the following two conditions:
(1)
This device may not cause interference; and
(2)
This device must accept any interfer-
ence, including interference that may cause undesired operation of the device
Le présent appareil est conforme aux CNR d’Industrie Canada applicables aux appareils
radio exempts de licence. L’exploitation est autorisée aux deux conditions suivantes : (1)
l’appareil ne doit pas produire de brouillage, et
(2) l’utilisateur de l’appareil doit accepter tout brouillage radioélectrique subi, même
si le brouillage est susceptible d’en compromettre le fonctionnement.
PRODUCT WARRANTY
· 품목별 소비자 피해 보상규정에 따라 아래와 같이 제품에 대한 보증을 시행합니다.
· 보상 여부 및 내용 통보는 요구일로부터 7일 이내, 피해 보상은 통보일로부터 14일 이내에 해결해 드립니다.
· 제품 번호
(Serial No.)
는 A/S 신청 시 제품 보증기간을 확인하기 위해 꼭 필요한 항목이니 분실되지 않도록 주의해 주세요.
· 제품 번호
(Serial No.)
는 제품의 제품 포장물 겉면에 부착되어 있습니다.
제품 보증서
의 품질 보증 기간은 1년이며,
부품 보유 기간은 2년 입니다.
제품 보증서
PRODUCT
WARRANTY
Please contact the store where you purchased the product or
NeoLAB Convergence for customer service/support.
· Keep the product no. (serial no.) in a safe place as it is required for checking the product warranty period
when requesting customer service / support.
· The product no. is attached on the surface of the product package.
Product Warranty
Product Name
Product No. (Serial No.)
Purchase Date
Seller
Purchase Price
제품명
제품번호
(Serial No.)
구입일자
구입처
구입가격
Neo smartpen provides guaranteed warranty in accordance with relevant laws of the specified country
PRODUCT WARRANTY_43

048. Copyright©2016 NeoLAB Convergence Inc.
Table of contents


