Nexxt Solutions NHA-P610 User manual
WARRANTY
nexxtsolutions.com/warranty
YEAR
1
with built-in motion activated camera
Smart Wi-Fi pet feeder

English
User guide
Thank you for purchasing the Smart Wi-Fi pet feeder from
Nexxt Solutions. We are excited in being a part of making
your life easier, safer and bringing peace of mind inside and
outside your home.
Carefully readthis manual prior to setting up and using this
appliance.
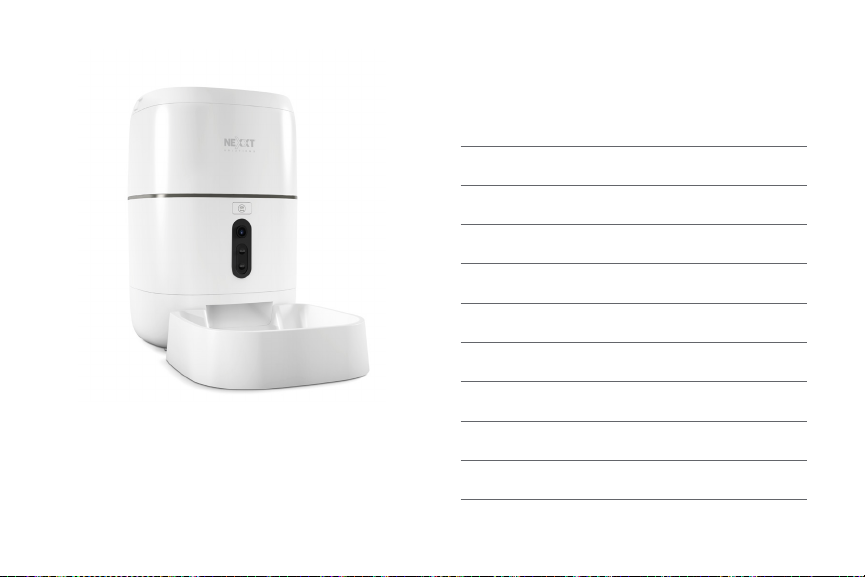
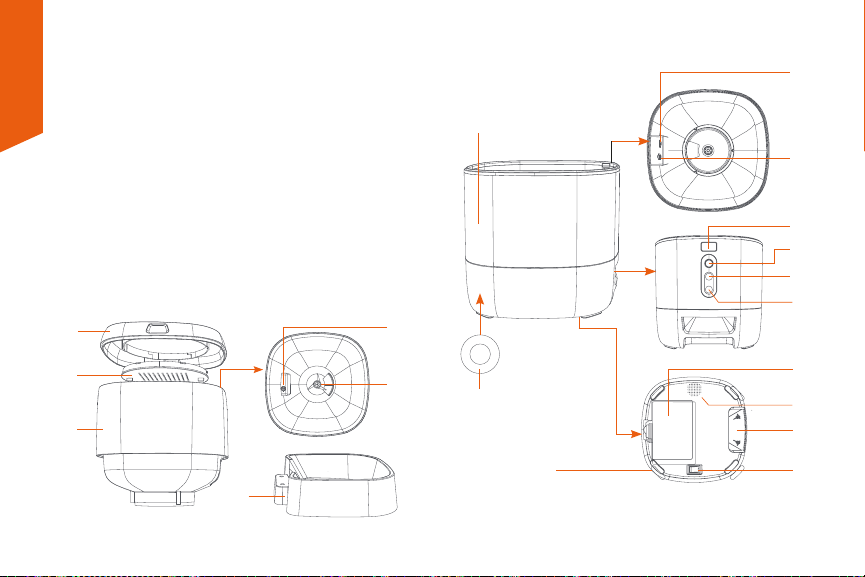
Product overview
4
9
7
10
11
12
13
14
15
17
16
18
5
1
7
8
2
3
6

1. Container lid
2. Desiccant box
3. Food container
4. Main body
5. Power input jack
6. Food tray
7. Container lock/release knob
8. Food dispenser
9. MicroSD™ card slot: Insert a memory card here for local
storage and playback of video footage.
10. Dispensing button: Briey press to dispense one
portion of food manually. Press and hold for 5 seconds to
put the device into pairing mode or to reset all settings
to their factory default values
11. Camera
12. Recorder button: Press and hold to record your
message. Release it when done.
13. Playback button: Press it to listen to your personalized
message.
14. Battery compartment
15. Feeding tray clips/groove
16. On/O switch
17. Speaker
18. Rubber feet
Important safety instructions
Before using this electrical appliance, the following basic
precautions should always be followed:
• Place the device correctly, to prevent accidental spills or
from tipping over. This device is suitable for small and
medium pets under 44lb.
• The desiccant pouch in the storage lid must be replaced
regularly.
• Keep the food container dry and tightly sealed. Check
regularly to remove food residue.
• Do not ll the container with items other than pet dry
food. Otherwise, it may cause the abnormal operation of
the device and constitute a safety hazard for the pet.
•To prevent the pet from falling over the appliance,
preferably place it in a corner or against the wall.
• Hide the electric cord where your dog or cat cannot reach
it, to prevent them from biting or chewing on it.
• Children allowed to use this device must always be under
adult supervision.

Package content
- Smart Wi-Fi pet food feeder (1)
- AC adapter (1)
- Power cable (1)
- Feeding tray (1)
- Quick start guide (1)
• After installing the batteries, you can manually operate
the device during a power failure.
Note: In battery mode, the pet feeder functions will not be
accessible through the app.
• Clean the food container and feeding tray regularly.
• This device is not recommended for pets three-month-old
or younger.
Preliminary steps
• Insert the power cord into the jack on the rear of the main
unit and then connect the adapter to a wall outlet.
• Place the main unit in a horizontal position to attach the
feeding tray to its base.
• Add pet dry food to the food container. Do not overll, as
it may clog the unit.
• The unit comes with a desiccant pack installed. Replace it
on a regular basis to control moisture.
• The battery compartment holds 3 D-cell batteries
(user-supplied) for manual feeding when electric power
goes out (optional). When installing the batteries, make
sure to match the polarity of the cells inside the
compartment.
• Do NOT use outdoors. FOR INDOOR HOUSEHOLD USE
ONLY

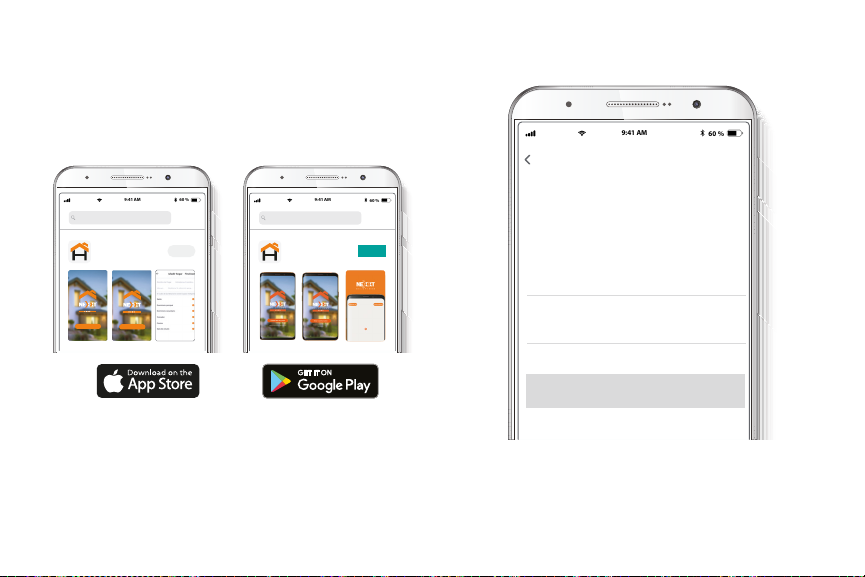
Installing the Nexxt Solutions
Home App
Download Nexxt Home app
from Google Play or Apple App Store.
60 %
9:41 AM
Nexxt Home
Nexxt Solutions Home App
Cancel
GET
Accvent LLC
Login with existing account
Create New Account
SOLUTIONS
Iniciarsesión con cuenta existente
Crear Cuenta Nueva
SOLUTIONS
60 %
9:41 AM
Nexxt Home
Nexxt Solutions Home App
Cancel
INSTALL
Accvent LLC
Step 1
Register by email. Fill in the required elds.
60 %
9:41 AM
Register by email
Email
Get authentication code
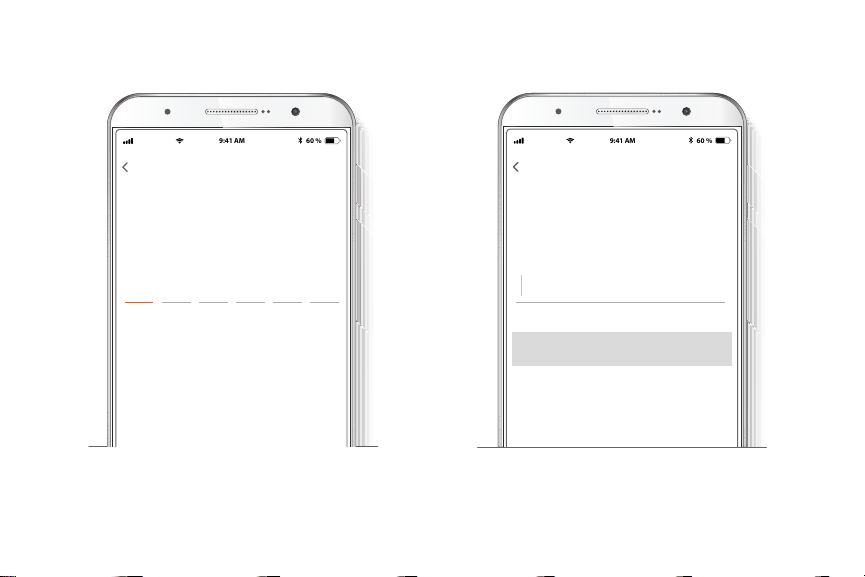
Step 3
Create a new password and then select Completed.
Step 2
Enter the verication code you received.
60 %
9:41 AM
Enter verication code
Verication code has been sent to your
60 %
9:41 AM
Set Password
Completed
6-20 characters, including letters and numbers

Step 4
The Nexxt Solutions Home App has been successfully
installed.
Add device
Step 1
Select the +icon to add the device, followed by the smart
pet feeder.
60 %
9:41 AM
60 %
9:41 AM

Step 3
You must connect to a 2.4GHz WiFi network. Enter your
network password. Make sure you enter the correct
password, otherwise the device will not connect.
Step 2
Select EZ Mode. Next, tap to Conrm indicator is slowly
blinking.
60 %
9:41 AM
60 %
9:41 AM
60 %
9:41 AM
A
B C
60 %
9:41 AM

Step 4
If pairing is successful, the notication Device added
successfully will be displayed on the screen.
Click on the pencil icon to rename the pet feeder, and then
select Save to store your settings and click on Done to
nish.
60 %
9:41 AM
60 %
9:41 AM
Pet feeder main screen
60 %
9:41 AM

Screenshot: Takes a picture of what the camera is
viewing.
Talk: Allows voice communications through the
microphone.
Record: Starts recording a video.
Playback: If a microSD™is installed, you can use the
playback function to watch recordings.
Schedule: Allows users to program the time and
the portion of meals that will be automatically
dispensed.
Feed: Press this button to immediately dispense
food to your pet.
Motion detection : Sets the sensitivity level of the
sensor to trigger a notication every time motion is
detected .
Cloud storage: Users can set up an account to store
footage in the cloud.
Photo album: View photos and videos. (Applies to
Android only)
HD/SD: Switches between High Denition and
Standard Denition.
Mute: Mutes the microphone on the camera.
Full screen: Switches to full screen mode.
Signal: Shows the Wi-Fi signal strength.
Settings: See below.

Settings
60 %
9:41 AM
60 %
9:41 AM
Device name
Device name: It allows the user to rename the device. To
change the default name, click on device name.
60 %
9:41 AM

Device information
This menu will display information about the pet feeder.
60 %
9:41 AM
Basic function settings
Flip screen: Flips the image 180 degrees, if the pet feeder is
mounted upside down.
Talk mode: Allows either One-way or Two-way speech.
60 %
9:41 AM
60 %
9:41 AM

Motion detection
Motion detection: Turns the motion detection feature on
and o. You can also set a schedule to activate the motion
detection feature at certain times based on your needs.
60 %
9:41 AM
Memory card settings
60 %
9:41 AM

Total capacity: Shows the capacity of the microSD™card.
Used: Shows how much memory has been used.
Remaining capacity: Shows how much space is left on the
microSD™card.
Local recording: You can set the camera to constantly
record 24/7. How much it records, depends on the size of
the microSD™card.
Select recording mode: You can switch between Event
recording andd Non-stop recording, or you can set a
Schedule.
Format memory card: This will format the microSD™card
to be used on the camera.
Share device
Additional users will need their own Nexxt Home Account.
Select Add sharing and then enter the Nexxt Home
Account of family or friends. Tap on Completed.
60 %
9:41 AM
60 %
9:41 AM

To remove a user on iOS, slide the name to the left. On
Android, press and hold the name of the person you wish
to delete. When the pop-up box comes up, select Delete.
A Notication conrming that you no longer want to share
the device with the selected user will be displayed. Tap on
Conrm to permanently remove the user.
60 %
9:41 AM
60 %
9:41 AM
FAQs and feedback
60 %
9:41 AM
60 %
9:41 AM
FAQ: Read the frequently asked questions to get more
information about the device.
Report issue: Please let us know if you have any issues
setting up the product.
Nexxt Solutions® is a registered trademark. All rights reserved. SD™
and microSD™ are trademarks owned by SD-3C, LLC. All other brand
names and trademarks are the property of their respective owners.
Made in China.
FCC ID: XAYHAPF610
Notes
Español
Guía del usuario
Gracias por adquirir el Dispensador inteligente Wi-Fi de
alimento para mascotas de Nexxt Solutions. Nos complace
ser parte de la solución destinada a no sólo simplicar su
vida, sino que además poder brindar mayor seguridad y
tranquilidad tanto en el exterior como al interior de su
hogar.
Lea detenidamente este manual antes de congurar y
utilizar este aparato.
Descripción del producto
1
7
8
2
3
6
4
9
7
10
11
12
13
14
15
17
16
18
5

1. Tapa del contenedor
2. Estuche desecante
3. Compartimiento para comida
4. Estructura principal
5. Conjuntor de alimentación
6. Bandeja para comida
7. Perilla para asegurar/soltar el contenedor
8. Dispensador de alimento
9. Ranura para tarjeta microSD™: Inserte aquí una tarjeta
de memoria para la reproducción y almacenamiento
local de imágenes de video.
10. Botón del dispensador: Oprima brevemente para
dispensar una porción de comida en forma manual.
Mantenga presionado por 5 segundos para iniciar el
modo de emparejamiento o para restablecer la
conguración a sus valores originales de programación
11. Cámara
12. Botón de grabación: Mantenga presionado para
grabar su mensaje. Suelte el botón cuando termine de
hablar
13. Botón de reproducción: Oprímalo para escuchar su
mensaje grabado
14. Compartimiento de la batería
15. Muesca para insertar la bandeja de comida
16. Interruptor de encendido/apagado
17. Parlante
18. Base de goma
Instrucciones importantes de
seguridad
Antes de utilizar este aparato eléctrico, debe seguir las
precauciones que se indican a continuación:
• Posicione correctamente el dispositivo, para evitar el
derrame o volcamiento accidental. Este dispositivo es apto
para mascotas pequeñas y medianas de hasta 20 kilos.
• Debe reemplazar periódicamente la bolsa desecante en la
tapa.
• Mantenga el contenedor de comida seco y hermética-
mente sellado. Revise con regularidad para remover
residuo de alimento acumulado.
• Nunca coloque dentro del contenedor ningún otro
artículo que no sea alimento seco para mascotas. De lo
contrario puede ocasionar el funcionamiento defectuoso
de la unidad, lo cual puede constituir un peligro para la
mascota.
• Para evitar que la mascota tropiece con el aparato,
colóquelo preferentemente en una esquina o contra la
pared.

Contenido del empaque
- Dispensador de alimento para mascota, con conexión
Wi-Fi (1)
- Adaptador de CA (1)
- Cable de corriente (1)
- Bandeja para comida (1)
- Guía de conguración rápida (1)
• Para que su perro o gato no mastique ni muerda el cable
de corriente, ocúltelo en un lugar donde no puedan
alcanzarlo.
• A los niños que se les permita utilizar este aparato deben
hacerlo siempre bajo la supervisión de un adulto.
• Después de instalar las baterías, puede operar manual-
mente el dispositivo durante cortes del servicio eléctrico.
Nota: En modo de batería, no es posble el acceso a las
funciones del dispensador de alimento a través de la
aplicación.
• Limpie el contenedor de alimento y la bandeja para
comida con regularidad.
• No es recomendable este aparato para mascotas de 3
meses de edad o menos.
Pasos preliminares
• Inserte el cordón de alimentación en el conjuntor ubicado
en la sección posterior de la unidad principal y conecte a
continuación el adaptador al tomacorriente de la pared.
• Coloque la unidad principal en posición horizontal con el
n de unir la bandeja para comida en la base.
• Vierta comida seca dentro del contenedor. No lo llene
demasiado, puesto que podría obstruir la unidad.
• La unidad viene con una bolsa desecante instalada.
Cámbiela regularmente para controlar la humedad.
• El compartimiento para batería acepta 3 pilas tamaño D
(suministradas por el usuario) para dispensar manualmente
el alimento en caso de un corte de electricidad (optativo).
Al momento de instalarlas, asegúrese de que coincida la
polaridad de las células con la indicada dentro del
compartimiento.
• No lo use en ambientes exteriores. APTO PARA USO
RESIDENCIAL Y EN AMBIENTES INTERIORES SOLAMENTE
Instalación de la aplicación
Nexxt Solutions Home App
Descargue directamente la aplicación
Nexxt Home de Google Play o de Apple App Store.
60 %
9:41 AM
Nexxt Home
Nexxt Solutions Home App
Cancel
GET
Accvent LLC
Login with existing account
Create New Account
SOLUTIONS
Iniciarsesión con cuenta existente
Crear Cuenta Nueva
SOLUTIONS
60 %
9:41 AM
Nexxt Home
Nexxt Solutions Home App
Cancel
INSTALL
Accvent LLC
Paso 1
Registro por email. Complete los campos requeridos.
60 %
9:41 AM
Register by email
Email
Get authentication code
Table of contents
Languages:
Popular Pet Care Product manuals by other brands


AniOne
AniOne Safety net for cats with wire reinforcement Assembly instructions

AbbiDot
AbbiDot T30 user manual

Omlet
Omlet Eglu Cube instruction manual

GSN
GSN Patrol 201 Pet Installation and user manual

SportDOG
SportDOG YardTrainer 105 user guide

Mr. Herzher's
Mr. Herzher's Deluxe Pet Residence Assembly instructions


