3
Operating Instructions
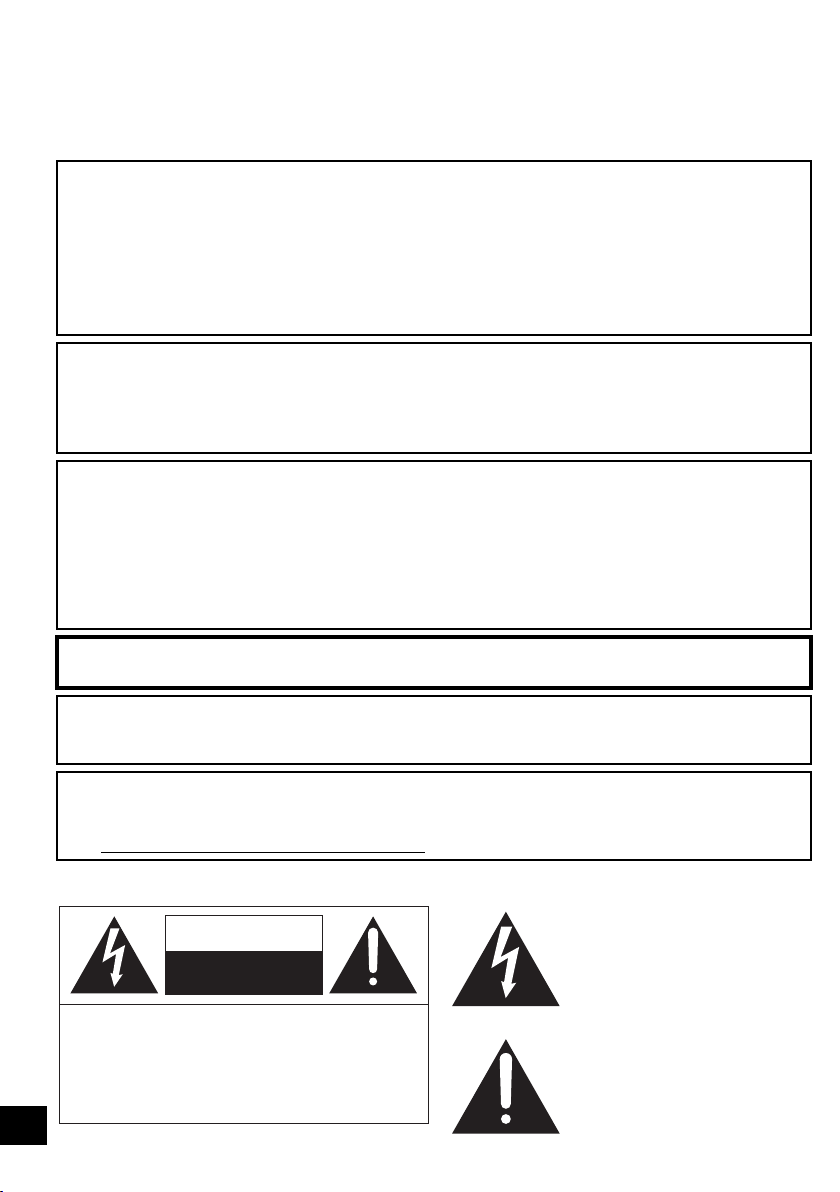
IMPORTANT SAFETY INSTRUCTIONS
Read these operating instructions carefully before using the unit. Follow the safety instructions on the unit
and the applicable safety instructions listed below. Keep these operating instructions handy for future
reference.
1 Read these instructions.
2 Keep these instructions.
3 Heed all warnings.
4 Follow all instructions.
5 Do not use this apparatus near water.
6 Clean only with dry cloth.
7 Do not block any ventilation openings. Install in
accordance with the manufacturer’s
instructions.
8 Do not install near any heat sources such as
radiators, heat registers, stoves, or other
apparatus (including amplifiers) that produce
heat.
9 Do not defeat the safety purpose of the
polarized or grounding-type plug. A polarized
plug has two blades with one wider than the
other.
A grounding-type plug has two blades and a
third grounding prong. The wide blade or the
third prong are provided for your safety. If the
provided plug does not fit into your outlet,
consult an electrician for replacement of the
obsolete outlet.
10 Protect the power cord from being walked on or
pinched particularly at plugs, convenience
receptacles, and the point where they exit from
the apparatus.
11 Only use attachments/accessories specified by
the manufacturer.
12 Use only with the cart, stand,
tripod, bracket, or table specified
by the manufacturer, or sold with
the apparatus. When a cart is
used, use caution when moving
the cart/apparatus combination to avoid injury
from tip-over.
13 Unplug this apparatus during lightning storms
or when unused for long periods of time.
14 Refer all servicing to qualified service
personnel. Servicing is required when the
apparatus has been damaged in any way, such
as power-supply cord or plug is damaged,
liquid has been spilled or objects have fallen
into the apparatus, the apparatus has been
exposed to rain or moisture, does not operate
normally, or has been dropped.
Licenses
The model number and serial number of this
product can be found on either the back or the
bottom of the unit.
Please note them in the space provided below
and keep for future reference.
MODEL NUMBER ______________________
SERIAL NUMBER ______________________
User memo:
DATE OF PURCHASE ___________________
DEALER NAME ________________________
DEALER ADDRESS ____________________
______________________________________
TELEPHONE NUMBER __________________
THE FOLLOWING APPLIES ONLY IN CANADA.
This device complies with RSS-210 of the IC
Rules. Operation is subject to the following two
conditions:
(1) This device may not cause harmful
interference,
(2) This device must accept any interference
received, including interference that may
cause undesired operation of the device.
Product Identification Marking is located on the
bottom of the active subwoofer.
Manufactured under license from Dolby Laboratories. Dolby,
Pro Logic, and the double-D symbol are trademarks of Dolby
Laboratories.
Manufactured under license under U.S. Patent #’s:
5,451,942; 5,956,674; 5,974,380; 5,978,762; 6,487,535 &
other U.S. and worldwide patents issued & pending.
DTS and the Symbol are registered trademarks & DTS
Digital Surround and the DTS logos are trademarks of DTS,
Inc. Product includes software.
© DTS, Inc. All Rights Reserved.
HDMI, the HDMI Logo, and High-Definition Multimedia
Interface are trademarks or registered trademarks of HDMI
Licensing LLC in the United States and other countries.
HDAVI Control™ is a trademark of Panasonic Corporation.
VIERA Link™ is a trademark of Panasonic Corporation.
EZ Sync™ is a trademark of Panasonic Corporation.
SC-HTB500
SCHTB500PP_RQTX1179-Y.book Page 3 Friday, June 18, 2010 10:07 AM