rackit GDC-3 User manual

1
Z-Wave Garage Door Control (GDC-3)
Introduction
GDC-3 is a Z-Wave Garage Door Control that connects to the garage door opener. After joining Z-Wave network, GDC-3
can receive commands from the Z-Wave network to activate connected garage door opener, providing convenient
operation for remotely opening or closing the garage door.
GDC-3 also includes a wireless tilt sensor (Tilt-GDC3) that attaches to the inside of the garage door and reports the status
of when the garage door is "open", "closed", or moving.
Before the remotely activated garage door begins to move, the warning LEDs on GDC-3 will flash and the built-in siren will
emit alarm beeps.
Z-Wave is a wireless communication protocol that uses a low-power RF radio. The Z-Wave Garage Door Control allows
access to the “S2 Unauthenticated” class and supports Z-Wave SmartStart inclusion as well as classic inclusion.
Parts Identification
GDC-3
1. Green LED indicator
- On: Connected to power supply.
- Flashes with Red LED for 5 seconds: Before the garage door moves.
2. Red LED indicator
- Flashes once every second: In Learning Mode for Tilt-GDC3.
- Flashes once every 5 seconds: Tilt-GDC3 low on battery
- Flashes with Green LED for 5 seconds: Before the garage door moves.
3. Function Button
- Press the button 3 times within 1 second to include or exclude the device in/from Z-Wave network.
- Press and hold the button for 10 seconds to factory reset.
4. DC Jack
Connects to a DC 9V 1A output Power Adapter.
5. Connection Terminals
Connect to the pushbutton wall console terminals on the garage door opener.
6. Learn Button
Press the learn button once to enter learning mode for Tilt-GDC3.
7. Mounting Holes
8. Mounting Bracket

2
Tilt-GDC3
1. Test Button / LED Indicator
Test Button:
- Press the Test button to transmit a learning code to GDC-3.
- Press the Test button to report garage door position and enter test mode for 3 minutes. Under Test Mode, the LED
will light up whenever the Garage Tilt Sensor is activated.
LED Indicator:
- The LED will flash for 3 times when it is transmitting a learning code.
- The LED will light up whenever the device is triggered under Test Mode.
- The LED will light up whenever the tamper switch is activated.
- (Door opened) When experiencing device fault or under Test Mode, the LED will flash for 6 times.
- (Door closed) When experiencing device fault or under Test Mode, the LED will flash for 6 times. After 10 seconds,
the LED will flash for 3 times.
- When the battery is exhausted, the Garage Tilt Sensor will stop all function, the LED will flash every 4 seconds.
2. Mounting Holes
Used to fix and screw the Garage Tilt Sensor directly on the top of the garage door.
3. Tamper Switch
When the Garage Tilt Sensor is mounted, the Tamper Switch will be fully compressed against the wall. When the device
cover is opened or when it is removed from the mounted surface, the Tamper Switch will be activated. The LED will flash
for 6 times and send a tamper open signal to notify user(s) of this condition.
4. Battery Insulator
5. Battery Compartment
The Garage Tilt Sensor is powered by one CR123 3V Lithium battery. When the battery voltage is low, a low battery
signal will be sent to the Control Panel to notify user(s) of this condition.
Getting Started
Learn Tilt-GDC3 into GDC-3
Pull out the battery insulator of Tilt-GDC3 to power on the device, and connect GDC-3 to power supply.
Press the learn button of GDC-3 once to enter learning mode. The GDC-3 will emit one beep, and the red LED
will begin to flash.
Press the Test Button of the Garage Tilt Sensor to send a learning code, the LED will flash for 3 times.
If learning is successful, GDC-3 will emit 2 beeps to indicate. If the Garage Tilt Sensor has already been added
into the GDC-3, the GDC-3 will emit a Di-Do sound to alert the user.
Press the learn button of GDC-3 once again to return to normal mode, the red LED will turn off. Alternatively,
GDC-3 will exit learning mode automatically with 5 beeps after 1 minute of inactivity.
< NOTE >
The Garage Door Control supports only one tilt sensor. If learning in a second Tilt-GDC3 into GDC-3, the old
Tilt-GDC3 will be replaced by the newly learned Tilt-GDC3.
Adding GDC-3 into the System (Inclusion)
The device supports both classic inclusion process and SmartStart inclusion process.

3
Classic Inclusion
Connect GDC-3 to power supply
Put the Z-wave gateway or control panel into Inclusion mode (please refer to the Z-wave gateway or control
panel manual).
Within 1 second, press the Function Button 3 times.
Refer to the operation manual of the Z-wave gateway or control panel to complete the adding process.
If the Garage Door Control has already been added (included) into another Z-wave Gateway/Control Panel, or if
it is unable to be added into the current Z-wave Gateway/Control Panel, try removing it first (see Removing
Device).
SmartStart Inclusion
SmartStart enabled products can be added into a Z-Wave network by scanning the Z-Wave QR Code present on the
product with a controller providing SmartStart inclusion. No further action is required and the SmartStart product will be
added automatically within 10 minutes of being powered on in the network vicinity. Z-Wave SmartStart utilizes the DSK
of the device to enhance and simplify the inclusion process. DSK is Device Specific Key used for authentication and
encrypted communication. The DSK information is stored in the QR code format that is printed on a label and adhered
to the front side of the device, as example shown on the right hand side.
Scan the QR Code on the back of GDC-3 to obtain DSK and transfer to the
Z-Wave gateway.
Connect GDC-3 to power supply, a SmartStart inclusion request will be
automatically sent to the gateway.
The gateway will automatically include the device upon recognition of the device
by matching the inclusion request with the DSK obtained
< NOTE>
The DSK of the device is used only during inclusion.
The DSK can be read without the GDC-3 powering ON, so it is possible to
prepare the gateway to include the device prior to installing and powering up
the Garage Door Control.
If the GDC-3 has already been included (learnt) into another Z-Wave Gateway/Control Panel, please exclude
it first (see Exclusion) before attempting to include it into the current Z-Wave Gateway/Control Panel. The
GDC-3 will not send a SmartStart inclusion request if it’s already in a Z-Wave Gateway/Control Panel.
Removing GDC-3 from the System (Exclusion)
The Garage Door Control must be removed from existing Z-wave network before being added into another.
Exclusion Mode
Put the Z-wave gateway or control panel into Exclusion mode (please refer to the Z-wave gateway or control
panel manual).
Within 1 second, press the Function Button 3 times, and the device will be removed from the Z-wave network.
Factory Reset
(Only use factory reset when network Control Panel/Gateway is missing or inoperable).
Factory resetting the device will restore it to factory default settings (i.e. not included into any Z-wave network).
Press and hold the Function Button of the device for 10 seconds to perform factory reset.
< NOTE>
Before you remove or factory reset the GDC-3, please ensure that the device DSK information has been
removed or does not exist in the gateway. If you remove or factory reset the device, but its DSK still exists in the
gateway, the gateway will automatically include the device again.
Range Test
To test whether the Garage Door Control is able to communicate with the Z-Wave gateway or control panel:
Put the gateway / panel into range test mode (Walk Test).
Press the Function Button on the device.
The gateway / panel should display if the device is within the operation range (please refer to the operation
manual of the gateway / panel).
Installation
Mounting the Tilt Sensor
The Garage Tilt Sensor is designed to be mounted on overhead garage door, not to be used on roll up garage door.
The device shall be mounted vertically with the ground (It should not be tilted greater than +-5 degrees when
mounted).
Mount the device on a dry and clean surface. Ensure the device is mounted with the LED indicator on top.
The Garage Tilt Sensor should be mounted on the top panel of the garage door, as shown below.

4
There are two ways to mount the Garage Tilt Sensor.
Screw Mounting
1. Find a suitable location to install the Garage Tilt Sensor. The mounting surface should be clean and dry. Clean
the mounting surface thoroughly if needed.
2. Use the two mounting holes as a template to mark and drill mounting holes.
3. Use the provided wall plugs for plaster/brick installation. Screw the Garage Tilt Sensor into the provided wall
plugs. Ensure the wall plugs are flush with the wall.
< NOTE>
Only use this type of mounting method when the garage doors are thicker than the screws.
Adhesive Mounting:
1. Find a suitable location to install the Garage Tilt Sensor. The mounting surface should be clean and dry. Clean the
mounting surface thoroughly if needed.
2. Remove the protective covering from one side of the double-sided adhesive pad. Apply it to the back of the Garage
Tilt Sensor and press firmly for 30 seconds to ensure good contact.
3. Remove the other side of the adhesive tape and firmly press the Garage Tilt Sensor onto a desired location for
another 30 seconds. Please avoid applying the adhesive pad on uneven surface or re-applying it.
Mounting the Garage Door Control
The Garage Door Control is usually mounted on the ceiling near the garage door opener and the power outlet.
WARNING :
1. Before installation, ensure to disconnet power supply from the garage door opener.
2. The GDC-3 Garage Door Control must be installed in sight of the garage door, where both
visual and audiable alerts can be clearly seen and heard.
1. Using the mounting bracket as template, mark the two mounting holes, drill holes in mounting location and insert
wall plugs if needed.
2. Screw the mounting bracket into marked location with the two hooks facing downward.

5
3. Hook the Garage Door Control onto the Wall Mounting Bracket (with the Mounting Holes of the Garage Door
Control).
4. Push the Garage Door Control (in the direction as indicated in below picture) to lock it into the mounting bracket.
5. Connect the GDC-3 terminals to the pushbutton wall console terminals on the garage door opener. Either wire can
be connected to either terminal. (The wall console terminals may be named “PWC”, “WC”, “PB”, “PUSHBUTTON”
or “RED” and “WHITE”. Terminal names and locations vary by model.)
6. Plug in the DC 9V 1A output Power Adapter and connect to power supply.
7. Restore power to your garage door opener.
Operation
Remote Operation of Garage Door
After GDC-3 has been included in the Z-Wave network, the Z-Wave controller can remotely open or close the
garage door with Z-Wave command [COMMAND_CLASS_BARRIER_OPERATOR] and
[BARRIER_OPERATOR_SET], using parameters below:
Open : Target Value = 0xFF
Close : Target Value = 0x00
Before the remotely activated garage door begins to move, the warning LED indicators (Green and Red) will

6
flash and alarm beeps will sound for 5 seconds. As the garage door starts moving, the garage door’s position)
will be reported to the Z-Wave controller.
[COMMAND_CLASS_BARRIER_OPERATOR] [BARRIER_OPERATOR_REPORT]
State:
BARRIER_OPERATOR_CLOSED 0x00
BARRIER_OPERATOR_CLOSEING 0xFC
BARRIER_OPERATOR_STOPPED 0xFD
BARRIER_OPERATOR_OPENING 0xFE
BARRIER_OPERATOR_OPEN 0xFF
Once GDC-3 starts the movement of the garage door, another command
cannot be sent for 35 seconds. If a second command is sent within 35
seconds, GDC-3 will return busy signal to the Z-Wave controller.
[COMMAND_CLASS_APPLICATION_STATUS] [APPLICATION_BUSY]
Status : 0x00
Wait Time : 0x00
When the garage door is in open status, GDC-3 will bypass any open
command from the Z-Wave Controller. When the garage door is in closed
status, GDC-3 will bypass any close command from the Z-Wave Controller.
Alarm Sound Volume
Before the remotely activated garage door begins to move, the warning LED
indicators will flash and alarm beeps will sound for 5 seconds. Users can
adjust the alarm sound volume by sending command from the Z-Wave
Controller with Configuration CC command, using parameters below:
S : Size
D : Default
Num
Name
S
Min
Max
D
Description
1
Alarm sound level
1
0
2
2
0:silent
1:small
2:loud
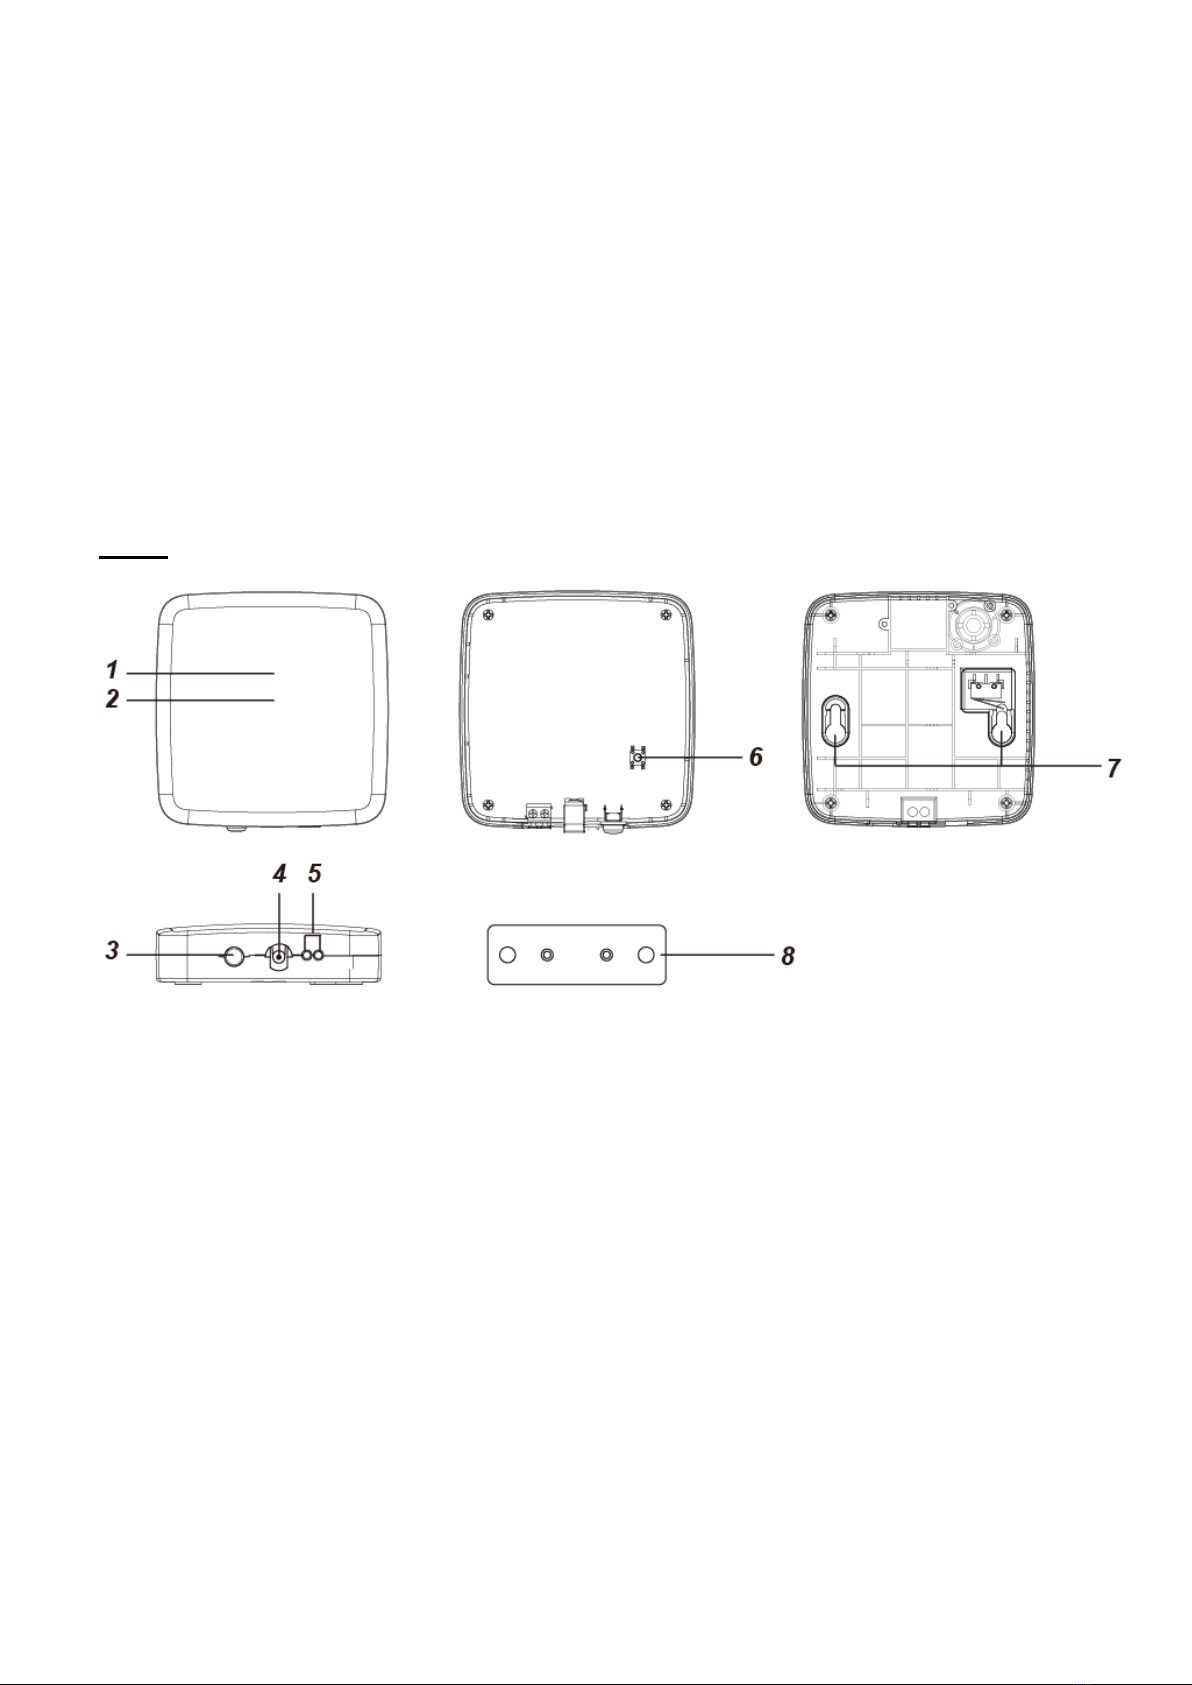
Garage Door Tilt Sensor (Tilt-GDC3) Features
Garage Door Position Detection
Whenever the garage door position changes, Tilt-GDC3 will report the door’s position to GDC-3, and GDC-3 will
report to the Z-Wave controller with Z-Wave command [COMMAND_CLASS_BARRIER_OPERATOR]
[BARRIER_OPERATOR_REPORT].
BARRIER_OPERATOR_CLOSED 0x00
BARRIER_OPERATOR_CLOSEING 0xFC
BARRIER_OPERATOR_STOPPED 0xFD
BARRIER_OPERATOR_OPENING 0xFE
BARRIER_OPERATOR_OPEN 0xFF
Tamper Protection
The Tilt Sensor Tilt-GDC3 is protected by a tamper switch when it is mounted flush against the mounting
surface. When the device is removed from the mounting surface or when the device cover is opened, its tamper
switch will be activated. The device will then send a tamper open signal to GDC-3, and GDC-3 will report to the
Z-Wave controller with Z-Wave command [COMMAND_CLASS_NOTIFICATION] [NOTIFICATION_REPORT]
Open: 00 00 00 FF 07 03 00 00
Close: 00 00 00 FF 07 00 01 03
Supervisory Signal
The Tilt Sensor Tilt-GDC3 will transmit Supervisory Signal along with the garage door’s position to GDC-3 every
15-20 minutes. GDC-3 will report to the Z-Wave controller using [BARRIER_OPERATOR_REPORT].
If the Z-Wave controller fails to receive any supervisory signals of the Tilt Sensor over a preset period of time,
an “Out-Of-Order” fault message will be generated.
Supervision error: 00 00 00 FF 06 49 00
Restore: 00 00 00 FF 06 00 00 (Both the battery status and supervision signal need to be back to normal)
Low Battery
The Tilt Sensor Tilt-GDC3 features Low Battery Detection function. When the battery voltage is low, the Tilt Sensor
will transmit Low Battery signal to GDC-3, and GDC-3 will report to the Z-Wave controller with Z-Wave command
[COMMAND_CLASS_NOTIFICATION] [NOTIFICATION_REPORT].
Low Battery: 00 00 00 FF 06 4A00
Restore: 00 00 00 FF 06 00 00 (Both the battery status and supervision signal need to be back to normal)

7
Z-Wave Information
Device Type: GENERIC_TYPE_ENTRY_CONTROL
Specific Type: SPECIFIC_TYPE_SECURE_BARRIER_ADDON
Icon Type: ICON_TYPE_GENERIC_BARRIER
Role Type: Always On Slave (AOS)
Security: S2_UNAUTHENTICATED
Manufacturer ID: 0x018E
Product Type ID:0x0004
Product ID: 0x0127
Supported Command Class
Command Class
Version
Required Security Class
Association
2
Highest Granted Security Class
Association Group Info
3
Highest Granted Security Class
Basic
2
Highest Granted Security Class
Device Reset Locally
1
Highest Granted Security Class
Firmware Update Meta Data
5
Highest Granted Security Class
Manufacture Specific
2
Highest Granted Security Class
Multi Channel
4
Highest Granted Security Class
Multi Channel Association
3
Highest Granted Security Class
Power level
1
Highest Granted Security Class
Configuration
1
Highest Granted Security Class
Notification
8
Highest Granted Security Class
Barrier Operator
1
Highest Granted Security Class
Application Status
1
Highest Granted Security Class
Version
3
Highest Granted Security Class
Transport Service
2
None
Z-Wave Plus Info
2
None
Security 2
1
None
Supervision
1
None
Association Groups
ID
Name
Max
Node
Description
1
Lifeline
5
Supports the following command classes:
•Notification report: triggered from tamper, low battery, supervision error.
•Barrier Operator report: GDC open/close.
•Application busy report: triggered from Barrier Operator Set within 35 secs.
•Device Reset Locally: triggered upon reset
Table of contents
Popular Garage Door Opener manuals by other brands

Chamberlain
Chamberlain GH quick start guide

B&D
B&D 86957 installation instructions

Serai
Serai MT/604 installation manual

BFT
BFT DEIMOS ULTRA BTA400 User manual and installation manual

Chamberlain
Chamberlain RollerLift CR655MYQ Installation and operating instructions

Alutech
Alutech Trend Series Built-in mounting instruction

Chamberlain
Chamberlain 8587WL manual

Wayne-Dalton
Wayne-Dalton 800FR installation instructions

Aeotec
Aeotec ZW062 manual

BFT
BFT Botticelli VENERE D Installation and user manual

Roger Technology
Roger Technology BM30 Series INSTRUCTIONS AND RECOMMENDATIONS FOR THE INSTALLER

Genie
Genie H8000-07 Operation and maintenance manual