IPlacing Your Television in Standby Mode
Your set can
be
placed
in
standby mode
in
order to reduce power consumption. The standby mode can
be
useful when you wish to
interrupt viewing temporarily (during ameal, for example).
1.
Press the POWER
C)
button on the remote control.
~
The screen
is
turned off and astandby indicator appears on your set.
2.
To
switch your set back on. simply press the POWER
C)
button again.
~
Do not leave your set
in
standby mode for long periods of time (when you are away
on
holiday, for example). It is best to
unplug the set from the AC outlet and antenna.
Plug &Play Feature
TV
~
@]
I
OJ
CD CD
,-
!
I
I
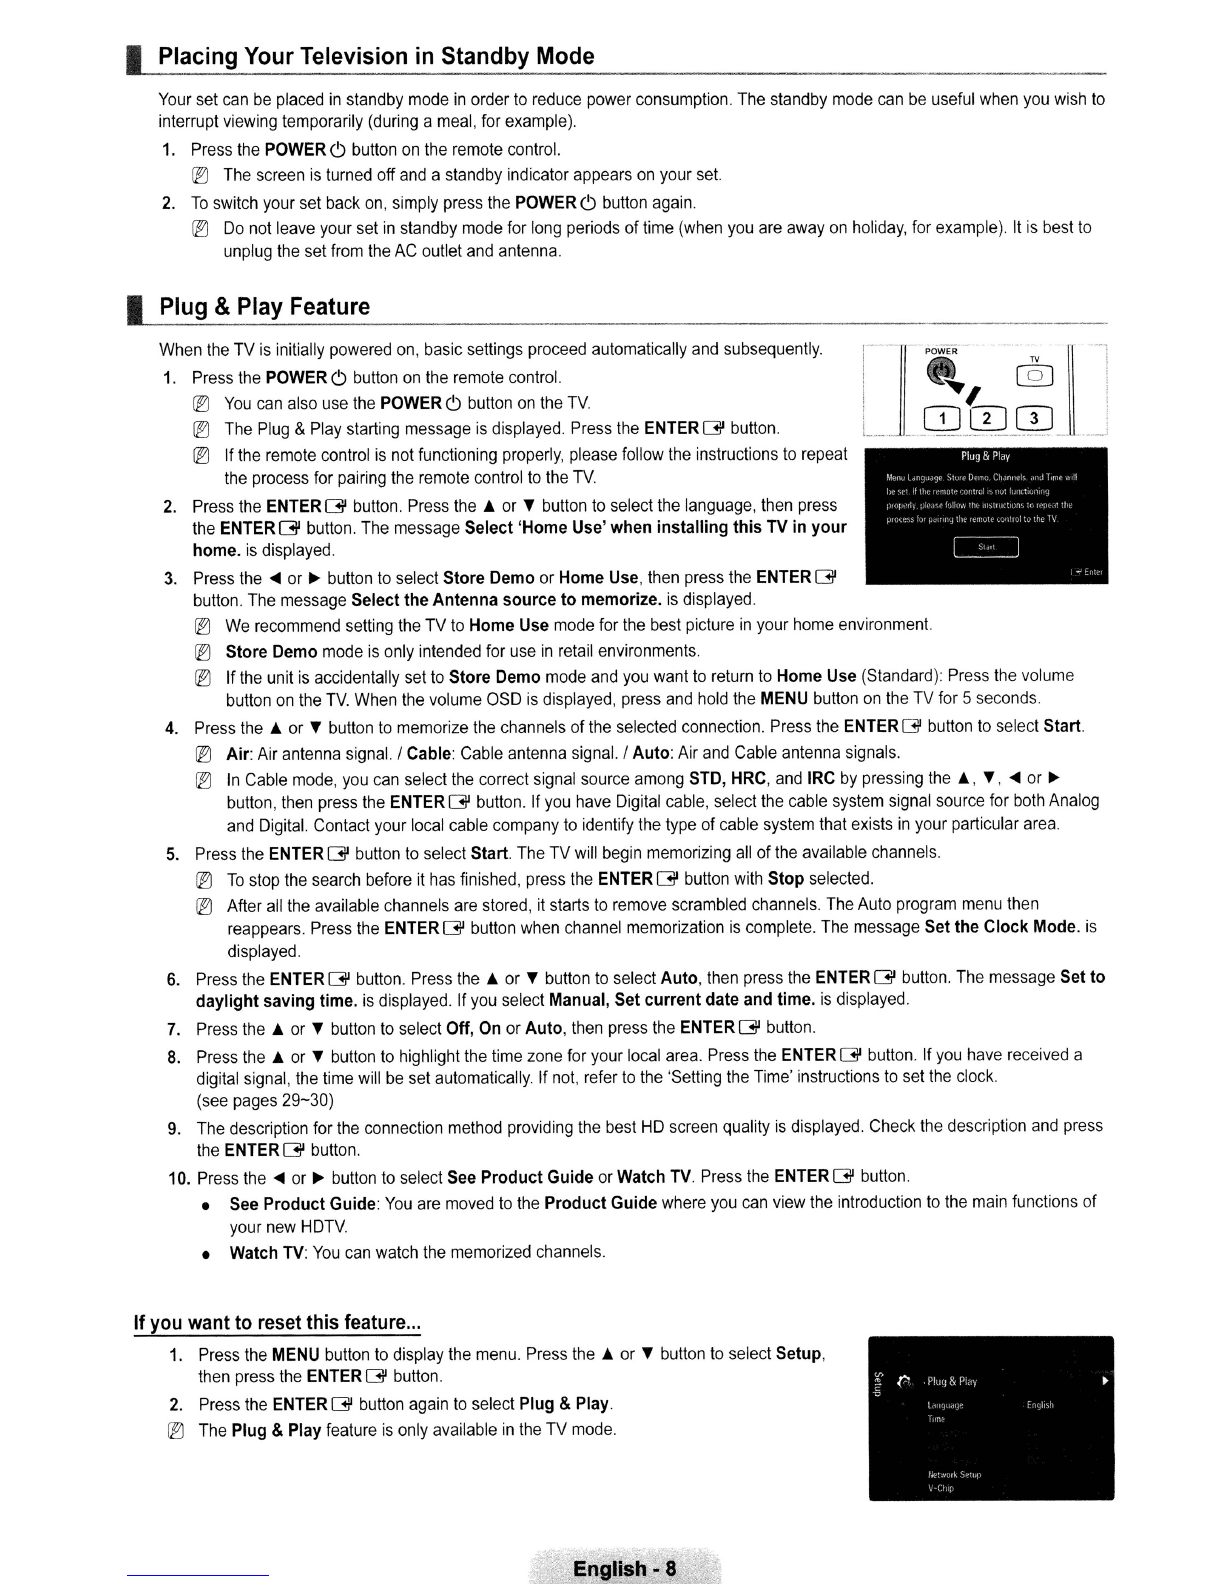
When the TV is initially powered on, basic settings proceed automatically and subsequently.
1.
Press the POWER
C)
button on the remote control.
~
You
can also use the POWER
C)
button on the
TV
~
The Plug &Play starting message
is
displayed. Press the ENTER
G'
button.
~
If the remote control is not functioning properly, please follow the instructions to repeat
the process for pairing the remote control to the
TV
2.
Press the ENTER
G'
button. Press
the;'
or
,.
button
to
select the language, then press
the ENTER
G'
button. The message Select
'Home
Use' when
installing
this
TV in
your
home.
is
displayed.
3.
Press
the'"
or
~
button to select Store Demo or
Home
Use, then press the ENTER
G'
button. The message Select
the
Antenna
source
to
memorize. is displayed.
~
We
recommend setting the TV
to
Home
Use mode for the best picture
in
your home environment.
~
Store Demo mode
is
only intended for use
in
retail environments.
®If the unit is accidentally set to Store Demo mode and you want to return to
Home
Use (Standard): Press the volume
button
on
the
TV
When the volume
aSD
is displayed, press and hold the MENU button
on
the TV for 5seconds.
4.
Press
the;'
or
,.
button to memorize the channels
of
the selected connection. Press the ENTERGbutton to select
Start
~
Air: Air antenna signal. ICable: Cable antenna signal. IAuto: Air and Cable antenna signals.
In
Cable mode, you can select the correct signal source among STD, HRC, and IRC by pressing
the;.,
",
...
or
~
button, then press the ENTER
G'
button. If you have Digital cable, select the cable system signal source for both Analog
and Digital. Contact your local cable company to identify the type of cable system that exists
in
your particular area.
5.
Press the ENTER
G'
button to select Start. The
TV
will begin memorizing all
of
the available channels.
~
To
stop the search before it has finished, press the ENTER
G'
button with
Stop
selected.
~
After
all
the available channels are stored,
it
starts to remove scrambled channels. The Auto program menu then
reappears. Press the ENTER
G'
button when channel memorization is complete. The message Set
the
Clock
Mode.
is
displayed.
6.
Press the ENTER
G'
button. Press
the;'
or
,.
button
to
select Auto, then press the ENTER
G'
button. The message Set
to
daylight
saving
time. is displayed. If you select Manual, Set
current
date and time.
is
displayed.
7.
Press
the;'
or
,.
button to select Off, On or Auto, then press the ENTER
G'
button.
8.
Press
the;'
or
,.
button to highlight the time zone for your local area. Press the ENTER
G'
button. If you have received a
digital signal, the time will
be
set automatically. If not, refer to the 'Setting the Time' instructions to set the clock.
(see pages
29-30)
9.
The description for the connection method providing the best
HD
screen quality
is
displayed. Check the description and press
the
ENTERG'
button.
10. Press
the'"
or
~
button
to
select See
Product
Guide
or Watch TV. Press the
ENTERG'
button.
•See
Product
Guide:
You
are moved to the
Product
Guide
where you can view the introduction to the main functions of
your new
HDTV
•Watch TV:
You
can watch the memorized channels.
Ifyou want to reset this feature
...
1.
Press the MENU button to display the menu. Press
the;'
or
,.
button
to
select Setup,
then press the ENTER
G'
button.
2.
Press the ENTER
G'
button again to select Plug &Play.
~
The Plug &Play feature
is
only available
in
the TV mode.
English - 8