manuals.online logo
Brands
  1. Home
  2. •
  3. Brands
  4. •
  5. Sharp
  6. •
  7. Projector
  8. •
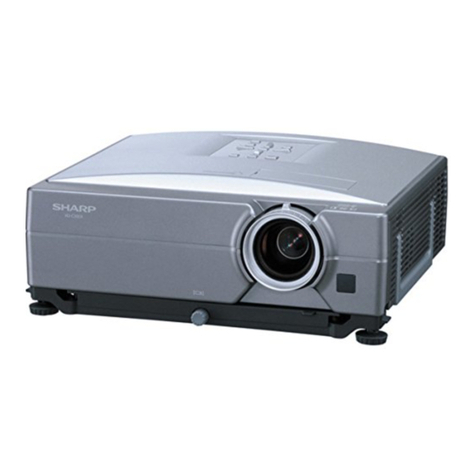
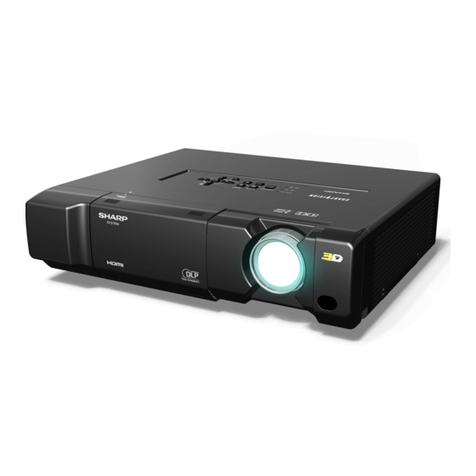
  9. Sharp Notevision XG-NV6XU User manual

Sharp Notevision XG-NV6XU User manual

Other manuals for Notevision XG-NV6XU

2

This manual suits for next models

1

Other Sharp Projector manuals

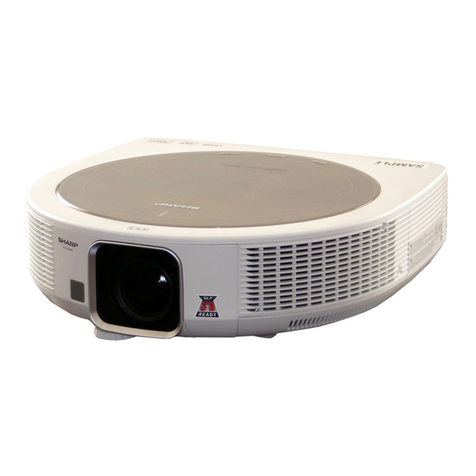
Sharp PG-D4010X - XGA DLP Projector User manual

Sharp

Sharp PG-D4010X - XGA DLP Projector User manual

Sharp PG-C45X - Notevision XGA LCD Projector User manual

Sharp

Sharp PG-C45X - Notevision XGA LCD Projector User manual

Sharp XG-V10WE User manual

Sharp

Sharp XG-V10WE User manual

Sharp NoteVision PG-LX2000 Manual

Sharp

Sharp NoteVision PG-LX2000 Manual

Sharp XG-NV2E User manual

Sharp

Sharp XG-NV2E User manual

Sharp XG-PH70X-N User manual

Sharp

Sharp XG-PH70X-N User manual

Sharp XV-Z10000 User manual

Sharp

Sharp XV-Z10000 User manual

Sharp Notevision XR-50S User manual

Sharp

Sharp Notevision XR-50S User manual

Sharp XR-20X - Notevision XGA DLP Projector User manual

Sharp

Sharp XR-20X - Notevision XGA DLP Projector User manual

Sharp Notevision PG-A20X User manual

Sharp

Sharp Notevision PG-A20X User manual

Sharp Notevision PG-D45X3D User manual

Sharp

Sharp Notevision PG-D45X3D User manual

Sharp XV-Z201E User manual

Sharp

Sharp XV-Z201E User manual

Sharp XG-SV200X User manual

Sharp

Sharp XG-SV200X User manual

Sharp Notevision XG-C455W User manual

Sharp

Sharp Notevision XG-C455W User manual

Sharp XG-P610X-N User manual

Sharp

Sharp XG-P610X-N User manual

Sharp Notevision PG-D2870W User guide

Sharp

Sharp Notevision PG-D2870W User guide

Sharp PG-D3510XL User manual

Sharp

Sharp PG-D3510XL User manual

Sharp XV-Z10000 User manual

Sharp

Sharp XV-Z10000 User manual

Sharp XV-Z1A User manual

Sharp

Sharp XV-Z1A User manual

Sharp XV-Z90 User manual

Sharp

Sharp XV-Z90 User manual

Sharp PG-F255W - Notevision WXGA DLP Projector User guide

Sharp

Sharp PG-F255W - Notevision WXGA DLP Projector User guide

Sharp Notevision XG-C58X User manual

Sharp

Sharp Notevision XG-C58X User manual

Sharp XG-MB70X User manual

Sharp

Sharp XG-MB70X User manual

Sharp PGF325W - WXGA DLP Projector User manual

Sharp

Sharp PGF325W - WXGA DLP Projector User manual

Popular Projector manuals by other brands

Eiki LC-X985 Specification sheet

Eiki

Eiki LC-X985 Specification sheet

InFocus LitePro 610 quick start

InFocus

InFocus LitePro 610 quick start

Epson EH-TW5900 datasheet

Epson

Epson EH-TW5900 datasheet

FOREVER MLP-100 manual

FOREVER

FOREVER MLP-100 manual

Toshiba TDP-MT8U Specifications

Toshiba

Toshiba TDP-MT8U Specifications

Mitsubishi XD500U specification

Mitsubishi

Mitsubishi XD500U specification

Kodak Ektapro 3020 Illustrated parts list

Kodak

Kodak Ektapro 3020 Illustrated parts list

Toshiba TDP-EW25U Specifications

Toshiba

Toshiba TDP-EW25U Specifications

Barco iQ PRO G500 supplementary guide

Barco

Barco iQ PRO G500 supplementary guide

NEC Showcase Series HT1100 user manual

NEC

NEC Showcase Series HT1100 user manual

Philips LC1341 user guide

Philips

Philips LC1341 user guide

Epson PowerLite 1266 user guide

Epson

Epson PowerLite 1266 user guide

MAGINON DLP 1400S user manual

MAGINON

MAGINON DLP 1400S user manual

Toshiba TLP-380 owner's manual

Toshiba

Toshiba TLP-380 owner's manual

Philips PicoPix PPX2480/EU user manual

Philips

Philips PicoPix PPX2480/EU user manual

Hitachi CP-X605 Series Specifications

Hitachi

Hitachi CP-X605 Series Specifications

Optoma TW1692 user manual

Optoma

Optoma TW1692 user manual

Kodak EKTAPRO instruction manual

Kodak

Kodak EKTAPRO instruction manual

manuals.online logo
manuals.online logoBrands
  • About & Mission
  • Contact us
  • Privacy Policy
  • Terms and Conditions

Copyright 2025 Manuals.Online. All Rights Reserved.

Quick Reference for XG-NV6X
A. Connecting the Power Cord
Plug the supplied power cord into the AC socket on the back of the
projector.
B. Connecting a Computer
1Slide the 15 pin/BNC switch on the rear terminals to the 15 pin
position.
2Plug one end of the supplied computer cable into the INPUT 1
or 2 port on the projector and the other end into the monitor
outputportonthecomputer,andsecuretheplugsbytightening
the thumb screws.
3Plugoneendofthe supplied computer audio cable intoAUDIO
INPUT 1 or 2 terminal on the projector and the other end into
the audio output port on the computer.
4Press POWER ON.
5Turn on the computer.
6Press AUTO SYNC to adjust the image.
C. Connecting the Remote Mouse Receiver
IBM or IBM compatible PC
1Connect one end of the supplied mouse control cable to the
corresponding terminal on the PC.
2Connect the other end to the remote mouse receiver.
Macintosh
1Connect the mouse control serial cable to the remote mouse
receiver.
2Connect the mouse control cable for Mac to the Mac ADB
port on the Mac.
3Connect the other end of the mouse control cable for Mac to
the mouse control serial cable.
• Make sure that your computer is turned off while making any mouse control cable
connections.
• When using the wireless mouse with an IBM or IBM compatible PC, you can use
either a PS/2 or serial cable connection. (See diagram below.)
• UsethesuppliedmousecontrolcableforMacwhenusingtheremote mouse receiver
with a Macintosh computer.
Mouse control
serial cable
Mouse control cable for IBM PS/2
Usethisterminal to connect the
supplied mouse control cable
to the remote mouse receiver.
Remote mouse receiver
D. Connecting a DVD Player, DTV Decoder
and Other ComponentVideo Equipment
1Slide the 15 pin/BNC switch on the rear terminals to the BNC
position.
2Plug the supplied BNC-RCA adaptors to INPUT 1 terminals
(R(PR), G/G sync(Y), B(PB)).
3Connect a component cable and an audio cable to the
corresponding terminals on the projector and video source.
Audio cable
(sold separately) To audio output terminal
To analog component
output terminals
Component cable
(sold separately)
Three BNC-RCA adaptors
DTV decoder
or
DVD player
POWER ON
button
AUTO SYNC
button
LCD Projector
Mouse control
cable for Mac
While this projector can input COMPUTER/RGB and
COMPONENTsignalsthroughthe15-pinD-subterminals(INPUT
1 and 2 ports) and BNC terminals (INPUT 1 terminals), the
projector cannot distinguish between the two types of signals.
When inputting these signals through the aforementioned
terminals,youmustindicatetheinputsignaltype.(See“Selecting
the Signal Type” in the operation manual.)
XG-NV6XU/QR (E) 99.11.8, 2:05 PM1
INPUT 2 Mode
E. Connecting aVCR, Laser Disc Player and
Other Audiovisual Equipment
1Connecttheyellow (Video)RCAconnector to the corresponding
yellow terminals on the projector and video source.
2Connect the red and white (Audio) RCA connectors to the
corresponding red and white terminals on the projector and
video source.
g
g
g
g
2Press ENTER to display test pattern.
3Press ∂/ƒ/ß/©to make adjustments.
4a.Press LENS until normal screen appears.
4b.To reset the KEYSTONE setting, press UNDO.
• Straight lines and the edges of the displayed image may appear jagged, when
adjusting the KEYSTONE setting.
• Do not touch the lens when adjusting the focus or zoom.
H. Turning the Projector Power off
1Press POWER OFF.
Power OFF
button
2Press POWER OFF again while the message is displayed.
Printed in Japan
TINS-6738CEZZ
9P06-JWG
To video output terminal
To S-video output terminal
VCR
or
Laser disc player
Audio cable
(sold separately)
S-video cable (sold separately)
Video cable (sold separately)
To audio output terminals
VIDEO Mode
F. Selecting and Checking the Input Mode
1Press INPUT to select the desired input mode.
2Press INPUT again to change the mode.
EXAMPLE
INPUT 1 Mode
INPUT button
G. Adjusting the Lens
2
3
1, 4a
4b
1Press LENS to select mode. Each time LENS is pressed, the
screen changes in the following order.
Use this terminal when the
audio-visual equipment to be
connected has an S-VIDEO
output terminal.
PDF operation manuals in several languages are included in the CD-ROM. See“How to Access the
PDF Operation Manuals”in the operation manual of the projector for more details.
XG-NV6XU/QR (E) 99.11.8, 2:05 PM2