-6
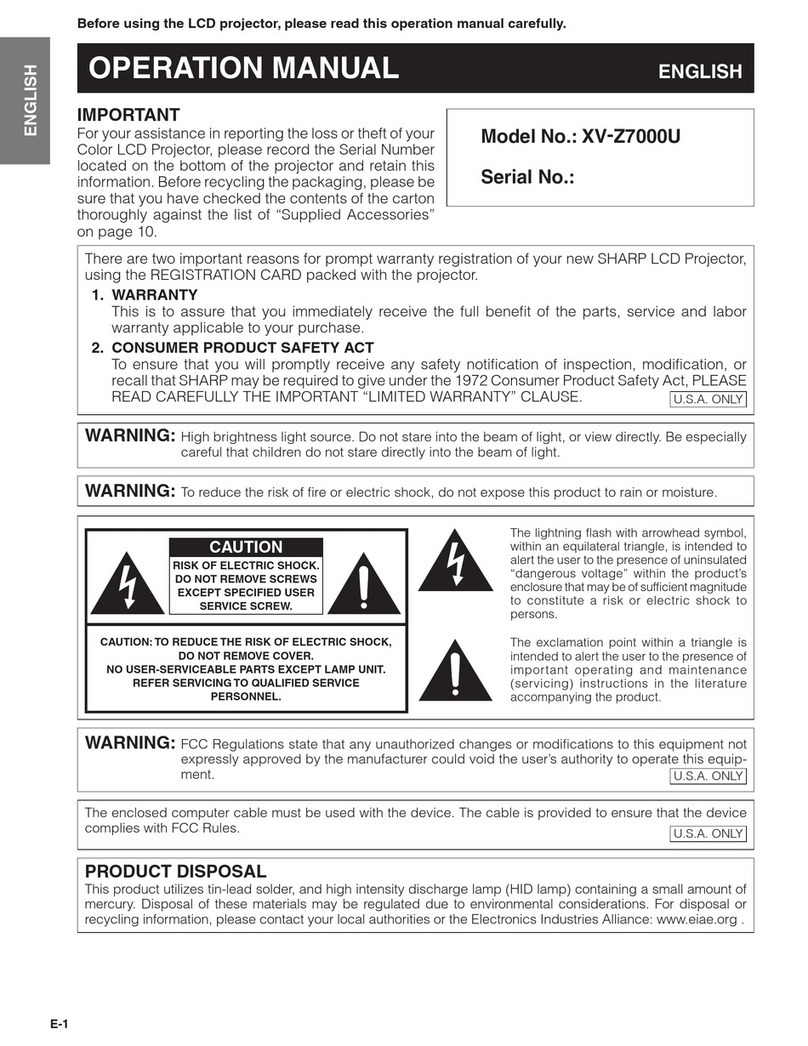
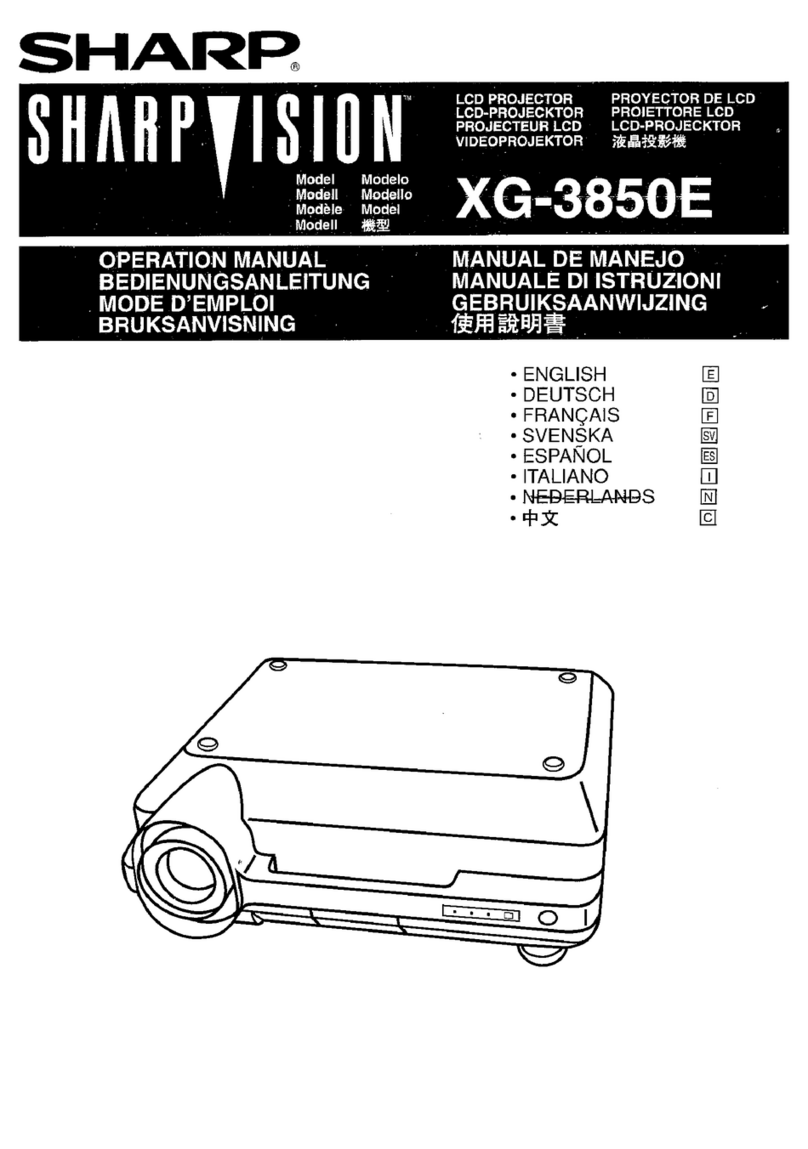
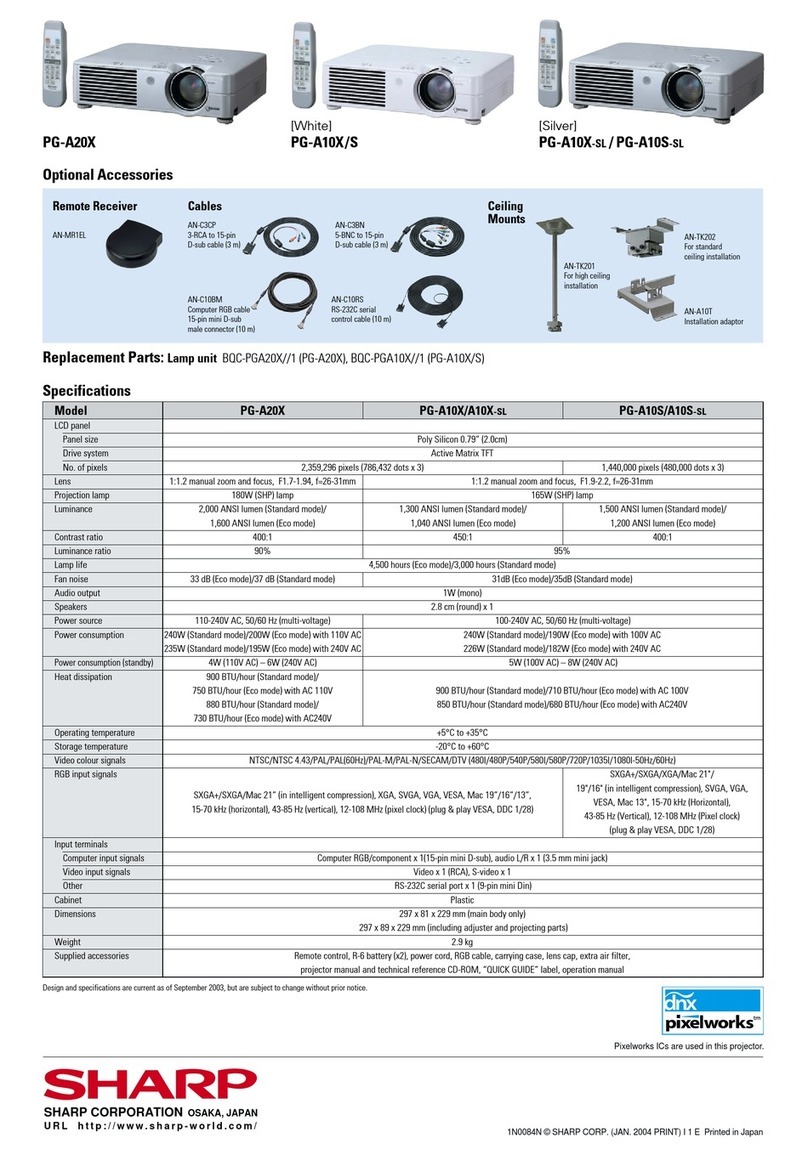
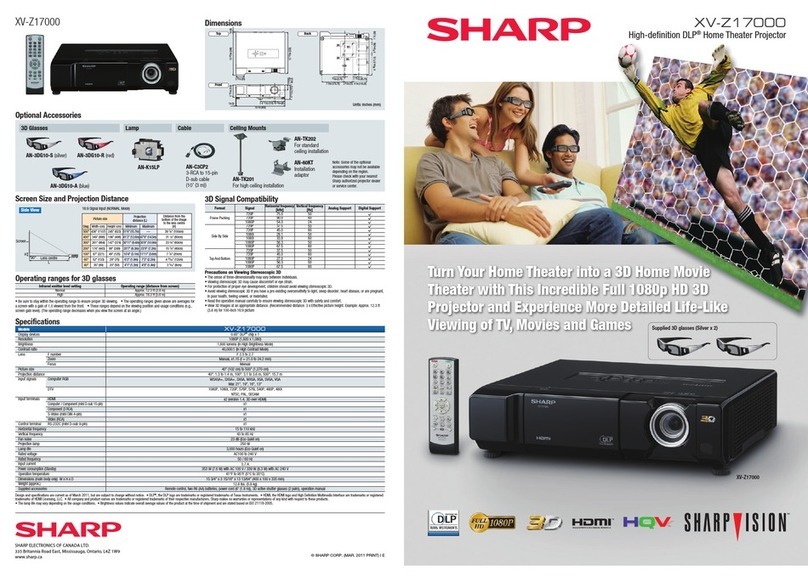
Observe the following safeguards when setting up your projector.
Caution concerning the lamp unit
Potential hazard of glass particles if lamp ruptures.
In case of lamp rupture, contact your nearest Sharp
Authorized Service Center or Dealer for replacement.
See “Regarding the Lamp” on page 48.
Caution concerning the setup of the projector
For minimal servicing and to maintain high image quality,
SHARP recommends that this projector be installed in
an area free from humidity, dust and cigarette smoke.
When the projector is subjected to these environments,
the vents and lens must be cleaned more often. As
long as the projector is regularly cleaned, use in these
environments will not reduce the overall operation life of
the unit. Internal cleaning should only be performed by
a Sharp Authorized Service Center or Dealer.
Do not set up the projector in places exposed to
direct sunlight or bright light.
Position the screen so that it is not in direct sunlight or
room light. Light falling directly on the screen washes out
the colors, making viewing difficult. Close the curtains
and dim the lights when setting up the screen in a sunny
or bright room.
Caution regarding placing of the projector
Place the projector on a level site within the adjustment
range (±5 degrees) of the adjustment foot.
After the projector is purchased, a faint smell from the
vent may appear when the power is first turned on. This
is normal and is not a malfunction. It will disappear after
the projector is used for a while.
When using the projector in high-altitude areas
such as mountains (at altitudes of approximate-
ly 4,900 feet (1,500 meters) or more)
When you use the projector in high-altitude areas with
thin air, set “Fan Mode” to “High”. Neglecting this can
affect the longevity of the optical system.
Warning about placing the projector in a high
position
When placing the projector in a high position, ensure that
it is secured carefully to avoid personal injury caused by
the projector falling down.
Do not subject the projector to hard impact
and/or vibration.
Protect the lens so as not to hit or damage the surface
of the lens.
Rest your eyes occasionally.
Continuously watching the screen for long hours will
cause eye strain. Be sure to occasionally rest your
eyes.
Avoid locations with extremes of temperature.
The operating temperature of the projector is from 41°F
to 95°F (+5°C to +35°C).
The storage temperature of the projector is from –4°F
to 140°F (–20°C to +60°C).
Do not block the exhaust and intake vents.
Allow at least 1113/16 inches (30 cm) of space between
the exhaust vent and the nearest wall or obstruction.
Be sure that the intake vent and the exhaust vent are not
obstructed.
If the cooling fan becomes obstructed, a protection
circuit will automatically put the projector into standby
mode to prevent overheat damage. This does not indi-
cate a malfunction. (See page 46.) Remove the projector
power cord from the wall outlet and wait at least 10 min-
utes. Place the projector where the intake and exhaust
vents are not blocked, plug the power cord back in and
turn on the projector. This will return the projector to the
normal operating condition.
When turning off the projector, the cooling fan runs to
decrease the internal temperature for a while. Unplug
the power cord after the cooling fan stops. The period
the cooling fan runs will vary, depending on the circum-
stances and the internal temperature.
Caution regarding usage of the projector
When using the projector, be sure not to subject it to
hard impact and/or vibration, as this can result in dam-
age. Take extra care with the lens. Before moving the
projector, be sure to unplug the power cord from the wall
outlet, and disconnect any other cables connected to
it.
Do not carry the projector by holding the lens.
When storing the projector, re-attach the lens cap. (See
page 8.)
Do not expose the projector to direct sunlight or place
next to heat sources. Doing so may affect the cabinet
color or cause deformation of the plastic cover.
Other connected equipment
When connecting a computer or other audio-visual
equipment to the projector, make the connections AFTER
unplugging the power cord of the projector from the AC
outlet and turning off the equipment.
Please read the operation manuals of the projector and
the equipment to be connected for instructions on how
to make the connections.
Using the projector in other countries
The power supply voltage and the shape of the plug may
vary depending on the region or country you are using
the projector in. When using the projector overseas, be
sure to use an appropriate power cord for the country
you are in.
XVZ21000EOusyuP06-11.indd6XVZ21000EOusyuP06-11.indd6 2006/07/3119:53:132006/07/3119:53:13
Downloaded From projector-manual.com Sharp Manuals
-12
Quick Start
This section provides an example showing how to connect the projector to video equipment with a brief ex-
planation of the steps from connection through to image projection.
For details, see the pages suggested in each step.
1. Place the projector facing a screen Page 14
2.
Connect the projector to the video equipment and plug
the power cord into the AC socket of the projector
Pages 18-25
ToVIDEOtermial
ACsocket
Connect the audio output terminal
of the video equipment to the audio
input terminal of the audio equipment
using an audio cable.
3. Remove the lens cap and turn the projector on Page 25
Pointing the remote control towards the
projector, press the ON button.
ON
6Adjustmetfeet
6Focusrig
6Zoomkob
7STANDBYbutto
3ONbutto
5IputMode
Selectbuttos
XVZ21000EOusyuP12-16.indd12XVZ21000EOusyuP12-16.indd12 2006/07/3119:53:412006/07/3119:53:41
Downloaded From projector-manual.com Sharp Manuals
-32
Menu Bar Items
The following shows the items that can be set in the projector.
The selectable items vary depending on the selected input, input signals, or adjustment
values. Items that cannot be selected will be grayed out.
Standard
Natural
Dynamic
Movie1
Movie2
Custom
Standard
Natural
Dynamic
Movie1
Movie2
Memory
+30…30
+30…30
+30…30
+90…90
+90…90
105005500
Main menu Sub menu
Contrast
Picture Mode
Bright
Color
Tint
Sharp
Reset
CLR Temp
BrilliantColor
TM
IRIS
Lamp Setting
Gamma Position
Picture
Page36
Bright
Eco + Quiet
High Brightness
Medium Mode
High Contrast
Advanced C.M.S. C.M.S. - Hue
C.M.S. - Saturation
C.M.S. - Value
Reset
Red
Yellow
Green
Cyan
Blue
Magenta
Reset
3D Fast
3D Slow
2D+
Progressive
Film Mode
DNR
Off
Level 1
Level 2
Level 3
MNR
Unveil Control
Automatic Contrast
+30…30
+30…30
+30…30
+30…30
+30…30
+30…30
Auto
Off
On
Off
Page36
Page36
Page37
Page37
Page37
Page37
Page38
Page38
Page38
Page38
Page38
Page39
Page39
Page37
Page39
Main menu Sub menu
Reset
Gamma Position Standard
Natural
Dynamic
Movie1
Movie2
Custom
Gamma
Gamma
All Colors
Red
Green
Blue
Page40
+30…30
+30…30
+30…30
White Detail
All Colors
Red
Green
Blue
+30…30
+30…30
+30…30
Black Detail
All Colors
Red
Green
Blue
+30…30
+30…30
+30…30
XVZ21000EOusyuP32-35.indd32XVZ21000EOusyuP32-35.indd32 2006/07/3119:55:022006/07/3119:55:02
Downloaded From projector-manual.com Sharp Manuals
-36
Picture Adjustment (“Picture” Menu)
Menu operationPage34
Selectable
items Description The main default settings of each item when selecting Picture Mode
CLR Temp BrilliantColor™ IRIS Lamp Setting
Standard For standard image 7500 Off High Brightness Bright
Natural A balanced color image is obtained. 7500 Off High Brightness Bright
Dynamic A vivid image is obtained. 7500 On High Brightness Bright
Movie1 For viewing images with the brightness
slightly toned down in a darkened
room
6500 Off Medium Mode Eco + Quiet
Movie2 For viewing images with the brightness
slightly boosted in a darkened room
6500 Off High Contrast Eco + Quiet
Memory Allows you to store your picture
adjustment settings. The settings
stored effect each input mode.
7500 Off High Brightness Bright
• You can set or adjust each item in the “Picture” menu to your preference. Any changes you make are retained in memory.
Note
• You can also press PICTURE MODE on the remote control to select the picture mode. (See page29.)
• The default settings are subject to change without notice.
Adjustment items button button
Contrast For less contrast. For more contrast.
Bright For less brightness. For more brightness.
Color For less color intensity. For more color intensity.
Tint For making skin tones purplish. For making skin tones greenish.
Sharp For less sharpness. For more sharpness.
CLR Temp For making images slightly more reddish
(slightly warmer colors).
For making images slightly more bluish
(slightly cooler colors).
Note
• To reset all adjustment items, select “Yes” in “Reset” and pressENTER. The Picture Mode settings of the
selected input return to the default settings.
• As for “Contrast” and “Bright”, you can make adjustments directly by using
CONTRAST and
BRIGHT, respectively, on the remote control. (See page29.)
Selecting the Picture Mode
Adjusting the Image
This function allows you to select the picture mode that best suits the room brightness and the type of image being
projected.
XVZ21000EOusyuP36-45.indd36XVZ21000EOusyuP36-45.indd36 2006/07/3119:55:262006/07/3119:55:26
Downloaded From projector-manual.com Sharp Manuals
-46
The maintenance indicators (power, lamp and temperature warning indicators) on the projector will let
you be aware of problems inside the projector. If any of the indicators illuminates, follow the relevant
procedures given below.
About the temperature warning indicator
If the temperature iside the
projector icreases, due to
blockage of the exhaust or
itakevet,orthesettigloca-
tio, willblikithelowerleftcorerof
the picture. If the temperature keeps o risig,
thelampwillturoffadthetemperaturewarig
idicator will blik, the coolig fa will ru, the
the projector will eter the stadby mode. After
appears,besuretoperformthemeasures
describedothetablebelow.
About the lamp indicator
Whetheremaiiglamp
lifebecomes5%orless,
(yellow)adChage
The Lamp will be dis-
played o the scree. Whe the percetage
becomes0%,itwillchageto (red),thelamp
willautomaticallyturoffadthetheprojector
will automatically eter stadby mode. At this
time,thelampidicatorwillillumiateired.
If you try to turn on the projector a fourth time
without replacing the lamp, the projector will
not turn on.
Maiteaceidicator Coditio Problem PossibleSolutio
Temperature
warig
idicator
Normal Abormal
Off Redo
(Stadby)
Theiteral
temperatureis
abormallyhigh.
Abormal €Blockedexhaustor
itakevet
€Relocatetheprojectortoaarea
withpropervetilatio.
€Cooligfabreak-
dow
€Iteralcircuitfailure
€Cloggedexhaustor
itakevet
€Taketheprojectortoyourearest
SharpAuthorizedServiceCeteror
Dealerforrepair.
€
Clea the exhaust ad itake vets
accordigtotheprocedureopage 47.
Lamp
idicator
Redo
(Stadby)
Thelampdoes
otillumiate.
€Burt-outlamp
€Lampcircuitfailure
€Replacethelamp.(Seepage 48.)
Taketheprojectortoyourearest
SharpAuthorizedServiceCeteror
Dealerforrepair.
€Pleaseexercisecarewhereplac-
igthelamp.
€Securelyistallthelampuitcover.
Blueo*
Blue
bliks
whethe
lampis
active.
Power
idicator
Thepower
idicatorbliks
iredwhethe
projectoriso.
€Thelampuitcover
isope.
€Securelyistallthelampuitcover.
€Ifthepoweridicatorbliks
evewhethelampuitcoveris
securelyistalled,cotactyour
earestSharpAuthorizedService
CeterorDealerforadvice.
Blueo*/
Redo
Redbliks
Redbliks
Lampreplace-
mettime.
€Theremaiiglamp
lifehasbecome5%
orless.
*BlueisoffwheLEDissettoOff.(Seepage 43.)
Maintenance Indicators/Maintenance
Lampidicator
Poweridicator
Temperaturewarigidicator
XVZ21000EOusyuP46-51.indd46XVZ21000EOusyuP46-51.indd46 2006/07/3119:55:512006/07/3119:55:51
Downloaded From projector-manual.com Sharp Manuals
