SINNOWA W600 User manual

W600
Auto Washer
(
V1.0
)
User’s Manual

Sinnowa Medical Science &Technology Co.,Ltd

INDEX
1. INTRODUCTION........................................................................................................................1
1.1 FEATURES..............................................................................................1
1.2 WORKING ENVIRONMENT REQUIREMENTS..................................................1
1.3 PERFORMANCE .......................................................................................1
1.4 INSTRUMENT STRUCTURE ........................................................................2
2. INSTALLATION...........................................................................................................................2
2.1 UNPACKING ............................................................................................2
2.2 CONNECT THE OUTER PIPE.......................................................................2
2.3 CONNECT THE POWER .............................................................................2
3. OPERATIONS .............................................................................................................................3
3.1SYSTEM SETUP .......................................................................................3
3.2 PROGRAM SETUP ....................................................................................7
3.3 WASH ..................................................................................................11
3.4 WASH PIPE ...........................................................................................14
4. WASH PROCESS OPERATION SUMMARY.............................................................15
5. ROUTINE MAINTENANCE .................................................................................................15
6. TROUBLESHOOTING...........................................................................................................16
7. TRANSPORTATION AND STORAGE...........................................................................17
7.1 TRANSPORTATION .................................................................................17


W600 Auto Washer User’s Manual
1 Introduction
W600 automatic washer is a microprocessor-controlled washer. It
can be fitted with either an 8 or 12 channel manifold which are
fitted with one aspirating and one dispensing needle per well. Up
to 50 user-defined programs can stored in the memory and recalled
by user.
This manual gives the installation and operations for the W600
Automatic Washer, it shouldbe read carefµlly in its entirety prior
to any attempt to operate the washer.
1.1 Features
Washer has the feature of simple structure, stable working
condition, and low maintenance cost. Chinese / English version is
free to switch for users.
1.2 Working environment requirements
Power requirements
110/220 V ± 10
%
,50/60Hz ± 2
%
Fuse
T1AL250V
Power consumption
100VA
Operation temperature
10°C to 40°C
Relative humidity
No more than 75 percent
Atmospheric pressure
86.0kPa ~ 106.0kPa
Other requirement
Avoid dust, strong
electromagnetic interference and
corrosive gases
Avoid mechanical vibration
Good grounding of network power
supply
1.3 Performance
Washing strips
1-12
Washing cycle
1-99
Washing scope of application
96-well plate, 48-well plate and
single plate
Residual volume
< 2uL per well
programs storage
50 stored programs
Washing capacity
50-500µl, optional setting(step
length is 50µl)
Soake time:
0-3600 seconds
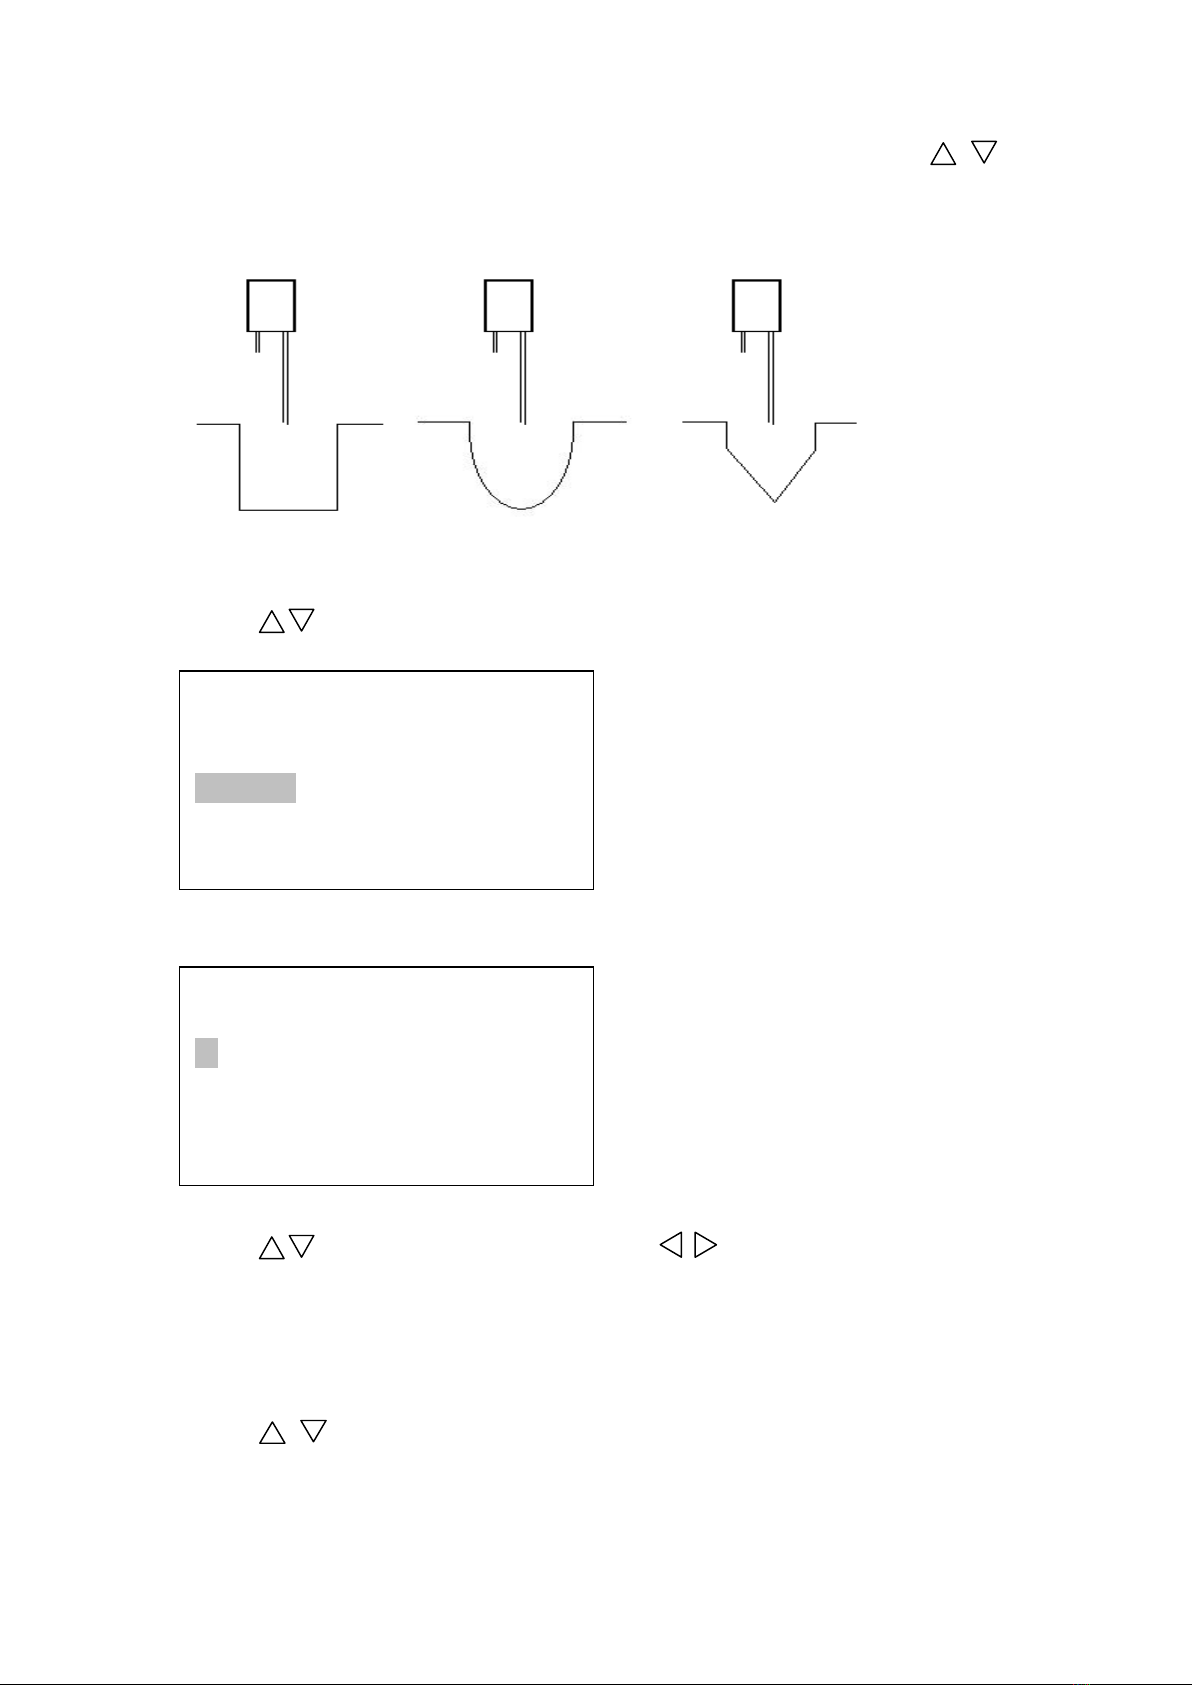
plate-type options
U plate, flat plate, V plate
Shake time
1-99 seconds
1

W600 Auto Washer User’s Manual
1.4 Instrument structure
Washer is content of control system, movement system, pump,valve,
washing manifold and carrier home.
2 Installation
2.1 Unpacking
(1) Lift the unit from the box by holding the unit.
(2) Remove the accessories from the unit.
(3) Verify that all items on the packing list have been received.
(4) Inspect all components for shipneedleg damage. In case of
damage, contact the shipper who delivered your equipment.
(5)Save all packing material in case it becomes necessary to return
the unit.
(6)Put the instrument on a flat level platform.
2.2 Connect the outer pipe
Six pieces of silicon rubber tubes is used to connect the unit with
the outer bottles,please connect them according to apellation. Cut
off the belts on the washing manifold after the outer pipe has been
well connected.
2.3 Connect the power
Connect the power cable to the unit, switch on the power, the washer
begins self-initialize, after a few minutes the LCD will display:
Then the washer is ready to use. Press Enter key to come into main
menu :
W600Auto Washer
Wash
Program setup
System setup
Wash pipe
W600Auto Washer
SINNOWA
2

W600 Auto Washer User’s Manual
3. Operations
3.1 System setup
It is recommendable that you should check and adjust the position
parameter before you begin to use the washer in order to get the
good washing effect.
Press
to choose “System setup”.
Press Enter key to come into “System setup”.
Input six “
”.
Press Enter to confirm.
W600Auto Washer
Wash
Program setup
System setup
Clean pipe
System setup
Please input password:
System setup
Please input password:
*******
System setup
Language setup
Position setting
Title setup
3

W600 Auto Washer User’s Manual
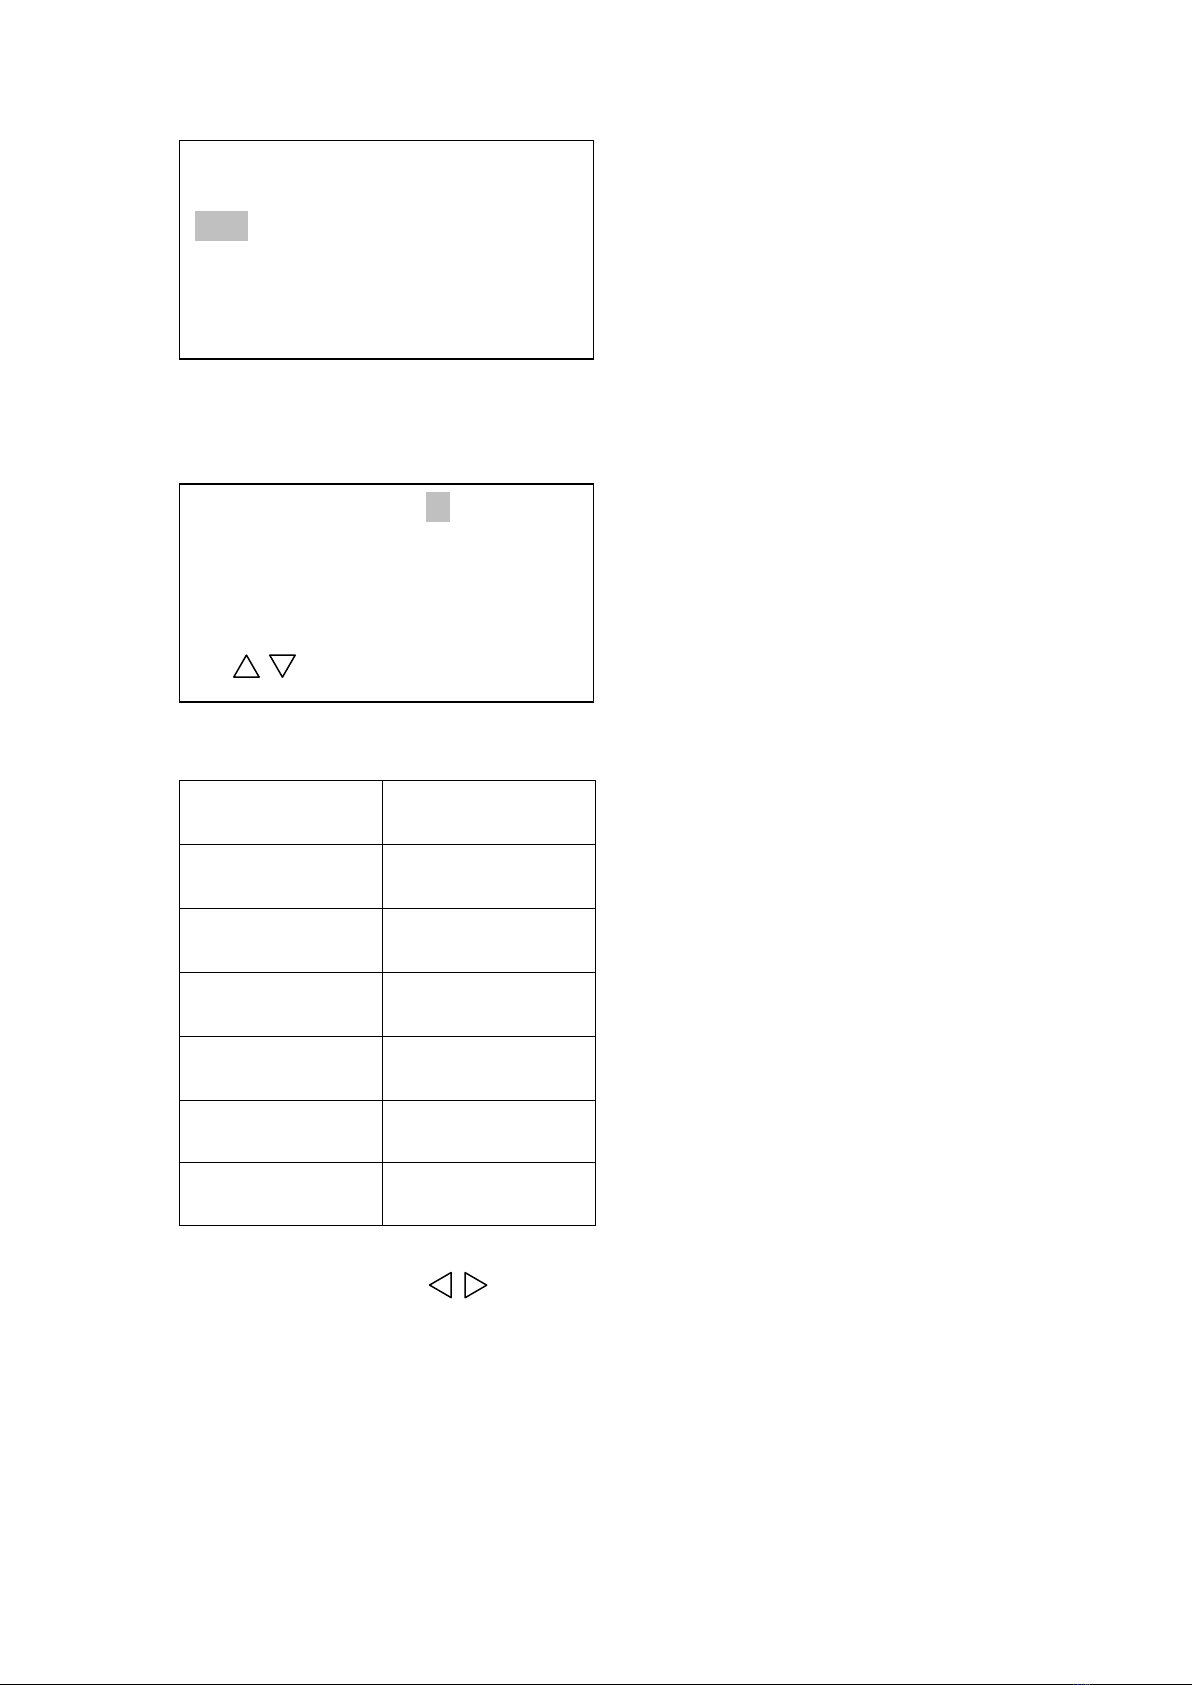
Press Enter key to come into “Language setting”.
Press
to choose language.
Press
to choose language.
Press
to choose “Position Setting”.
Press Enter key to come into “Position Setting”.
Press
key to adjust long needle to reach the bottom of
trough.
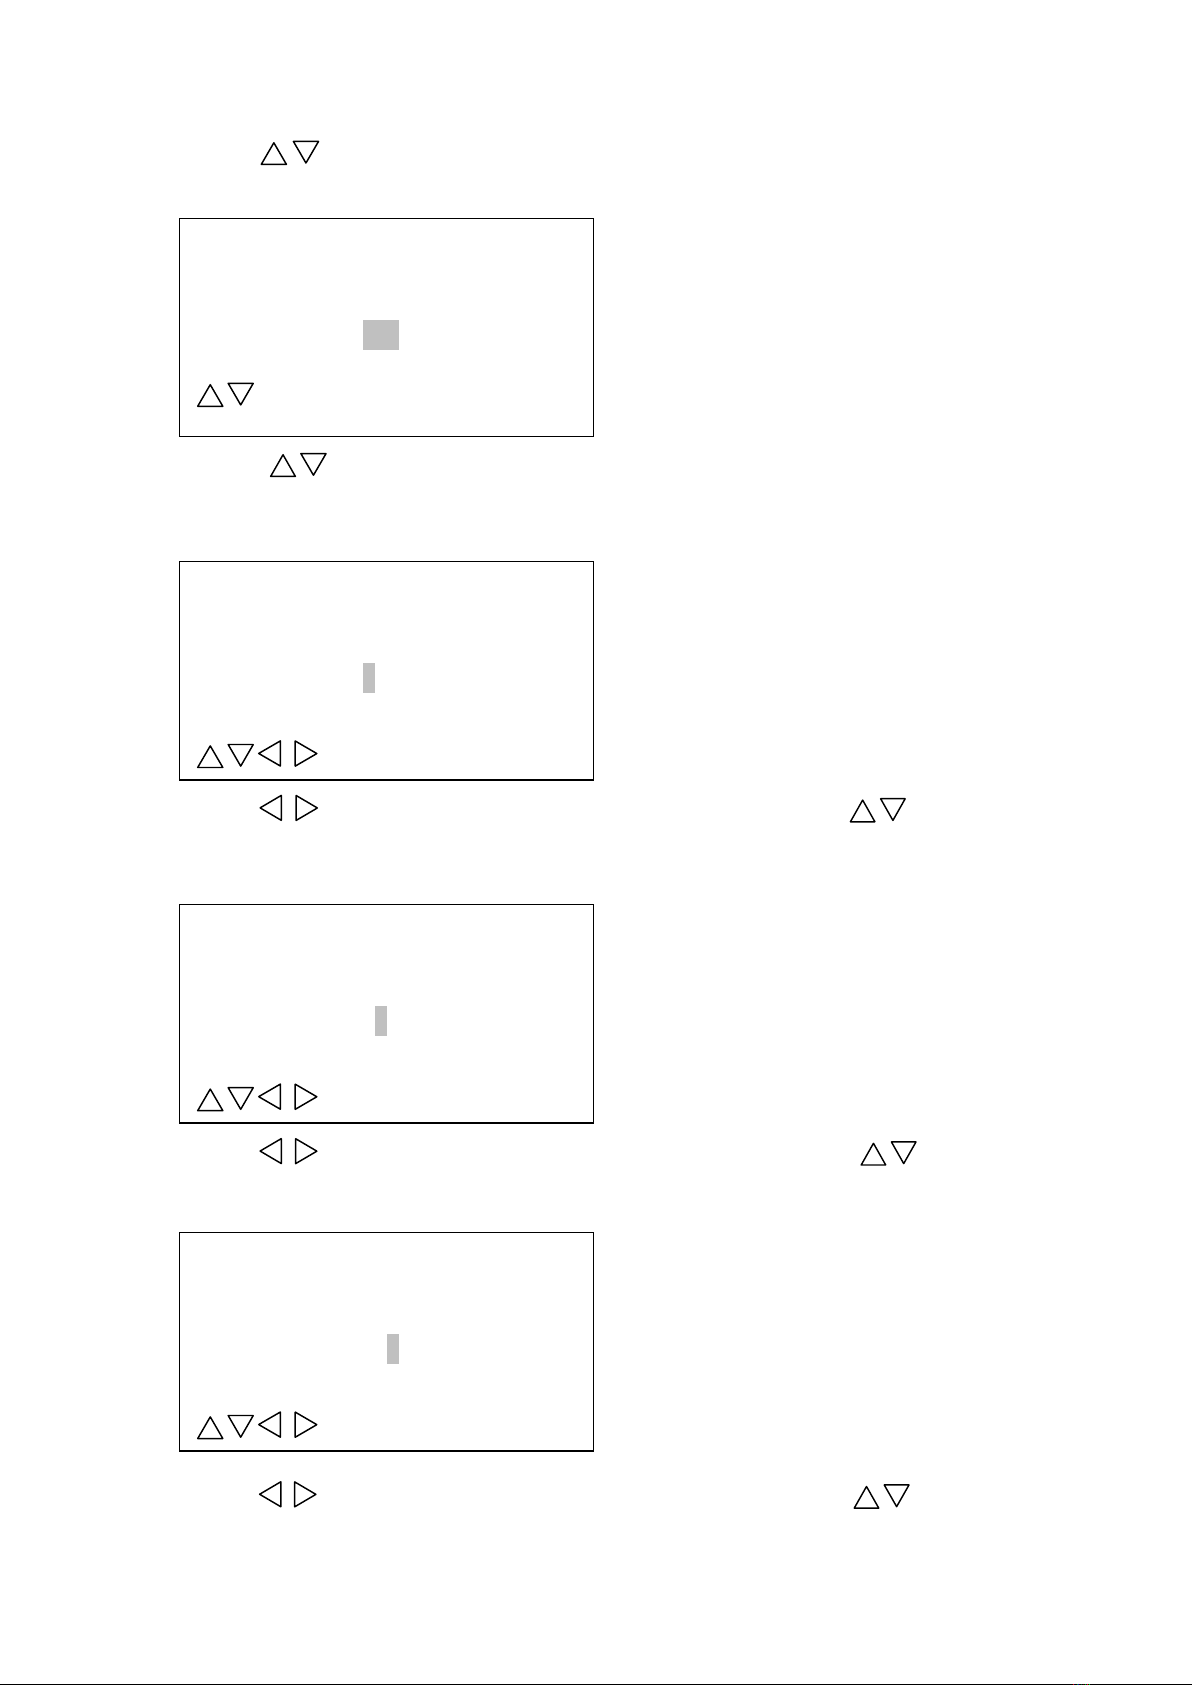
Press
to move the carrier to the left or right to adjust
long needle to the center of first strip micro-wells ,and as
following shown:
Language setup
中文
English
System setup
Language setup
Position setting
Title setup
Position setting
Long pin in the center of first
strip micro-well
micro-well left
right
Please press “Entre” to sure
Position setting
Long needle to
the bottom of
trough
needle up
down
Please press “Entre” to sure
4

W600 Auto Washer User’s Manual
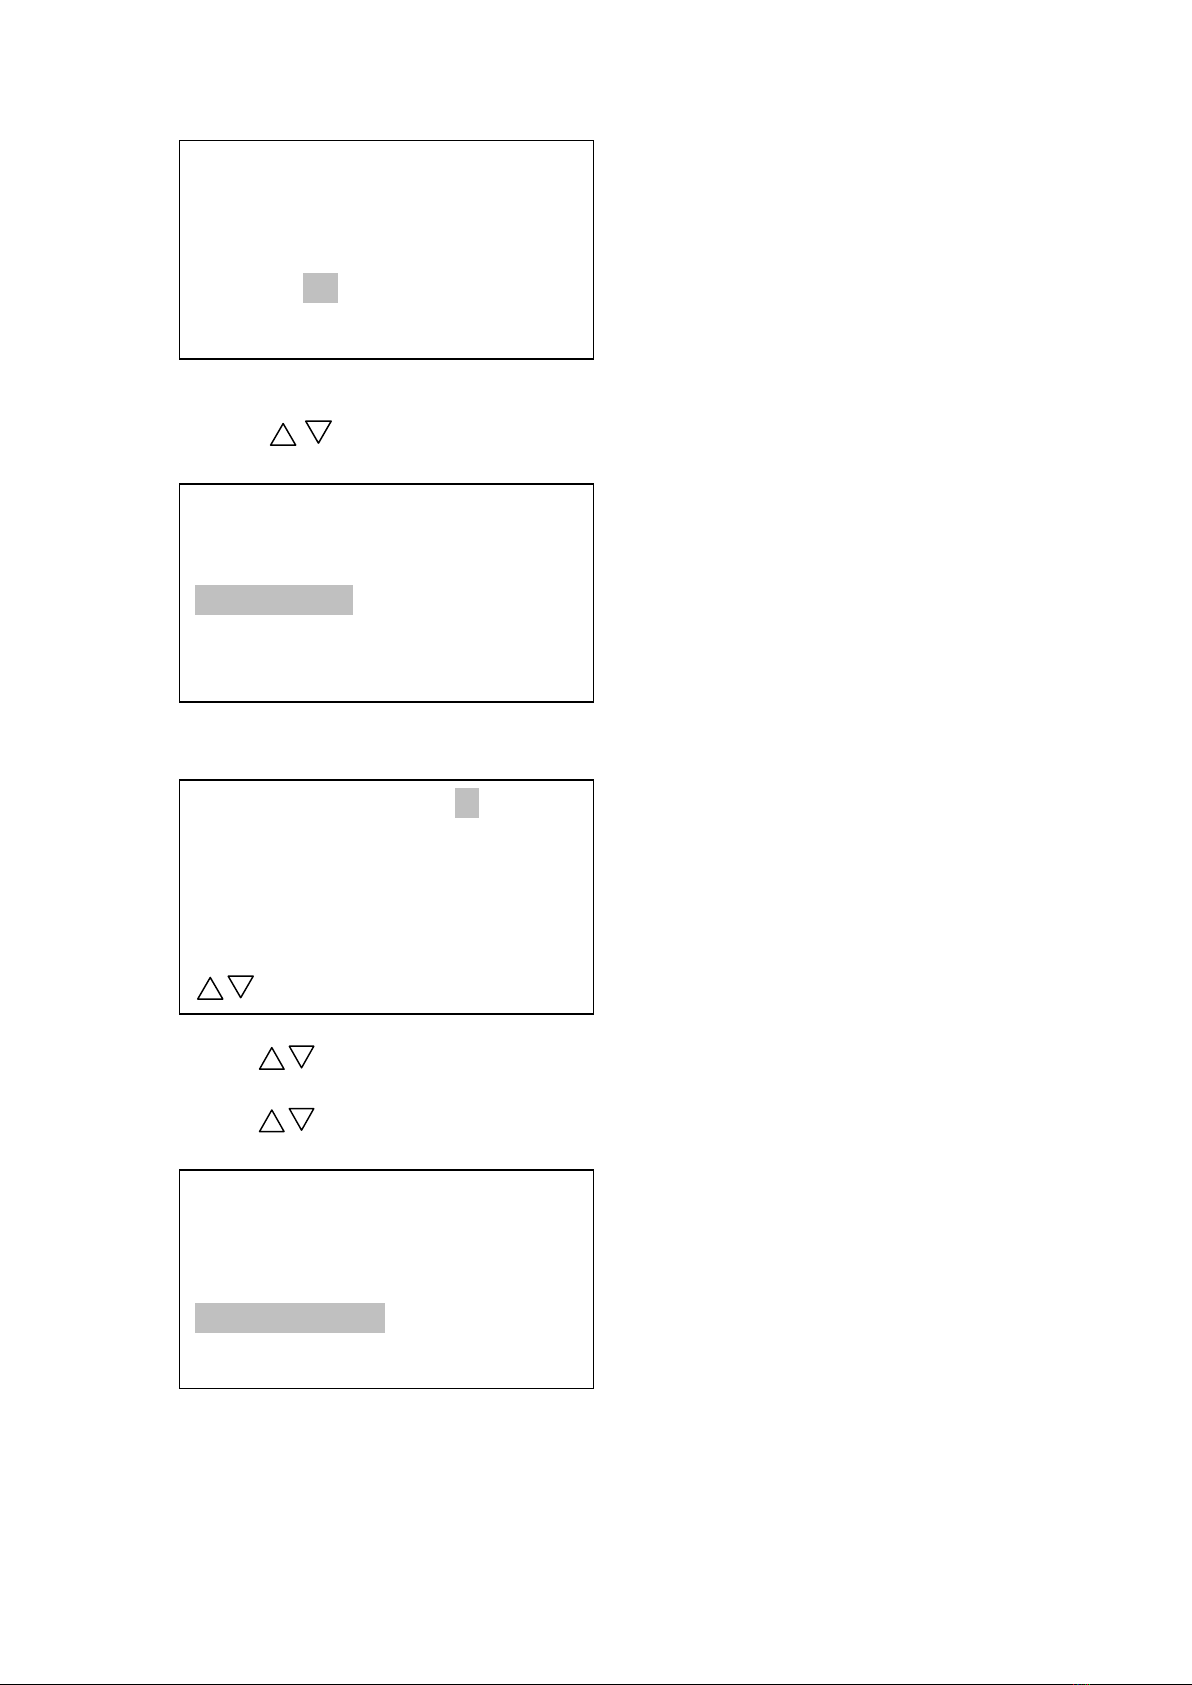
Press Enter key to confirm.
For flat micro-well, this is the first point of the manifold
aspiration needle when use two-point aspiration. Press
to
move the carrier to the left or right, the best position should
be close to the left wall of the micro-well.Adjusted position is
as shown below.
Press Enter key to confirm.
Position setting
Long needle on the left
of
micro-well
micro-well left
right
Please press “Entre” to sure
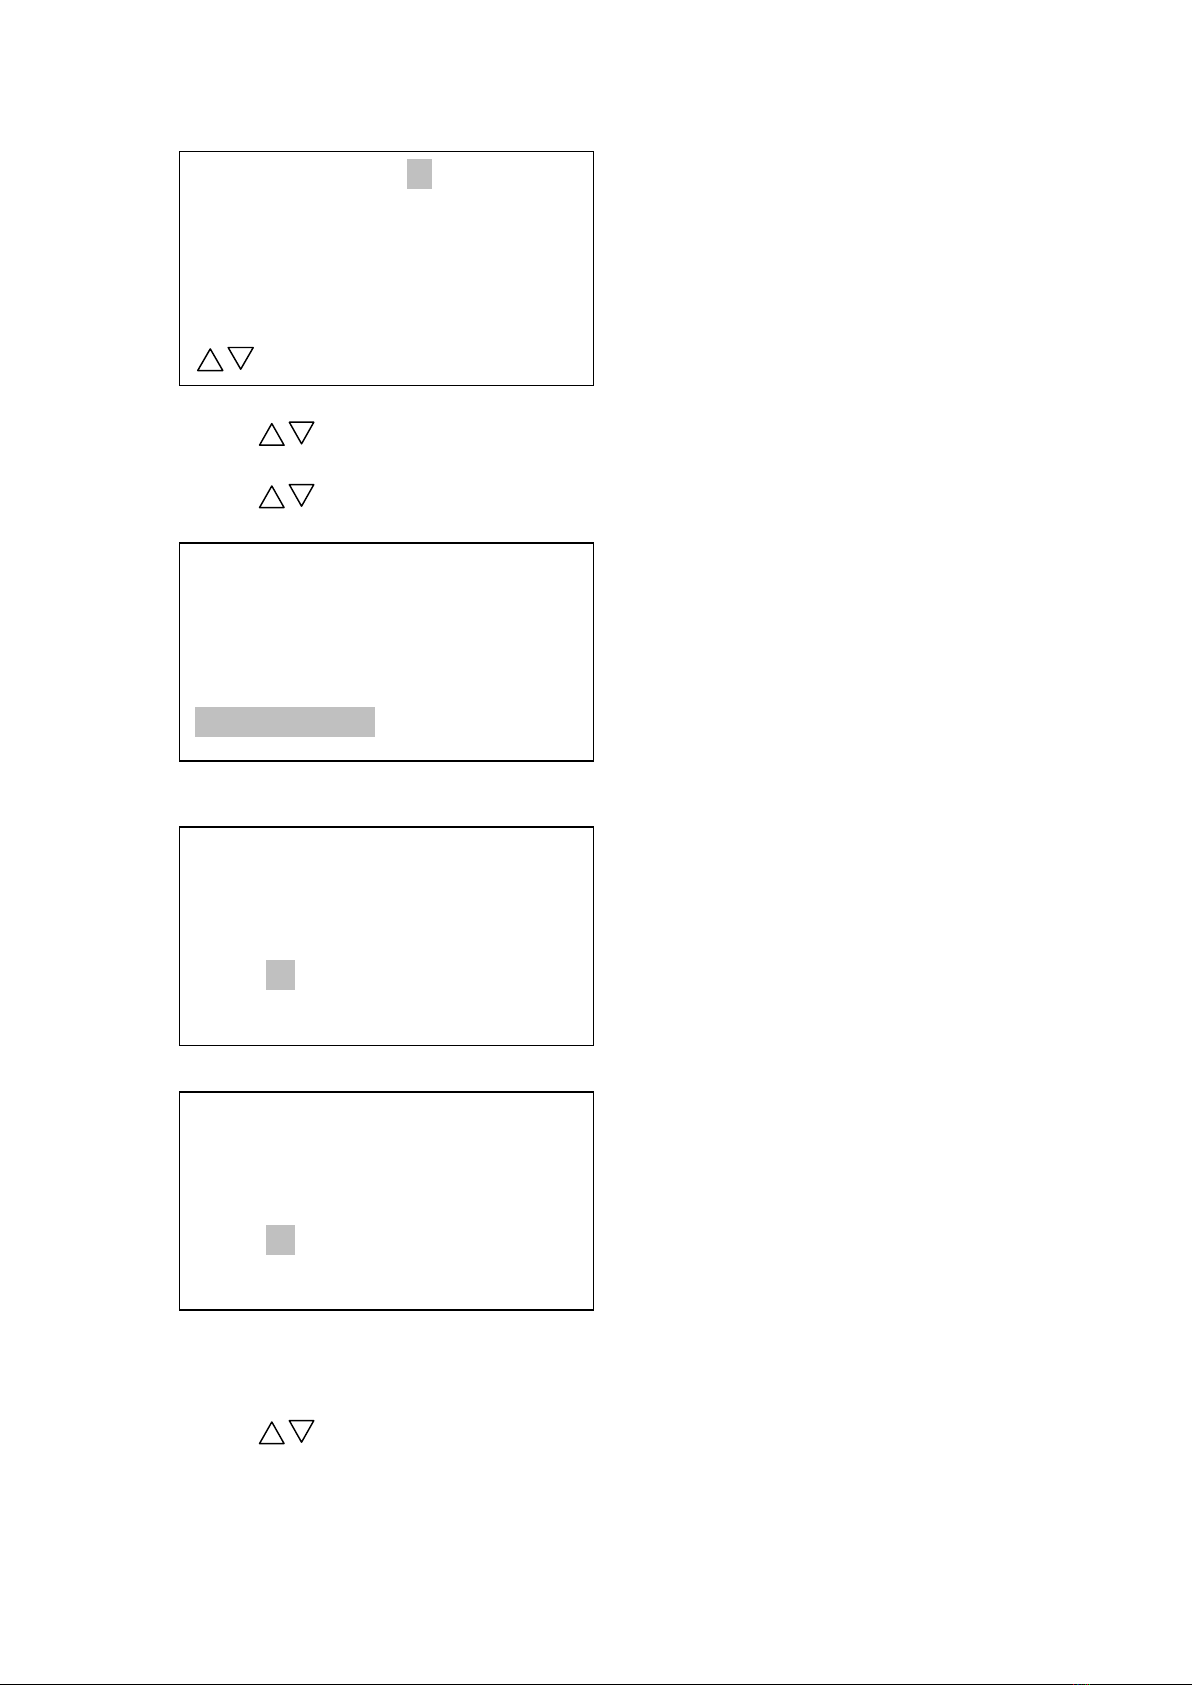
Position setting
Long needle on the right
of
micro-well
micro-well left
right
Please press “Entre” to sure
5

W600 Auto Washer User’s Manual
For flat micro-well, this is the second aspirating point in
two-point aspiration process. Press
to tune up long probe
position. Adjusted position is as shown below.
Attention: When adjust long needle to the left or right of first
strip micro-wells, the position should not too close to or too far
away with wall according to washing effect.
Press Enter key to confirm.
Press
to move the washing manifold so that long needle to
reach the bottom of micro-well, the best position is the position
that the long needle be closest to the bottom of the
micro-well.Adjusted position is as shown below.
Press Enter key to confirm.
Position setting
Long needle to the
bottom of
micro-well
needle up ,
down
Please press “Entre” to sure
Position setting
Long needle at the upside of
micro-well
needle up ,
down
Please press “Entre” to sure
6
W600 Auto Washer User’s Manual
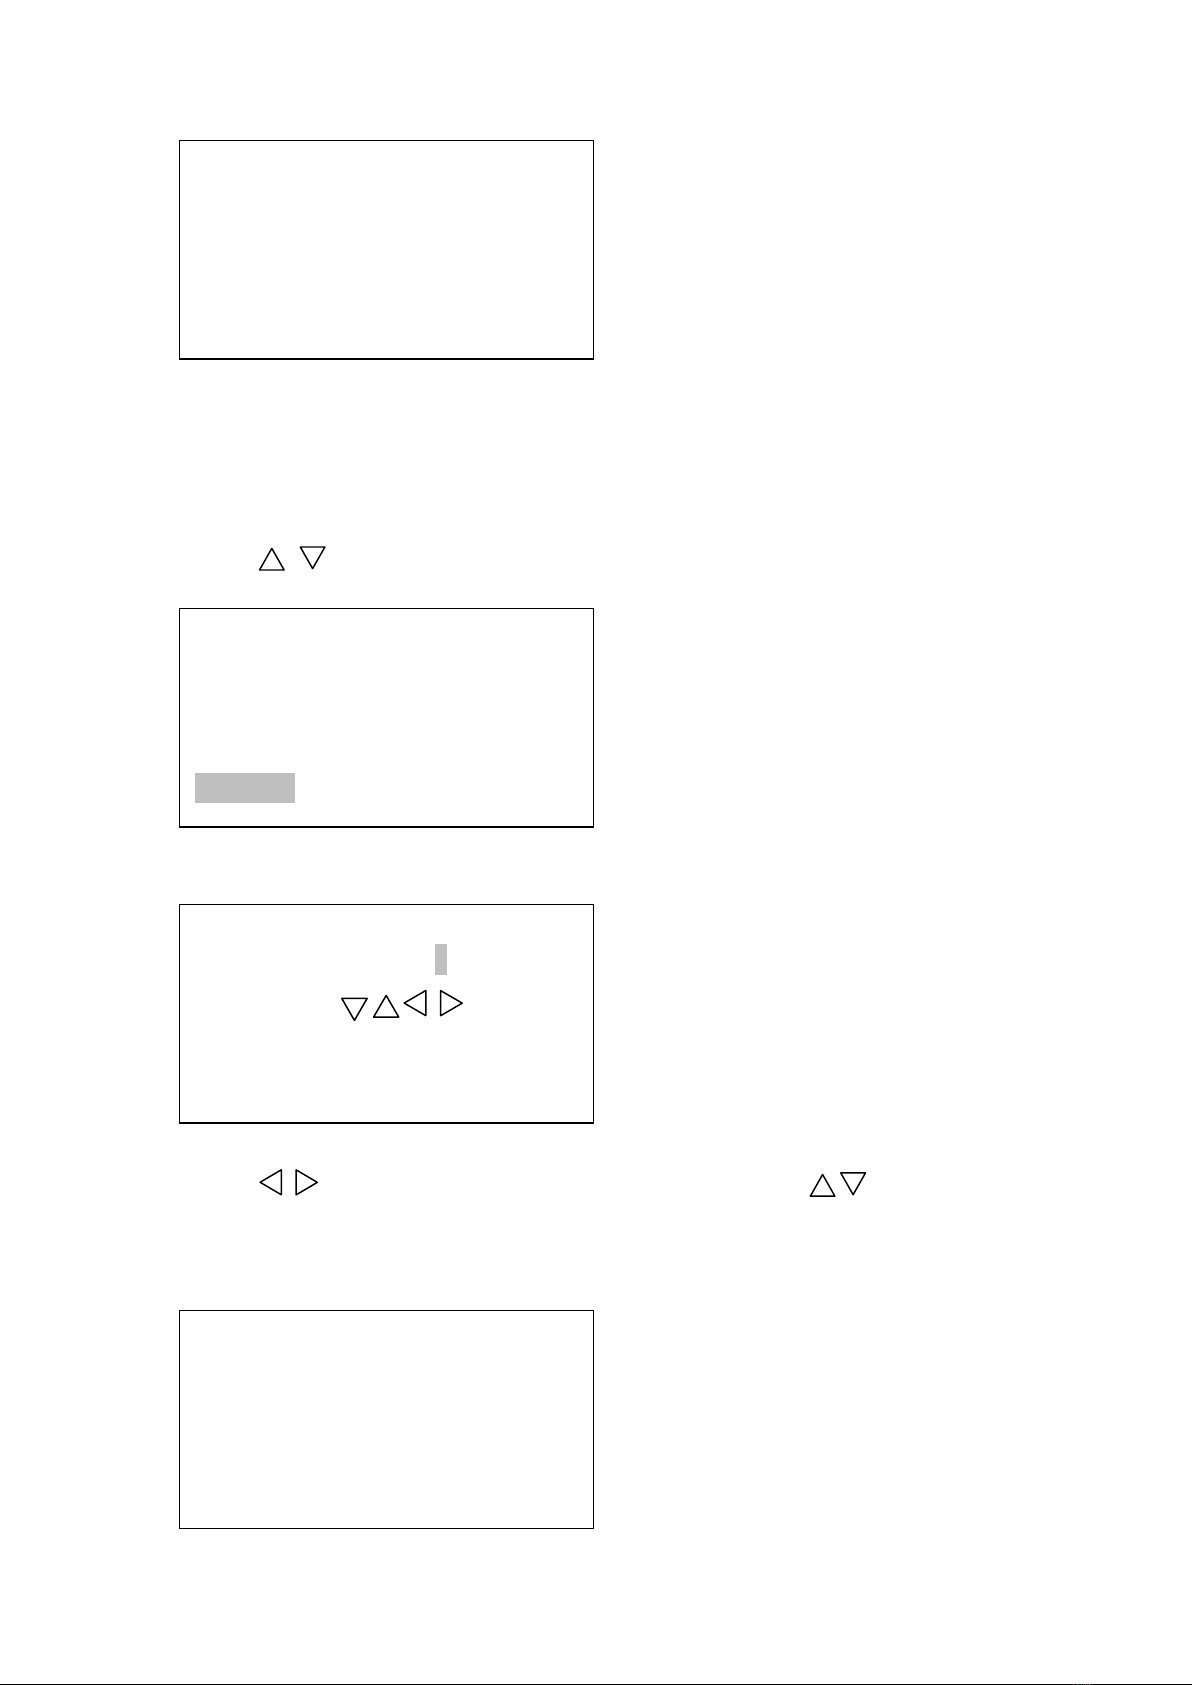
This is edit the overflow position of the micro-well,Press
key to move the washing manifold so that the long needle r is just
above the top of the wells,and adjusted position is as shown below.
Press key Enter to get in to main menu.
Press
to choose “Title setup”
Press “Enter”to come into “Title setup”
Press
to choose character,press
to move cursor.
Press “Enter”to choose “SINNOWA” to setup company information.
3.2 Program setup
Press to choose program setup.
System setup
Languang setup
Position setting
Title setup
W600 Auto Washer
SINNOWA
7

W600 Auto Washer User’s Manual
Press Enter key to come into “Program setup”.
Press Enter key to add new program.
Press
to choose plate model,and press Enter key to confirm.
Press
key to choose micro-well number on single plate, and
press Enter key to confirm.
W600 Washer
Wash
Program setup
System setup
Wash pipe
Program setup
Program add
Program modify
Delete one program
Delete all program
Program Setup
Program
No. 02
Plate model
Flat U V
Select “ Enter”Sure
Program setup
Program No. 02
Micro-wells
812
Select “Enter”Sure
Program Setup
Program No. 02
Strips(1-12)12
Date alter “ Enter”Sure
8
W600 Auto Washer User’s Manual
Press
key to setup wash strips , and press Enter key to
confirm.
Press
key to setup washing volume, and press Enter key to
confirm.
Press
key to choose program number and press
key to
adjust washing times.
Press
key to choose program number and press
key to
adjust shaking time, and press Enter key to confirm.
Press
key to choose program number, then press
key to
adjust soaking time, and press Enter key to confirm.
Program setup
Program No. 02
Volume (50-500,50µl/step)
400 µl
Date alter “ Enter”Sure
Program setup
Program
No. 02
Wash times (1-99)
10
Date alter“ Enter”Sure
Program setup
Program
No. 02
Shake time (0-99)
05 Sec
Date alter“ Enter”Sure
Program setup
Program No. 02
Soak time (0-3600)
0020 Sec
Date alter“ Enter”Sure
9
W600 Auto Washer User’s Manual
Press “YES” to confirm , and press “NO” to quit.
Press
to choose “Program modify”.
Press Enter key to come into “Program modify”.
Press
key to choose program to edit.
Press
key to choose to “Delete one program”.
Press Enter key to come into “Delete a program”.
Program setup
Sure to add?
Yes No
Modify program No. 01
Plate Modle :Flat
08micro-wells
12strips
Volum 450µl Wash 03times
Shake 05 Sec Soak 0010Sec
Date alter “ Enter”Sure
Program setup
Program add
Program modify
Delete one program
Delete all program
Program setup
Program add
Program modify
Delete one program
Deleteall program
10
W600 Auto Washer User’s Manual
Press
to choose program to delete.
Press
to choose to “Delete all the programs”.
Press Enter key to come into “Delete All Program”.
Press “Yes” to confirm delete, and press “No” to quit.
3.3 Wash
Press
to choose “Wash”.
Del Program No. 01
Plate Modle :Flat
08 micro-wells
12strips
Volum 450µl Wash 03times
Shake 05 Sec Soak 0010Sec
Date alter “ Enter”Sure
Program setup
Program add
Program modify
Delete one program
Delete all program
Delete all program
No Yes
Delete all program
Sure to delete?
No Yes
11
W600 Auto Washer User’s Manual
Press “Enter” to get into wash process.
At this moment, it needs to call the programs stored in the
instrument.
This code program is 01 that means No.01 program is been stored.
Plate type
Flat
Washing manifold
8 micro-wells
Washing strips
12strips
Washing volume
450µl
Washing times
3 times
Shaking time
5 seconds
Soaking time
10 seconds
You also can press
key to choose other programs, or press
ENTER to choose to implementation of the washing procedure. (If
there are no pre-storage programs, the possibility is they not
being set up when leave factory, or have been deleted at all.)
Press ENTER key into operate program 01.
W600 Washer
Wash
Program setup
System setup
Wash pipe
Run Program No. 01
Plate Mode:Flat
08micro-wells
12strips
Volume 450µl Wash 03times
Shake 05Sec Soak 0010Sec
Select “ENTER”Sure
12

W600 Auto Washer User’s Manual
After 3 washes, the display below will show.
Run Program No. 01
Adding pression
Run Program No. 01
Wash
Remain 02 times
Running Program No. 01
Shake
Remain 04 Sec
Run Program No. 01
Soak
Remain 0009 Sec
Run Program No. 01
Sucking
13
W600 Auto Washer User’s Manual
Attention:If liquid surface is raised or overflow happens in the
process of washing , adjust air-pressure adjuster on the back of
the instrument.
3.4Wash pipe
Press
to choose “Wash pipe”.
Press Enter key to come into wash pipe.
Press
to choose program number, and press
to adjust
washing time.
Press “Cancel” to quit.
Running Program No. 01
Wash complete
Press any key to return!
W600 Washer
Wash
Program setup
System setup
Wash pipe
Wash pipe
Wash Time:04 Sec
Input date press
Cancel to return, Enter to sure
Reset please press Reset
Wash pipe
Remain time 04 Sec
14

W600 Auto Washer User’s Manual
4. Wash process Operation Summary
1. Before power on the washer, check the washer, be sure that:
The pipe is well connected;
The waste bottle is empty;
These are distilled water in the distilled water
bottle.
These are regent in the washing bottle.
2. Switch on the washer, wait a moment until main menu has been
displayed, then washer is ready to use.
3. Place a microplate to be washed in the carrier.
4. Use “System setup” to check and set the position of the
microplate.
5. Get into “Program setup” to edit washing parameter.
6. Used “wash pipe”to washing pipe.
7. Come into “Wash” to wash a microplate.
8. Wait until wash process finished.
9. Used “wash pipe”to washing pipe before power off the washer
everyday.
10.Power off the washer.
5. Routine maintenance
1.Rinse pipe and manifold using distilled water after finishing
assay
The salt deposits left by the dried wash solution can easily
clog the system. So it is recommended to wash pipe and manifold
using distilled water everyday beore power off the washer.
2.Ensure that the waste bottle is emptied
Ensure that the waste bottle is emptied regulated and at least
every time that lotion and distilled water bottle is loaded.
3.Cleaning manifold needles
A needle cleaning wire is supplied with each manifold, and
may be used to unclog aspirate or dispense needles, which have
been plugged by dirt or dried salt deposits.
It is possible that the dispense/aspirate tips of the wash
manifold may become clogged with salt deposits. To clear them,
lift up the manifold and unclog the tips using the small
declogging tool provided.
4. Clean the instrument as necessary
It is recommended that the instrument is wiped with a soft
cloth moistened with a mild detergent solution. Spillage
of liquid on the carrier should be wiped off promptly as this
may cause the plate carrier to drag during operation.
5.Check and adjust the position of microplate when it is
necessary .
6.Switch off the unit after washing.
15

W600 Auto Washer User’s Manual
6. Troubleshooting
SYMPTOM PROBABLE CAUSE REMEDY
The instrument does
not work, no message
display on the LCD.
1.AC
power not getting to
the unit.
check AC line
cord.
2.Blown fuse.
C
onnect to AC
line.
Replace fuse with
proper type.
N
eedle of manifold
can not extend into
the micro-well
1.The locatio
n of first
strip of the micro-
plate
is not correct.
2.S
omething may be put on
the working platform or
micro-well carrier.
A
djust the
location of the
first strip of
micro-well.
Remove things put
on the carrier ,
try again.
N
eedle of the
manifold can not
aspirate
waste
liquid
1.Aspirating
liquid
nozzle of washing manifold
has not been well
connected with inlet
nozzle of waste bottle.
2.C
over of the waste
bottle is not tightly
closed.
3.Extracting air nozzle of
waste bottle has not been
well connected
with the
vacuum pump.
4.S
ilicon pipe is broken
or creased.
5.A
spirating needle of
manifold has been blocked.
6.Vacuum pump
does not
C
heck and well
connect the pipe.
T
ight the cover
of waste bottle.
C
heck and well
connect the pipe.
Replace th
e
silicon pipe.
Use needle of dim
1.0mm to delicate
the black of long
needle hole.
Contact
with
manufacture.
16
Table of contents


