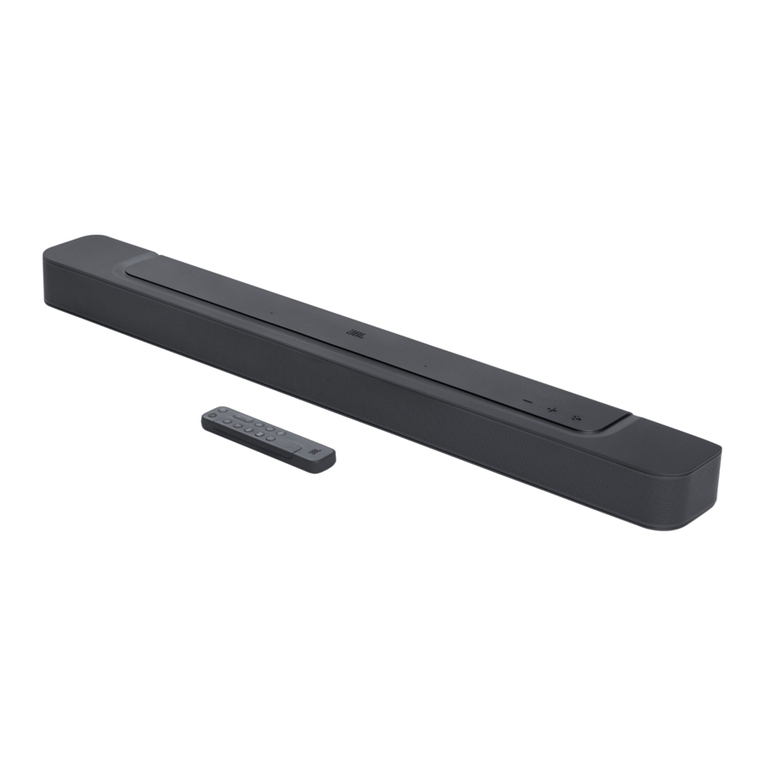
SONIQ MB10 User manual

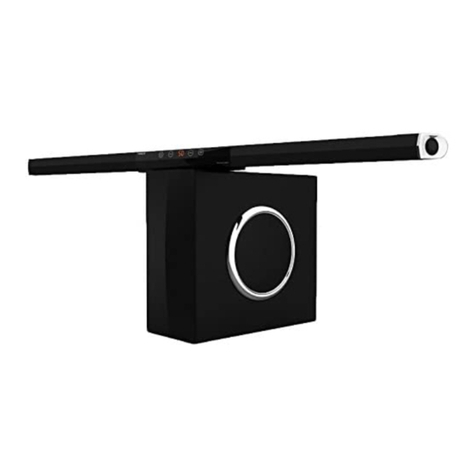
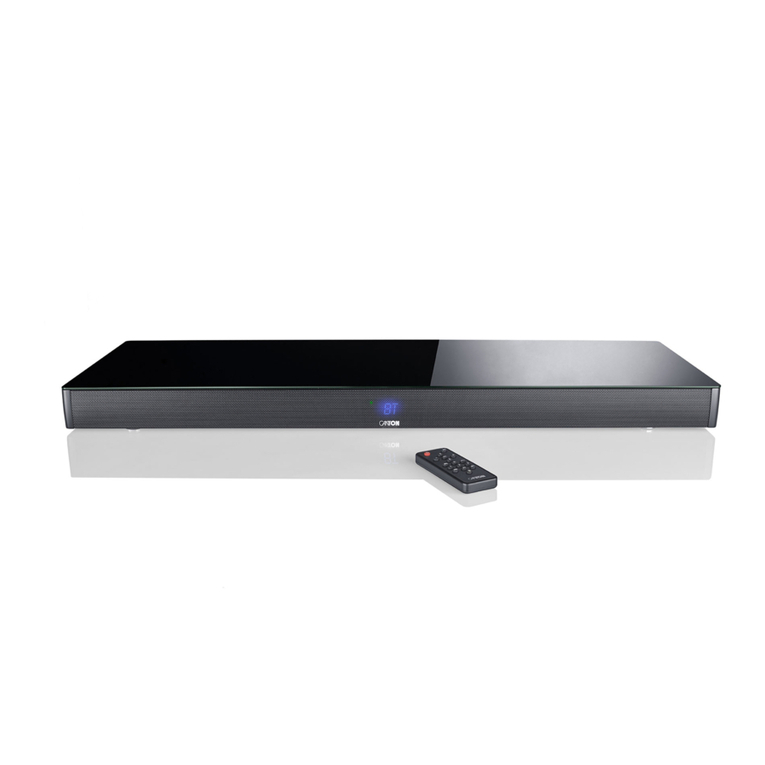
2.1 Bluetooth Soundbar
MB10-AU
www.soniq.com.au
HOTLINE
AUSTRALIA : 1300 765 663
NEW ZEALAND : 0800 100 236
MD120706-01

MB
Instruction Manual
Thank you for purchasing the MB10 Micro system. We strongly suggest
that you study these operating instruction carefully before attempting
to operate the unit, and that you note all of the listed precautions.
CONTENTS
Page 2-3
Page 4
Page 5
Page 6-8
Page 8
Page 9
Page 10
Page 11
Page 11
Page 12
SAFETY INSTRUCTIONS
CAUTION: TO REDUCE THE RISK OF ELECTRIC SHOCK, DO NOT
REMOVE ANY COVER. NO USER-SERVICEABLE PARTS INSIDE,
REFER ANY SERVICING TO QUALIFIED SERVICE PERSONNEL.
IMPORTANT SAFETY INSTRUCTIONS
• Please read this owner s guide.
• Please take the time to follow the instructions in this owner’s guide
carefully. It will help you set up and operate your system properly and
enjoy all of its advanced features.
• Please save this owner ’s guide for future reference.
• The product label is located on the back of the product.
• This product must be used indoors. It is neither designed nor tested for
outdoors, such as in recreation vehicles, or on boats.
• Heed all warnings - on the product and in the owner’s guide.
• Do not use this apparatus near water or moisture. Do not use this
product near a bathtub, washbowl, kitchen sink, and laundry tub, in a
wet basement, near a swimming pool, or anywhere else that water or
moisture is present.
• Only use attachments/accessories specified by the manufacturer.
• Unplug this apparatus during lightning storms or when unused for
long periods of time - to prevent damage to this product.
• Refer all servicing to qualified service personnel. Servicing is required
when the apparatus has been damaged in any way: such as liquid has
been spilled or objects have fallen into the apparatus; the apparatus
has been exposed to rain or moisture, does not operate normally, or
has been dropped - Don not attempt to service this product yourself.
• Opening or removing covers may expose you to dangerous voltages or
other hazards.
• To prevent risk of fire or electric shock, avoid overloading wall outlets,
extension cords, or integral convenience receptacles.
• Use proper power sources - Plug the product into a proper power source,
as described in the operating instructions or as marked on the product.
• The mains plug is used as the disconnect device, the disconnect device
shall remain readily accessible.
Safety Instructions
'
12
Instruction Manual
Safety Instruction
Introduction
Function&Controls
Basic Operation
USB Operation
Bluetooth Operation
FM Operation
Specifications
Trouble Shooting
Care & Maintenance
10

34
SAFETY INSTRUCTIONS
This symbol means that this unit is double insulated. An earth
connection is not required.
WEEE marking
Disposal of your old product
Your product is designed and manufactured with high
quality materials and components, which can be recycled
and reused. When this crossed out wheeled bin symbol
is attached to a product it means the product is covered
by the European Directive 2002/96/EC.
Please make yourself aware of the local collection system
for electrical and electronic products.
Please act according to your local rules and do not dispose
of your old products with your normal household waste.
The correct disposal of your old product will help
prevent potential negative consequences for the
environment and human health.
This product complies with European low voltage
(2006/95/EC)and electromagnetic compatibility
(2004/108/EC) directives.
1
INTRODUCTION
FUNCTIONS & CONTROLS
Front Panel
Safety Instructions
Introduction
1
2
34 5 67
8
9
10
1. POWER ON/OFF
2. POWER SUPPLY INPUT
3. L/R SPEAKER OUTPUT
4. L/R AUDIO INPUT
5. COAXIAL 2
6. OPTICAL 1
7. OPTICAL 2
8. USB PORT
9. COAXIAL 1
10. FM INTERFACE
1
2
4
5
6
1.
2. SOURCE BUTTON
3. VOLUME +
4. PREVIOUS BUTTON
5. INDICATOR LIGHT
6. REMOTE CONTROL SENSOR
7. STANDBY BUTTON
8. NEXT BUTTON
9. VOLUME -
DISPLAY SCREEN
USB
7
8
9
Rear Panel
3

56
FUNCTIONS & CONTROLS
Remote Control
1. MUTE
2. OPTICAL1
3. OPTICAL 2
4. FM
5. PAIR
6. BASS +
7. BASS -
8. TUNE +
9. TUNE -
10. PREVIOUS/CH-
11. NEXT/CH+
12. VOLUME -
13. VOLUME +
14. PLAY/PAUSE
15. SUBWOOFER -
16. SUBWOOFER +
17. TREBLE -
18. TREBLE +
19. USB
20. BLUETOOTH
21. COAXIAL 2
22. COAXIAL 1
23. AUX
24. STANDBY
Functions & Controls
Basic Operation
1
22
21
19
18
16
17
15
13
12
11
14
8
10
7
6
5
4
3
23
20
2
24
9
BASIC OPERATION
PREPARATION
STANDBY MODE
TONE FUNCTION
MUTE BUTTON
VOLUME SETTING
PLAY/PAUSE BUTTON
PREVIOUS AND NEXT
1. Before the unit is turned on, please check if all the connections are right
and safe. Then connect the main power.
2. Press the POWER ON/OFF button on the back panel to turn on the main
power.
Press the button on the front panel to switch ON/OFF the Standby mode.
Note: Make sure that the unit is connected to the power source.
In play status, to select the Treble, Bass or Subwoofer adjusting mode,
press the TREBLE+/-, BASS+/- and SW+/- buttons to adjust the effect of
Treble, Bass or Subwoofer respectively.
Press the / buttons to turn the volume up or down.
If you press the MUTE button while playing, the sound output will be switch
off. Press the MUTE button again or the / buttons to resume the
previous volume level.
In play status, press the (PLAY/PAUSE) button to pause, press this button
again to continue playing.
Note: This function is unavailable in Radio, Audio, Coaxial and Optical Input
modes.
In play status, press the 9 button to go to the previous track; press the :
button to go to the next track.
Note: These buttons are unavailable in Audio Input mode.

BASIC OPERATION
78
Basic Operation
Basic Operation
USB Operation
This USB port is as the software upgrading port as well.
First, you should download the upgrading file from our website to your USB device.
Then turn this unit to the USB mode. The unit will detect the USB device and read the file
automatically, when it is upgrading, word “UPGING” will display on the screen.
Once this upgrade is done, it will turn to AUDIO INPUT mode automatically. It is advisable
to turn off the unit then restart it.
UPGRADE
It is possible to listen to audio files using the USB interface of this unit.
1. Connect the USB device to this unit.
2. Press the USB button on the remote control to play the USB.
3. Press the 9 or : button to go to the previous or next audio files.
4. To exit the USB mode: Press the AUX or FM button, and switch to other
modes.
Note:
1. Depending on the amount of data and media speed, it may take longer for
system to read the contents of media device. In some cases, reading time
may be as long as 60 seconds. This is not a malfunction.
2. Even when they are in a supported format, some files may not play
depending on the content.
BASIC OPERATION
BLUETOOTH, USB or AUDIO BUTTONS
1. Press button on the remote control to enter the Bluetooth mode, then
connect the bluetooth device with this unit.
2. Press USB button on the remote control to enter the USB mode, then insert
the USB device to the unit.
3. Correctly connect audio facility (eg. PC) with this unit, then press AUX,
OPT1/2, or COAX1/2 buttons on the remote control to enjoy the external
audio input sources function.
4. Press the (SOURCE) button on the front panel to switch between
different modes: audio input, USB, bluetooth or other modes.
You may hear the sound from other playback devices such as CD players,
DVD players, etc., through the soundbar.
There are different ways for audio input connection: OPTICAL 1 or 2,
COAXIAL 1 or 2 and AUX IN, to select the related modes by pressing the
corresponding buttons on the remote control or the (SOURCE) button
on the front panel.
By using the related mode, the unit should connect the external device to
the right audio input ports.
Connecting external audio source
When make connection with OPTICAL or COAXIAL, you should make the
Digital Audio Output Setting on your DVD players or other audio devices.
There are two sound systems supported by these two channels. You could
select SPDIF/PCM and SPDIF/RAW, and to RAW only one multichannel
audio format - Dolby Digital(or AC-3) is supported.
Note: If you could not hear audio through the soundbar, check whether
option PCM or RAW is selected on your DVD players or other audio
devices; and DTS format disc is not supported when RAW is selected.

910
Bluetooth Operation
FM OPERATION
FM Operation
BLUETOOTH OPERATION
Connection operation
Incoming calls
When you receive an incoming call on your mobile phone, music audio will
automatically mute and you will hear the ring tones through the speakers.
After you have completed your phone call, the devices are reconnected with
each other. You may have to possibly restart the playback.
In order to listen to audio from your mobile phone or other bluetooth device,
you must first pair the devices with each other.
1. Press button on the remote control to enter the Bluetooth mode.
2. When the unit is on the BT mode, the blue light flashes with 1s frequency,
then the blue light flashes quickly.
3. Turn on your Bluetooth function on your device (MP3 or telephone), and
begin to search this unit. You should select the MB10 on your searched list.
Then confirm to pair your device with this unit. If prompted, input 0000 as
password.
4. When connects successfully, the blue light will remain lit. At this moment,
you could enjoy music via BT.
To pair with another device, first, disconnect your paired device, and turn off
the BT function on your device. Once disconnect, the blue light flashes slowly.
Press the PAIR button on the remote control, the blue light flashes quickly.
Then pair with the another device as the aforementioned 4 steps.
The unit will reconnect with the last paired device.
(The BT function of the device should be on, and the unit should be turned
off in normal way, not in a way of unplugging the power supply cable without
pressing the power on/off button.)
Enter FM Function
While in operating mode, press the FM button on the remote control to enter
FM mode.
1. The range of FM frequency is from 87.50MHz to 108.00 MHz.
2. Select the band by pressing Tune+/- button: press these buttons to adjust
the frequency up or down, the frequency is 0.05MHz.
3. Press the 9 or : button to switch the next or previous band.
4. Automatically search bands: press the PLAY/PAUSE button, the system
starts to search bands from low to high frequency automatically. The
searched band are saved automatically. There are up to 60 stations can
be saved. Press this button again to stop searching.
When the signal is strong enough, the station will be played in stereo, the
display shows a stereo signal "4". If the signal is not strong enough, you can
not see this icon.
1. Press the USB button on the remote control to exit FM status, and switch to
USB mode.
2. Press the OPT1/2 or COAX1/2 buttons on the remote control to exit FM
status, and switch to the audio input mode.
3. Press the AUX button on the remote control to exit FM status, and switch to
Audio input mode.
Select Bands
Soundtrack
Exit FM Mode
Note: Due to the different device manufacturers, models, and software
versions, a full functionality cannot be guaranteed. Save Bands
1. Press the Tu+/- buttons to enter one frequency, 3 seconds later, the screen
will display St-XX, which means the station is saved in the current station.
2. If you want to save 99.30 MHZ in 09th cell, press 9 or : to the 09th station,
then press TU+/- button to scan to the 99.30 MHZ, seconds later, the St-09
displays on the screen and it means this station is saved in 09th cell.

SPECIFICATIONS CARE AND MAINTENANCE
To clean the MB10 Micro System
• Ensure the unit is powered off and unplugged from any electrical outlet.
• Wipe the case with a slightly moist, lint-fere cloth.
• Do not use any cleanser containing alcohol, ammonia or abrasives.
• Do not spray an aerosol at or near the radio.
• Do not allow liquids to spill or objects to drop into any openings.
• Always use original packaging if it is necessary to transport the unit.
If this unit is used in a dusty environment, it may be necessary to have
the unit serviced at your local dealer periodically.
It is not advisable to allow large deposits of dust to accumulate within
the unit as it may prevent adequate cooling. Similarly dust deposits
which become damp can sometimes lead to electrical problems may
cause severe damage to the delicate electronics within this unit.
11 12
Care and Maintenance
Specification
CONNECTING EXTERNAL AUDIO SOURCES
External audio sources such as non iPod Mp3 players can be
connected using a 3.5mm to RCA audio (not supplied).
1. Connect one end of the cable to the Mp3 players headphone/ line
output and the other end to the AUX IN input on the back of the unit.
2. Press the FUNCTION button repeatedly until you reach the AUX-IN
option or press the AUX-IN button on the remote control.
3. Adjust the volume.
NOTE: The volume output is effected by the volume level on the
source when using a headphone output ie: Mp3 player. So make
sure the volume is set to about 70-80% (not too loud to avoid
distortion).
Power supply can not be turned on
Make sure that the power cord is fully inserted in the power outlet.
The remote control does not work
No sound
The unit does not work at all
The embedded microcomputer may have failed because of a lightning
strike, static, or other interference.
Input voltage:
Max. power consumption:
Inputs:
220-240V~50Hz
100W
USB - USB device
AUDIO - Audio input connection(2×RCA)
- Coaxial input 1,2
- Optical 1,2
Ant - FM aerial connection
Remote control batteries:
2×AAA/LR03
Note: Specifications subject to change without prior notice. Weight and
dimensions are approximate.
Tuner frequency range: FM 87.50 - 108.00MHz
Battery is used up
The front end of the remote control is not aimed at the infrared reception
part of the player.
Make sure that the audio cable is connected correctly and securely to the
back of your unit and to the sound system.
Make sure that the sound system is set to the correct audio input.
Turn your unit off, then back on.
Trouble Shooting
Table of contents
Other SONIQ Speakers System manuals
