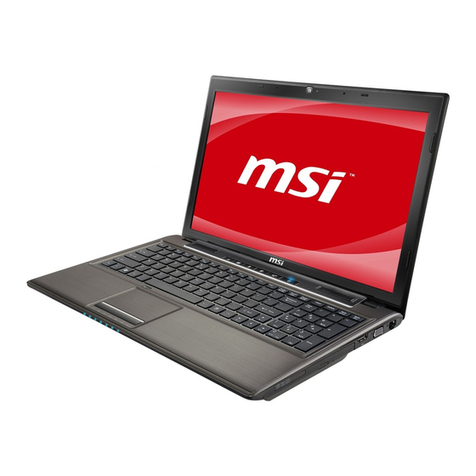
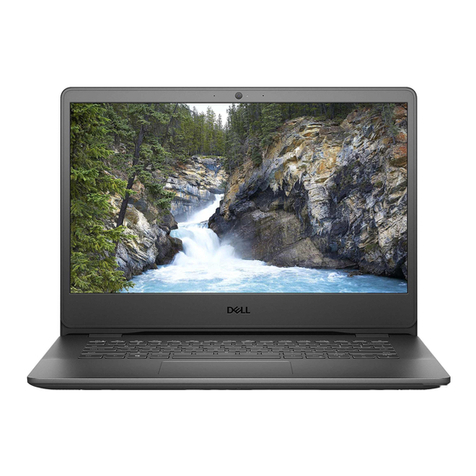
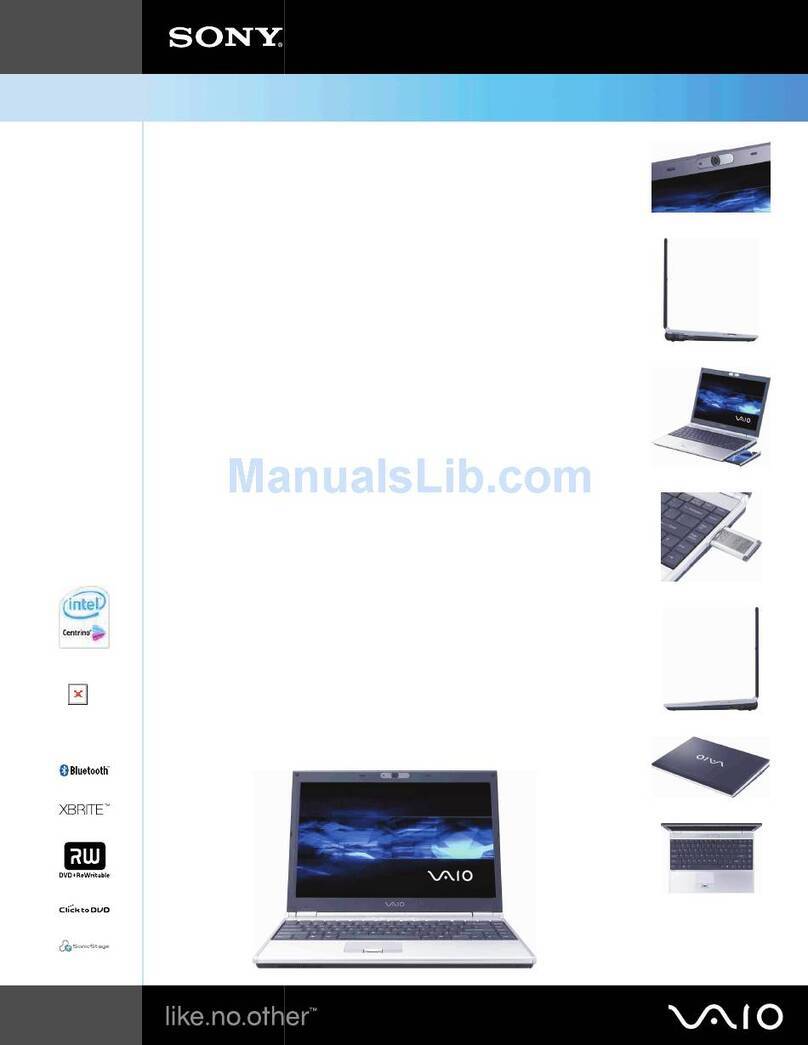
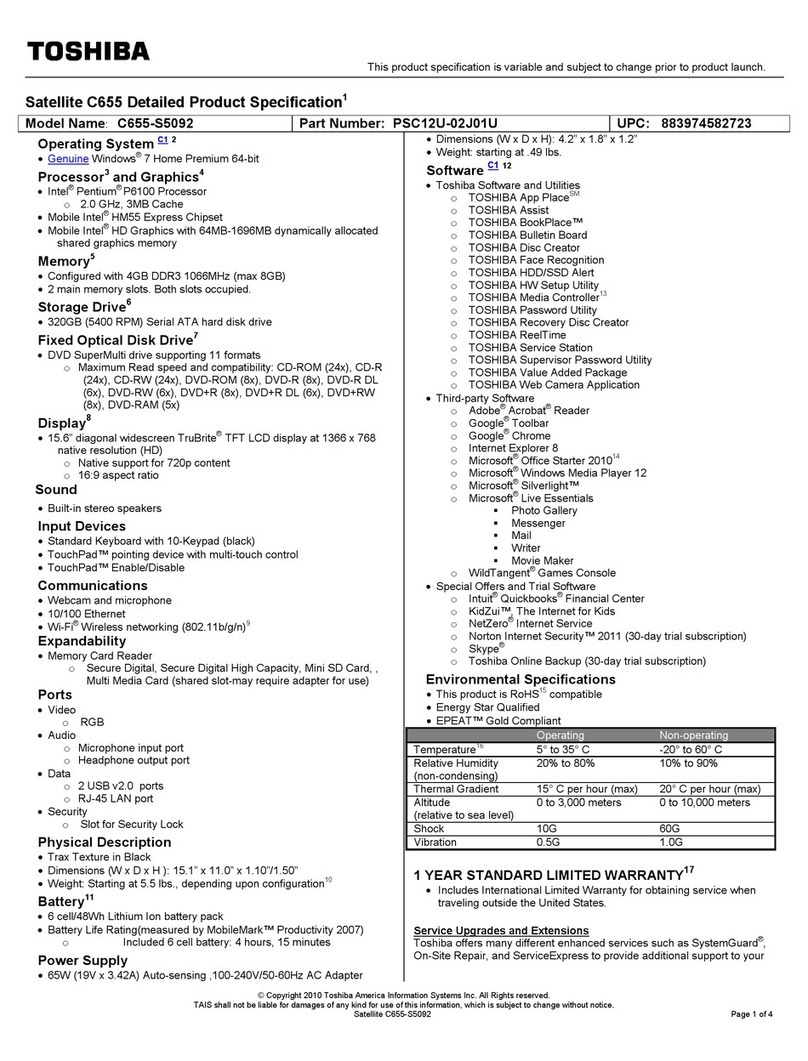
Stone Computers Notebook User manual

Notebook
User Guide
1

Notebook User Guide
Copyright©2007
All Rights Reserved - Printed in Taiwan
Notebook Computer User Guide
Original Issue: 2007/11
This manual guides you in setting up and using your new notebook computer.
Information in this manual has been carefully checked for accuracy and is
subject to change without notice.
No part of this manual may be reproduced, stored in a retrieval system, or
transmitted, in any form or by any means, electronic, mechanical, photocopy,
recording or otherwise, without prior written permission.
Trademarks
Product names used herein are for identification purposes only and may be the
trademarks of their respective companies.
Microsoft®, Windows XP®, Windows MCE®, Windows Vista®, and
Windows Sound System are trademarks of Microsoft Corporation.
Intel ®, Intel ® Celeron® M, Intel ® Core TM 2 Duo, Intel ® HD Audio
(Azalia) are registered trademark of Intel Corporation.
All other brands or product names mentioned in this manual are trademarks or
registered trademarks of their respective companies.
2

Notebook User Guide
European Notice
For the following equipment: Notebook PC
Is herewith confirmed to comply with the requirements set out in the
Council Directive on the Approximation of the Laws of the Member
States relating to Electromagnetic Compatibility (89/336/EEC), Low voltage
Directive (73/23/EEC) and the Amendment Directive
(93/68/EEC), the procedures given in European Council Directive
99/5/EC and 89/3360EEC.
The equipment was passed. The test was performed according to the
Following European standards:
EN 300 328-2 V.1.2.1 (2001-12)
EN 301 489-1 V.1.3.1 (2001-09) / EN 301 489-17 V.1.1.1 (2000-09)
EN 50371: 2002
EN 55022: 2001
EN 55024: 2001
EN 60950: 2000
EN 61000-3-2: 2000
EN 61000-3-3: 1995 + A1: 2001
802.11b Restrictions:
3

Notebook User Guide
- European standards dictate maximum radiated transmit power of 100mW
EIRP
and frequency range 2.400-2.4835GHz;
- In France, the equipment must be restricted to the 2.4465-2.4835GHz
frequency range and must be restricted to indoor use."
For DVD Players with both 525p and 625p progressive
scan outputs:
‘CONSUMERS SHOULD NOTE THAT NOT ALL HIGH DEFINITION
TELEVISION SETS ARE FULLY COMPATIBLE WITH THIS
PRODUCT AND MAY CAUSE ARTIFACTS TO BE DISPLAYED IN
THE PICTURE. IN CASE OF 525 OR 625 PROGRESSIVE SCAN
PICTURE PROBLEMS, IT IS RECOMMENDED THAT THE USER
SWITCH THE CONNECTION TO THE ‘STANDARD DEFINITION’
OUTPUT. IF THERE ARE QUESTIONS REGARDING OUR TV SET
COMPATIBILITY WITH THIS MODEL 525p AND 625p DVD PLAYER,
PLEASE CONTACT OUR CUSTOMER SERVICE CENTER.’
“This product incorporates copyright protection technology that is protected
by U.S. patents and other intellectual property rights. Use of this copyright
protection technology must be authorized by Macrovision, and is intended for
home and other limited viewing uses only unless otherwise authorized by
Macrovision. Reverse engineering or disassembly is prohibited.”
“U.S. Patent Nos. 4,631,603; 4,819,098; 4,907,093; 5,315,448; and 6,516,132.”
4

Notebook User Guide
About Your Notebook Computer
Thank you for purchasing your new Notebook.
This notebook incorporates the latest technologies available in
the notebook industry.
Your new notebook computer not only operates today’s
multimedia applications but also is also ready for tomorrow’s
exciting new software.
This Notebook offers the freedom, flexibility and functionality
that users require.
5

Notebook User Guide
About Your User Guide
Welcome to your Notebook User Guide.
This manual covers everything you need to know about how
to use your new Notebook computer. This manual also
assumes that you know the basic concepts of Microsoft®
Windows® and how to use a P.C.
This manual is divided into five chapters.
Chapter 1 Presents an introduction on your computer
features.
Chapter 2 Provides step-by-step instructions to help you
begin using your notebook as quickly as
possible.
Chapter 3 Describes how to operate the standard features
of your computer.
Chapter 4 Illustrates how to connect external device to
your computer.
Chapter 5 Offers instructions on how to care for and
maintain your notebook.
6

Notebook User Guide
Table of Contents
ABOUT YOUR NOTEBOOK COMPUTER..........................................5
ABOUT YOUR USER GUIDE.................................................................6
1INTRODUCTION.............................................................................11
1.1 FEATURE HIGHLIGHT.....................................................................12
1.2 UNPACKING THE COMPUTER .........................................................14
1.3 THE INSIDE OF THE NOTEBOOK .....................................................15
Notebook Status Icons ..................................................................17
The Function of Easy Buttons.......................................................19
1.4 THE FRONT SIDE OF THE NOTEBOOK............................................. 21
1.5 THE REAR SIDE OF THE NOTEBOOK...............................................21
1.6 THE LEFT SIDE OF THE NOTEBOOK................................................ 23
1.7 THE RIGHT SIDE OF THE NOTEBOOK.............................................. 24
1.8 THE UNDERSIDE OF THE NOTEBOOK.............................................. 26
1.9 NOTEBOOK ACCESSORIES..............................................................28
2GETTING STARTED ......................................................................31
2.1 USING THE BATTERY PACK ...........................................................32
2.2 CONNECTING THE AC POWER SOURCE..........................................34
2.3 STARTING YOUR COMPUTER .........................................................36
2.4 ADJUSTING THE DISPLAY CONTROLS ............................................36
2.5 TURNING OFF YOUR COMPUTER....................................................37
3USING YOUR NOTEBOOK...........................................................39
3.1 UNDERSTANDING THE KEYBOARD FUNCTIONS.............................. 40
Basic Keyboard Functions ...........................................................42
Cursor Control Keys..................................................................... 43
Screen Control Keys.....................................................................44
7

Notebook User Guide
Windows Hot Keys........................................................................ 44
Special Function Keys.................................................................. 44
3.2 USING THE TOUCHPAD POINTING DEVICE ....................................... 45
3.3 CONFIGURING YOUR SCREEN DISPLAY ......................................... 47
Possible Display Configurations.................................................. 47
3.4 KNOWING THE POWER SAVING FEATURES .................................... 49
3.5 WORKING WITH THE BUILT-IN HDD............................................... 50
3.6 HOW TO ACCESS THE OPTICAL DRIVE........................................... 51
3.7 EXPRESSCARD............................................................................... 52
What is ExpressCard ?................................................................. 52
Inserting and Removing a ExpressCard....................................... 54
3.8 USING FLASH MEMORY CARDS..................................................... 56
What is Flash Memory Card?...................................................... 56
4CONNECTING TO PERIPHERALS............................................. 59
4.1 USING THE USB PORT................................................................... 60
4.2 USINGAN EXTERNAL MONITORPORT.................................................. 60
4.3 USING THE EXTERNAL AUDIO SYSTEM ......................................... 62
4.4 USING THE LAN PORT .................................................................. 62
4.5 USING THE WIRELESS LAN........................................................... 63
4.6 USING THE MODEM PORT.............................................................. 63
5 CARING FOR YOUR NOTEBOOK.............................................. 67
5.1 IMPORTANT SAFETY INSTRUCTIONS .............................................. 68
5.2 CLEANING YOUR COMPUTER ........................................................ 68
5.3 MAINTAINING THE LCD QUALITY ................................................ 70
5.4 MAINTAINING YOUR HARD DISK .................................................. 70
5.5 BATTERY CARE GUIDELINES......................................................... 70
5.6 WHEN YOU TRAVEL...................................................................... 71
APPENDIX A SYSTEM SPECIFICATION........................................ 73
8

Notebook User Guide
Processor Unit.............................................................................. 74
System Memory.............................................................................74
LCD Display................................................................................. 74
VGA System .................................................................................. 74
Storage.......................................................................................... 75
Audio System ................................................................................ 75
ExpressCard ................................................................................. 75
Touchpad.......................................................................................75
Keyboard ......................................................................................76
Flash BIOS ...................................................................................76
I/O Ports....................................................................................... 76
Wireless devices............................................................................ 76
AC/DC Power Supply Adapter.....................................................76
Battery ..........................................................................................76
Weight and Dimension .................................................................77
9


Introduction1
1 Introduction
Your Notebook PC is a fully Microsoft®
Windows® compatible portable personal computer.
With the latest features in mobile computing and
multimedia technology, this notebook makes a natural
traveling companion. Your Notebook PC runs a wide
range of business, professional, entertainment and
personal applications.
Your Notebook PC is an ideal choice for use in the
office, the schoolroom, at home and on the road.
11

Notebook User Guide
1.1 Feature Highlight
Before we go to identify each part of your Notebook PC, we will first
introduce you to other notable features of your computer.
Processing Unit
•Your notebook runs on Intel® CoreTM 2 Duo processor that is integrated
with 4MB L2 Cache. Check with your dealer on the CPU type and speed.
•Fully compatible with an entire library of PC software, based on Genuine
Microsoft® Windows® XP or Microsoft® Window VistaTM.
Memory
This notebook provides two memory slots for installing DDR2 SDRAM 200-
pin SODIMM modules up to 4GB using 512MB, 1024MB or 2048MB DDR
SDRAM modules.
Wide Screen LCD Display
Provides a WXGA 15.4" 1280 x 800 (16:10) wide screen LCD display.
Wireless LAN (optional)
Intel® PRO®/Wireless 3945ABG Network Connection (Tri-mode
802.11a/b/g)
Optical Disk Drive
The Optical Dick Drive will either be a CDRW/DVD or a DVD/RW combo.
USB 2.0
Provides four USB2.0 ports for high-speed connectivity.
12

Introduction1
ExpressCard
Provides one ExpressCard slot for the faster, new-generation, PC card
solution.
Audio System
Compliant with Intel HD Audio (Azalia® 2 channels)
PCI Express Architecture
Compared to AGP architecture, PCI Express™ architecture enhances I/O
bandwidth and improves graphics performance.
Flash BIOS
Flash BIOS allows you to easily upgrade the System BIOS using the Phoenix
Flash utility program. Contact Technical Support for further information.
Power and System Management
•Integrated SMM (System Management Mode) on system chipset that shuts
down components not in use to reduce power consumption. To execute
power management, you can set up the parameter in Power Options
properties by pointing your mouse to Control Panel of Windows.
•Closing the Notebook computer (lowering the cover) allows you to
suspend the system operation instantly and resume at the press of the
power button.
•System Password for User and Supervisor included on the BIOS SETUP
Program to protect unauthorized use of your computer.
13

Notebook User Guide
1.2 Unpacking the Computer
Your computer comes securely packaged in a sturdy cardboard shipping
carton. Upon receiving your computer, open the carton and carefully remove
the contents. In addition to this User Guide, the shipping carton should also
contain the following items:
;The Notebook Computer
;An AC Adapter and AC Power Cord
;Li-Ion Battery Pack
;Driver CD containing Electronic-manual and Application CD’s
;Modem Cable
;Quick Setup Guide
Carefully inspect each component to make sure that nothing is missing and/or
damaged. If any of these items is missing or damaged, notify your Account
Manager immediately. Be sure to save the shipping materials and the cartons in
case you need to return the computer.
14

Introduction1
1.3 The Inside of the Notebook
The notebook computer is compact with features on every side. First, look
at the inside of the system. The following sections describe inside features.
1. Colour Widescreen LCD Display 2.7. Built-in Stereo Speaker
3. Keyboard 4. Touchpad Pointing Device
5. Easy Buttons 6. Power On/Resume Button
8. LED Indicators
•Colour Widescreen LCD Display
The notebook computer comes with a Colour LCD that you can adjust
for a comfortable viewing position. The LCD is 15.4” TFT color LCD
with 1280x800 (Wide XGA with ratio 16:10) resolution panels. The
15

Notebook User Guide
features of the Colour LCD Display are summarized as follows:
⇓TFT Colour Widescreen 15.4” 1280x800 (Wide XGA) resolution
panels.
⇓Capable of displaying 16M Colours (32-bit true Colour) on either size
panels.
⇓LCD display control hot-keys allows you to adjust the brightness of
the LCD.
⇓Simultaneous display capability for LCD and external desktop
computer monitor.
•Built-in Stereo Speakers
Integrated left and right mini stereo speakers for sound and audio output.
•Keyboard
⇓Standard QWERTY-key layout and full-sized 87 keys keyboard with
Windows system hot-keys, embedded numeric keypad, 6 hot keys,
inverted "T" cursor arrow keys, and separate page screen control
keys.
⇓Wide extra space below the keyboard panel for your wrist or palm to
sit-on comfortably during typing.
•Touchpad Pointing Device
Microsoft® Windows® compatible mouse with two Touchpad click
buttons. The two buttons function as a standard computer mouse. Simply
move your fingertip over the Glide Pad to control the position of the
cursor. Use the selection buttons below the Glide Pad to select menu
items.
16

Introduction1
•Easy Buttons
There are three easy buttons used for CPU throttling, accessing Internet
and Wireless LAN functions instantly and easily. Description of the easy
buttons appears in the latter part of this section.
•Power On/Resume Button
Switches the computer power on and off, or resumes whenever it is in
Suspend mode.
•LED Indicators
Keeps you informed of your notebook computer’s current power status
and operating status. Description of the status icons appears in the latter
part of this section.
NOTEBOOK STATUS ICONS
The Status LED Panel keeps you informed of the notebook’s current power
and operating status. Each LED is marked with an icon to designate the
system status.
1. Power Indicator 2. Battery Charging LED
3. Drive Access 4. Wireless LAN Access
5. Caps Lock 6. Scroll Lock
7. Num Lock
17

Notebook User Guide
•Power Indicator
Lets you know that power to the system is turned on. This LED is
positioned so that you can see the power state whether the LCD panel is
opened or closed.
⇓Lights green when the system is powered on.
⇓Lights green blinking when the system is in Standby mode.
⇓Lights yellow when the battery power is low.
⇓Lights orange when the battery power is critical low.
•Battery Charging LED
Lights to indicate battery in charging status.
⇓Lights orange to indicate that the battery is in charging.
⇓Lights orange blinking when the battery charging is in error.
⇓Lights green to indicate the battery is fully charged or no battery
installed.
•Drive Access
When LED in blue blinking light indicates that the system is accessing the
Hard Disk or Optical Disk Drive.
•Wireless LAN access
When LED in blue light indicates that the wireless LAN module is
activated. When LED lights off, it indicates that the function is disabled.
•Caps Lock
When LED in blue light indicates that the Caps Lock key on the keyboard
is activated. When activated, all alphabet keys typed in will be in uppercase
or capital letters.
18

Introduction1
•Scroll Lock
When LED in blue indicates that the Scroll Lock key on the keyboard is
activated. The Scroll Lock key has different functions depending on the
software you are using.
•Num Lock
When LED in blue light indicates that the Num Lock key on the keyboard
is activated. When activated, the embedded numeric keypad will be
enabled.
THE FUNCTION OF EASY BUTTONS
1. CPU Throttling 2. Internet Button 3. Wireless LAN Button
•CPU Throttling
Press this button to decrease the CPU performance speed in order to save
power for extending battery life and operation time.
19

Notebook User Guide
•Internet Button
This technology is designed specifically for providing a very convenient
way in connecting Internet only by pressing Internet button as shown in
the graphics. Just Press this button to open the Internet Explorer directly.
•Wireless LAN Button
Push this button to activate or inactivate the Wireless LAN. When you
activate the wireless LAN function, it will search the wireless LAN signal
automatically if you had installed the driver.
20
Table of contents
