6www.strata.co.nz
ADVANCEARC 160 • ADVANCEARC 200
Electrical Connection
- The ADVANCEARC 160 is designed to operate on a
10A 230V AC power supply.
- The ADVANCEARC 200 is designed to operate on a
15A 230V AC power supply.
TheAdvanceArcMultivoltagetechnologyallowsthe
machine to operate on a very wide range input volt-
agesdownaslowas90V.Thismeansthatlimitedca-
pacity power supplies and long extension leads may
beusedwithoutdamagingthewelder.However,as
the supply voltage decreases, the maximum output
current and duty cycle will also decrease. To utilise
the full output capacity of the machine using an ex-
tension cord, it should be a heavy duty version with
aminimumcablecoresizeof2.5mm2.Itisrecom-
mendedtousetheEuroquipindustrialduty15Aex-
tensionlead,partnumber;16895.
Operating Environment
Adequate ventilation is required to provide proper
coolingfortheADVANCEARC160/200.Ensurethat
the machine is placed on a stable level surface where
clean cool air can easily flow through the unit. The
ADVANCEARC 160/200 has electrical components
and control circuit boards which may be damaged by
excessive dust and dirt, so a clean operating environ-
ment is important.
Basic Operation
1. ARC/ MMA Welding Operation
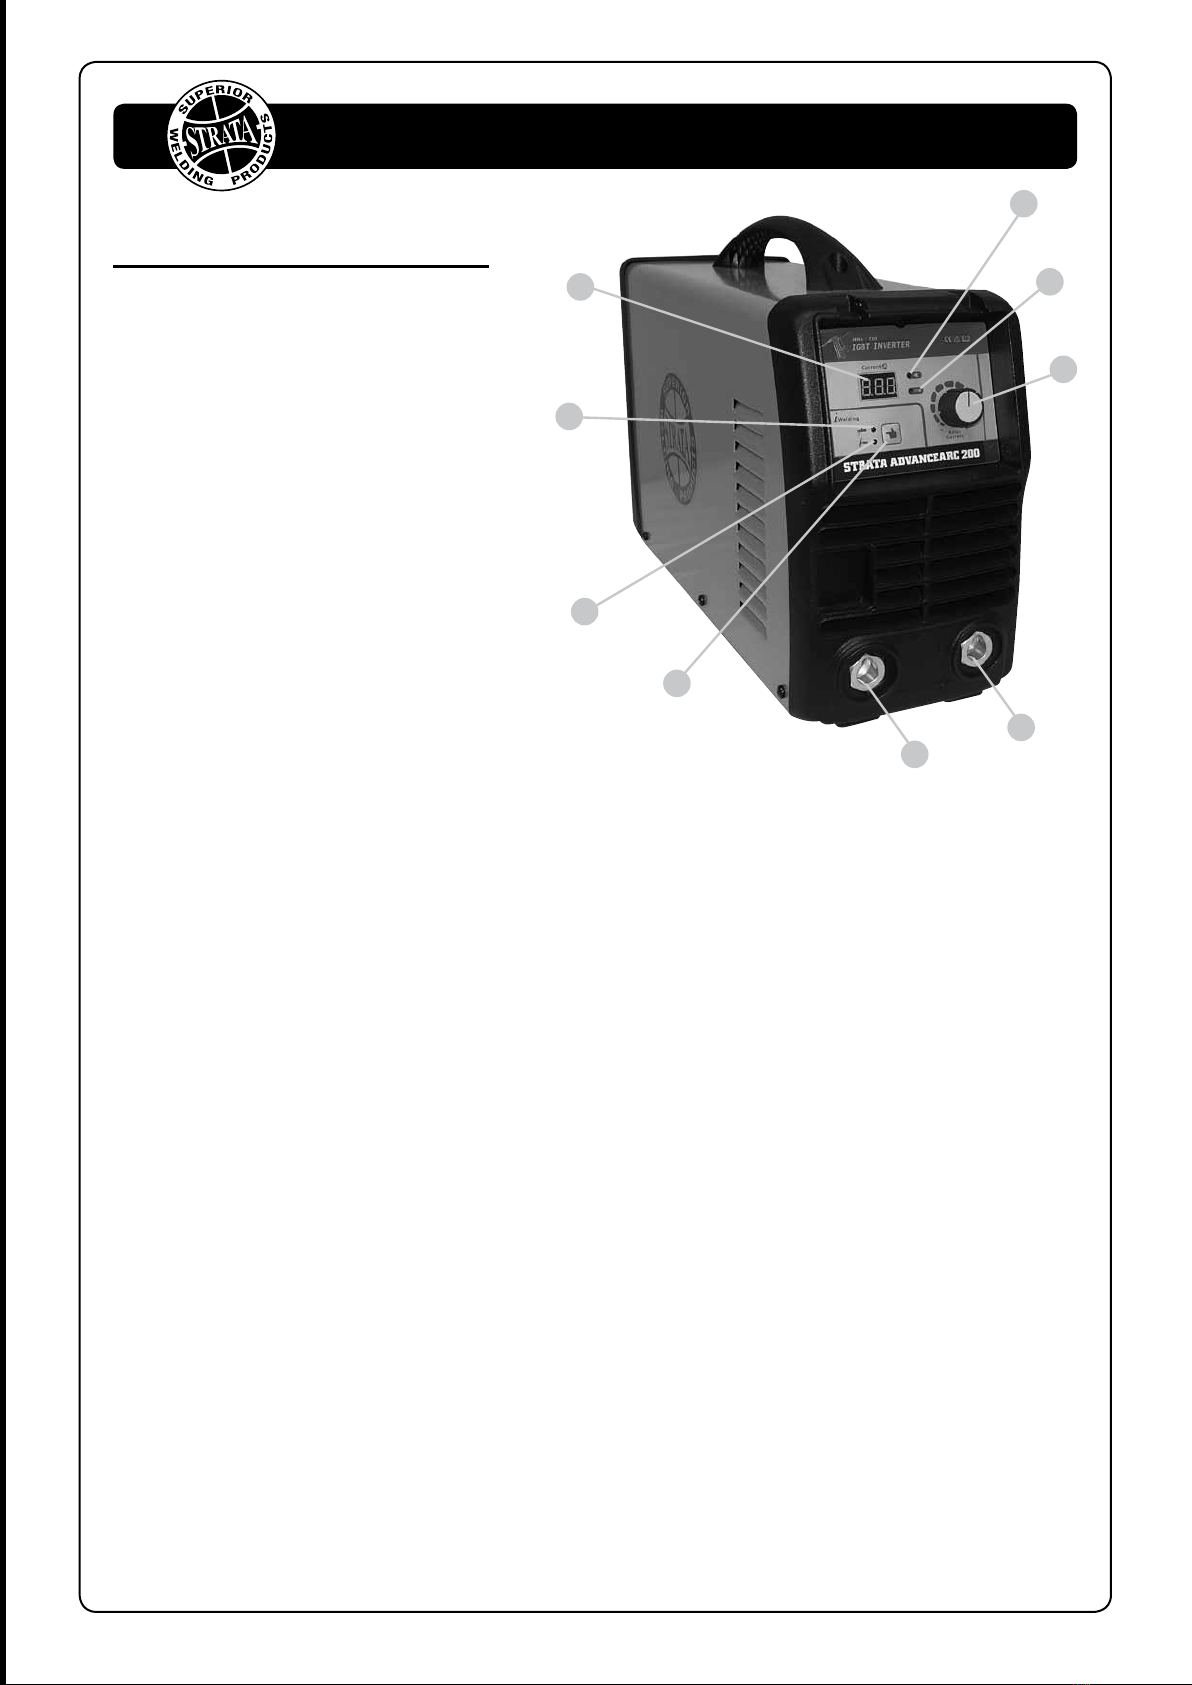
1.1 Connect the earth cable quick connector to the
negativeweldingpoweroutputsocket(5)Con-
nect the earth clamp to the work piece. Contact
with the work piece must be firm. Contact with
clean, bare metal, with no corrosion, paint or
scale at the contact point.
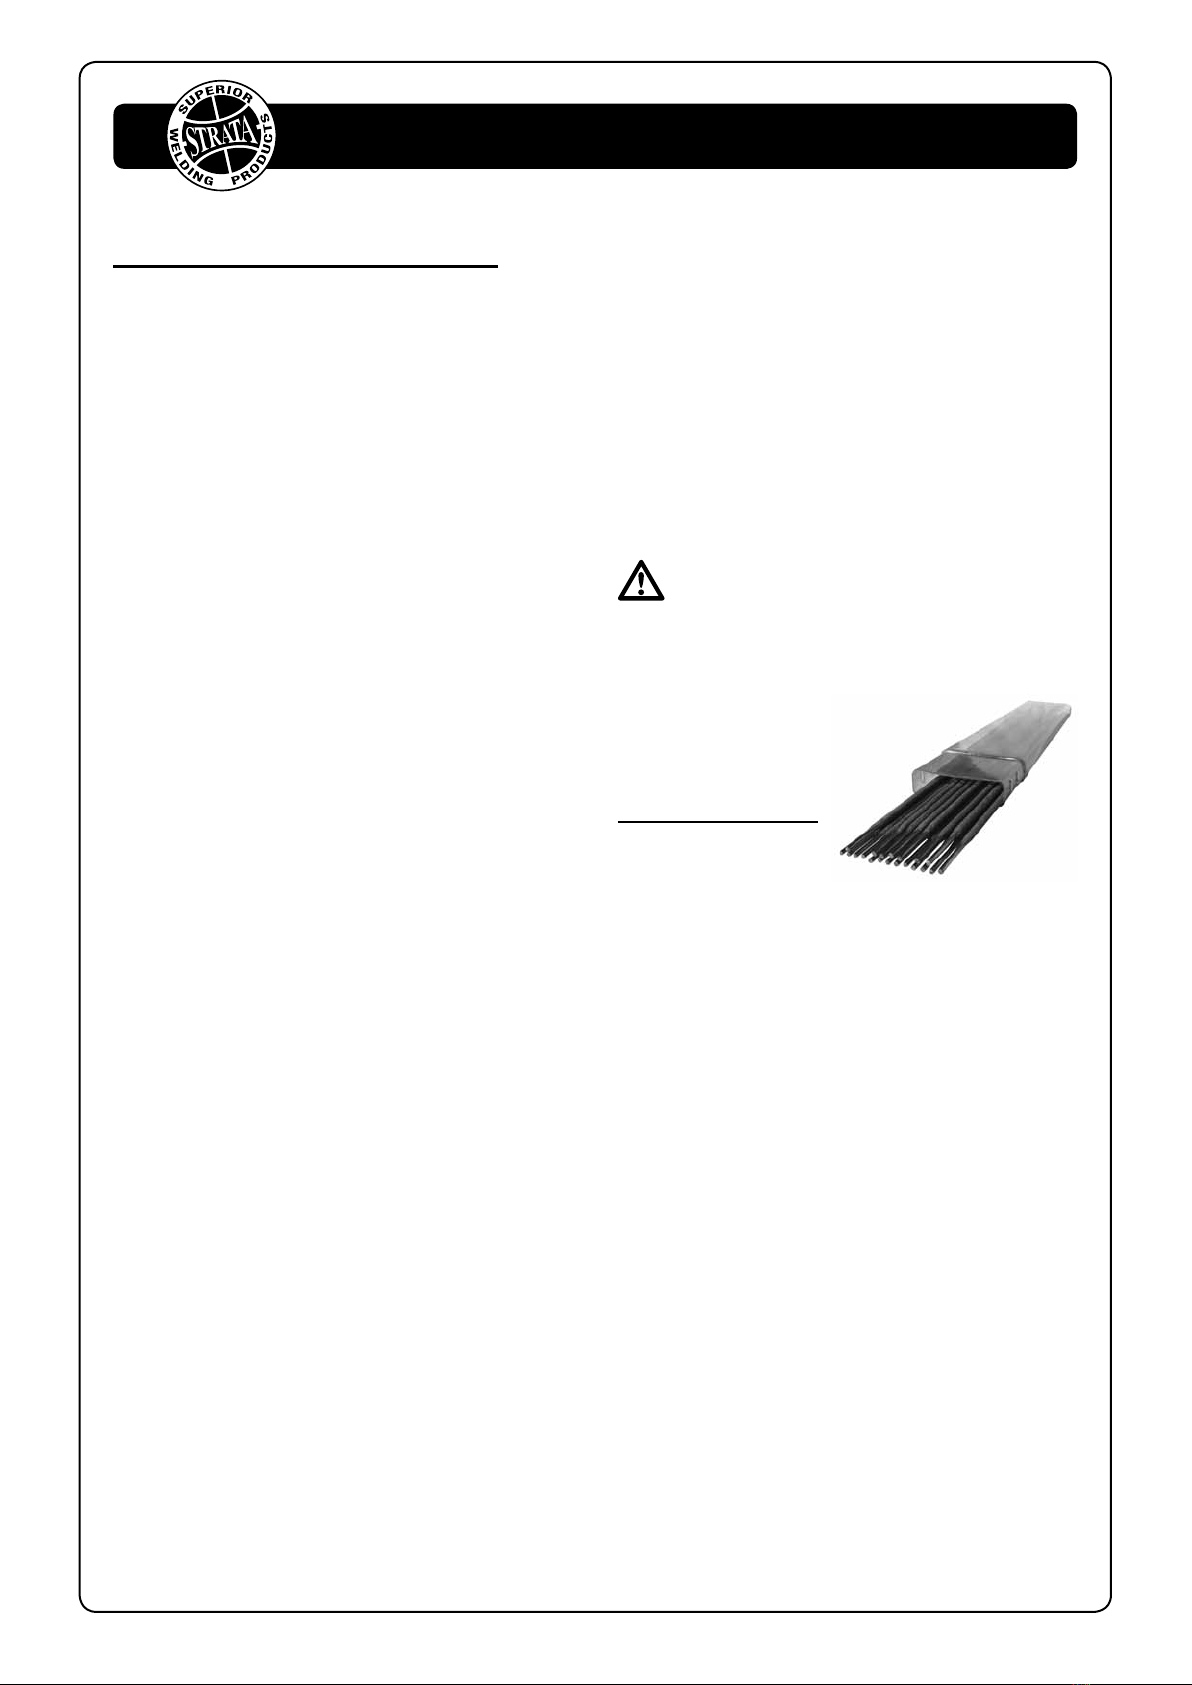
1.2 Insertanelectrodeintotheelectrodeholderand
connect the electrode holder and work lead to
thepositiveweldingpoweroutputsocket(4).
Quick Start Guide - Welder Installation
Note: This polarity connection configuration is valid for most
GP(General Purpose)MMA electrodes.There arevariancesto
this.Ifindoubt,checktheelectrodespecificationsorconsultthe
electrode manufacturer.
1.3 Connect the machine to suitable mains power
using the mains input power lead. Switch the
mains power switch to ‘on’ to power up the ma-
chine.SelectMMAweldingmode(7)usingthe
button(8).
1.4 Select the required output current using the
currentcontrolknob(3).Youarenowreadyto
weld!
2. Lift TIG Operation
Note:LiftTIGoperation requires an optionalvalvecontrol TIG
torch, and argon gas cylinder.
2.1 Connect the earth cable quick connector to the
positiveweldingpoweroutputsocket(4).Con-
nect the earth clamp to the work piece. Contact
with the work piece must be firm contact with
clean, bare metal, with no corrosion, paint or
scale at the contact point.
2.2 InsertTIGtorchpowerconnectionintothenega-
tiveweldingpoweroutputsocket(4).Connect
valveTIGtorchgaslinetotheregulator,ensur-
ing all connections are tight.
2.3 Open gas cylinder valve and adjust regulator,
flowshould be between 5-10l/min depending
onapplication.Re-checkregulatorflowpressure
with torch valve open as static gas flow setting
may drop once gas is flowing.
2.4 Connect the machine to suitable mains power
using the mains input power lead. Switch the
mains power switch to ‘on’ to power up the ma-
chine.SelectLiftTIGweldingmode(6)usingthe
button(8).
2.5Selecttherequiredoutputcurrentusingthecur-
rent control knob (3). You are now ready to
weld!