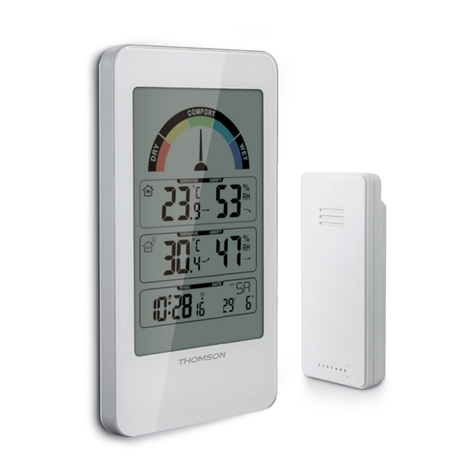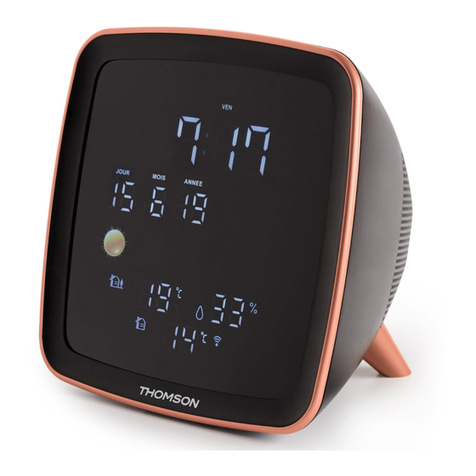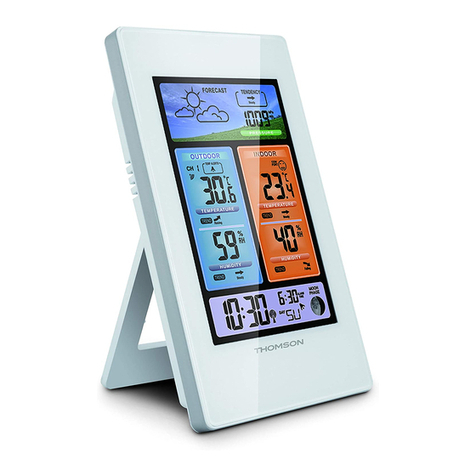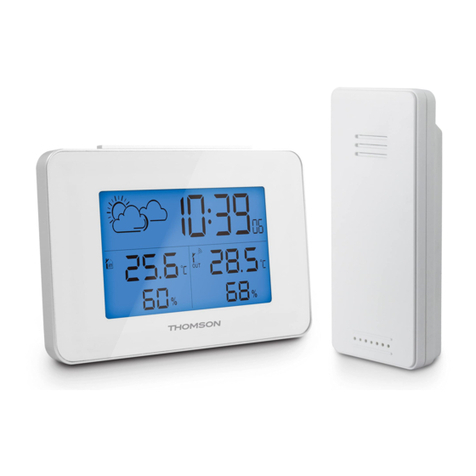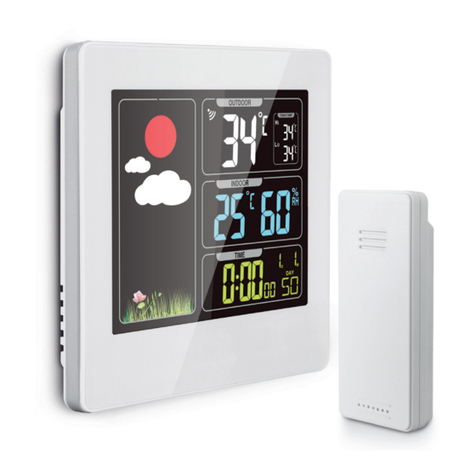
WIRELESS WEATHER STATION
EN
8
C - CONFIGURATION
1 - QUICK START-UP
These steps must be followed in order.
Insert 2 AAA LR06 batteries (not supplied) into the
station 30. Then insert the 2 AA LR03 batteries (not
supplied) into the outdoor sensor, ensuring that the
polarity is respected 32.
Information: the use of batteries and the mains
transformer for the station is preferable: in the
event of a power failure or if the mains transformer
is unplugged, the weather station will keep its
conguration.
PAIRING THE SENSOR TO THE STATION
Pairing is automatic once the batteries are inserted.
To force pairing, if required:
- On the station, press and hold the
DOWN button for 5 seconds. The indicator (4)
starts to ash
- On the outdoor sensor, remove then reinsert the
batteries, positioning yourself near the weather
station.
TIME AND DATE SETTING
- Press and hold the SET button for 3 seconds. 24h
or 12h ashes. Set the time display format using
the UP and DOWN buttons.
- Press the SET button to conrm. The two gures:
00 ash. Set the time zone using the UP and
DOWN buttons.
- Press the SET button to conrm then set the hour
using the UP and DOWN buttons.
- Press the SET button to conrm then set the
minutes using the UP and DOWN buttons.
- Press the SET button to conrm. The letters
Mand D ash on the lower right side of the
screen. Set the display order using the UP and
DOWN buttons (month/day or day/month)
- Press the SET button to conrm. Set the year
using the UP and DOWN buttons.
- Press the SET button to conrm. The gure to the
left of M ashes on the lower right side of the
screen. Set the month using the UP and DOWN
buttons.
- Press the SET button to conrm. The gure to the
left of D ashes on the lower right side of the
screen. Set the day using the UP and DOWN
buttons.
- Press the SET button to conrm. The two letters
(27) ash. Set the language of the calendar sing
the UP and DOWN buttons (GE = German / EN
= English / FR= French / IT Italian / Sp = Spanish /
DU = Netherlands / DA = Danish)
- Press the SET button again to conrm the settings.
Information: Pressing briey on the SET button
enables you to scroll through 3 display options.
Date display, seconds display and hour display for
the alarm.
ALARM SETTING
- Press and hold the ALARM button for 3 seconds:
The hour of the alarm ashesSet the hour of the
alarm using the UP and DOWN buttons.
- Press the ALARM button to conrm. The
minutes ash. Set the minutes of the alarm using
the UP and DOWN buttons.
- Finish the conguration by pressing quickly on the
ALARM button When the alarm goes off, pressing
the SNOOZE/LIGHT button pauses the alarm
and postpones it for 5 minutes.
When the alarm goes off, pressing the ALARM
button stops the alarm tone.
- To set the alarm, press once on the ALARM
button. A bell (19) appears between the hour
and the minutes.
- To turn off the alarm, press once on the ALARM
button. The bell (19) disappears.
Information: The tone lasts for approximately 1
minute.
AUTOMATIC TIME SETTING
To launch the automatic time setting for the station,
press the UP button once. The LED (10) ashes
(the backlight is switched off temporarily). The
station switches to radio reception (for 7 minutes)
and attempts to pick up the DCF77 time signal to
automatically update the time and date.
Information: the time zone must be set correctly for
a correct display. If reception is insufcient, please
set the station near a window.
Ensure that you leave a gap of 2.5 m between the
station and any source of interference (television,
WiFi, microwaves, etc.)
The signal search can be cut off at any point by
pressing the UP button, if the signal is not available.


