5
INBETRIEBNAHME
Netzkabel anschließen
Schließen Sie das Netzkabel an der Seite des Projektors und einer Steckdose an.
Leuchtet die Kontrollleuchte am oberen Ende des Projektors konstant rot, so
bendet sich der Projektor im Standby-Modus.
Einschalten
Entfernen Sie die Linsenkappe von der Linse.
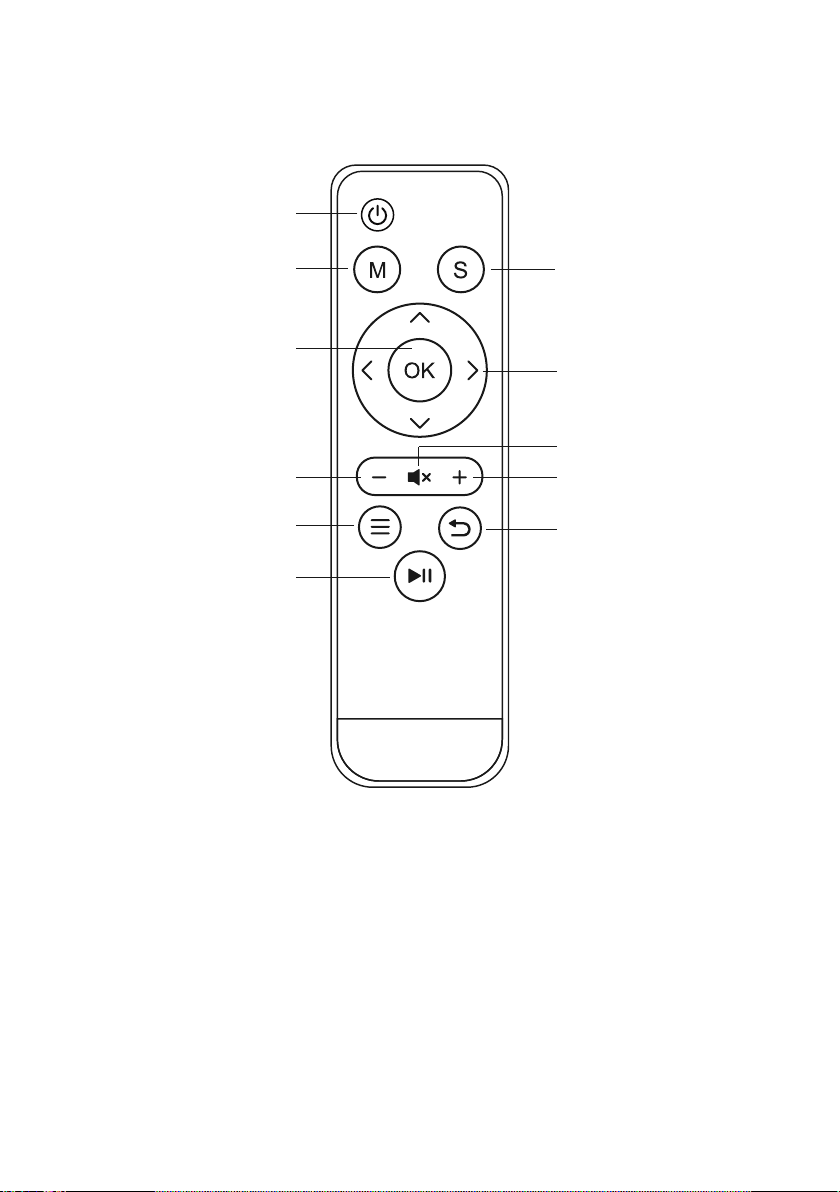
Drücken Sie die „Power“-Taste auf der Oberseite des Projektors oder die „Power“-
Taste auf der Fernbedienung. Leuchtet die Kontrollleuchte oben am Projektor
konstant grün, so ist der Projektor eingeschaltet. Drücken Sie erneut die Taste
„Power“ - entweder am Projektor oder auf der Fernbedienung, um den Projektor
auszuschalten.
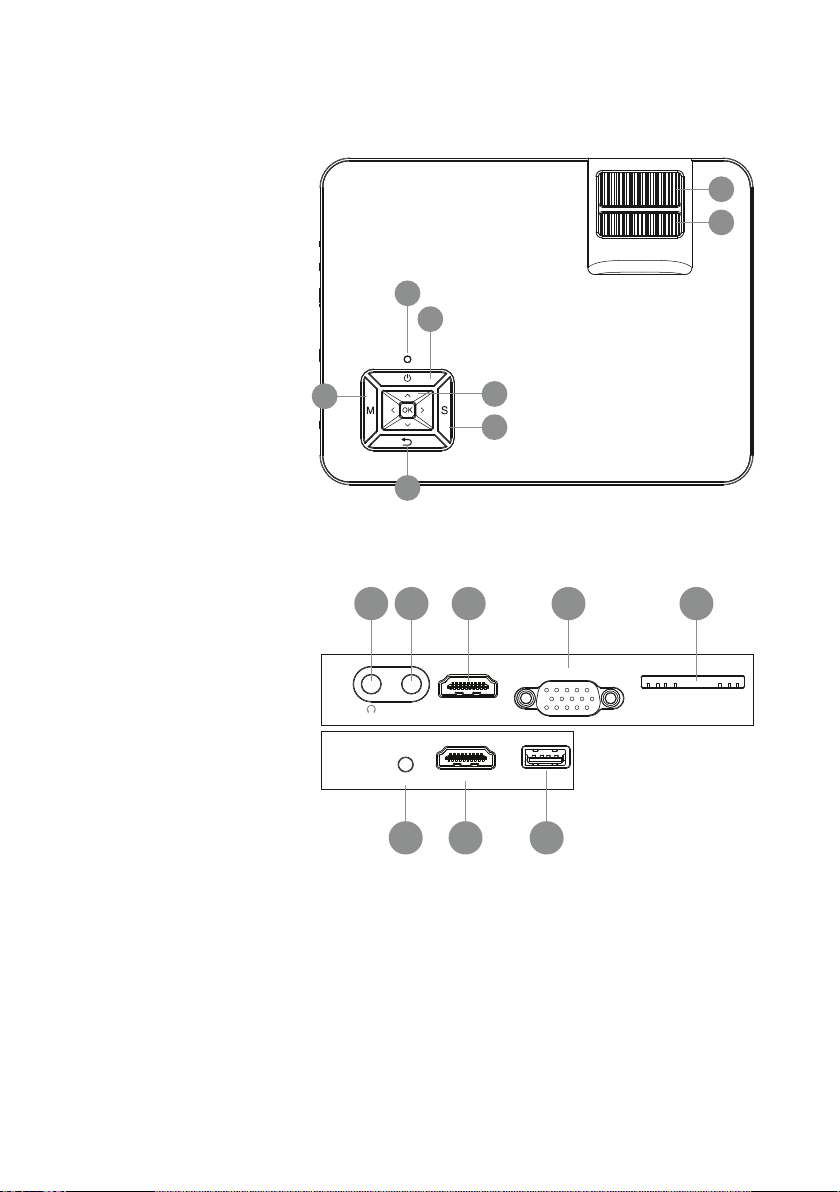
Keystone-Korrektur/
Bildfokussierung
Verwenden Sie das hintere Einstellrad
für die Trapezkorrektur, das sich oben
am Projektor bendet, um den Winkel
des Projektors zu justieren. Benutzen
Sie das vordere Einstellrad, das sich
ebenfalls oben am Projektor bendet,
um den Bildfokus einzustellen.
Auswählen der Signalquelle
Durch Drücken der „S“ Taste auf dem
Projektor oder der „Source“ Taste auf
der Fernbedienung önen Sie das Menü
zur Auswahl des Eingangsignals.
Über die Pfeiltasten auf der
Fernbedienung oder auf dem Projektor
wählen Sie die entsprechende
Signalquelle aus und bestätigen diese
mit „OK“.