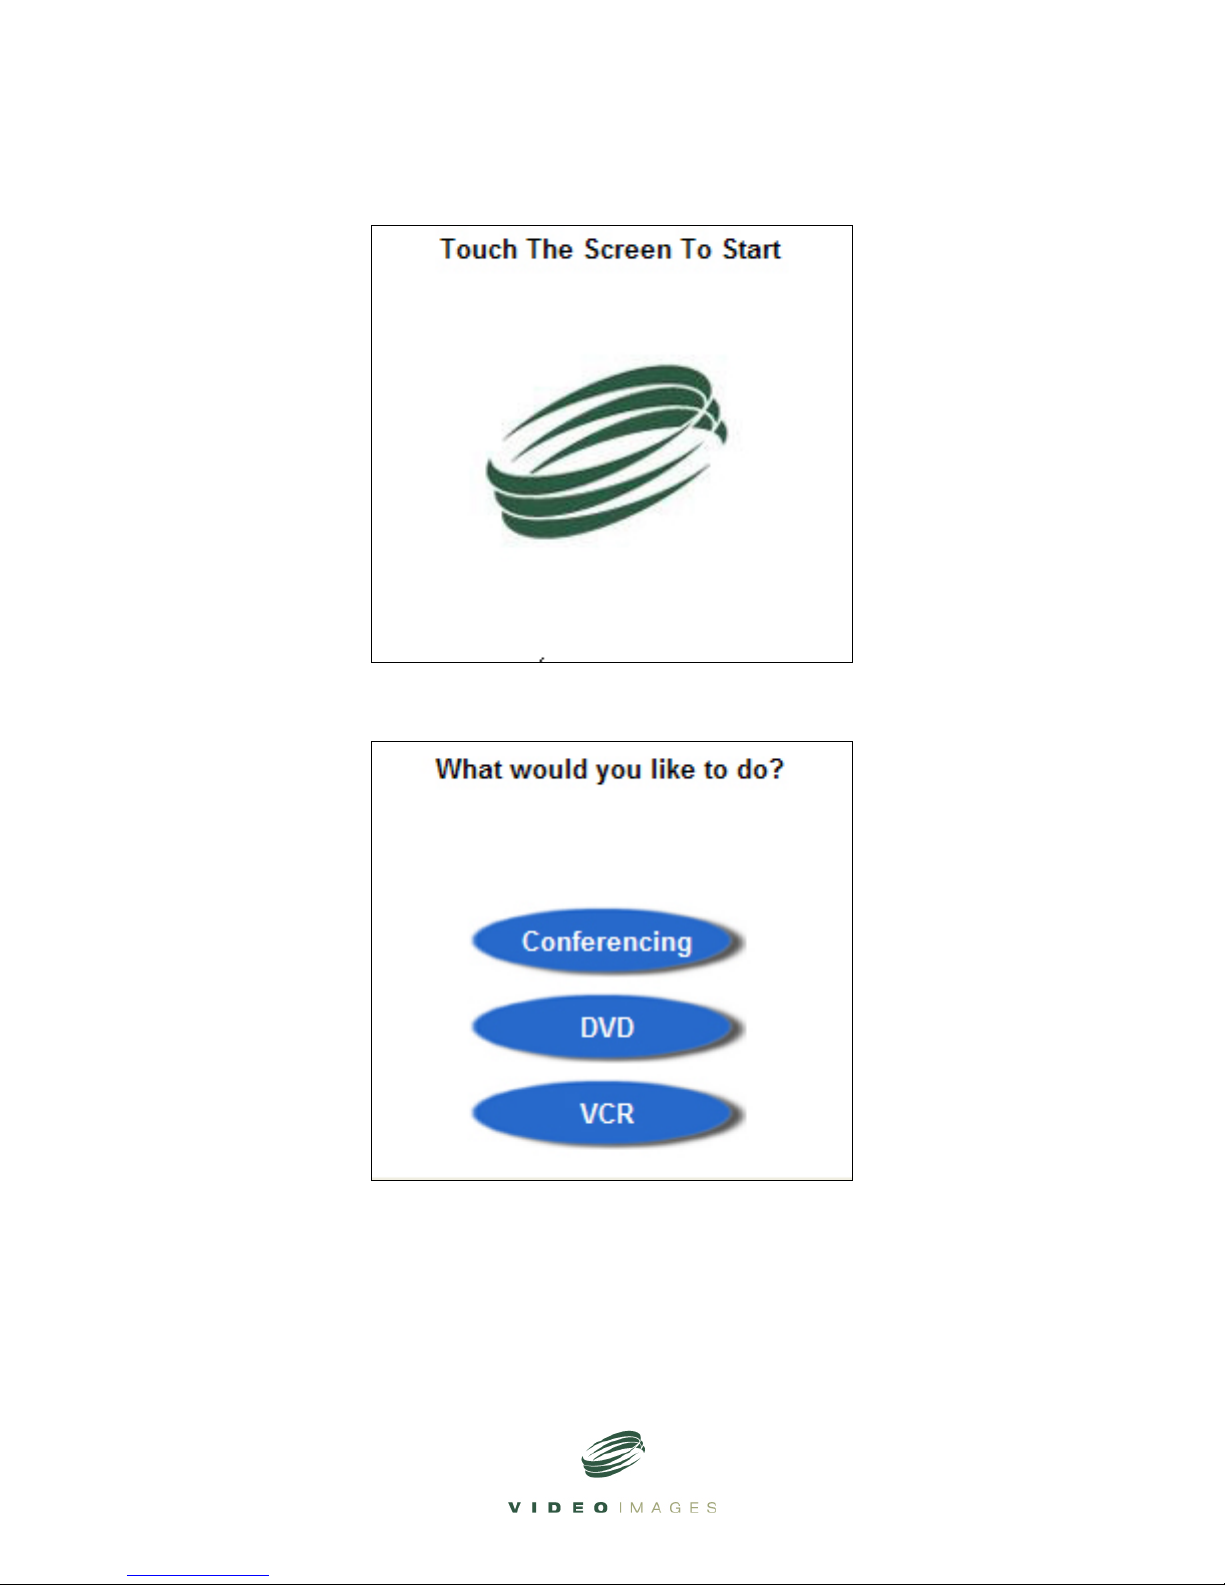
Interactive Theater Operation Manual Page 7
Tandberg Sources Screen.
---------Local Sources----------
Cam: Selects Local Camera.
Aux: Selects Auxiliary Video Source.
Doc: Selects Document Camera (Optional Accessory).
VCR: Selects Videocassette Recorder Screen.
DVD: Selects Digital Video Disk Player Screen.
PC: Selects Personal Computer which may be connected with RGB cable
(supplied) to PC Input located on the lower front of the Interactive Theater.
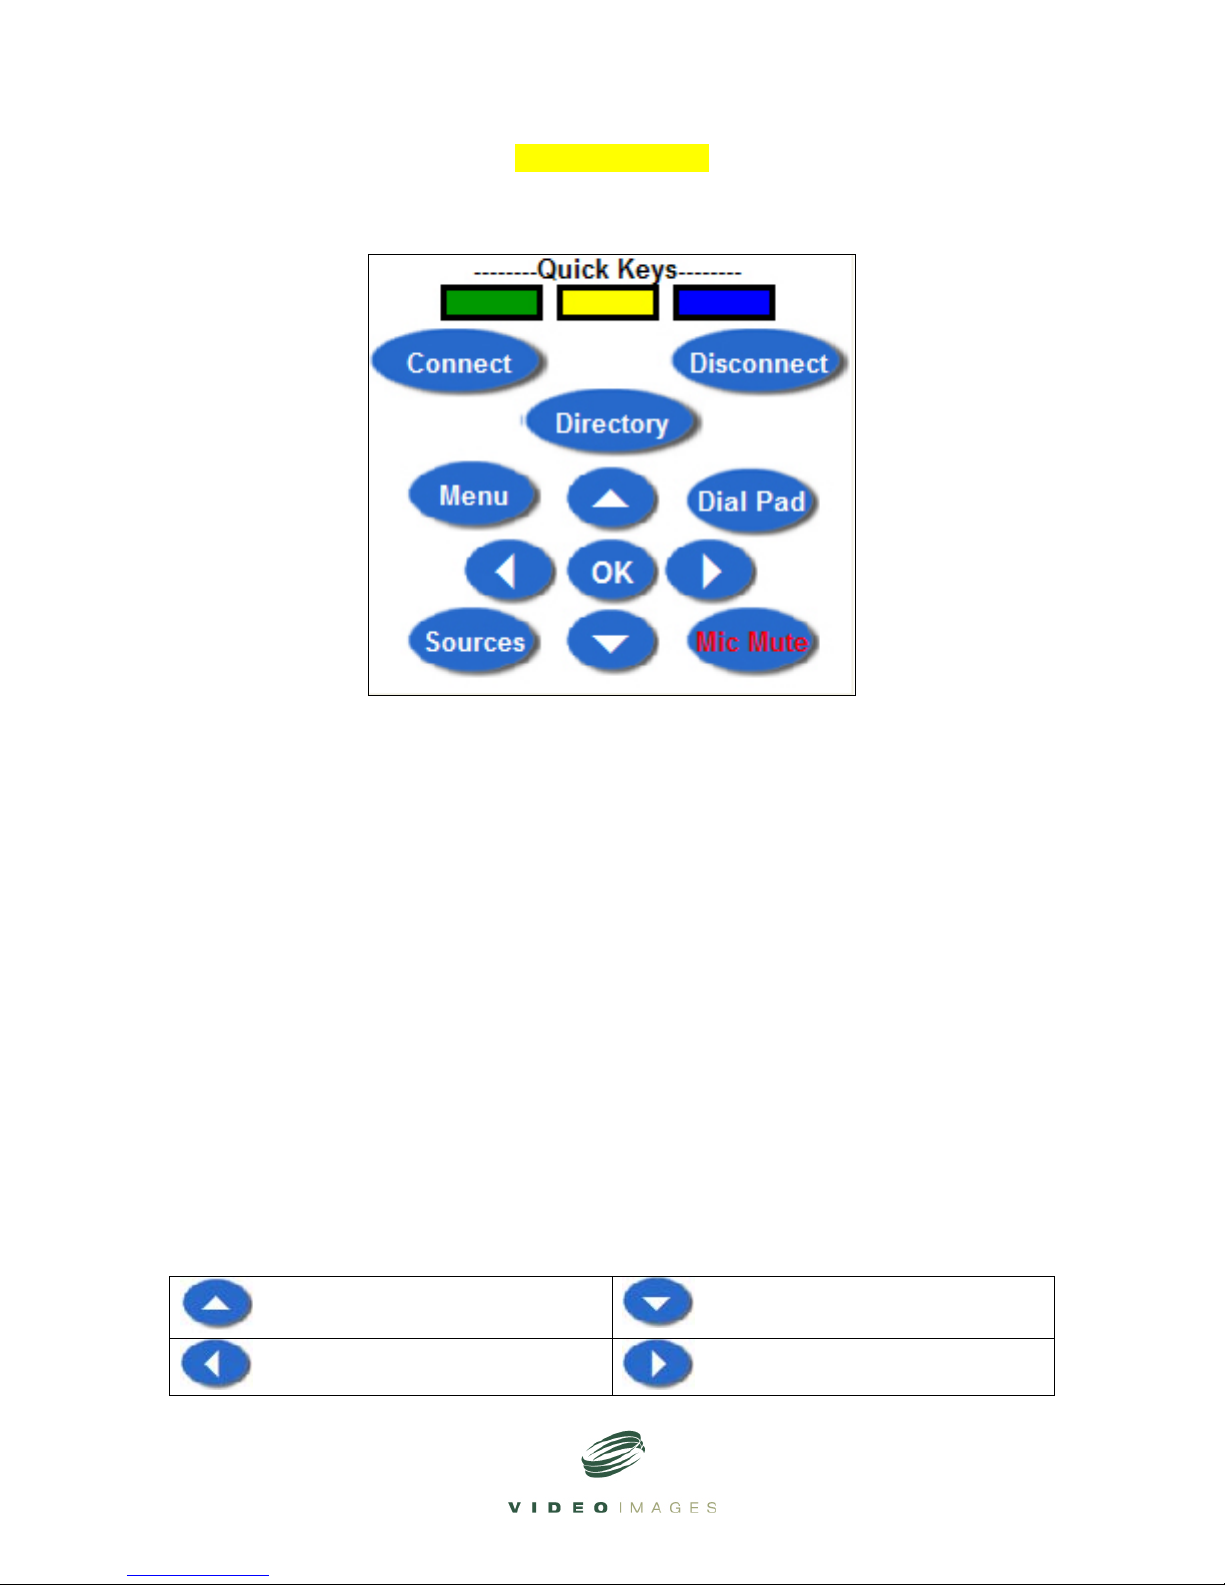
Far End: Press once to select control of far end Camera. Press again to stop
control of far end camera.
Dual View: Goes to Dual View Screen.
PIP: Turns on Picture in a Picture feature. Each press of this button will move
the PIP to a different corner of the screen and then turn off the PIP.
Self-View: Selects view of Local Source when not in Dual View.
Snap Shot: Takes a still image of local video source. See Tandberg Operation
Manual for more information.
Mic Mute: Mutes local microphones.