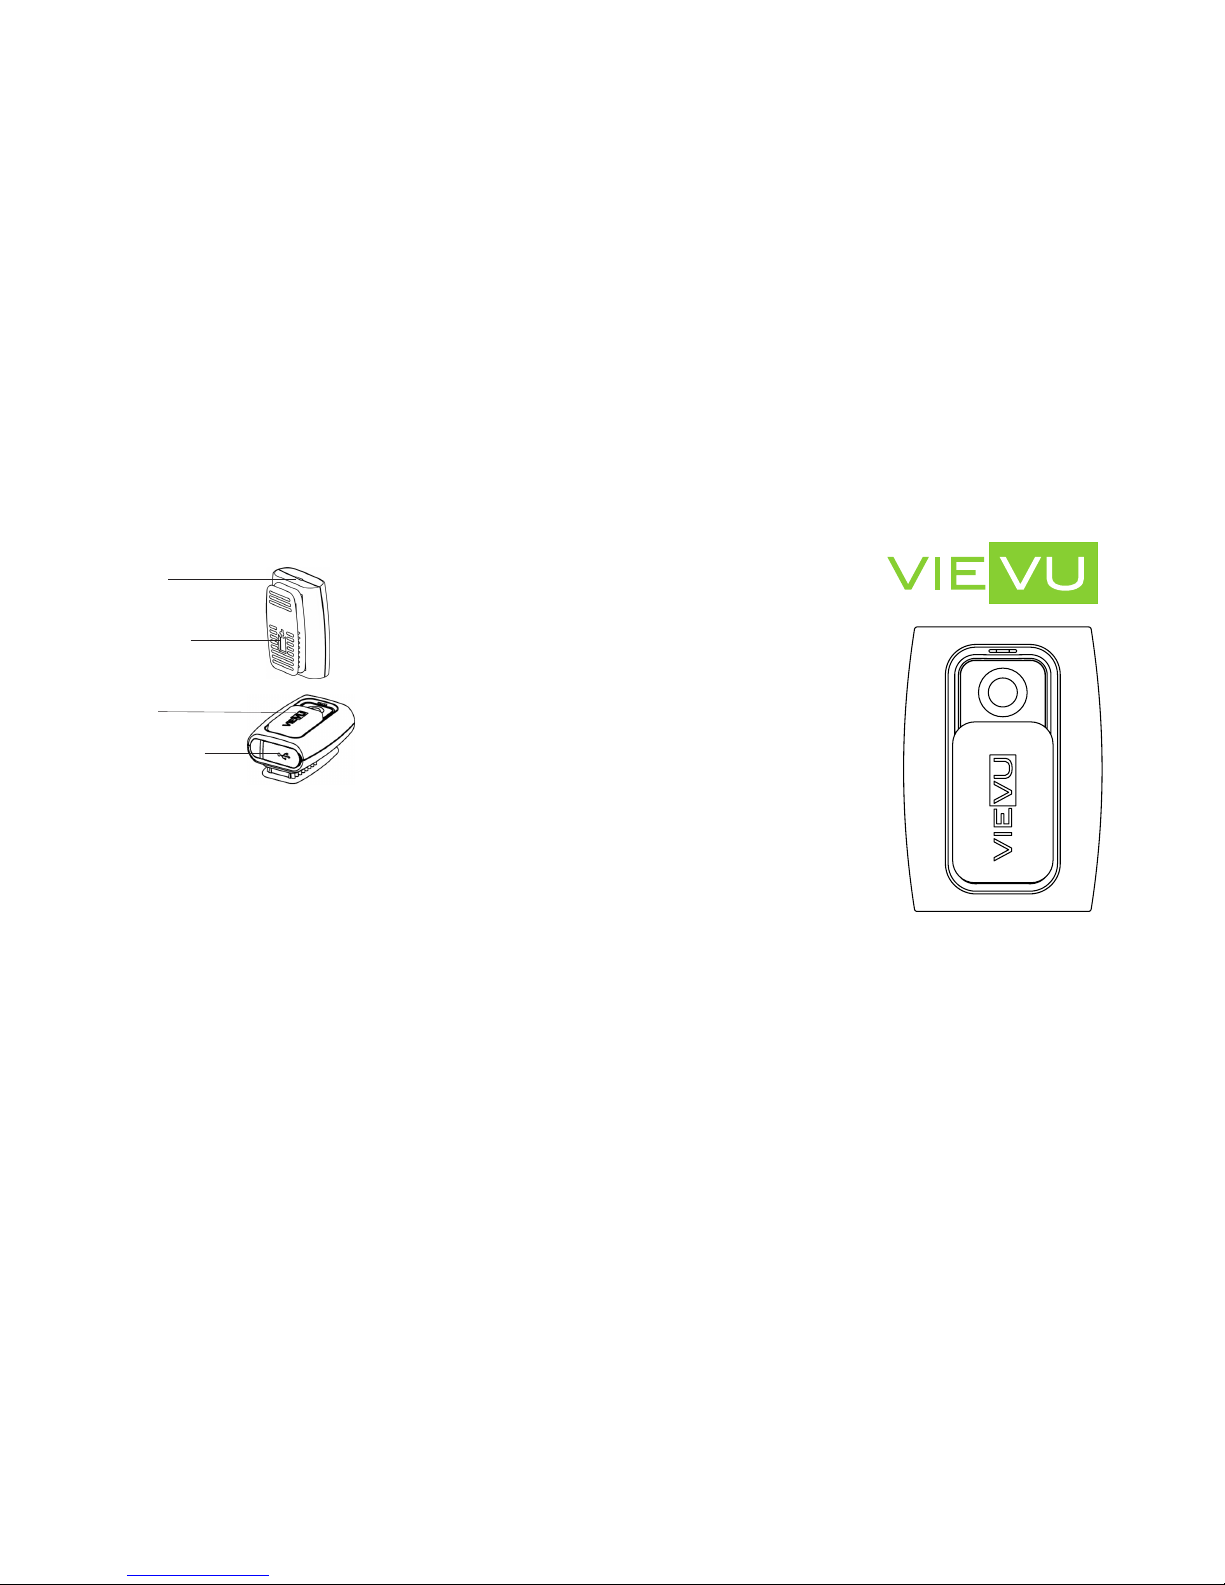
1. CHARGE THE BATTERY
Before use, the camera must be fully charged. Maximum charge time is
approximately 3 hours.
1. Connect the charging USB cable to a 110v wall outlet.
2. Connect the small USB end to the bottom of the camera. A red LED light
is visible while charging. The LED light will turn off when fully charged.
2. INSTALL VERIPATROL™SOFTWARE
VERIPATROL™ is a secure video le management system that simplies the
download, storage and retrieval of video les. The use of VERIPATROL™is
required.
1. Download the installation les from: www.vievu.com/support.
2. Install VERIPATROL™software on the computer.
3. Contact VIEVU® at 888-285-4548 or visit www.vievu.com/veripatrol to
obtain the Login ID and Password.
3. ASSIGN CAMERA IN VERIPATROL™SOFTWARE
All cameras must be assigned to VERIPATROL™before use. Failure to assign
the camera will prevent downloading videos. Contact VIEVU®at 888-285-
4548 if you need assistance.
1. Using the supplied download cable, connect all 3 ends of the cable.
Both large USB ends must be connected to the computer.
2. Turn the camera on.
3. Login to the VERIPATROL™Admin software.
4. Click on the ‘Cameras’ button at the top of the window.
5. Click the ‘Assign Camera’ button at the bottom of the window.
6. Follow the prompt through the assigning process.
Repeat the steps for all remaining cameras.
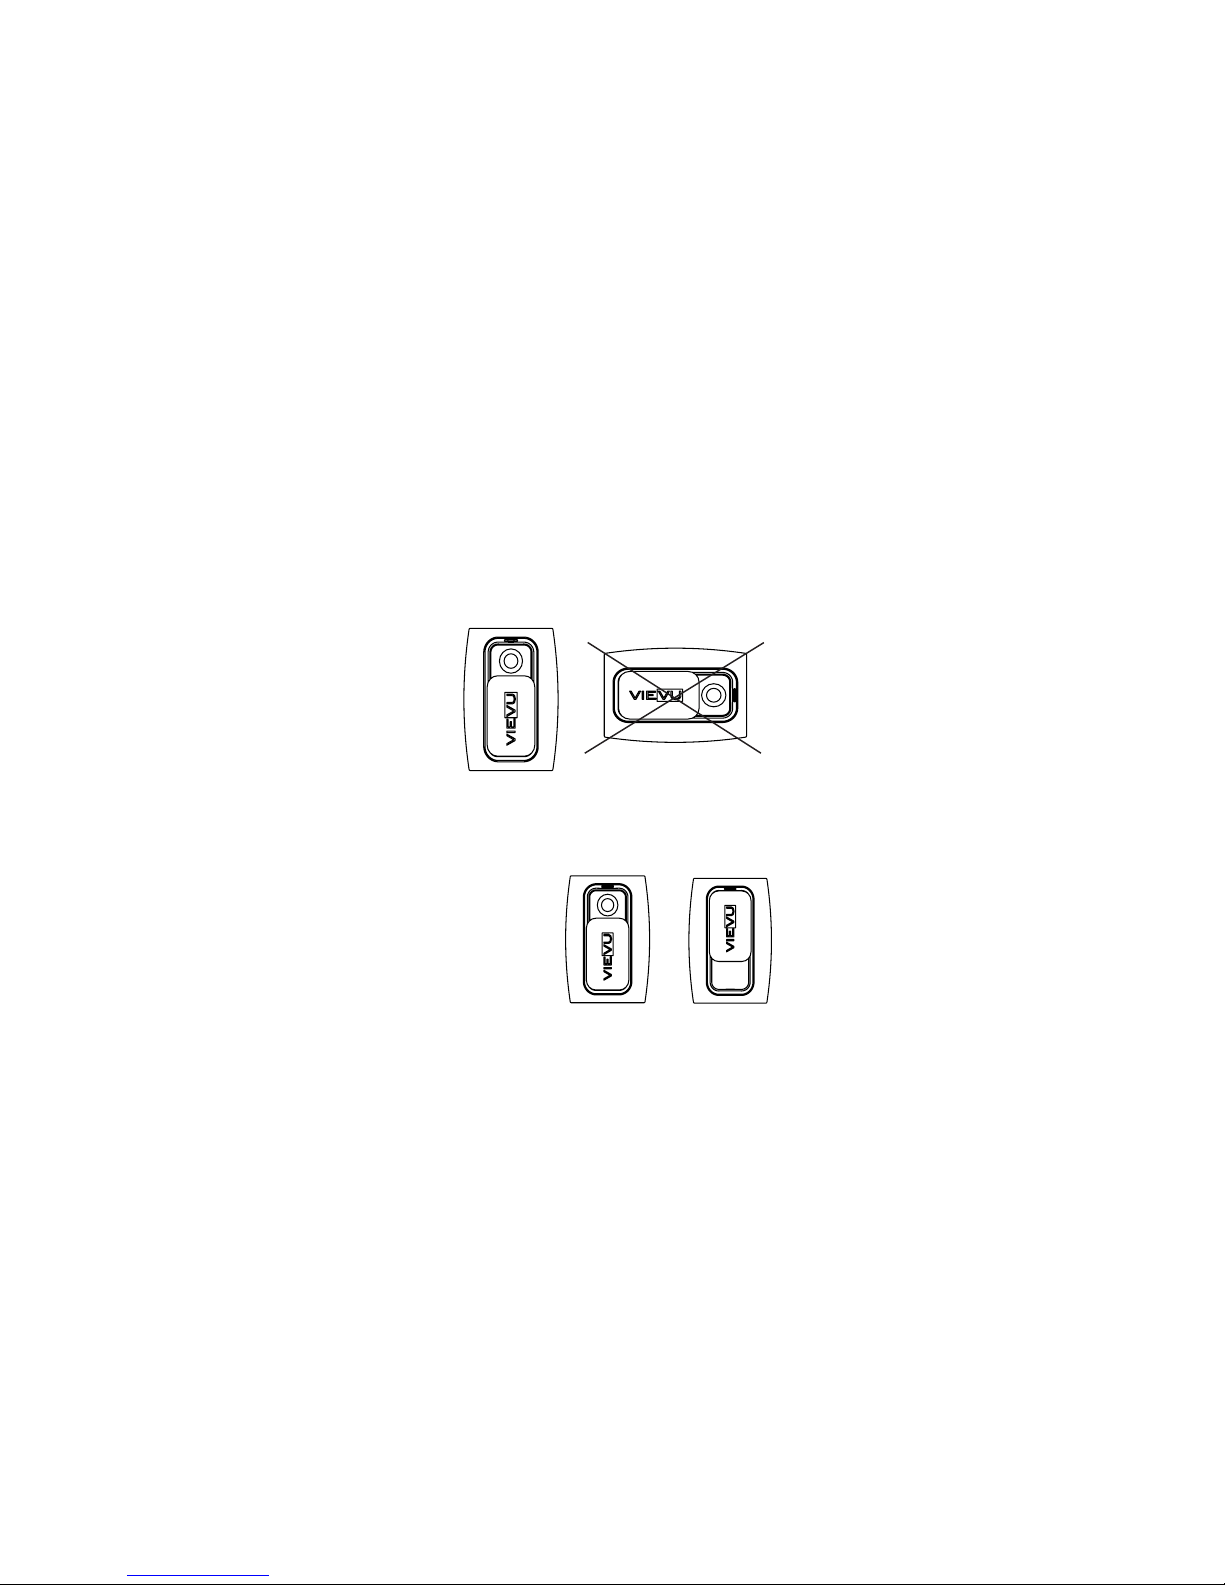
The camera must be worn in the vertical orientation. The clip retaining
screw must be loosened to rotate the clip. Failure to loosen the screw will
cause damage. The ideal position to attach the camera is level with the
sternum but it will vary depending on user.
1. Using a Phillips screwdriver, loosen the clip retaining screw.
2. Rotate the clip.
3. Tighten the clip retaining screw.
4. WEARING THE CAMERA 6. DOWNLOADING VIDEO
1. Using the supplied download cable, connect all 3 ends of the cable.
Both large USB ends must be connected to the computer.
2. Turn the camera on.
3. Login to the VERIPATROL™Client software and click on the ‘Download
Videos from Camera’ button at the bottom.
LED LIGHT
Recording
Blinking Green Light: Camera is recording video and audio.
Blinking Red Light: Camera is low on battery power or memory is almost
full. Camera is recording video and audio.
Solid Red Light: Camera is not recording. Battery is out of power or
memory is full.
Connected to Download Cable
Solid Red Light: Battery is charging. Lens cover is closed.
Solid Amber Light: Camera is ready to communicate with computer for
video download or assigning. Lens cover is open.
Solid Green Light: Camera is ready to communicate with computer
for video download or assigning. Lens cover is open.
Battery is fully charged.
Connected to Charging Cable
Solid Red Light: Battery is charging. Lens cover is closed.
No Light: Battery is fully charged. Lens cover is closed.
5. RECORDING VIDEO
Start recording
1. Slide lens cover down.
2. LED light will blink while recording.
Stop recording
1. Slide lens cover up.
2. LED light will turn off.
ON OFF