XTT XLT-DRL1801 User manual

WARNING To reduce the risk of injury, operator must read and understand this user manual.
ADVERTENCIAPara reducir el riesgo de lesiones, el operador debe leer y comprender este manual del usuario.
AVERTISSEMENT Pour réduire le risque de blessure, l'opérateur doit lire et comprendre ce manuel d'utilisation.
W ARNUNG Um das Verletzungsrisiko zu reduzieren, muss der Bediener diese Bedienungsanleitung lesen und verstehen.

L2 Trucking Products Inc XLT-UM-DRL1801-RV190613 Page 2

L2 Trucking Products Inc XLT-UM-DRL1801-RV190613 Page 3
The main component of this kit is the drill itself. This is a high powered drill that requires a
T.E.D. anytime it is used. A T.E.D. is a torque elimination device specifically made for use
with the XLT drill to create a safe user environment. As you can see by the picture on the
previous page, this drill is not like most standard drills available. This drill uses a steering wheel
design which was specifically created due to the torque and power generated when needed.
Like a steering wheel on a vehicle it is meant to be controlled with both hands on it during use.
That is due to the power generated by the drill. Both hands should always be on the drill
during use to prevent injury and to accomplish the task at hand (raising/lowering trailer or
opening/closing grain hopper doors) along with a T.E.D. being utilized for safety purposes.
Two T.E.D. (torque elimination device) straps are part of the original kit or one T.E.D.
permanent plate is supplied. Both are explained later in this user manual and when properly
used will prevent the drill from spinning or turning which could potentially injure the user. The
permanent plate typically works with a fixture attached to the trailer during fleet installation.
The battery charger is a 110/120V AC charger that was specifically designed to only charge the
18V DC lithium-ion batteries used by the XLT drill. This charger should only be used for these
special batteries and likewise, the batteries should only be charged on this charger.
The battery in this drill kit is either a 4AH or 5AH battery rated at 18V DC. One battery comes
standard with the kit. Each battery will raise and lower many trailers easily between charges.
A QUICK START card is part of this kit. This QUICK START card has several statements as to
proper use of the drill and also has a QR CODE to allow for online access to this user manual.
This drill kit may or may not come with a coupler. Specific couplers are made and can be
purchased separately or with this kit. These couplers address the unique shafts used to control
the raising and lowering of trailer legs and opening and closing of grain hopper doors.
XLT DRILL KIT COMPONENTS

L2 Trucking Products Inc XLT-UM-DRL1801-RV190613 Page 4
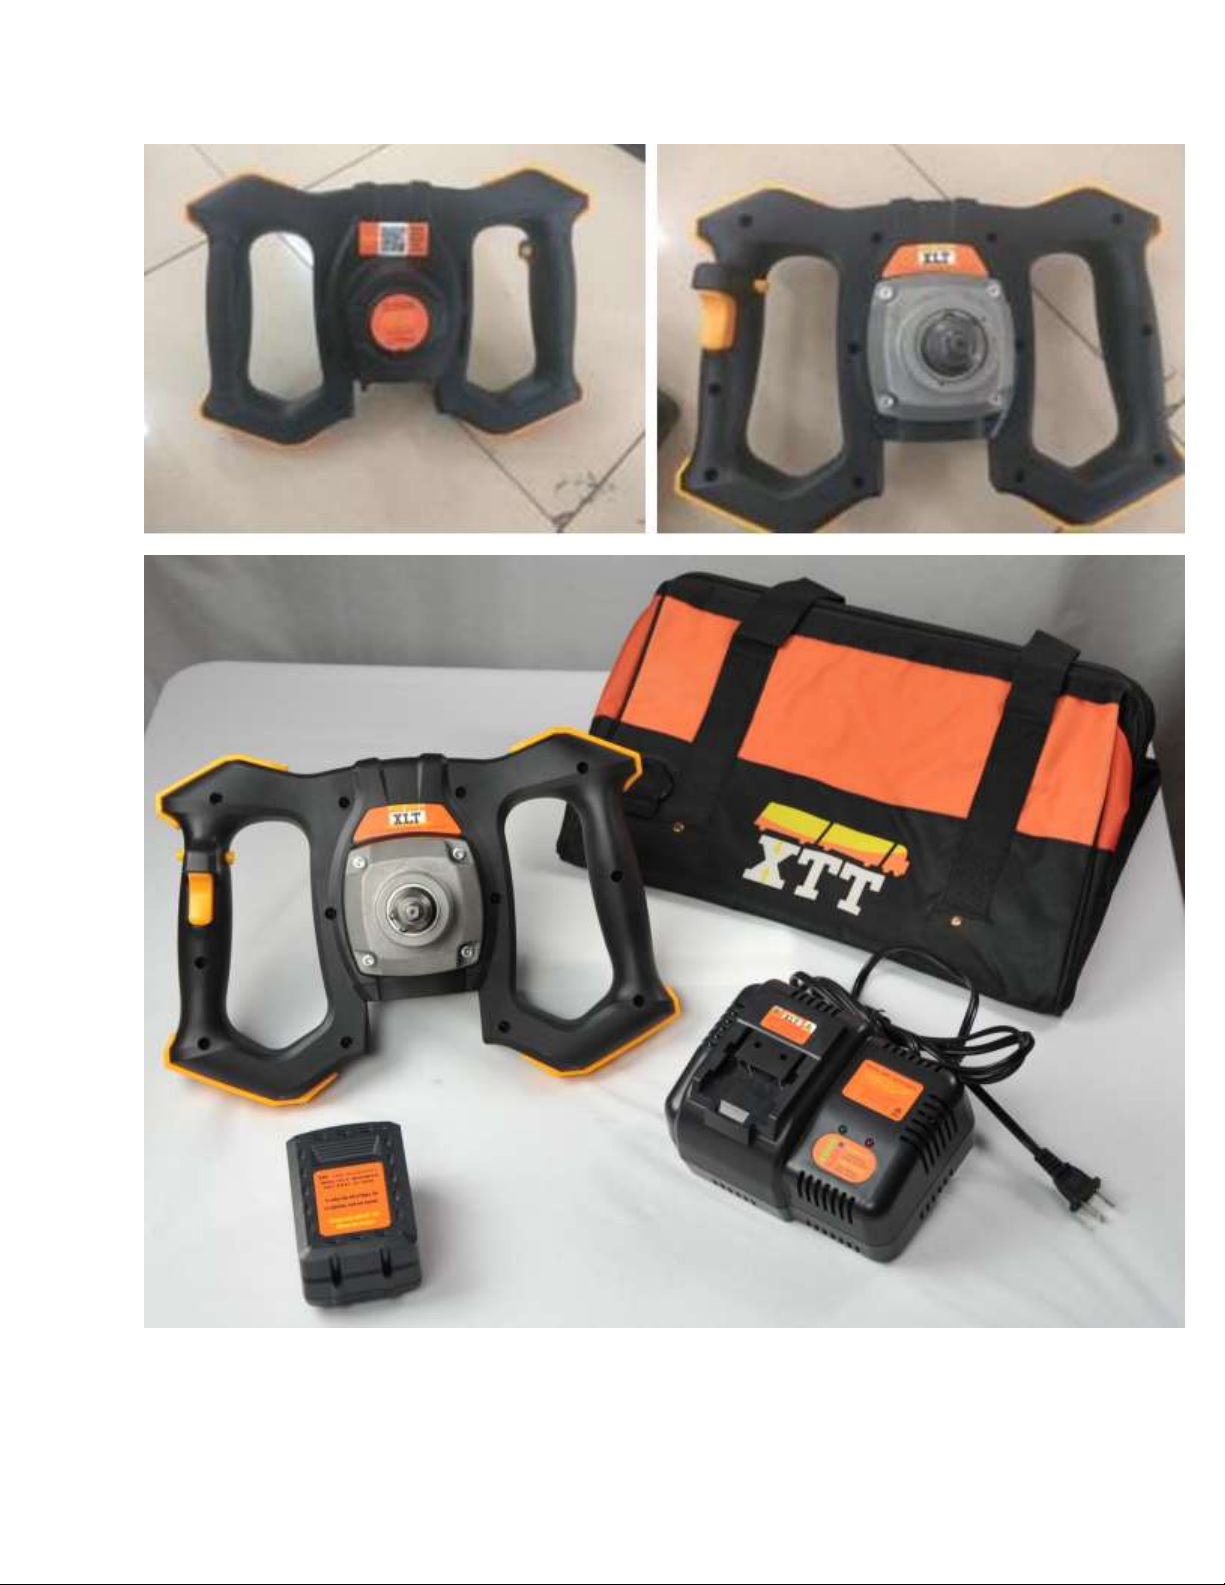
Read all safety warnings, instructions, illustrations and specifications
provided with this drill, charger and battery.
Failure to follow all instructions listed here may result in electric shock, fire and/or
serious bodily injury. Save all warnings and instructions for future reference.
Do not operate drill or charger in explosive atmospheres, such as in the presence of flammable
liquids, gases or dust. Power tools create sparks and may ignite the dust or fumes.
Keep children and bystanders away while operating the drill.
Do not expose drill or charger to rain or wet conditions. Water entering a power tool will
increase the risk of electric shock.
Battery charger plugs must match the outlet. Never modify the plug in any way. Do not use any
adapter plugs with earthed (grounded) powered tools.
Do not abuse the charger cord. Never use the cord for carrying, pulling or unplugging the
charger. Keep cord away from heat, oil, sharp edges or moving parts. Damaged or entangled
cords increase the risk of electric shock.
If operating the charger in a damp location is unavoidable, use a ground fault circuit interrupter
(GFCI) protected supply. Use of an GFCI will reduce the risk of electric shock.
The drill must ALWAYS be used with a T.E.D.
Stay alert, watch what you are doing and use common sense when operating the drill. Do not
use the drill while you are tired or under the influence of drugs, alcohol or medication. A moment
of inattention may result in serious personal injury.
Prevent unintentional activation. Ensure the switch is in the off-position before connecting to the
battery pack, picking up or carrying the drill. Carrying the drill with your finger on the switch or
energizing power tools that have the switch on can cause an accident.
Do not overreach. Keep proper footing and balance at all times. This enables better control of
the drill in unexpected situations.
Dress properly. Do not wear loose clothing or jewelry. Keep your hair and clothing away from
moving parts. Loose clothes, jewelry or long hair can be caught in moving parts.
GENERAL SAFETY WARNINGS
WORK AREA AND TOOL SAFETY
PERSONAL SAFETY

L2 Trucking Products Inc XLT-UM-DRL1801-RV190613 Page 5
The drill must ALWAYS be used with a T.E.D.
Do not use the drill if the trigger type switch does not turn it on and off properly and immediately.
A drill that cannot be controlled with the switch is dangerous and must be repaired.
Remove the battery pack from the drill before making any adjustments, changing accessories,
or storing. Such safety measures reduce the risk of the drill starting accidentally.
Store the drill out of the reach of children and do not allow persons unfamiliar with the drill or
these instructions to operate it. Power tools are dangerous in the hands of untrained users.
Maintain the drill and its accessories. Check for misalignment or binding of moving parts,
breakage of parts and any other condition that may affect the drill’s operation. If damaged, have
the drill repaired before use.
Use the drill, accessories and couplers in accordance with these instructions, taking into
account the working conditions and the work to be performed. Use of the drill for operations
different from those intended could result in a hazardous situation.
Keep handles and grasping surfaces dry, clean and free from oil and grease. Slippery handles
and grasping surfaces do not allow for safe handling and control of the drill in unexpected
situations
Periodically clean the battery terminals and the drill terminals. Lint, dust or other small particles
may congregate there and limit the connectivity needed between battery and drill.
Never use petroleum products on the drill, battery or battery charger. These items are mainly
plastic devices and petroleum use will negatively affect the quality of the item and void your
warranty.
Never disassemble the drill, battery or battery charger.
Contact a L2 Trucking Products service center for repairs, warranty service or questions on use.
A contact email address, supplied at the end of this manual, can be used for any of the above
contact instances needed. The online web site also has email send capabilities.
DRILL USE AND CARE

L2 Trucking Products Inc XLT-UM-DRL1801-RV190613 Page 6
Specialized XLT 18-volt batteries are required to be used with this high-powered drill. Use only
those batteries to ensure safety and eliminate potential for drill damage or even worse: injury,
fire or explosion during use.
Recharge the XLT 18-volt batteries only with the XLT 18-volt charger supplied for use with this
drill. Use of a different charger may create a risk of fire or explosion.
The XLT 18-volt battery charger should only be used to charge XLT 18-volt batteries.
When battery pack is not in use, keep it away from other metal objects, like paper clips, coins,
keys, nails, screws or other small metal objects, that can make a connection from one terminal
to another. Shorting the battery terminals together may cause burns or a fire.
Under abusive conditions, liquid may be ejected from the battery; avoid contact. If contact
accidentally occurs, flush with water. If liquid contacts eyes, additionally seek medical help.
Liquid ejected from the battery may cause irritation or burns.
Do not use a battery pack or tool that is damaged or modified. Damaged or modified batteries
may exhibit unpredictable behavior resulting in fire, explosion or risk of injury.
Do not expose a battery pack or tool to fire or excessive temperature. Exposure to fire or
temperature above 265°F (130°C) may cause explosion.
Follow all charging instructions and do not charge the battery pack or tool outside the
temperature range specified in the instructions. Charging improperly or at temperatures outside
the specified range may damage the battery and increase the risk of fire.
REFER TO THE USER MANUAL FOR THE BATTERY AND CHARGER FOR
DETAILS ON CHARGING AND SAFETY PRECAUTIONS ON USE.
BATTERY AND CHARGER USE AND CARE

L2 Trucking Products Inc XLT-UM-DRL1801-RV190613 Page 7
The warranty for the battery charger and battery is 1 year from purchase and 18
months for the drill.
This warranty shall be void if: 1) any modifications are implemented which have not been
expressly approved by L2 Trucking Products, 2) use of non-authorized replacement parts, 3)
misuse or failure to maintain or service the product in accordance with L2 written policies, 4)
not adhering to the limitations of use as specified within this manual.
The full warranty statement can be found via QR code below or online at:
http://www.xpresslifttool.com/wp-content/uploads/XLT_Warranty.pdf
Have your power tool serviced by a qualified repair person using only identical replacement
parts. This will ensure that the safety of the power tool is maintained.
Never service damaged battery packs. Service of battery packs should only be performed by
the manufacturer or authorized service providers.
Repair service or questions can be emailed to:
SUPPORT@XPRESSTRUCKTOOLS.COM
or by sending an email message from the web site
www.xpresslifttool.com
WARRANTY

L2 Trucking Products Inc XLT-UM-DRL1801-RV190613 Page 8
The drill must ALWAYS be used with a T.E.D.
Failure to use a T.E.D. can potentially injure the operator due to the high torque generated by
the drill when it is needed. A T.E.D. is a device that limits the movement of the drill during use
and if used properly eliminates the chance for injury to the operator of the drill.
There are currently two types of T.E.D.s. One is a “STRAP T.E.D.” which is meant to be a
temporary use device until all trailers in a fleet have a fixed connector added to them. This
allows for immediate and safe use of the drill. The straps will be removed from the drill once all
trailers in a fleet, or all trailers in a region/area of use, have been modified allowing for
activation and use of the PERMANENT T.E.D..
There are two types of “Strap T.E.D.s”. Both utilize two straps attached to the drill housing.
The SIDEWALL T.E.D. consists of individual straps attached to the right and left side of the drill.
At the end of each strap is a clamp with a large thumb screw on it. The clamp will be attached
to the trailer sidewall or frame and hand tightened. The second type is a WEIGHT T.E.D.. It
consists of individual straps attached to the right and left bottom of the drill. The strap is
looped and on the ground the user steps into the loop with legs slightly spread apart. This will
allow for users’ weight to prevent the drill from turning or twisting. Both straps, in either use,
above have a cambuckle which allows for the strap to be tightened to eliminate excessive play
in the strap. The drill can now be used safely with very minimal to no torque transmitted to the
operator that is holding onto both handles during use.
The PERMANENT T.E.D. consists of a permanent plate attached to the front of the drill. This
plate has rods connected to it which are inserted into corresponding tubes permanently placed
on the trailer with a T.E.D. trailer plate. This is done at the same time the coupler is slid over
the shaft used to raise/lower the trailer legs, which has had the handle removed.
It is recommended a handle, removed from the trailers, with a latch pin or bolt is stored on
every tractor. This allows for a backup plan if the XLT drill system is inoperable for some
reason. This should be a very rare event if the operator maintains the XLT drill as
recommended along with keeping the battery (s) charged properly.
T.E.D. (torque elimination device)

L2 Trucking Products Inc XLT-UM-DRL1801-RV190613 Page 9
Top picture is the drill with a Permanent T.E.D.. The lower two pictures show the drill being
used on a trailer with the permanent T.E.D. adapter attached to the trailer. Also shown is the
temporary T.E.D. strap used to allow immediate use of the XLT drill until all trailers have a T.E.D.
plate installed on them. The straps are removed and no longer needed once all trailers in a
region or in the fleet have the trailer T.E.D. plate installed.

L2 Trucking Products Inc XLT-UM-DRL1801-RV190613 Page 10
Lock the trailer coupler onto the shaft (with handle removed) used to raise and lower the
trailer. This is done by sliding the coupler over the shaft and inserting the supplied (with the
coupler) latch pin through both the coupler and the shaft.
If using the T.E.D. straps, attach the straps properly to the trailer or if using the second type of
T.E.D. straps step into the ground mount loops. Use of a T.E.D. is required to prevent the drill
from rotating when in operation which can injure the user.
If using the permanent T.E.D. insert the T.E.D. rods into the corresponding tubes on the trailer
at the same time the coupler is slid over the trailer leg shaft.
It is recommended to always use the lower gear on the trailer shaft when using the temporary
T.E.D. straps. This is done by either pulling or pushing the trailer leg shaft in/out to properly
position the gear. There will often be a sign on the trailer indicating where lower gear is
located. The amount of torque needed cannot exceed the capacity of the drill. If that happens
the drill will protect its internal components by shutting itself off. To reset the drill the battery
will need to be disconnected and reconnected from the drill itself.
When lowering the trailer legs and physically raising the trailer from the 5th wheel of the tractor
it only needs to be raised slightly above the 5th wheel. Once weight is being transferred onto
the legs it is recommended to raise the trailer for only 3-5 seconds to achieve this amount.
ALWAYS, keep both hands on the drill when raising or lowering the trailer legs.
This is especially important, even when the T.E.D. straps are being used.
DRILL OPERATION –Trailer Legs

L2 Trucking Products Inc XLT-UM-DRL1801-RV190613 Page 11
Place the grain coupler over the low speed nut on the grain hopper trailer door. Raise the lock
plate, if it exists, to allow for both nuts to freely turn.
If using the T.E.D. straps, attach the straps properly to the trailer. Use of a T.E.D. is required to
prevent the drill from rotating when in operation.
If using the permanent T.E.D. insert the T.E.D. tube/rod into the corresponding, larger
diameter, tube on the trailer at the same time the coupler is slid over the grain hopper door
nut. (Grain trailers can be safely operated with a single support connector.)
When the hopper door is approaching fully opened or fully closed, slow the rotation down. This
will prevent the quick stop that may occur when reaching the open or close tabs.
ALWAYS, keep both hands on the drill when raising or lowering the trailer legs.
This is especially important, even when the T.E.D. straps are being used.
DRILL OPERATION –Grain Hopper Doors

L2 Trucking Products Inc XLT-UM-DRL1801-RV190613 Page 12
This view of the drill is from the front. You can see in the middle of the drill is the 3/8 inch male
attachment used to hold the couplers. The drill output shaft has an inset that will be used to
connect the coupler (via a set screw) more securely onto it. The coupler has this set screw
operated by an allen wrench. This will allow the user to easily use either low or high gear on
the trailer legs as well by using the drill arms to modify gear positioning of the trailer leg shaft.
Shown on the left of the drill is the variable trigger. This trigger controls the operation of the
drill and allows for speeds from 0-150 rpm.
Just behind the variable trigger is a push button through the handle. This controls the rotation
direction of the drill and whether trailer is to be raised or lowered.
The inset at the bottom of the drill is for the battery. It is inserted and removed from the back
side with a small push lever on the battery itself which clips the battery onto the drill. If torque
needed exceeds the drill capability the battery will shut the drill off. To reset the battery simply
depress the lever on the battery and slide the battery out slightly and back in. This will allow for
drill to again operate properly as needed.
The drill operates using a 18V lithium-ion battery system. The batteries and battery chargers
are specifically made for the XLT drill and should only be used to operate it.
DESCRIPTION OF DRILL

L2 Trucking Products Inc XLT-UM-DRL1801-RV190613 Page 13
The X-Press Lift Tools is a group of tools within the X-Press Truck Tools division. The corporate
entity is L2 Trucking Products Inc with headquarters located in England, AR USA.
Much information for use of this high-powered drill system, including instructional videos, are
online at:
www.xpresslifttools.com
The hours for reaching L2 Trucking Products are 8AM-430PM, Mon-Fri USA CT. The corporate
direct phone number is:
214-884-8258.
An email can be sent to L2 Trucking Products from the above online web site or direct email:
support@xpresstrucktools.com
L2 Trucking Products has been in business since 2010. Its primary function is to create
productivity tools for the trucking industry. These tools are meant to be safe, eliminate
mundane tasks and increase productivity. With those three goals in mind a fleet will operate
more efficiently allowing for more trucking goods to be delivered in a timely fashion.
BOTTOM LINE: Get the truck driver on the road safer and quicker.
CORPORATE CONTACT INFORMATION
Table of contents
Popular Drill manuals by other brands

Tork Craft
Tork Craft TC20001 instruction manual

Urrea
Urrea RM822 User manual and warranty

Bosch
Bosch Universalimpact 800 Original instructions

Bosch
Bosch HDB180 Operating/safety instructions

Parkside
Parkside PABS 12 A1 Operation and safety notes

Atlas Copco
Atlas Copco Secoroc YT29SA Operator instructions

cayken tools
cayken tools 911 Operation manual

Black & Decker
Black & Decker CD961 instruction manual

EINHELL
EINHELL BT-BD 501 Original operating instructions

Einhell Global
Einhell Global ABH-G 24 operating instructions

Kamasa-TOOLS
Kamasa-TOOLS K 10613 operating instructions

Sharp
Sharp RD-1230 Operation manual