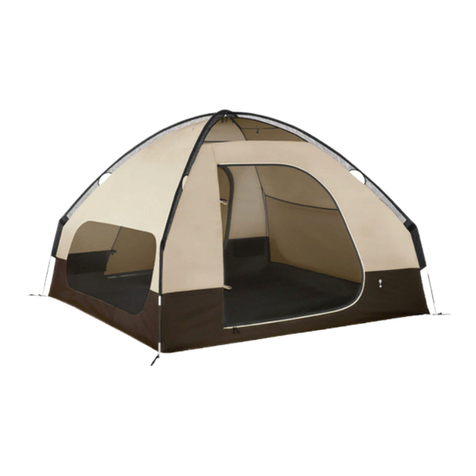
Adventuridge FLX-DT-01 User manual

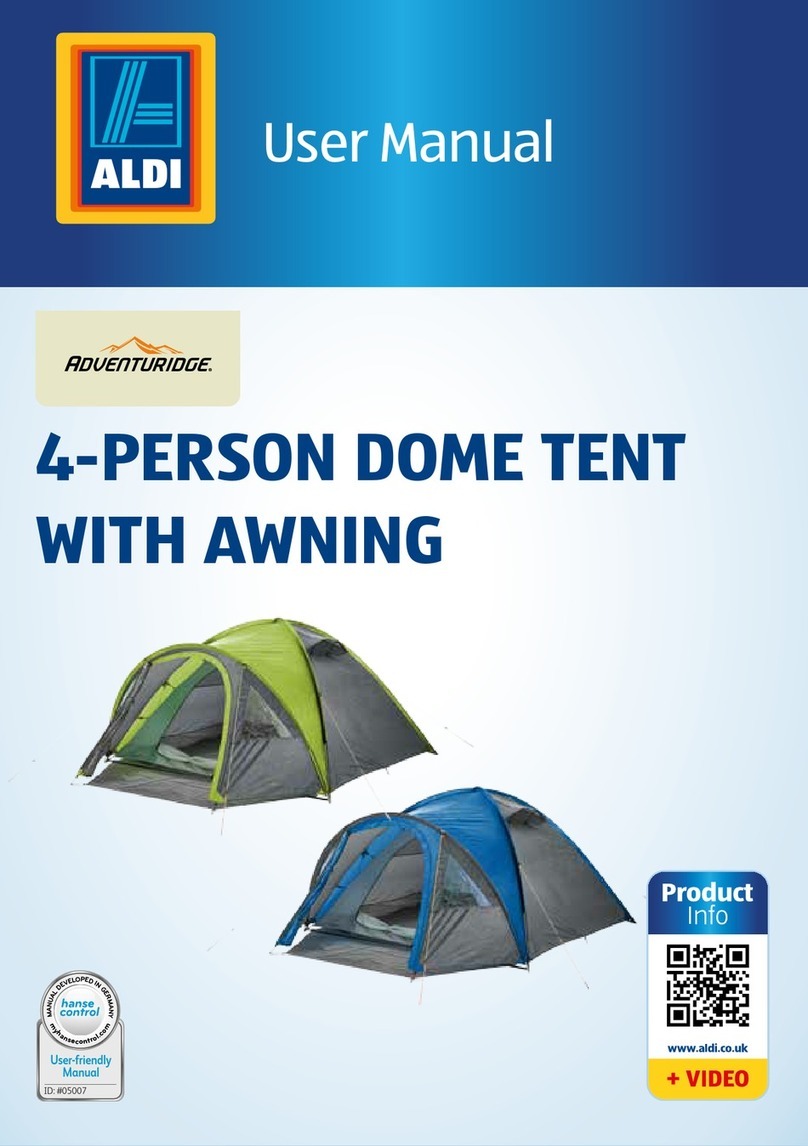
4-PERSON DOME TENT WITH
AWNING
ID: #05007
m
y
h
a
n
s
e
c
o
n
t
r
o
l
.
c
o
m
M
A
N
U
A
L
D
E
V
E
L
O
P
E
D
I
N
G
E
R
M
A
N
Y
User-friendly
Manual
User Manual
Spend a little Live a lot

QR codes take you where you want to go
quickly and easily
Whether you require product information, spare parts or accessories, de-
tails on warranties or aftersales services, or if you want to watch a product
demonstration video, our QR codes will take you there in no time at all.
What is a QR code?
A QR code (QR = Quick Response) is a type of matrix that can be read with a
smartphone camera and that contains a link to a website or contact details,
for example.
Advantage:You do not need to manually enter a website address or contact
details.
This is how it works
To scan the QR code, all you need is a smartphone with QR code reader soft-
ware and an internet connection.* This type of software can be downloaded
for free from your app store.
Try it out now
Just scan the QR code with your smartphone and find out
more about the Aldi product you have purchased.*
Your Aldi Service Portal
All details mentioned above can also be found in the
Aldi Service Portal at www.aldi.co.uk.
*Depending on your tariff plan you may be charged for the connection.

Dok./Rev.-Nr. 93755_20160129
Overview .............................................................................4
Use........................................................................................5
Pack contents/product parts..............................................6
General information............................................................ 7
Reading and storing the user manual ..................................7
Explanation of symbols ...........................................................7
Safety ...................................................................................8
Proper use................................................................................. 8
Safety notes .............................................................................. 8
Checking the tent and pack contents .............................. 10
Use.......................................................................................11
Setting up and taking down the tent...................................11
Attaching the inner tent to the outer tent .......................... 14
Cleaning and care ............................................................. 14
Folding up and storing the tent ....................................... 15
Maintenance and repair.................................................... 16
Technical data ....................................................................17
Disposal.............................................................................. 18
Disposing of the packaging ..................................................18
Disposing of the tent ..............................................................18
Warranty Card.................................................................... 19
Warranty conditions..........................................................20
Contents

A
6
5
1
2
3
7
8
9
10
13
12
11
4
15
14
4GB IRE

B
FED
HG
C
16
8
16
8
17 1819 18 20
22
21
5
GB IRE

GB IRE
Pack contents⁄product parts
1Tunnel guide for the awning
2Guy line, 6× (attached to the tensioning triangles of the tent when delivered)
3Entrance of the inner tent
4Tent floor
5Tether
6Fastening loop of the inner tent
7Fibreglass pole for the awning (with grey marks)
8Fibreglass pole for the outer tent, 2×
9Peg, 16×
10 Carrying bag
11 Peg bag
12 Pole bag
13 Loops and pins (for buttoning the outer tent together with the inner tent), 17×
14 Fastening loops for the outer tent, 7×
15 Awning entrance
16 Tunnel guides for the outer tent, 2×
17 Metal pin (ring-pin system), 4×
18 Fastening hooks for the inner tent, 4×
19 Metal loop for the outer tent, 2×
20 Plastic loop for the outer tent, 2×
21 Side ventilating window, 2×
22 Spacers for ventilating windows, 4×

General information
7
AFTER SALES SUPPORT
GB
IRE 00800/78747874
GB IRE
GB
IRE
flexxtrade-gb@teknihall.com
flexxtrade-ie@teknihall.com
General information
Reading and storing the user manual
This user manual accompanies this 4-person dome tent with awning.
It contains important information about safety, use and care.
For improved readability, the 4-person dome tent with awning will be
referred to only as the “tent” below.
Before using the tent, read the user manual carefully. This particularly applies for the
safety notes. Failure to heed this user manual may result in severe injury or damage
to the tent.
The user manual is based on the standards and rules in force in the European Union.
When abroad, you must also observe country-specific guidelines and laws.
Store the user manual for future use. If you pass the tent on to third parties, please be
absolutely sure to include this user manual.
Explanation of symbols
The following symbols and signal words are used in this user manual, on the tent or
on the packaging.
WARNING! This signal symbol/word designates a hazard with
moderate degree of risk which may lead to death or
severe injury if not avoided.
CAUTION! This signal symbol/word designates a hazard with
low risk that, if not avoided, may result in minor or
moderate injury.
NOTICE! This signal word warns against potential damages to
property.
This symbol provides you with useful additional information regarding
assembly or use.
The total weight of the packed tent amounts to 4.1 kg.
The highest point in the inner tent is 125 cm.

Safety
8
GB
AFTER SALES SUPPORT
IRE
GB
IRE 00800/78747874
GB
IRE
flexxtrade-gb@teknihall.com
flexxtrade-ie@teknihall.com
The outer tent has a water column of 2000 mm.
The dimensions of the carrying bag are 57 × 18 × 18 cm.
The dimensions of the ground area in the inner tent are 240 × 210 cm.
Safety
Proper use
The tent is exclusively designed for outdoor camping with up to four persons in main-
ly mild weather conditions. It is only intended for private use and not suitable for
commercial purposes.
Only use the tent as described in this user manual. Any other use is deemed improper and
may result in damage to property or even personal injury. The tent is not a children’s toy.
The manufacturer or vendor accepts no liability for damage caused by improper or
incorrect use.
Safety notes
WARNING!
Danger of suffocation!
If the inside of the tent is not adequately ventilated, there is a risk
of suffocation.
− Make sure that the vents on the side of the inner tent are not
covered at any time.
− Do not leave children unattended in the tent.
− Do not allow children to play with the packaging wrapper.
They may get caught in it when playing and suffocate.
− Make sure that there is always an unobstructed path of escape
out of the tent.
− Do not allow children to play with the carrying bag.

Safety
9
AFTER SALES SUPPORT
GB
IRE 00800/78747874
GB IRE
GB
IRE
flexxtrade-gb@teknihall.com
flexxtrade-ie@teknihall.com
WARNING!
Risk of injury!
The fibreglass poles have pointy metal ends. Careless and improper
handling of the fibreglass poles may result in injury.
− Keep the fibreglass poles out of the reach of children.
− When handling fibreglass poles, pay attention to nearby persons.
WARNING!
Risk of strangulation!
If the guy lines end up in the hands of children, they could strangle
themselves.
− Do not leave the guy lines lying around when unattended.
− Keep the guy lines out of the reach of children.
− Do not allow children to play with the guy lines.
WARNING!
Risk of fire and burn hazard!
The tent consists of flammable material.
− Do not set up any cooking or heating devices in the tent and do
not hang any lighting fixtures near the walls or roof of the tent.
− Do not place any electric devices (e.g. heaters) that are
activated near or inside the tent.
− Do not use any gas or other combustion devices.
− Keep the tent away from open fire.
− Avoid continual exposure to sunlight to prevent the
accumulation of heat inside the tent.
− Keep the entrance of the tent free of obstructions.
− Survey the location of facilities and find out about precautions
to be taken on the tent grounds in the event of a fire.

Checking the tent and pack contents
10
GB
AFTER SALES SUPPORT
IRE
GB
IRE 00800/78747874
GB
IRE
flexxtrade-gb@teknihall.com
flexxtrade-ie@teknihall.com
CAUTION!
Risk of injury!
You could trip over pegs protruding out of the ground. You could
injure yourself in the process.
− Always insert pegs all the way in the ground.
NOTICE!
Risk of damage!
Faulty set-up and improper handling of the tent may cause dam-
age to the tent.
− Only use the tent in mild weather conditions; do not use it in
alpine or extreme conditions such as hail, flooding, extreme
cold or heat.
− Promptly take the tent down in the event of an incoming storm
or thunderstorm. Even if properly anchored, it may come loose.
− Do not use the tent in the event of snow. The tent tarp is not
designed to withstand snow loads and may rip.
− Stop using the tent if the plastic parts of the tent are deformed,
cracked, chipped or exhibit breaks, splinters or other damages.
− Never expose the tent to high temperatures.
− Never fill liquids into the tent.
− Do not place the tent with the entrance against the wind direction.
− Do not place any objects over the outer tent.
Checking the tent and pack contents
1. Take the tent and all individual accessories out of the packaging.
2. Check to make sure that the delivery is complete (see fig.A, D, E and F).
3. Check whether the tent or the individual parts exhibit damage. If this is the case,
do not use the tent. Contact the manufacturer at the service address specified on
the warranty card.

Use
11
AFTER SALES SUPPORT
GB
IRE 00800/78747874
GB IRE
GB
IRE
flexxtrade-gb@teknihall.com
flexxtrade-ie@teknihall.com
Use
Setting up and taking down the tent
NOTICE!
Risk of damage!
If you set up the tent in an unsuitable location or do not secure it
sufficiently, it may be damaged.
− Set up the tent on a dry, level surface on which the guy lines
can be secured.
− Make sure that there are no pointy rocks under the tent floor.
− Make sure that there is enough space around the tent so that
you can secure the tent with the guy lines.
− Do not set up the tent on sloped ground.
− Do not set up the tent on sandy ground. It will not be possible
to securely anchor your tent in sandy ground.
NOTICE!
Risk of damage!
Strong wind or a storm may pull the tent out of the anchors and
damage it.
− Set the tent up so that the wind can blow away over the tent
from the back of the tent.
− In addition to the pegs, use the guy lines to secure the tent
and protect it against the wind.
− In the event of intense rain or wind, close the side ventilating
windows by folding the spacers in. Use the Velcro fasteners on
the tent to fix the ventilating windows in place.

Use
12
GB
AFTER SALES SUPPORT
IRE
GB
IRE 00800/78747874
GB
IRE
flexxtrade-gb@teknihall.com
flexxtrade-ie@teknihall.com
NOTICE!
Risk of damage!
The tent’s tarp may tear if it is drawn too tight.
− Do not excessively tighten the tent tarp.
The rear channel ends of the tunnel guides on the outer tent have
been sewn shut so that the tent can be set up by one person.
Set up the tent before a trip to familiarise with the tent’s construction.
To help tell the various fibreglass poles apart, the fibreglass poles for
the awning have two grey marks on both ends.
The net insert in the inner tent permits adequate ventilation and, at
the same time, prevents insects from getting into the tent.
1. Select a suitable, level set-up location where you can properly secure the tent with
the pegs 9and the guy lines 2(see fig. A).
2. Take the tent, the three fibreglass poles 7/8and the pegs out of the carrying
bag 10 .
3. Spread the tent out so that the grey underside of the inner tent is facing down at
the set-up location. Make sure that the entrance 3of the inner tent is pointing in
the desired direction.
4. If the inner tent is not buttoned onto the outer tent, button the inner and outer
tent together as described in the chapter “Attaching the inner tent to the outer
tent”. If the inner tent is already buttoned to the outer tent, proceed with step 5.
5. Fold the two fibreglass poles 8for the outer tent apart and connect the individ-
ual pole elements in sequence.
6. Run the two fibreglass poles with the plastic end forward into one of the two tun-
nel guides 16 on the outer tent one after another and slide them through to the
end (see fig. A and B).

Use
13
AFTER SALES SUPPORT
GB
IRE 00800/78747874
GB IRE
GB
IRE
flexxtrade-gb@teknihall.com
flexxtrade-ie@teknihall.com
7. Lift one of the two fibreglass poles and push it no further than into the tunnel
guide until you can insert the metal pin 17 into the metal end of the fibreglass
pole to fix it in place (see fig. B, C and D).
The fibreglass pole will erect itself and is under tension.
8. Repeat this process with the other fibreglass pole.
9. Push the fibreglass pole 7of the awning through the tunnel guide 1on the
awning so that it extends evenly on both sides of the tunnel guide.
10.Insert the free metal pin on the one side of the fibreglass pole in the metal end of
the fibreglass pole.
11. Tension the fibreglass pole by sliding it all the way through the tunnel guide and
up against the metal pin. The fibreglass pole will bend.
12. Fix the tensioned fibreglass pole in place by inserting the free metal pin in the open
metal end.
13. Attach the two fastening hooks 18 to the two metal loops 19 on the front side of
the inner tent (see fig. E).
14.Attach the two fastening hooks to the plastic loops 20 on the back of the tent
(see fig. F).
15.Use the pegs to secure the tent by running the pegs through the fastening loop 6
of the inner tent and into the ground (see fig. A).
Make sure that the pegs do not protrude from the ground.
16.Close the entrances of the 3/15 inner tent and the awning.
17. Use the pegs to secure all fastening loops 14 on the outer tent in the ground.
Make sure that the outer tent is tensioned.
Make sure that the pegs do not protrude from the ground.
18.If necessary, attach the guy lines 2to the tensioning triangles on the outer tent.
19. If necessary, use the guy lines to secure your tent against wind.
20. Open the ventilating windows 21 and secure them with the spacers 22
(see fig. G).
Your tent is now ready for use. If you would like to take down the tent, remove all ob-
jects and, if applicable, dirt from the tent and perform all steps in reverse order. If you
would like to fold the tent up and store it, proceed as described in the chapter “Folding
up and storing the tent”.

Cleaning and care
14
GB
AFTER SALES SUPPORT
IRE
GB
IRE 00800/78747874
GB
IRE
flexxtrade-gb@teknihall.com
flexxtrade-ie@teknihall.com
Attaching the inner tent to the outer tent
If the outer tent and the inner tent are not buttoned together (e.g. after cleaning or drying),
proceed as follows:
1. Spread out the inner tent with the grey underside facing down
(see fig. A and H).
2. Lay the outer tent on the inner tent so that all entrances 3/15 are facing in the
same direction.
3. Connect the loop and pin 13 with one another in the middle of the outer and in-
ner tent.
4. From the middle, connect the loops of the outer tent with the respective pins of the
inner tent in sequence on all four sides of the tent.
You can now set up the tent as described in the chapter “Setting up the tent”.
To unbutton the inner tent and the outer tent, perform the steps in reverse order.
Cleaning and care
NOTICE!
Risk of damage!
Improperly cleaning the tent may damage it.
− Do not use any aggressive cleaners, brushes with metal or
nylon bristles, sharp or metallic cleaning utensils such as
knives, hard scrapers and the like.
− Never wash the tent in the washing machine.
It would be destroyed as a result.
− Never have the tent dry cleaned.
− Only use clean water or a commercially-available tent cleaner
to clean the tent.
1. If applicable, remove any dirt from the outer tent with a damp, soft sponge or cloth
with clean water or a commercially-available tent cleaner before taking the tent
down (see fig. A).
2. Let the tent dry completely from the outside.
3. Before you take down the inner tent, sweep it out and, if necessary, remove any
contamination with a damp, soft sponge or cloth using clean water or a commer-
cially-available tent cleaner.
4. Let the inner tent dry completely from the inside.

Folding up and storing the tent
15
AFTER SALES SUPPORT
GB
IRE 00800/78747874
GB IRE
GB
IRE
flexxtrade-gb@teknihall.com
flexxtrade-ie@teknihall.com
5. If the inside of the outer tent or the inner tent is moist, undo the buttons connect-
ing the two tents as described in the chapter “Attaching the inner tent to the outer
tent” and let the two parts completely dry separately from one another.
6. Take all fibreglass poles 7/8out of the tunnel guides 1/16 .
7. Place the tent with the top side down on a smooth, dry and clean surface.
8. Wipe the tent floor off with a damp, soft sponge or cloth with clean water or com-
mercially-available tent cleaner.
9. Let all parts dry completely.
You can now fold the tent up for storage as described in the chapter “Folding up and
storing the tent”.
Folding up and storing the tent
NOTICE!
Risk of mould.
Never fold the tent up when it is wet or dirty. Mould or odour may
form or the material may be discoloured.
− Clean the tent before you fold it up as described in the chapter
“Cleaning and care”.
1. Insert the fibreglass poles 7/8in the pole bag 12 and close it (see fig. A).
2. Insert the pegs 9in the peg bag 11 and close it.
3. Spread out the tent with the grey underside of the inner tent facing down (see fig. H).
4. If the outer tent and the inner tent are buttoned together, smooth the outer tent and
fold the corners together so that it is flush with the inner tent. Proceed with step 6.
5. If the outer tent and inner tent are not buttoned together, button them together
as described in the chapter “Attaching the inner tent together to the outer tent”.
6. Fold the tent up so that it has the width of the carrying bag.
7. Put the pole and peg bag in the middle of the tent.
8. Roll the tent up.
9. Store the tent in the carrying bag 10 .

Maintenance and repair
16
GB
AFTER SALES SUPPORT
IRE
GB
IRE 00800/78747874
GB
IRE
flexxtrade-gb@teknihall.com
flexxtrade-ie@teknihall.com
Maintenance and repair
NOTICE!
Risk of damage
The tent may be damaged as the result of wear.
− Check the tent regularly for rips and damages to the poles,
especially after a prolonged period of non-use.
In the event of damage, repair the tent before you use it again.
Product part Defect/damage Repairs
Outer tent Declining water tightness of
the seams
Use a commercially-available
waterproofing spray to water-
proof the outer tent regularly
or after prolonged storage.
Outer tent Holes and rips in the outer tent Contact the manufacturer at
the service address specified
on the warranty card.
Inner tent Holes and rips in the inner tent Contact the manufacturer at
the service address specified
on the warranty card.
Zippers Sluggish zippers Spray sluggish zippers with
silicon, glycerine or paraffin
so they zip open and closed
smoothly.
Fibreglass poles Damaged or broken fibreglass
poles
Contact the manufacturer at
the service address specified
on the warranty card.

Technical data
17
AFTER SALES SUPPORT
GB
IRE 00800/78747874 GB
IRE
flexxtrade-gb@teknihall.com
flexxtrade-ie@teknihall.com
IREGB
Technical data
Model: FLX-DT-01
Category/service level: A2
Dimensions of the outer tent
(when erected):
250 × 220 + 80 × 130 cm (W × L × H)
Dimensions of the inner tent
(when erected):
approx. 240 × 210 × 125 cm (W × L × H)
Outer tent material: 185T 63D polyester with PU coating, approx. 56 g/m²
Inner tent material: 170T 63 D polyester, approx. 42 g/m², breathable
Material of inner tent
entrance:
2/3 polyester + 1/3 mesh entrance
Water column of outer tent: 2,000 mm (waterproof)
Water column of tent floor: 3,000 mm (waterproof)
Article number: 93297

Disposal
18
GB
AFTER SALES SUPPORT
IRE
GB
IRE 00800/78747874
GB
IRE
flexxtrade-gb@teknihall.com
flexxtrade-ie@teknihall.com
Disposal
Disposing of the packaging
Dispose of the packaging separated into single type materials. Dispose
of cardboard and carton as waste paper and foils via the recyclable ma-
terial collection service.
Disposing of the tent
Dispose of the tent in accordance with the applicable regulations for your country.

WARRANTY CARD
Description of malfunction:
If after contacting the manufacturer
you are requested to return the faulty
product please return the completed
warranty card together with it.
Flexxtrade Service Center
c/o Teknihall Elekronik GmbH
Breitefeld 15
64839 Münster
GERMANY
Your details:
Name
Address
E-mail1
Date of purchase*
* We recommend you keep the receipt with this warranty card.
1for status reports for repair
Location of purchase
Toll-free hotline
P043000160
4-PERSON DOME TENT WITH AWNING
YEARS
WARRANTY
AFTER SALES SUPPORT
flexxtrade-gb@teknihall.com
MODELL: FLX-DT-01 PRODUCT CODE: 93297 05/2016
00800/78747874
GB
IRE
GB
IRE flexxtrade-ie@teknihall.com
IREGB

GB IRE
Warranty conditions
Dear Customer,
The ALDI warranty offers you extensive benefits:
Warranty period: 3 years from date of purchase.
Costs: Free repair/exchange.
No transport costs.
Hotline: Free hotline.
ADVICE: Please contact our service hotline by phone, e-mail or fax
before sending in the device. This allows us to provide
support in the event of possible operator errors.
In order to make a claim under the warranty, please send us:
• the faulty item together with the original purchase receipt and the
completed warranty card.
• the product with all components included in the packaging.
The warranty does not cover damage caused by:
• Accident or unanticipated events (e.g. lightning, water, fire).
• Improper use or transport.
• Disregard of the safety and maintenance instructions.
• Other improper treatment or modification.
After the expiry of the warranty period, you still have the possibility to have
your product repaired at your own expense. If the repair or the estimate of
costs is not free of charge you will be informed accordingly in advance.
This warranty does not affect your statutory rights.
Table of contents
Other Adventuridge Tent manuals
Popular Tent manuals by other brands

Square
Square SPD2 Getting started
Kiwi Camping
Kiwi Camping Kingfisher 2 Pitching instructions
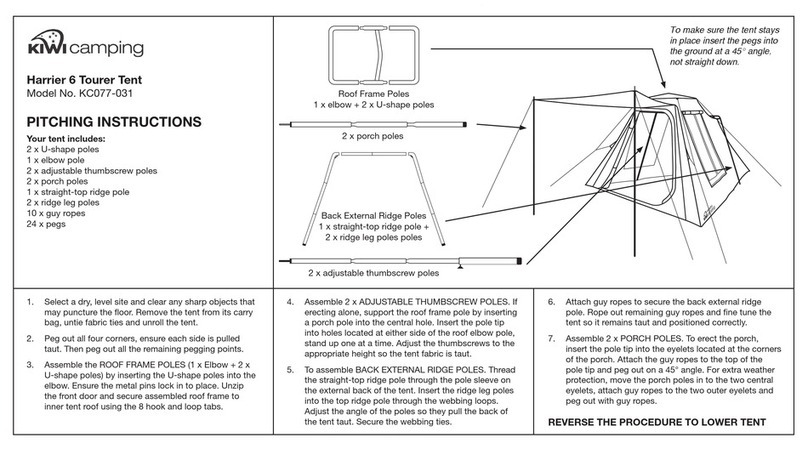
Kiwi Camping
Kiwi Camping Harrier 6 Tourer Tent Pitching instructions

ShelterIt
ShelterIt EZ Shed 70088 instructions

MSW Motor Technics
MSW Motor Technics MSW-TC-S user manual
Carefree
Carefree Buena Vista+ owner's manual

23zero
23zero DUKE SWAG user manual
ShelterLogic
ShelterLogic 70443 instructions
ShelterLogic
ShelterLogic Shed-in-a-Box RoundTop Assembly instructions

Sierra Designs
Sierra Designs ORIGAMI 2 ULTRALIGHT manual

Kampa
Kampa Mersea 4 Air Instructions & care manual

Denver Tent Company
Denver Tent Company The Colorado Tent Maroon Bell Set Up & Care Instructions
