6www.westinghouse.com.au / www.westinghouse.co.nz
1.3 General Safety
It is dangerous to alter the specifica-
tions or attempt to modify this product
in any way.
During high temperature wash
program the door glass may get hot.
Do not touch it!
Make sure that small pets do not
climb into the drum. To avoid this,
please check inside the drum before
using the appliance.
Any objects such as coins, safety
pins, nails, screws, stones or any
other hard, sharp material can cause
extensive damage and must not be
placed into the machine.
Only use manufacturer’s
recommended quantities of fabric
softener and detergent. Damage to
the fabric or appliance can occur if
you exceed the recommended
amount.
Wash small items such as socks,
laces, washable belts etc in a
washing bag or pillow case as it is
possible for such items to slip down
between the tub and the inner drum.
Do not use your washing machine to
wash articles with whalebones,
material without hems or torn
material.
●
●
●
●
●
●
●
This appliance is not intended for use
by persons (including children) with
reduced physical, sensory or mental
capabilities, or lack of experience and
knowledge, unless they have been
given supervision or instruction
concerning use of the appliance by a
person responsible for their safety.
This appliance is heavy. Care should
be taken when moving it.
When unpacking the appliance, check
that it is not damaged. If in doubt, do
not use it and contact the Service
Centre.
All packing and transit bolts must be
removed before use. Serious damage
can occur to the product and to
property if this is not adhered to. See
relevant section in the user manual.
Under no circumstances should you
attempt to repair the machine
yourself. Repairs carried out by
inexperienced persons may cause
injury or serious malfunctioning.
Contact your local Service Centre.
Always insist on genuine spare parts.
1.4 Installation
After having installed the appliance,
check that it is not standing on the
inlet and drain hose and the worktop
is not pressing the electrical supply
cable.
If the appliance is installed on a
carpeted floor, please adjust the feet
in order to allow air to circulate freely.
Always be sure, that there is no water
leakage from hoses and their
connections after the installation.
Any plumbing work required to install
this appliance should be carried out
by a qualified plumber.
Any electrical work required to install
this appliance should be carried out
by a qualified electrician.
Always unplug the appliance and turn
off the water supply after use, clean
and maintenance.
●
●
●
●
●
●
●
●
●
●
●
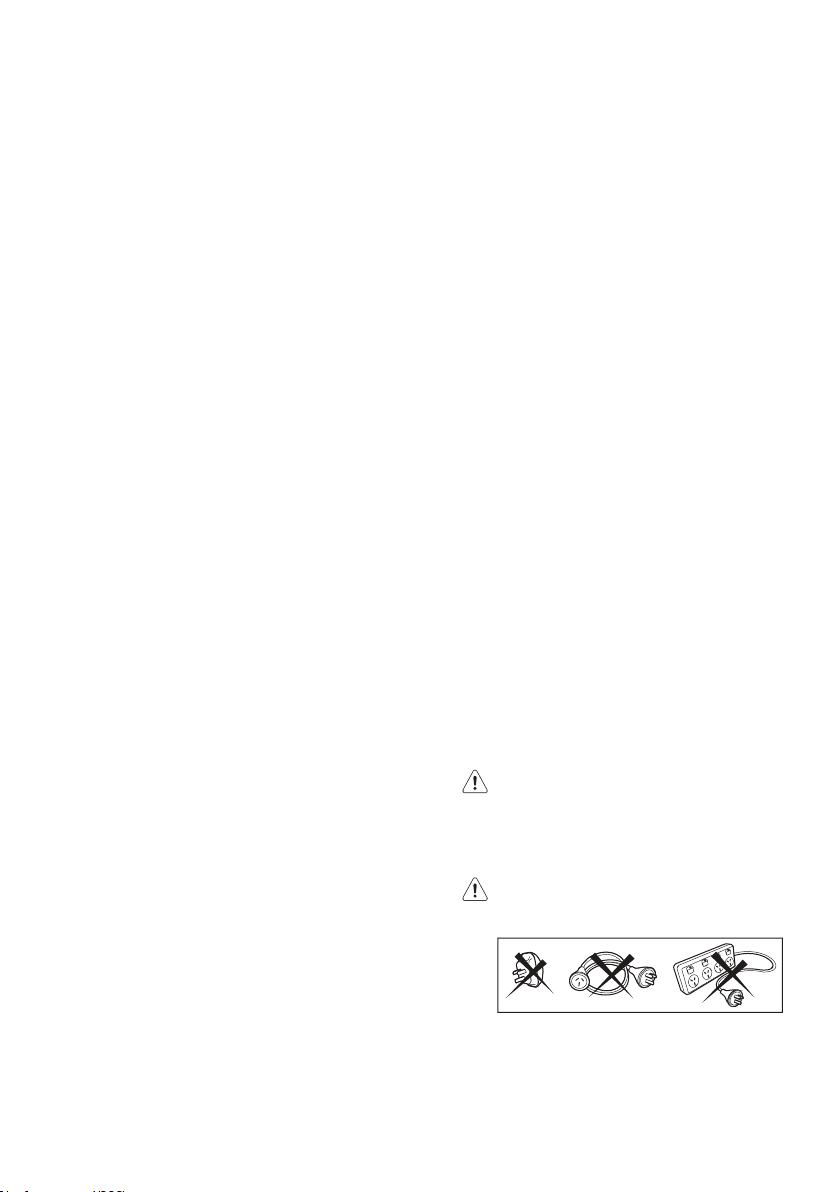
May cause electric shock! if the
machine is not connected to an
earthed/ground system. DO NOT
touch the wet clothes and metal
parts.
For safety reasons do not use
double adaptors, extension
cords and multi-plug adapters.