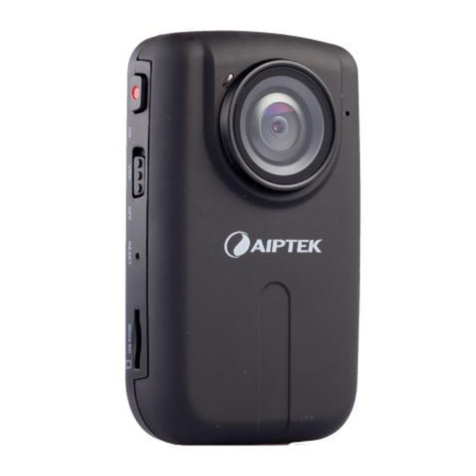
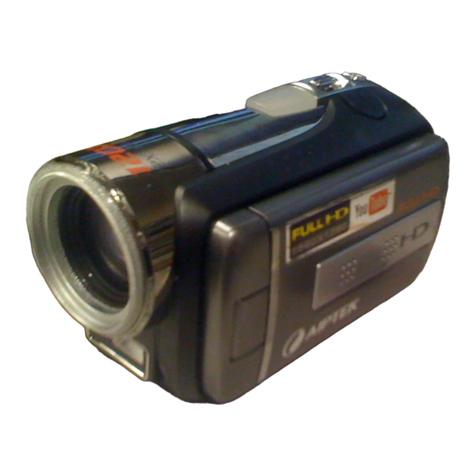
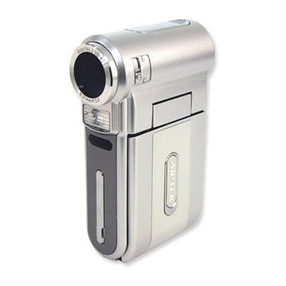
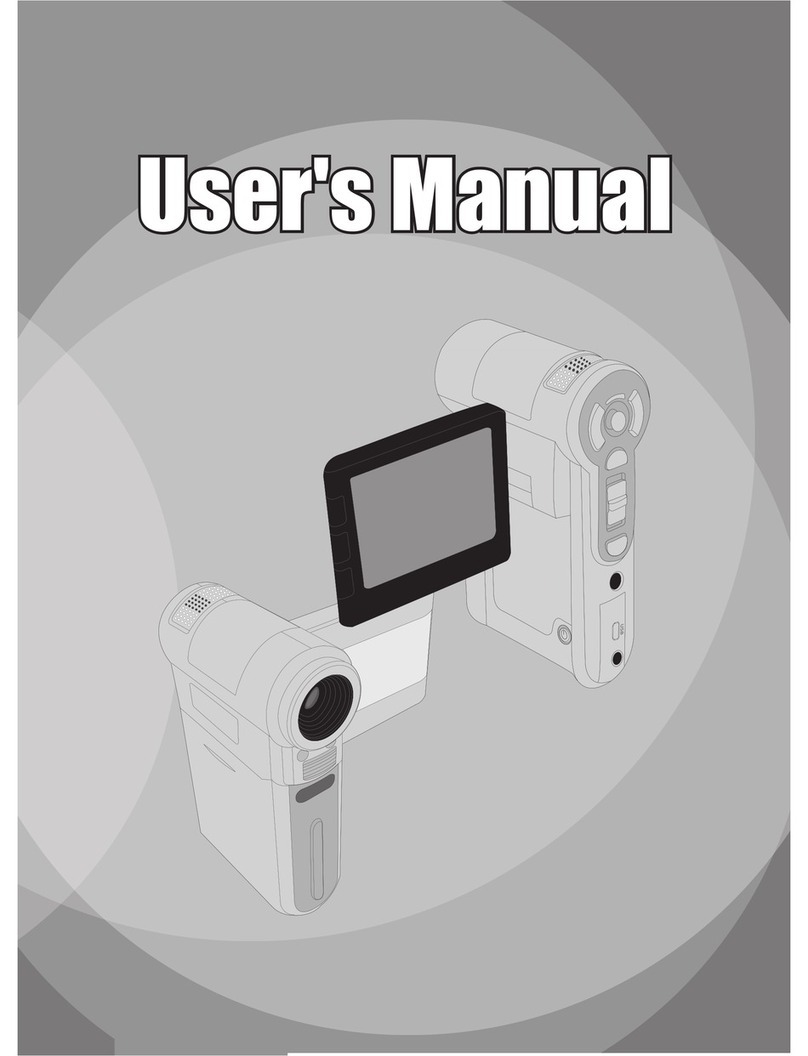
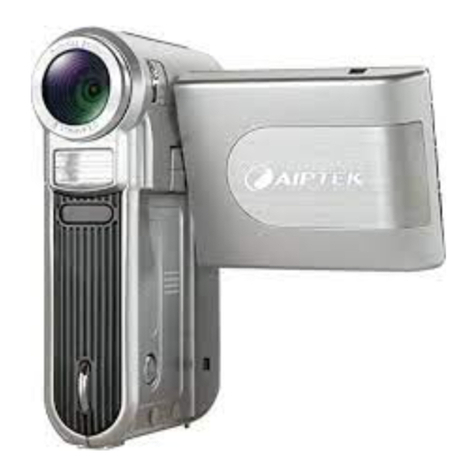
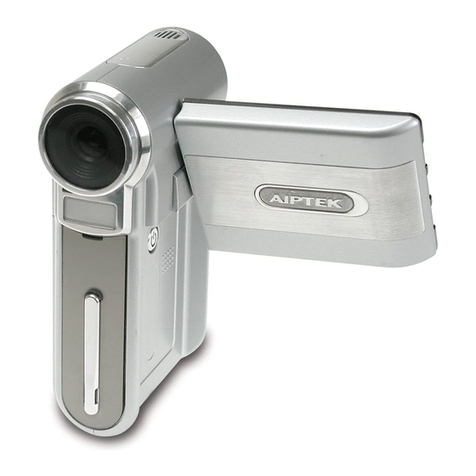
AIPTEK AHD-AF1 User manual

+LJK'HÀQLWLRQ
'LJLWDO9LGHR&DPHUD
8VHU·V0DQXDO

2
EN
Welcome:
Dear user, thanks for purchasing this product.
Much investment in time and effort has gone into its development, and it is our hope that it will
give you many years of trouble-free service.
Safety Notice:
Do not drop, puncture or disassemble the device; otherwise the warranty will be voided.1.
Avoid all contact with water, and dry hands before using.2.
Do not expose the device to high temperature or leave it in direct sunlight. Doing so may damage3.
the device.
Use the device with care. Avoid pressing hard on the device.4.
For your own safety, avoid using the device when there is a storm or lightning.5.
'R QRW XVH EDWWHULHV RI GLIIHUHQW VSHFL¿FDWLRQV 'RLQJ VR PD\ OHDG WR WKH SRWHQWLDO IRU VHULRXV6.
damage.
Remove the battery during long periods between usage, as a deteriorated battery may affect the7.
functionality of the device.
Remove the battery if it shows signs of leaking or distortion.8.
Use only the accessories supplied by the manufacturer.9.
Keep the device out of the reach of infants.10.
Risk of explosion if battery is replaced by an incorrect type.11.
Dispose of used batteries according to the instructions.12.
FCC Compliance Statement:
This device complies with Part 15 of the FCC Rules. Operation is subjected to
the following two conditions: (1) this device may not cause harmful interference,
and (2) this device must accept any interference received, including interference
that may cause undesired operation. This equipment has been tested and found to comply with limits
for a Class B digital device, pursuant to Part 15 of the FCC rules. These limits are designed to provide
reasonable protection against harmful interference in residential installations.
This equipment generates, uses, and can radiate radio frequency energy, and if not installed and used
in accordance with the instructions, may cause harmful interference to radio communications. However,
there is no guarantee that interference will not occur in a particular installation. If this equipment does
cause interference to radio or television equipment reception, which can be determined by turning the
equipment off and on, the user is encouraged to try to correct the interference by one or more of the
following measures:
-Reorient or relocate the receiving antenna.
-Move the equipment away from the receiver.
-Plug the equipment into an outlet on a circuit different from that to which the receiver is connected.
-Consult the dealer or an experienced radio/television technician for additional suggestions.
<RXDUHFDXWLRQHGWKDWDQ\FKDQJHRUPRGL¿FDWLRQVWRWKHHTXLSPHQWQRWH[SUHVVO\DSSURYHGE\WKH
party responsible for compliance could void Your authority to operate such equipment.
If the time arises to throw away your product, please recycle all the components possible.
Batteries and rechargeable batteries are not to be disposed in
your domestic waste! Please recycle them at your local recycling
point. Together we can help to protect the environment.
3
EN
Getting to Know Your Camera
Overview
The camera equipped a 5 Mega Pixel sensor that can take H.264 format videos.
The 3” LCD touch panel is an ideal platform for you to operate your camera. The menu options are
DFFHVVLEOHZLWK\RXU¿QJHU
The camera also features video recording at an HD resolution of 1920x1080. You can also connect it to
DQ+'79YLDDQ+'0,FDEOHRSWLRQDODQGHDVLO\SOD\EDFNWKHUHFRUGHGKLJKGH¿QLWLRQYLGHRVRQWKH
wide screen HDTV.
Moreover, the camera has an advanced uploading feature. With the exclusive built-in Internet Direct
application, you can upload the videos captured by the camera to the web site more effortlessly .
The varied effect options, such as Time Lapse and Slow Motion, make recording more fun.

4
EN
Knowing your camcorder parts
Lens
Microphone
LED Light
Macro Switch
Speaker
Zoom Button (T/W)
[Video] Button
HDMI Port
Mini USB 2.0 Port
TV Port
[Photo] Button
Record LED
Indicator
Playback LED
Indicator
LCD Touch
Panel

5
EN
[Playback] Button
Power Button
Pause Button
Tripod Socket SD card Cover

6
EN
Getting Started
Open the battery cover
Follow Xto push and eject the battery cover.
Follow Yto lift the cover.
Loading the Battery
Before using the camera, you must load the supplied Lithium-ion
rechargeable battery.
Insert the battery according to the correct polarity marks ( + or13.
-).
&ORVHWKHEDWWHU\FRYHU¿UPO\14.
Charge your battery
You must use the supplied USB cable or the AC
charger(optional).
7KHFDPHUDPXVWEHWXUQHG2))EOLQNLQJOLJKWFRQ¿UPVFKDUJLQJ
and the light becomes constant when the charging has been
completed.
In AC charging Mode, the light will turn itself off automatically after
3~5 minutes . The full charge time is about 3 to 4 hours. (Actual
charging time may vary. It depends on the battery conditions.)
1
2

7
EN
Inserting and Removing an SD Card (Optional)
The camera comes with an internal memory which allows you to store photos and videos. You can
expand the memory capacity by using an optional SD memory card.
,QVHUWWKHPHPRU\FDUGLQWRWKHVORW3OHDVHUHIHUWRWKH¿JXUHRQWKHULJKWVLGH1.
To remove an installed SD card, press the card inwards to2.
release it.
When the card pops out, gently remove it from its slot.3.
Recommended memory capacity: 1GB or above.4.

8
EN
Turning the Camera On/Off
To turn on the camera:
Flip out the LCD panel; the camera will turn on automatically.1.
Or press [Power Button2. ] for one second to turn it on.
To turn off the camera: You can either press [Power Button] for one second, or you can place the LCD
panel back to its original position.
&RQ¿JXULQJWKH,QLWLDO'DWHDQG7LPH6HWXS
The time setting screen appears to allow you to setup date and time:
Operation Display Screen
Touch Year, Month, Day, Hour, Minute, and AM/PM to set.1.
Adjust the numeric value by touching2. /
Touch the [OK] icon to validate the setting.3.
Touch the Exit icon4. ( ) to exit.
Select the Language
Use this option to select the language of the user interface.
Operation Display Screen
In the Setting menu, touch the [Language] icon on the1.
screen.
Touch to select the desired option.2.
Touch the Exit icon3. ( ) to exit.

9
EN
Enjoying the Record Mode
Video Recording
Press [Video Button] to start recording. When a video is being recorded, a time indicator will display
on the LCD monitor ( ). To stop recording, press it again.
To pause recording: Press [Pause Button] to pause recording ( 00:00:36 ). To continue the recording,
press it again.
Press [Playback Button] or touch on the screen to view the recorded video.
Four resolution settings are available.
Note
Pause function can not be used when Time Lapse function is activated.
Photo Capturing
Press [Photo Button] to take photo.
Press [Playback Button] or touch on the screen to view the photo.
Three resolution settings are available.
Taking Close up Photo/Video
Slide the macro switch to change the focus range for different distances of objects.
Slide the macro switch to Macro (1. ).
Press2. [Video Button] to start recording or press [Photo Button] to take photo.
In Macro Mode, the macro icon( ) will appear on the LCD monitor.
Note
Remember to turn the macro switch back to Normal ( ) when you are not taking close-up
photo.
Macro Mode: 20 cm
1RUPDO0RGHFPaLQ¿QLWH+'S+'S
FPaLQ¿QLWH3KRWR)XOO+'S
Using Zoom Function
7KH]RRPPDJQL¿HVLPDJHVZKHQUHFRUGLQJYLGHRRUWDNLQJSKRWR
To zoom in/out, press the Zoom Button (T/W).1.
It can be set from 1X~16X (16X Digital zoom)2.

10
EN
Using Light Function
The setting allows you to extend the brightness of the objects that are dark or in the shadow. Using
the on-screen button to change the settings.
Digital Light On1. ( ): To extend the dynamic range for backlight and high contrast sense
so that the objects will be brighter and clearer.
Light On2. (): The light will be turned on and keep providing light.
Light Off3. (): The light is turned off.
Operations for Record Mode
Operation Display Screen
T1. ouch on the screen in Record Mode. The menu
will show on the screen.
Touch the option icons on the screen lightly with your2.
¿QJHU7KHRSWLRQVDUH9LGHR3KRWR(IIHFWDQG6HWWLQJ
The option menu will pop up on the screen.3.
7RXFKWRVHOHFWWKHVSHFL¿FRSWLRQ\RXZDQWWRDGMXVW4.
The selected option will be highlighted.)
Touch the Exit icon (5. ) to exit.
Video
Operation Display Screen
T1. ouch on the screen in Record Mode. The menu
will show on the screen.
Touch the [Video] icon2. on the screen. Submenu of
Video will pop out on the screen.
The Video submenu contains 6 options-- Resolution,3.
Stabilization, Motion Detect, Slow Motion, Time Lapse
,and Pre-record --for you to adjust the camera settings.

11
EN
Video Resolution
Four resolution settings are available.
FHD (1080p 30) (Full HD (1080p30)):Record videos at 1920x1080p 30 fps resolution.
HD+ (720p 60): Record videos at 1280x720p 60 fps resolution.
HD (720p 30): Record videos at 1280x720p 30 fps resolution.
VGA (640X480): Record videos at 640x480p 30 fps resolution.
Operation Display Screen
In the Video menu, touch the [Resolution] icon on the1.
screen.
Touch to select the desired option.2.
Touch the Exit icon3. ( ) to exit.
Stabilization
Record with an effect of reducing camera shake to result in more stable video.
Operation Display Screen
In the Video menu, touch the [Stabilization] icon on the1.
screen.
Touch to select [2. On] or [Off] ( ).
Touch the Exit icon3. ( ) to exit.
Motion Detection
Record videos automatically when the camera detects a movement.
Operation Display Screen
In the Video menu, touch the [1. Motion Detect] icon on the
screen.
Touch to select [2. On] or [Off] ( ).
Touch the Exit icon3. ( ) to exit.
Camera will start to record video automatically if it detects4.
a movement. Stop recording if it does not detect a
movement.

12
EN
Slow Motion
Record videos with slow motion effect. When the video is played, the playback time will be longer than
the actual recording time.
Operation Display Screen
In the Video menu, touch the [Slow Motion] icon on the1.
screen.
Touch to select [2. On] or [Off] ( ).
Touch the Exit icon3. ( ) to exit.
Time Lapse
RHFRUGVWLOOLPDJHVDWVSHFL¿FLQWHUYDOV\RXFDQVHWDQGSOD\WKHPDVRQHYLGHR¿OH
Off: Disable Time Lapse.
1 Second.: Record one frame per second.
3 Seconds: Record one frame every 3 seconds.
5 Seconds: Record one frame every 5 seconds.
Operation Display Screen
In the Video menu, touch the [Time Lapse] icon on the1.
screen.
Touch to select the desired option.2.
Touch the Exit icon3. ( ) to exit.
Note
Pause function can not be used when Time Lapse function is activated.

13
EN
Pre-record
The Pre-record function ensures that you will not miss any critical recording opportunities. The video
is recorded 1 second more before the [Video Button] is pressed.
Operation Display Screen
In the Video menu, touch the [Pre-record] icon on the1.
screen.
Touch to select [2. On] or [Off] ( ).
Touch the Exit icon3. ( ) to exit.
Note
Aim the camera at the subject and position it securely before the [Video Button] is pressed.
Photo
Operation Display Screen
T1. ouch on the screen in Record Mode. The menu
will show on the screen.
Touch the [Photo] icon2. on the screen. Submenu of
Photo will pop out on the screen.
The Photo submenu contains 3 options-- Resolution,3.
ISO, and Self-Timer --for you to adjust the camera
settings.
Photo Resolution
Three resolution settings are available.
16MP :Shoot photo at 4608 x 3456, 16MP quality.
5MP :Shoot photo at 2592 x 1944, 5MP quality.
3MP :Shoot photo at 2048 x 1536, 3MP quality.
Operation Display Screen
In the Photo menu, touch the [Resolution] icon on the1.
screen.
Touch to select the desired option.2.
Touch the Exit icon3. ( ) to exit.

14
EN
ISO
The camera adjusts the ISO sensitivity of its images automatically. Two manual ISO sensitivity settings
are available. (800/1600). The larger the number is, the higher the ISO sensitivity is set to. Select a small
number to shoot a smoother image. Select a large number to shoot an image in a dark location or to
shoot a subject moving at high speed.
Operation Display Screen
In the Photo menu, touch the [ISO] icon on the screen.1.
Touch to select the desired option.2.
Touch the Exit icon3. ( ) to exit.
Note
The image may become noisy when the ISO number is large.
Self-Timer
The self-timer allows you to take photos with a ten-second time delay. The LED light on the front
of the camera will also blink. The speed of blinking will increase just before the photo is taken.
Operation Display Screen
In the Photo menu, touch the [Self-timer] icon on the1.
screen.
Touch to select [2. On] or [Off] ( ).
Touch the Exit icon3. ( ) to exit.
Effect
Operation Display Screen
T1. ouch on the screen in Record Mode. The menu
will show on the screen.
Touch the [Effect] icon2. on the screen. Submenu of
Effect will pop out on the screen.
The Effect submenu contains 4 options-- Light, Scene3. ,
White Balance, and Face Tracking --for you to adjust the
camera settings.

15
EN
Scene
You can select the mode according to the scene condition.
Auto: Shoot without any special effect on the image.
Skin: Shoot with an effect that makes skin tones more natural.
Night: Use Night Mode for night scenes or low light conditions.
Backlight: You can take shots when the bright light is behind the subject.
Black/White: The image is converted to black-and-white.
Classic: The image is converted to a sepia look.
Negative: The image is converted as the negative of the normal.
Operation Display Screen
In the Effect menu, touch the [Scene] icon on the1.
screen.
Touch to select the desired option.2.
Touch the Exit icon3. ( ) to exit.
Note
7RDYRLGEOXUU\SKRWRVSODFHWKHFDPHUDRQDÀDWVWHDG\VXUIDFHRUXVHDWULSRGZKHQWDNLQJ
shots in the Night Mode.
White Balance
The camera adjusts the color balance of images automatically. Three manual white balance settings are
available:
Auto: The camera automatically adjusts white balance.
Daylight: Under outdoor condition.
Fluorescent: 8QGHUÀXRUHVFHQWOLJKWFRQGLWLRQ
Tungsten: Under tungsten light condition.
Operation Display Screen
In the Effect menu, touch the [White Balance] icon on1.
the screen.
Touch to select the desired option.2.
Touch the Exit icon3. ( ) to exit.

16
EN
Face Tracking (Photo Only)
The camera can detect human face(s) and focus on the face(s) automatically. This function can works
with photo capturing. It is wonderful for capturing beautiful portraits in backlight situation.
Operation Display Screen
In the Effect menu, touch the [Face Tracking] icon on1.
the screen.
Touch to select [2. On] or [Off] ( ).
Touch the Exit icon3. ( ) to exit.
Note
:KHQ)DFH7UDFNLQJLVDFWLYDWHGDLPWKHFDPHUDDWWKHKXPDQIDFHV7KHIRFXVIUDPHVZLOO
VKRZRQWKH/&'EHIRUHWKH>3KRWR%XWWRQ@LVSUHVVHG

17
EN
Operations for Playback Mode
The Playback Mode is for viewing and managing videos and photos on the built-in memory or on an SD
Card.
Operation Display Screen
Press1. [Playback Button] or touch on the screen to
switch to the Playback mode.
7RXFKWRVHOHFWWKHVSHFL¿FRSWLRQ2.
Touch (3. ) to back to Record Mode.

18
EN
Video Playback
Operation Display Screen
In the Video Playback mode, touch1. /to play
or pause the video.
Sweep to the2. right or touch to go to the previous
video; sweep to the left or touch to go to the next
video.
While playing video, touch3. / to fast rewind/
forward.
Touch4. to increase the volume; touch to
reduce the volume.
Touch (5. ) to exit.
Note
:KHQWKH/&'LVLGOHIRUDIHZVHFRQGVWKHSOD\EDFNIXQFWLRQLFRQVZLOOGLVDSSHDU
automatically.
Photo Playback
Operation Display Screen
In the Photo Playback mode,1. sweep to the right or touch
to go to the previous photo; sweep to the left or
touch to go to the next photo.
While the photo is selected, press [Tele Button] to magnify.2.
7KHPDJQL¿FDWLRQ,QGLFDWRUDSSHDUVRQWKHVFUHHQ
7RQDYLJDWHWKHPDJQL¿HGSKRWRSUHVVRQWKHVFUHHQDQG3.
PRYH DV ZHOO 7KH LQQHU 0DJQL¿FDWLRQ ,QGLFDWRU WXUQV
red)
3UHVV>:LGH%XWWRQ@WR]RRPRXWRUH[LWWKHPDJQL¿FDWLRQ4.
mode.
Touch5. / to start or to stop the slide show.
Touch (6. ) to exit.
Note
:KHQWKH/&'LVLGOHIRUDIHZVHFRQGVWKHSOD\EDFNIXQFWLRQLFRQVZLOOGLVDSSHDU
automatically.

19
EN
Viewing Photos and Videos on TV
&RQQHFWLQJWRD+LJK'H¿QLWLRQ:LGH79
Connect the HDMI cable (optional) to your camera’s HDMI Out port.1.
Connect the other end of the cable to a television.2.
Set the video input source of your TV to “ HDMI.”3.
The steps for viewing stored videos and photos on HDTV are exactly the same as for viewing them4.
on the LCD screen.
(16:9)
Note
6RPHLFRQVRQWKH/&'VFUHHQGRQRWGLVSOD\ZKHQWKHFDPHUDLVFRQQHFWHGWRDQ+'79
6RPHIXQFWLRQVPD\QRWEHDFFHVVLEOHZKLOHWKHFDPHUDLVFRQQHFWHGWRDQ+'79

20
EN
Uploading Files to Internet
The built-in Internet Direct DSSOLFDWLRQRIIHUV\RXDQHDV\ZD\WRXSORDG\RXU¿OHVWR,QWHUQHWLQVWDQWO\
It helps you share them with your family and friends on the web site.
7RXSORDG¿OHVWR,QWHUQHW
Connect the camera to your computer by using the supplied USB cable.1.
After making a USB connection, the AutoPlay window will appear. (It may be different based on OS2.
recognition. If the AutoPlay window does not appear. Please click [My Computer]-->[DVAP]-->[DVAP.
exe] to execute the application.)
(In Windows XP)
The main screen appears automatically on the desktop. (To view the recorded clips on Internet Direct,3.
LWLVQHFHVVDU\WRLQVWDOO$UF6RIW0HGLD,PSUHVVLRQ¿UVW
Note
The social media Web site may not be accessible in certain regions.
You must have internet access to upload videos to a Web site.
Table of contents
Languages:
Other AIPTEK Camcorder manuals

AIPTEK
AIPTEK A-HD User manual

AIPTEK
AIPTEK Pocket DV5900 User manual

AIPTEK
AIPTEK Pocket DV6800LE User manual

AIPTEK
AIPTEK H350 User manual

AIPTEK
AIPTEK AHD Z700 Extreme User manual

AIPTEK
AIPTEK PenCam 2 User manual

AIPTEK
AIPTEK AHD-H12 EXTREME User manual

AIPTEK
AIPTEK AHD-1 User manual

AIPTEK
AIPTEK AHDH150 User manual

AIPTEK
AIPTEK VideoSharier User manual

AIPTEK
AIPTEK Pocket DVII User manual

AIPTEK
AIPTEK HDDV 8000 User manual

AIPTEK
AIPTEK MPVR User manual

AIPTEK
AIPTEK AHD-H12 EXTREME User manual

AIPTEK
AIPTEK AHD-H23 User manual

AIPTEK
AIPTEK V5Z25 User manual

AIPTEK
AIPTEK T8 User manual

AIPTEK
AIPTEK Go-HD Manual

AIPTEK
AIPTEK PocketCam X User manual

AIPTEK
AIPTEK AHD-H12 EXTREME User manual