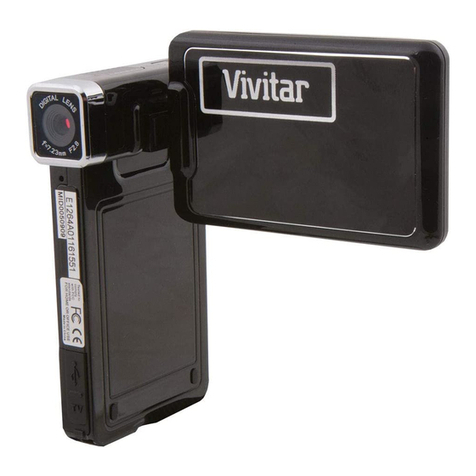
Taking/Reviewing a picture
To take a picture:
1Power on the camcorder and switch to camera mode ( ).
2 Use the directional button up/down ( ) to zoom in/out.
3 Press the OK (Shutter) ( ) button to take a picture.
Note:
Press the directional button to the right to enable the LED Strobe
for picture taking in dark environments.
To review a picture:
1 In camera preview mode, press the Playback ( ) button.
2 Use the directional button left/right ( ) to select the picture you wish to review.
3 While in Playback mode you can zoom in/out by pressing up/down ( ). You can
then press the Playback ( ) button to lock the ratio and navigate the picture by
using the directional ( ) button. Press the Playback ( ) button again to unlock
the ratio.
4 To return to preview mode, press the OK ( ) button.
Recording/Reviewing a video
To record a video:
1Power on the camcorder and switch to camcorder mode ( ).
2 Press the OK (Record) ( ) button to start recording. Use the
directional button up/down ( ) to zoom in/out.
3 To stop recording, press the OK (Record) ( ) button again.
Note:
Press the directional button to the right to enable the LED Light
when operating in a dark environment.
To review a video:
1 In camcorder preview mode, press the Playback ( ) button and the last
recorded video will play automatically.
2 When the unit is connected to TV or earphones, you can press the directional
button up/down ( ) to adjust the volume. While playing, you can press the
Playback ( ) button to pause/resume video playback.
3 During playback, press and hold down the directional button left/right ( ) to fast
rewind/forward the video. Tap left/right ( ) to shift between video les.
4 To switch back to preview mode, press the OK ( ) button.
Note:
After copying your videos onto your PC, you can play them back using the “Quicktime” player.
Battery life
Recordable time
LED light
Zoom bar
Battery life
Remaining shots
LED light
Zoom bar
