American Home AWF-M7020D User manual

owner’s manual
top.load.washing.machine
M7020DAWF-
7kg capacity
for purchasing washing machine

Safety Precautions
Contents
1 2
Laundry Solution Laundry Solution
Safety precautions........................................................................................................1
Part’s name..................................................................................................................3
Accessories..................................................................................................................4
Specifications...............................................................................................................4
Installation....................................................................................................................5
Operation.....................................................................................................................9
Control panel..............................................................................................................11
Washing program.......................................................................................................13
Maintenance...............................................................................................................15
Troubleshooting.........................................................................................................17
Safety Precautions
WARNING
WARNING
• This appliance is for indoor use only.
• Do not put washing machine at humid place.
• Hands must not be inserted into running spin-dry tub.
• If the spin-dry tub does not stop within 15seconds after opening the cover,
please stop using the machine and have it repaired.
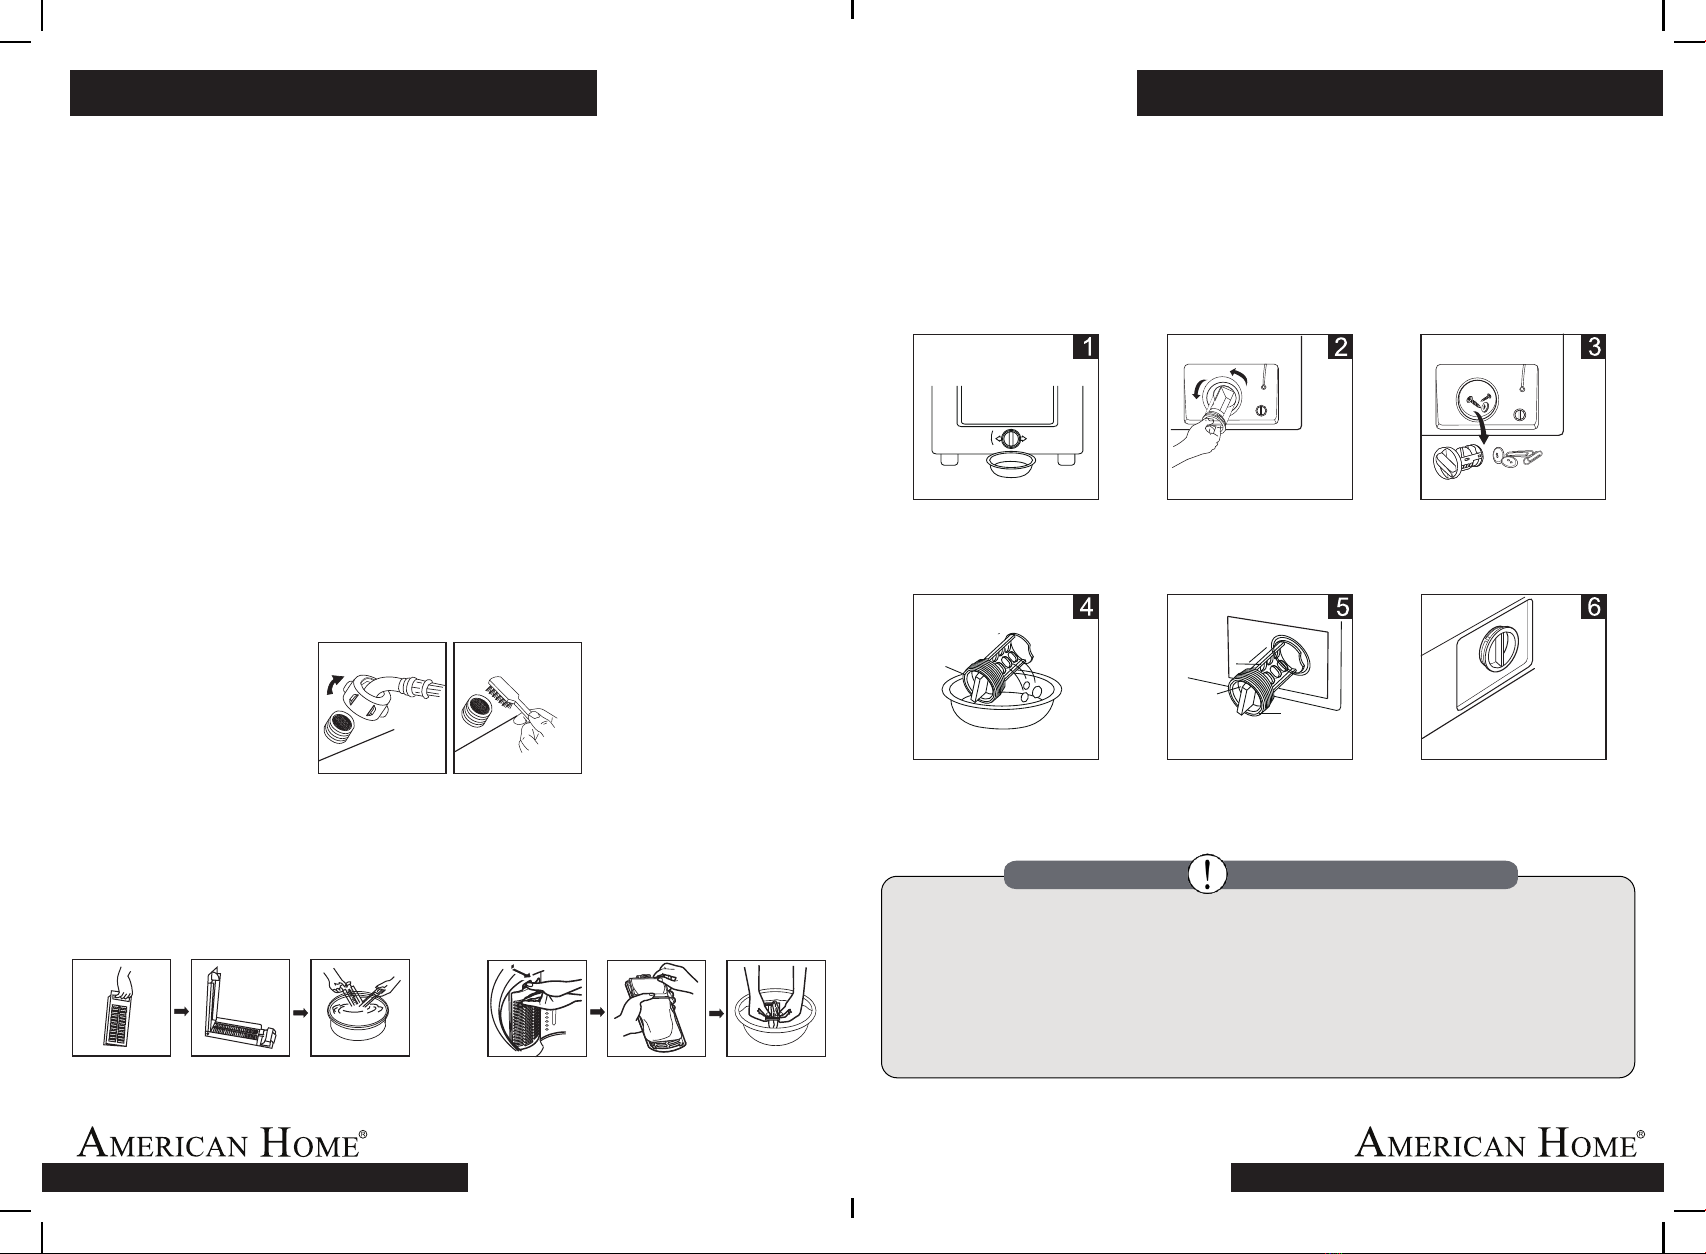
• Before doing any maintenance and repair, unplug the appliance from the
socket.
• Always unplug the machine and turn off the water supply after use.
• To ensure safety, check carefully and make sure that your socket is properly and
reliably earthed.
• Make sure that the water and electrical devices must be connected by a
qualified technician in accordance with the manufacturer’s instructions and
local safety regulations.
• Make sure that the water and electrical devices must be connected by a
qualified technician in accordance with the manufacturer’s instructions and
local safety regulations.
• This appliance is not intended for use by persons (including children) with
reduced physical, sensory or mental capabilities or lack of experience and
knowledge unless they have been given supervision or instruction concerning
use of the appliance by a person responsible for their safety.
• Children should be supervised to ensure that they do not play with the
appliance.
• If the supply cord is damaged, it must be replaced by the manufacturer, its
service agent or similarly qualified persons in order to avoid a hazard.
• The openings must not be obstructed by a carpet.
• Remove all packages before using the appliance.
• Plug must be accessible after installation.
• Do not climb up and sit on top cover of the machine.
• The washing machine with single inlet valve only can be connected to the cold
water supply. The product with double inlet valves should be correctly
connected to the hot water and cold water supply.
• Do not lean against machine door.
• Cautions during Handling:
1.Transport bolts shall be reinstalled to the machine by a specialized person.
2. The accumulated water shall be drained out of the machine.
3. Handle the machine carefully. Never hold each protruded part on the machine
while lifting. Machine door can not be used as the handle during the
conveyance.
4. This appliance is heavy. Transport with care.
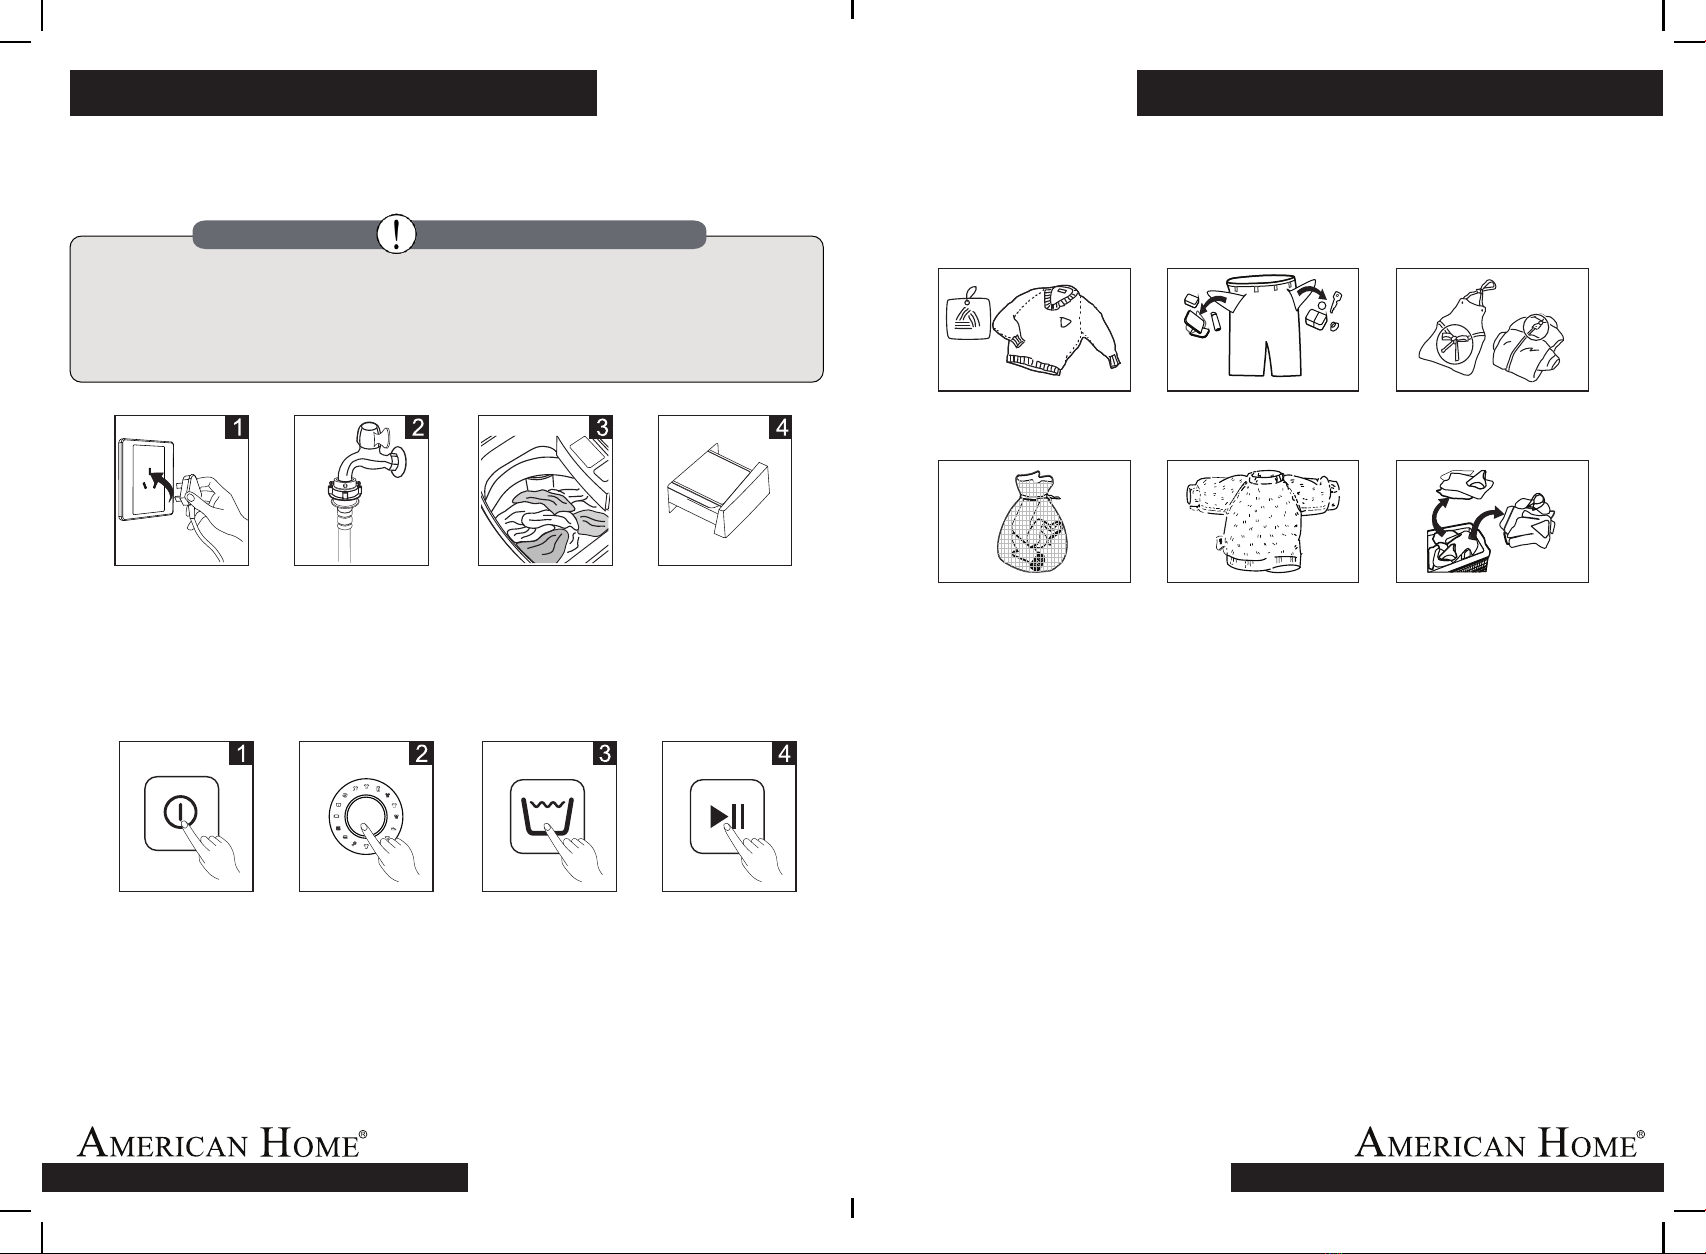
• Before washing clothes the first time, run the machine in one round cycle empty.
• Do not wash or dry articles contaminated with combustible or explosive
substances (such as wax, oil, paint, gasoline, degreasers, dry-cleaning
solvents, kerosene, etc.) This may result in fire or explosion.
• Select detergents suitable for machine washing, especially for drum.
• Sharp and hard items such as coin, brooch, nail, screw or stone etc. must be
removed from the clothes to prevent serious damage to the machine.
• Please do not open the door if there is still water visible. Open the door once the
water has been completely drained.
• Be careful when the machine drains hot washing water to prevent scalding.
• Never fill water by hand during washing.
• After the program is completed, please wait for two minutes before opening the
door.

3 4
Laundry Solution Laundry Solution
Accessories
Specification
Part’s Name
Top lid Water inlet
valve
Control panel
Frame Power case
and plug
Inlet hose Cabinet baseboard Manual
Screw Spring clamper Drain loose
Cabinet Handle
Adjustable
foot knob Drain hose
or
The picture above is for illustration only. There might be a slight difference with the actual
unit purchased.
or
owner’s manual
top.load.washing.machine
AWF-M7020D
7kg capacity
for purchasing washing machine
Note: If the drain hose is already installed on the machine during purchase, spring
clamper and a separate drain hose are not included anymore.
Model
Rated Capacity
Power Supply
Rated Power
Water Pressure
Grade Of Waterproof
Net Dimension (WxDxH)
Gross Dimension (WxDxH)
Net Weight
Gross Weight
AWF-M7020D
7kg
230V~ 60Hz
400W
0.03-0.8Mpa
Ipx4
20.28” x 20.67” x 35.83”
23.64” x 23.03” x 38.19”
30kg
34kg

5 6
Laundry Solution Laundry Solution
Installation Installation
INSTALLATION AREA
• Make sure that the washer is on a stable position to prevent the product from moving.
• Make sure that the product should not stand on the power cord.
• Before installing the machine, select an area considering the following:
1. Rigid, dry, and level surface.
2. Avoid direct sunlight.
3. Sufficient ventilation.
4. Room temperature is above 0°C.
5. Keep far away from the heat resources such as coal or gas.
UNPACKING THE WASHING MACHINE
• Packaging material (e.g. films, styrofoam) can be
dangerous for children.
• There is a risk of suffocation. Keep all packaging
away from children.
• Remove the cardboard box and styrofoam packing.
• Lift the washing machine and remove the base
packing.
• Remove the tape securing the power supply cord
and drain hose.
• Remove the inlet hose from the drum.
INSTALLATION OF DRAIN HOSE
Drain hose inserted into the drain
• Do not twist or curve the drain hose.
• Position drain hose properly to prevent water leakage.
• If drain hose is too long, do not force it into washing machine as it will cause abnormal
noise.
There are two ways to place the end of drain hose:
1. For lower drain system
2. For upper drain system
Clamping spring
Trough hose
Retainer
Bind
Min.86cm
Max.100cm
Min.86cm
Max.100cm
Under 3m
Under 15cm
Water
trough

7 8
Laundry Solution Laundry Solution
5mm
clamp nut
wall
tap
slide bushing
inlet hose inlet valve
CONNECTION OF INLET HOSE, FAUCET AND WASHING MACHINE
1. Connection between ordinary faucet and inlet hose.
2. Connection between screw faucet and inlet hose.
Loosen clamp nut
to show 5mm thread
Press slide bushing,
insert inlet hose into
connecting base
Connection finished After connection and installation, check
if there is water leakage
Faucet with threads and
inlet hose
Special faucet for washing machine
Loosen four bolts Set connecting base
on the faucet and
tighten bolts evenly
Tighten clamp nut
Installation
LEVELLING THE WASHING MACHINE
• The lock nuts on all four feet must be screwed tightly against the housing.
1.Check if the legs are closely attached to the cabinet. If not, please turn them to their
original positions and tighten the nuts.
2.Check alignment of the product with a level and align if required.
3.Loosen the lock nut and turn the feet until it closely contacts with the floor.
4.After being locked properly, press four corners again to make sure that they has been
adjusted properly.
SELECTION OF FAUCET
Please select appropriate faucet.
Ordinary faucet
Screw faucet
Special washing machine faucet
Installation

9 10
Laundry Solution Laundry Solution
Operations Operations
Place small laundry Turn easy-pilling and Separate clothes with
inside a net long-pile fabric inside out different textures
• The working condition of the washer should be (0-40)°C.
• Please check the labels and the explanation on detergent use before washing. Non-
foaming or less-foaming detergent is suitable for use in this machine.
• Washing one piece of cloth may easily cause great eccentricity and alarm with sound
due to unbalanced load. To prevent this, it is suggested to add one or two more clothes
to be washed together so that draining can be done smoothly.
• Do not wash clothes with kerosene, gasoline, alcohol and other flammable materials.
USAGE OF DETERGENT AND WASHING POWDER
• Dilute semi solid (agglomerated) detergent before placing them into the detergent box
to prevent blocking of the inlet which may cause back flow while filling water.
• Please choose suitable type of detergent for the various washing temperature to get
the best washing performance with less water and energy consumption.
CAUTION
Plug in. Open the faucet Put in load and Add detergent
close door
Power on Select program Select water level Press Start/Pause
button to start
• Before washing, please make sure that the washer is properly installed.
• Before washing it at first time, the washing machine shall be operated in one full
cycle without clothes in it following the procedure below except #3. Then include
#3 in the procedure once actual washing is to be done.
After washing has finished, buzzer sounds and the power supply will cut off
automatically. Unload the laundry.
PREPARATIONS BEFORE WASHING
WASHING
Check the label Take out the items Knot the long strips,
out of the pockets zippers, or button

Control Panel
Control Panel
11 12
Laundry Solution Laundry Solution
Note: The chart is for illustration only. There might be a slight difference with the actual
unit purchased.
On / Off
Product is switched on or off.
Start / Pause
Press the button to start or pause the washing cycle.
Program
Available according to the laundry type.
Option
This allows you to select an additional function and will light when selected.
Display
The display shows the settings, estimated time remaining, options, and status
messages for your washer. The display will remain on through the cycle.
When LED flashing, it means the time that delay to start the machine. When LED lighting
it means the program time that remaining. When the number/s on LED display is
blinking, delay function is in operation. When the number/s on LED display is steady, it is
the remaining time of the cycle.
WATER LEVEL
Select water level according to clothing categories, degree of soiling and
washing habits of customers.
WASH / RINSE / SPIN
Washing time, rinsing times, spinning time and
other settings can be selectable.
DELAY
1. Select a program.
2. Press the “Delay” button to choose the time.
3. Press “Start / Pause” button to commence the delay operation.
Press the “Delay” button until the Delay light is off. It should be pressed
before starting the program. If the program already started, should press
the “On/Off” button to reset the program.
CHILD LOCK
Press the “Rinse” and “Spin” button to activate the function. The Child
lock will lock all buttons except “On/Off” button.
On Choose the Program Setting time Start
t-clean

Customers can select washing program according to actual demand, and set rinsing
number of times, water volume and time.
Soak
On Press the process Press the set button Start
button (Set soaking time)
Wash
On Press the process Press the set button Start
button (Set washing time)
Rinse
On Press the process Press the set button Start
button (Set # of times of rinse)
Spin
On Press the process Press the set button Start
button (Set spinning time)
13 14
Laundry Solution Laundry Solution
Washing Program
Washing Program
Customers can select washing program according to actual demand, and set washing
time, rinsing times, spinning time, water volume and appointment time.
Program are available according to the laundry type.
Jeans
Suitable to wash heavy stained clothes.
Quick 15’
Suitable to wash light stained clothes and clothes in summer.
Soft
Slow washing and spinning speed, to prevent wear from deformation.
Mix
Suitable to wash cotton, linen, flax, jute clothes.
Normal
Standard fabric washing program, suitable to wash ramie cotton fabric. Wash for once,
rinsing for twice, the spin time is a little long.
Strong
The wash time is longer, the stream is stronger, so the washing effect is better.
Heavy
Suitable to wash heavy stained / wearable clothes.
Fuzzy sensing:
The washing machine will select the water level automatically according to the load
weight. Once the program, time of washing, number of times of rinsing, and spin time are
set, press start button without pressing the water level. the Fuzzy sensing function will
work. When there is water in the tub, this will not function.
T-Clean
Cleans the tub during spinning.
+
On Program Water level Set soak/washing/spinning Preset Start
time, rinsing times

Maintenance
15 16
Laundry Solution Laundry Solution
Maintenance
Magic filter Normal filter
CLEANING AND CARE
Before your maintenance starts, please unplug the machine and close the faucet.
CLEANING THE CABINET
Proper maintenance on the washing machine can extend its working life. The surface
can be cleaned with diluted non-abrasive neutral detergents with wet cloth then wipe it
with dry clean cloth to dry. Formic acid and its diluted solvents or equivalent are
forbidden, such as alcohol, solvents or chemical products, etc.
CLEANING THE INLET FILTER
Inlet filter must be cleaned if there is less water.
Washing the filter in washing machine:
1. Screw off the inlet pipe from the backside of the machine.
2. Pull out the filter with long nose pliers and reinstall it back after being washed.
3. Use the brush to clean the filter.
4. Reconnect the inlet pipe.
Lint Filter Clean
1. There is a built-in lint filter in your washer. It can collect lint during washing cycle.
2. It is suggested to clean the lint filter every 10 cycles.
3. Take it out and clean the filter with water. Then place it back into the washer.
Drain the water out of the
pump. Place a container
under it to collect the water
Clean the filter Restore it and adjust the
convex place to align to the
pump hole
Tighten the pump cover
by turning it clockwise
Open the filter by
turning counter clockwise
Remove collected pins,
screws, etc
CLEANING DRAIN PUMP FILTER
• Be careful of hot water.
• Allow it to cool down.
• Unplug the machine to avoid electrical shock before cleaning.
• Drain pump filter filters the yarns and small foreign matters from the washer.
• Clean the filter periodically to ensure the normal operation of washing machine.
CAUTION
• Make sure that valve cap and emergency drain hose are reinstalled properly, cap
plates should be inserted aligning to hole plates otherwise water may leak.
• Some machines do not have emergency drain hose, so step2 and step3 can be
skipped. Rotate lower cover cap directly to make water run into basin.
• When the appliance is using hot water, never remove the pump cover during a
wash cycle, always wait until the appliance has finished the cycle and is empty.
When replacing the cover, ensure it is securely tightened.

Troubleshooting
Disposal
17 18
Laundry Solution Laundry Solution
Troubleshooting
If the power is off or the fuse is damage.
If the power supply voltage is too low.
If the water amount reaches to the required water level. (The washer
will not work if the water amount does not reach the required water level).
If it is set to “Delay” washing mode. (It will only start to work until the
set number of hours is reached).
If the power is off or the fuse is damage.
Without water supply or the water pressure is too low.
If the inlet hose is properly connected and the faucet is opened.
If the filtering screen of inlet valve is blocked by dirt.
If the coil of inlet valve is damaged. (The slight electromagnetic sound
is normal phenomenon when the inlet valve is switched on).
If the “Start/Pause” button is pressed after the power switch is pressed.
If the water drain hose is placed very high.
If the end of water drain hose is blocked.
If the internal rubber ring of drain valve is blocked by dirt.
If the door lid is closed.
If there is unbalanced load.
If the washer is not placed in stable condition or it is placed in
inclination state. (The ground is not flat).
If the motor belt is loosened.
Does not
start
washing
Not filling
water
Abnormal
draining
Abnormal
spin
Problem Causes
When the machine has not started or has stopped operating, try to find a solution first
by referring to the items listed below: Error code Description Solution
Alarm for abnormal water intake.
Alarm for water drain has not
finished.
Alarm for open lid before wash
and spin.
Check faucet if open or not.
Check the water level sensor and
drain pump.
Manually balance clothes in the
tub.
Try all over again, if problem is
persistent, call the authorized
service center.
Alarm for imbalance load.
Others.
Close the lid.
E1
E2
E3
E4
XX
Note: If after checking, the problem is still persistent, call the authorized service center.
Packaging / Old appliance
This symbol indicates that this product should not be disposed with other household
wastes. To prevent possible harm to the environment or human health from
uncontrolled waste disposal, recycle it responsibly to promote reuse of material.
Table of contents