Arthrex AR-3200-1040 User manual

950-0052-01r0_fmt_en-US 1 of 20
SynergyHD3™Cable Kit, Arthrex
Shaver and Pump
The SynergyHD3™Cable Kit, Arthrex Shaver and Pump
Instructions for Use provides important information for the
safe operation and installation of the accessory kit. Read
this User’s Guide thoroughly prior to using this system and
keep it in an easily accessible place for use by all operating
personnel. Read and follow all safety warnings, cautions
and precautions.
Arthrex, Inc.
1370 Creekside Blvd.
Naples, FL 34108, USA
+1 (800) 934-4404
www.arthrex.com
Technical Support
1-888-420-9393
Arthrex GmbH
Erwin-Hielscher-Strasse 9
81249 München, Germany
+49 89 909005-0
www.arthrex.de
950-0052-01 Rev. 0
09/2020

950-0052-01r0_fmt_en-US 2 of 20
Proprietary Information
This manual contains information deemed proprietary to Arthrex. The information contained herein,
including all of the designs and related materials, is the sole property of Arthrex, and/or its
licensors. Arthrex and/or its licensors reserve all patent, copyright and other proprietary rights to
this document, including all design, manufacturing methodology and reproduction.
This document, and any related materials, is confidential and is protected by copyright laws and
shall not be duplicated, transmitted, transcribed, stored in a retrieval system, or translated into any
human or computer language in any form or by any means, electronic, mechanical, magnetic,
manual or otherwise, or disclosed to third parties, in whole or in part, without the prior express
written consent of Arthrex.
Arthrex reserves the right to revise this publication and to make changes from time to time in the
contents hereof without obligation to notify any person of such revision or changes, unless
otherwise required by law.
Product Warranties; Limitation of Liability
Product Warranty
See individual components of the SynergyHD3™Cable Kit, Arthrex Shaver and Pump System for
component warranties.
No claim shall be allowed on Products that have been altered, neglected, damaged or stored
improperly. Arthrex shall promptly replace or repair any Product which malfunctions, fails to
operate, fails to meet specifications, or which is otherwise defective
This warranty shall not apply to any Product which has been misused, adulterated or modified by
the customer.
Arthrex’s repair or replacement of defective Product shall be customer’s exclusive remedy under
this express warranty.
THE PROVISIONS OF THE FOREGOING WARRANTIES ARE IN LIEU OF ANY OTHER WARRANTIES,
WHETHER EXPRESS OR IMPLIED, WRITTEN OR ORAL (INCLUDING ANY WARRANTY OF
MERCHANTABILITY OR FITNESS FOR A PARTICULAR PURPOSE).
IN NO EVENT SHALL ARTHREX, INC. BE LIABLE FOR ANY SPECIAL, INDIRECT, INCIDENTAL,
CONSEQUENTIAL, OR CONTINGENT DAMAGES, WHETHER OR NOT ARTHREX HAS BEEN
ADVISED OF THE POSSIBILITY OF SUCH DAMAGES.

950-0052-01r0_fmt_en-US 3 of 20
Table of Contents
1.0 Introduction ......................................................................................................................................4
1.1 Intended Use.................................................................................................................................4
1.2 Contraindications.......................................................................................................................... 4
1.3 Warnings and Precautions .................................................................................................................. 4
1.4 Symbol Definitions ........................................................................................................................ 5
1.5 Initial Use of the Device ................................................................................................................ 5
1.6 Unpacking and Inspecting the Device........................................................................................... 5
1.7 Returning the Device .................................................................................................................... 5
2.0 SynergyHD3™Cable Kit, Arthrex Pump and Shaver Equipment List.................................................6
3.0 SynergyHD3™Cable Kit, Arthrex Pump and Shaver Equipment Interconnect Diagram....................7
4.0 SynergyHD3™Cable Kit, Arthrex Pump and Shaver Operation Instructions ...................................10
5.0 Maintenance...................................................................................................................................18
5.1 Cleaning.............................................................................................................................................18
5.2 Troubleshooting.......................................................................................................................... 19

950-0052-01r0_fmt_en-US 4 of 20
1.0 Introduction
It is recommended that personnel study this
manual before utilizing SynergyHD3™Cable
Kit, Arthrex Pump and Shaver. The safe and
effective use of this system requires the
understanding of and compliance with all
warnings, precautionary notices, and
instructions marked on the product, and
included in this manual.
1.1 Intended Use
The SynergyHD3™Cable Kit, Arthrex Pump
and Shaver is intended to provide display of
selected information from the AR-6480
[Pump], AR-8305 [Shaver], AR-9800 [Apollo
RF], and AR-3290-0004 [Insufflation] on the
periphery of the surgical monitor.
Display of auxiliary device settings on the
surgical monitor allows the surgeon to view
these settings at any time in the procedure.
1.2 Contraindications
Not intended to Control any aspect of the
Pump or the Shaver.
1.3 Warnings and Precautions
The words WARNING, PRECAUTION, and
NOTE carry special meanings and they should
be read carefully.
WARNING: The safety and/or health
of the patient, user, or a third party is
at risk. Comply with this warning to
avoid injury to the patient, user, or
third party.
PRECAUTION: This contains
information concerning the intended
use of the device or accessory.
Damage to the equipment is
possible if these instructions are not
followed.
NOTE: A note is added to provide additional,
focused, information.
1.3.1 WARNINGS
•Prior to use, read the entire Arthrex,
Inc. SynergyHD3™System [950-0027-
XX] video instruction manual before
use during surgical procedures.
•Prior to use, read the entire AR-6480
[Dual/Wave Pump Console], AR-8305
[Shaver], AR-9800 [Apollo RF], and
AR-3290-0004 [Insufflation]
instructions for use before use
during surgical procedures.
•Follow all warnings and cautions in
these manuals.
1.3.2 PRECAUTIONS
•Prior to use, read the entire Arthrex,
Inc. SynergyHD3™System [950-0027-
XX] video instruction manual before
use during surgical procedures.
•Prior to use, read the entire AR-6480
[Dual/Wave Pump Console], AR-8305
[Shaver], AR-9800 [Apollo RF], and
AR-3290-0004 [Insufflation]
instructions for use before use
during surgical procedures.
•Follow all warnings and cautions in
these manuals.

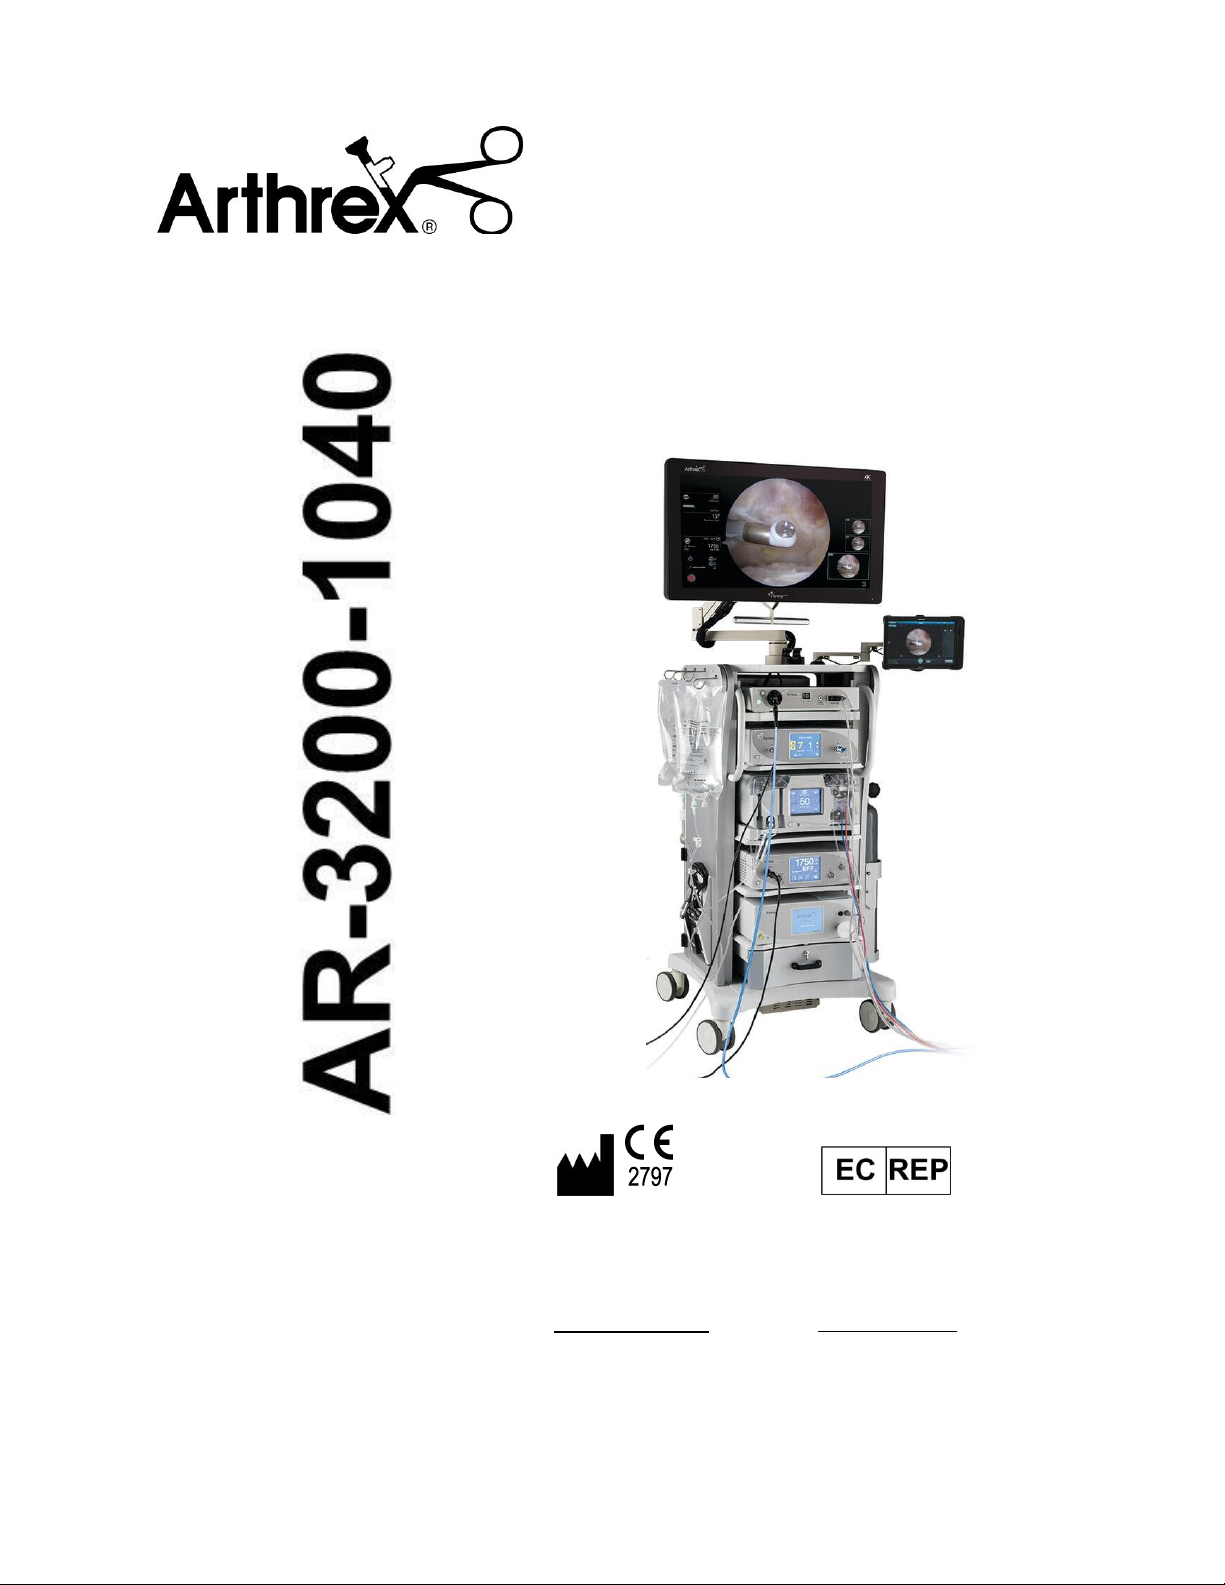
950-0052-01r0_fmt_en-US 5 of 20
NOTES:
1. Observe all national waste management
regulations.
2. Do not dispose of Waste Electrical and
Electronic Equipment [WEEE] as unsorted
municipal waste.
1.4 Symbol Definitions
See System Component Manuals for
Symbol Definitions.
1.5 Initial Use of the Device
WARNINGS:
1. Read each of the Instructions for Use for
each of the System Components prior to
use.
2. The electrical installation of the operating
room where the device is used must comply
with applicable national requirements.
3. The system is not intended for use in areas
of explosion hazards. If explosive nitrous
gases are used the system may not be
operated in the danger zone.
4. Do not simultaneously touch the System
Equipment and the patient. The System
Equipment is intended to be used outside
the Patient Vicinity.
5. Additional peripheral equipment connected
as part of the Endoscopic Video System
must meet the requirements of the following
specifications:
•EN 60950 for Information Technology
Equipment.
6. CAUTION: Do not install the device
in a location near heat sources
such as air ducts or radiators and
do not expose the device to direct sunlight,
excessive dust, or mechanical vibration.
1.6 Unpacking and Inspecting the
Device
Upon receipt, carefully unpack the System and
accessories. Ensure contents are complete and
are free from damage. If any damage is noted
contact your Arthrex Customer Service. Contact
the Manufacturer for Return Authorization
PRIOR to shipping your device for service. Save
ALL packaging materials; they may be needed
to verify any claims of damage by the shipper.
1.7 Returning the Device
If it becomes necessary to return the device,
always use the original packaging. The
manufacturer does not take responsibility for
damage that has occurred during transportation
if the damage was caused by inadequate
transport packaging. Please make sure that all
required information has been supplied. Call
Arthrex for a RMA Number for the device return
for service.
•Owner’s Name
•Owner’s Address
•Owner’s Daytime Telephone Number
•Device type and model.
•Serial Number
•Detailed explanation of the damage.

950-0052-01r0_fmt_en-US 6 of 20
2.0 SynergyHD3 Cable Kit, Arthrex Pump and Shaver
Equipment List
Arthrex SynergyHD3™System Accessories
Part Number
Description
Comments
AR-3200-0001T
SynergyHD3™
AR-3200-0020
SynergyUHD4™
AR-6480
DualWave™Arthroscopy Pump
AR-9800
SynergyRF™Console
AR-3290-0004
Synergy Insufflator
AR-8305
SynergyResection™Shaver
Console
212-0052-00
Cable, HD3 Interface, ACB, 4
foot
Either 4 foot interface cable or 8
foot interface cable may be used;
depending upon your equipment
interconnection requirements.
212-0053-00
Cable, Interface, ACB, 4 foot
212-0054-00
Cable, Interface, ACB, 8 foot
212-0055-00
Cable, HD3 Interface, ACB, 8
foot
950-0052-00
IFU, Arthrex HD3 Pump and
Shaver Kit

950-0052-01r0_fmt_en-US 7 of 20
3.0 SynergyHD3 Cable Kit, Arthrex Pump and Shaver
Equipment Interconnect Diagram
Figure 1-Connection of the AR-6480 DualWave™Pump Console

950-0052-01r0_fmt_en-US 8 of 20
Figure 2-Connection of the Shaver Console

950-0052-01r0_fmt_en-US 9 of 20
Figure 3-Connection of the Pump and Shaver

950-0052-01r0_fmt_en-US 10 of 20
4.0 SynergyHD3 Cable Kit, Arthrex Pump and Shaver
Operation Instructions
Pump, Shaver, Apollo, & Insufflation Setting Display
SynergyHD3™and SynergyUHD4™currently support the ability to display pump, Apollo, Insufflation and
shaver settings from the current Arthrex pump [AR-6480], shaver [AR-8305], insufflator [AR-3290-
0004), and Apollo [AR-9800] on the surgical monitor.
Display of auxiliary device settings on the surgical monitor allows the surgeon to view these settings
at any time in the procedure even if the pump and shaver consoles are not visible to the surgeon.
Requirements: To utilize the pump and shaver setting display a facility needs to:
•Have the most recent hardware version of the Arthrex pump, shaver, insufflator, and Apollo
that supports SynergyHD3™and SynergyUHD4™integration.
•Have the Arthrex pump/shaver integration kit (part # AR-3200-1040).
•Have SynergyVersion x.6 or newer.
Limitations: While auxiliary device settings are displayed on the surgical monitor, there is no control
of the auxiliary device from Synergy. Auxiliary device settings changes must be made directly on the
auxiliary consoles.
Set Up/Configuration: To configure the Synergy for auxiliary settings display, log in as an
Administrator on the Synergy tablet. Enter System Set-Up by pressing the Maintenance Icon located
in the upper left corner of Synergy tablet (as shown in Figure 1) and then select Advanced Settings.
Figure 1. Maintenance icon on Synergy tablet
From the System tab (as shown in Figure 2) scroll down and locate the Enable Pump, Enable
Shaver, Enable RF, and Enable Insufflator settings and turn these on for each device type
connected to Synergy. Once they are on touch the Save button in the lower right corner of the
screen to save the settings.

950-0052-01r0_fmt_en-US 11 of 20
Figure 2. System tab
Once the auxiliary device use has been enabled the preferences for each surgeon must be
configured. Enter System Set-Up by pressing the Maintenance Icon located in the upper left corner
of Synergy tablet (as shown in Figure 1 above) and then select Surgeon Management.
On the Surgeons screen as show in Figure 3 touch the name of the surgeon that wants to auxiliary
device settings display and then select the “I” icon [ ] that appears to the right of the surgeon
name once the name is highlighted.
Figure 3. Surgeons screen
The Surgeon screen shown in Figure 4 will appear. Tap the Procedure Settings button next to each
procedure where the pump and/or shaver will be used.

950-0052-01r0_fmt_en-US 12 of 20
Figure 4. Surgeon screen
The screen shown in Figure 5 will appear. Select the Pump tab (as shown in Figure 5) if the pump
will be used with the procedure.
Figure 5. Pump tab

950-0052-01r0_fmt_en-US 13 of 20
Adjust the Set Pressure slider to the surgeon’s desired value (note: as you adjust the slider the
numerical value appears to the right of the slider). Finally, choose one of the three options for the
surgical display. If “On”is selected the pump pressure appears on the surgical monitor at all times. If
“Off”is selected the pump pressure is only displayed prior to the start of the case and never appears
on the monitor during the case. If “On Change”is selected the pump change data appears on the
surgical monitor only when the data changes. In this case it disappears from the monitor after
displaying for several seconds. Touch Save after the changes have been made.
Figure 6. Shaver tab
Select the Shaver tab (as shown in Figure 6) if the shaver will be used with the procedure.
Adjust the Fwd/Rev Set Speed and Osc. Set Speed sliders to the surgeon’s desired value (note: as
you adjust the slider the numerical value appears to the right of the slider). Next, choose the preferred
Set Mode for the procedure using the drop down options. Finally, choose one of the three options for
the surgical display. If “On”is selected the shaver speed appears on the surgical monitor at all times.
If “Off”is selected the shaver speed is only displayed prior to the start of the case and never appears
on the monitor during the case. If “On Change”is selected the shaver changed data appears on the
surgical monitor only when the data changes. In this case it disappears from the monitor after
displaying for several seconds. Touch Save after the changes have been made.
Figure 7. RF tab
Select the RF tab (as shown in Figure 6) if the RF will be used with the procedure.

950-0052-01r0_fmt_en-US 14 of 20
Enable the RF/. Adjust the Apollo probe slider to the surgeon’s desired value (note: as you adjust the
slider the numerical value appears to the right of the slider). Touch Save after the changes have
been made.
Figure 8. Insufflator tab
Select the Insufflator tab (as shown in Figure 6) if the Insufflator will be used with the procedure.

950-0052-01r0_fmt_en-US 15 of 20
Adjust the Set Pressure and Set Flow slider to the surgeon’s desired value (note: as you adjust the
slider the numerical value appears to the right of the slider). Finally, choose one of the three options
for the surgical display. If “On” is selected the insufflator flow and pressure appears on the surgical
monitor at all times. If “Off” is selected the insufflator flow and pressure is only displayed prior to the
start of the case and never appears on the monitor during the case. If “On Change” is selected the
insufflator change data appears on the surgical monitor only when the data changes. In this case it
disappears from the monitor after displaying for several seconds. Touch Save after the changes have
been made.
Figure 9. Insufflator and Pump error

950-0052-01r0_fmt_en-US 16 of 20
A surgeon cannot have the pump and insufflator enabled at the same time. Based on the type of
surgeon (general or orthopedic) the user needs to choose one or the other. Both cannot be enabled
at the same time for a specific surgeon.
After you have made the necessary pump, RF, insufflator, and shaver configuration changes and
have hit Save you will return to the Surgeon screen shown in Figure 4. Tap the Save button in the
lower right corner of the Surgeon screen.
Use Instructions: Once this option is configured then the system will automatically display auxiliary
device settings per the surgeon’s preferences during a case. There are no additional steps the user
needs to take to utilize pump and shaver display settings.
The settings will appear on the left side of the surgical monitor as shown in Figure 10. Settings on
the screen will update real time. The shaver text will turn from white to green during shaver
activation.

950-0052-01r0_fmt_en-US 17 of 20
Figure 10. Auxiliary device settings on surgical display
If pump, shaver, RF, or insufflator settings are not configured to automatically display on the monitor
but the surgeon wants to see those settings during a procedure or if the settings display on the
screen and the surgeon wants them removed, then this can be done via the Synergy tablet. During a
case tap the settings icon to the left of the tablet as shown in Figure 11.
Figure 11. Settings icon on tablet
Tap either the pump or shaver icon to the left of the screen to open the pump or shaver settings
menu. From these menus staff can choose to display pump or shaver settings on the surgical
display or hide those settings. As shown in Figure 12 users have the option to turn the settings
display on, off, or on only when the settings change.

950-0052-01r0_fmt_en-US 18 of 20
Figure 12. Surgical display options for shaver
Any changes made to these settings are immediately applied and last for the remainder of the case
or until they are changed again. If the surgeon wants those same settings applied for all future
cases, then the surgeon preference should be modified as discussed in the previous section.
5.0 Maintenance
Regular and proper maintenance of your SynergyHD3™Cable Kit, Arthrex Shaver and Pump System is the
best ways to protect your investment and avoid non-warranty repairs.
For Maintenance requirements, see the Equipment Manuals for the SynergyHD3™, SynergyUHD4™,
DualWave™Pump, Shaver Display System, Synergy Insufflator, and Synergy ApolloRF®devices.
Your authorized Arthrex service department is the most knowledgeable about the Arthrex Medical
Camera Systems and/or camera heads and will provide competent and efficient service. Any services
and/or repairs done by any unauthorized repair facility may result in reduced performance of the
instruments or instrument failure.
5.1 Cleaning
Refer to the SynergyHD3™, DualWave™Pump and Shaver Display System components manuals for
any recommended cleaning.

950-0052-01r0_fmt_en-US 19 of 20
5.2 Troubleshooting
Symptom
Possible Cause
Corrective Action
Settings do not
appear on surgical
monitor
•Pump/shaver/Apollo/Insufflator
not powered on
•Pump/shaver/Apollo/Insufflator
display not enabled
•Surgeon preferences set to not
display settings
•Ensure
pump/shaver/Apollo/Insufflator are
powered on
•Confirm
pump/shaver/Apollo/Insufflator
enabled in settings
•Set surgeon preference to display
settings
Settings appear as
0 on monitor
•Pump/shaver/Apollo/Insufflator
settings are set to 0
•Integration cable is disconnected
•Pump/shaver not powered on
•Confirm
pump/shaver/Apollo/Insufflator
settings are not 0
•Confirm integration cables are
connected
•Ensure
pump/shaver/Apollo/Insufflator
powered on
Settings disappear
from surgical
monitor
•Surgeon preferences set to
display on only settings changes
•Set surgeon preference to always
display settings
Table of contents
Popular Cables And Connectors manuals by other brands

Syscom Video
Syscom Video SH-K90 user manual

Element
Element ELE4023 user manual

Panasonic
Panasonic CF-VCF271W operating instructions

CommScope
CommScope FOSC 450 A Installation instruction

General Pump
General Pump DHR50100D operating instructions

ROSE DISPLAYS
ROSE DISPLAYS CABLE AND CRIMP SLEEVES instruction sheet