AstroAI JC-90-E User manual

V1.0
Beverage Cooler
User Manual
℉
℉
℉
℉
℉

This manual contains important information regarding the
safety, operation, maintenance, and storage of this product.
Before usage, read and understand all cautions, warnings,
instructions and product labels. Failure to do so could result
in possibly injury or damage to the product. Please keep this
manual for future reference.
Thank you for purchasing the AstroAI 90L Beverage Cooler.
This is a super large-capacity beverage cooler that can be
plugged in to a standard wall outlet. With a strong cooling
function, you’ll be able to keep everything at the perfect
temperature.
We hope you enjoy your new Beverage Cooler! If you have
any questions or concerns please contact us with your
questio via [email protected].
℉
℉
℉
℉
℉

SAFETY INFORMATION
ELECTRICITY SAFETY:
● Do not use a cracked or worn power cord.
● When disconnecting the cooler, firmly grasp the plug and pull it out
directly from the socket. Do not pull on the power cord to avoid
damage.
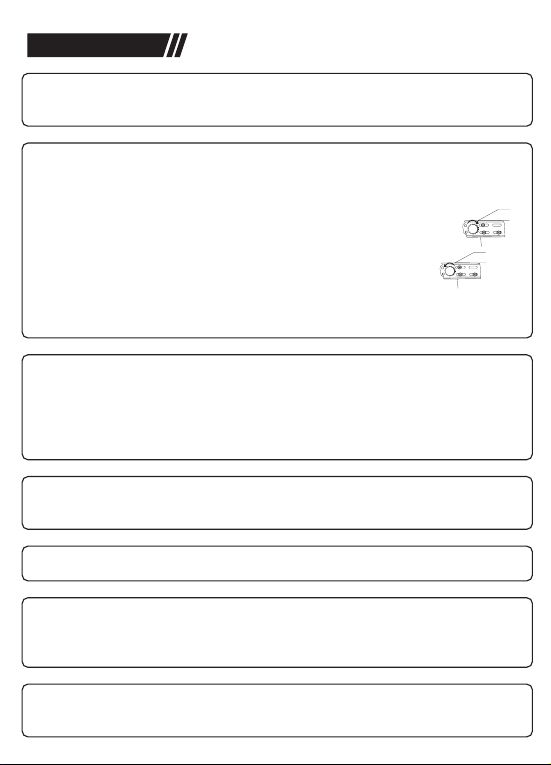
● This beverage cooler uses 110V AC power. If the voltage fluctuation
exceeds the range of 100-120V, it may cause an accident or
damage the cooler.
● Do not place electronic devices such as microwave ovens or electric
kettles above the cooler.
● Do not use an adapter or modify the three-pin plug to a two-pin plug.
This may cause an electric shock.
● Do not use any extension cords to avoid potential safety hazards.
● Unplug the cooler before cleaning or performing any maintenance.
Note: feel free to contact us if there is any product problem or the
product needs to be repaired.
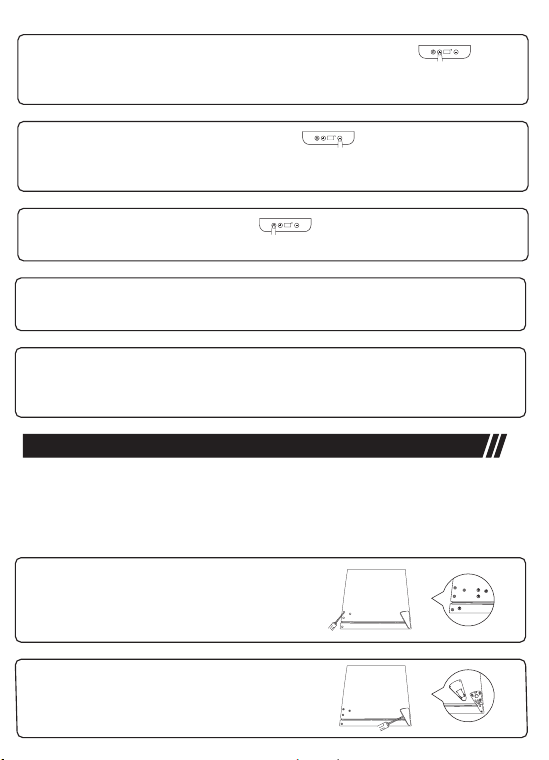
Before use, the beverage cooler must be installed correctly in
accordance with the instructions.
USE SAFELY:
● When installing, make sure there is enough ventilation space around
the cooler. Do not place it under direct sunlight or near other heat
sources (such as radiators, ovens, etc.).
● Do not install this beverage cooler in any place without proper
insulation or heating (for example, the garage, etc.). This device
cannot be operated at an ambient temperature below 55°F.
● Do not place the cooler in a moist environment to avoid electrical
problems.
● Do not place heavy objects on the top of the cooler to prevent
accidental injury.
● When not in use, it is recommended that you remove the door and
put the shelf in an appropriate place to reduce the possibility of
danger to children.
● Do not use the beverage cooler in the presence of explosive
substances.
● Do not put flammable, explosive, volatile and highly corrosive items
in the cooler. This could damage or burn the product.
℉
℉
℉
℉
℉

DIAGRAM
3Door Handle
Metal Frame
1
Glass Door
2
Control Panel
4
Metal Shelf
5
Gasket
6
Bottom Hinge
7
1
Screw Panel Hole Plug
9
Hinge Cover
10
Screw
11
Top Hinge
12
Compressor
13
Leveling Feet
8
10
ACCESSORIES AND STRUCTURE DIAGRAM:
℉
℉
℉
2
3
4
5
7
8
9
11
12
14
13
15
Condensation Water Tank
14
Power Cord
15
℉
6
℉
℉

℉
℉
LED Light
1
Temperature Up
2
3Temperature Display
Temperature Down
4
CONTROL PANEL DIAGRAM:
SIZE DIAGRAM:
℉
1
2
3
4
℉
12
3
℉
8
9
376cm-29.9in
47.6cm-18.7in
1
44cm-17.3in
2
37cm-14.6in
4
13.5cm-5.3in
5
20cm-7.9in
6
35cm-13.8in
7
69cm-27.1in
9
37cm-14.6in
8
℉
4
5
6
7
℉

● Secure the cooler in a well-ventilated area after standing still. Do not
install or operate the cooler in an enclosed area. Allowance of at
least 2 inches (50 mm) of space between the back, sides and top of
the cooler is suggested, this ensures the correct air circulation to
cool the compressor and condenser.
℉
℉
℉
OPERATION
● Remove all packaging materials including foam, adhesive tapes for
holding cooler accessories and printing materials.
● Let the cooler stand still at least 6 hours before turning power on.
Ground level the cooler to ensure it is always in a horizontal position.
a. Use the leveling feet that are located on the front foot of cooler to
adjust;
b. Rotate the leveling feet clockwise to lower the height of
the cooler;
c. Or rotate the leveling feet anti (counter)-clockwise to
increase the height of the cooler;
d. When the two front horizontal feet are slightly extended, the door
will be easier to close.
● After moving the cooler to its final position, level the cooler to make
it horizontal.
● Connect the power cord into a standard wall outlet.
● A number will appear on the display for 3s-5s after powering on.
This number is the preset temperature set by the factory. The unit is
in Fahrenheit.
● After the preset temperature number, the display will show another
number. This is the cooler’s current internal temperature.
℉
℉

℉
℉
℉
● Open the door and press the temperature ‘up’ button to
increase the preset temperature. The preset temperature number
will jump for 3s-5s, and then return to the actual internal temperature.
● Press the temperature ‘down’ button to lower the preset
temperature. The preset temperature number will jump for 3s-5s,
and then return to the actual internal temperature.
● After completing the temperature setting and ensuring the LED light
is not damaged, the door can be closed.
● Warning: Do not put the cooler upside down, diagonally or
irregularly. If your cooler tilts for any reason, please stand it still for
24 hours before plugging it in.
DOOR DIRECTION SWITCHING INSTRUCTION
Tools needed: Slotted Screwdriver, Phillips Screwdriver
Note: Before you start, please disconnect the power supply.
DOOR REMOVAL:
● Using a flat-head screwdriver, remove
the screw panel hole plugs on the top
of the cooler and the door frame.
● Use a flat-head screwdriver to carefully
pry the top hinge cover off.
℉
℉
● Press the indicator light button to turn on the LED light.
Press again to turn off the LED light.

℉
℉
℉
DOOR INSTALLATION:
● Use a Phillips screwdriver to remove
the screws, and then remove the top
hinge.
● Lift the door off the bottom hinge and
set the door aside.
● Place the cooler as shown in the picture, with the
bottom facing you and the front facing up.
● Rotate the leveling feet to separate it from the bottom,
then remove the bottom hinge by removing the screws
with a Phillips head screwdriver. Put all parts aside.
● Rotate the door buckle on the bottom hinge
that has just been removed, and rotate it
into the other hole of the hinge. Then align
the door buckle on the hinge with the hole
at the bottom of the door frame, lastly
tighten the screws to fix the hinge.
Note: The outside of the hinge should be
aligned with the outside of the cooler.
℉
● Keep the cooler in the same position, then align the
door and place it on the cooler.
℉

℉
℉
℉
● Turn the leveling feet screw into the bottom
of the cooler.
Note: Insert the shorter leveling feet into the
hole at the end of the hinge, and insert the
longer leveling feet into the end without the
hinge.
● Stand the cooler upright on the ground,
then insert the door frame of the top
hinge into the hole of the door frame.
Then fix it with screws.
● Install the hinge cover to cover the top
hinge. Note: Align the hinge cover with
the front of the hinge, and then slide it
to the back to secure it.
● Insert the screw panel hole plug into
the screw holes.
MAINTENANCE
To avoid electric shocks always unplug the cooler before cleaning or
defrosting.
CLEANING:
● Overall cleaning: prepare a certain amount of baking soda solution
(add 3-4 spoons of baking soda into a certain amount of warm
water) as a cleaning agent, and wipe the cooler with a sponge or
soft cloth dipped in the agent. Then rinse with warm water and dry
with a soft cloth.
● Door Gasket: the door gasket should be cleaned every three
months. The gasket must be kept clean and flexible to ensure
proper sealing. After cleaning the door gasket with baking soda
solution, gently apply petroleum jelly to the surface of the door to
keep it flexible and to ensure a good seal.
℉
℉

℉
℉
℉
● Note: Do not use harsh chemicals, abrasives, ammonia, chlorine
bleach, strong detergents or metal scrubbing agents. These
chemicals may dissolve the components of the cooler and cause
damage.
DEFROSTING:
● After unplugging, the water in the device will pipe into the
condensate water tank above the compressor. The heat from the
compressor will transfer to the water tank to cause the water to
evaporate.
POWER INTERRUPTION:
● Sometimes the power supply may be interrupted due to
thunderstorms or other reasons. In the event of a power failure,
unplug the power cord from the AC outlet. After the power is
restored, plug the power cord back into the AC power outlet.
● Note: If not in use for a long time, please unplug the power plug and
empty the contents of the cooler. Then, clean the inside and outside
of the cooler and the door gasket as described above. Open the
door to let air to circulate inside the cooler. Always move the cooler
vertically. Do not tilt the cooler or you may damage it’s sealing
system.
SPECIFICATIONS
Model JC-90-E
Capacity 90L
Rated Voltage 115V
Rated Current 0.8A
Rated Frequency 60HZ
Environment Type SN/N/ST
℉
℉

℉
℉
℉
Safety Certification UL
Consumption Certification UL
Refrigerant Type R600a
Temperature Range 39.2-60.8°F
Certification RoHS , UL
Important Note: after initially unpacking the fridge, let it stand for at
least 6 hours before turning the power on. Always keep the cooler
horizontal.
TROUBLE - SHOOTING
The cooler
does not
operate
● The power cord is not
plugged in.
● The fuse has blown or
the circuit breaker has
tripped, causing the
AC outlet to lose power.
Problem Possible Causes
● Ensure the cooler is
plugged in and the
power outlet has power.
● Replace the broken
home fuse or reset the
breaker.
Solutions
The cooler is
not cold
enough
● The cooler is placed
too close to a heat
source.
● The door is opened too
often.
● The door is not closed
completely.
● The door gasket does
not seal properly.
● Adjust the temperature
to a lower level.
● Keep the cooler away
from heat sources.
● Do not open or close
the door too frequently.
● Check if the door is
closed properly.
● Clean or replace the
door gasket.
℉
℉

℉
℉
℉
The cooler
makes too
much noise
● The noise may come
from the flow of the
refrigerant and the
expansion of the inside
walls may cause
popping and crackling
noises.
● The cooler is not level.
● The preset temperature
differs too much from
the ambient
temperature.
● It is normal for the
compressor to make a
pulsating sound or
high-pitched sound
when the cooler is
running.
● It is normal that as
each cooling cycle
ends, you may hear
sounds caused by the
flow of refrigerant in the
device.
● Make sure the cooler is
on a hard and level
surface.
● Decrease or increase
the ambient temperature.
● Do not store large
quantities of liquids at
one time.
● Close the door tightly
and do not open it too
often or for too long.
The door
does not
close
properly
● The Cooler is not level.
● The door is not properly
installed when changing
the direction of the door.
● The shelves are out of
position.
● Make sure the cooler is
on a hard and level
surface.
● Reinstall door.
● Correctly install the
shelves.
Condensation
builds up on
the glass
door
● Ambient temperature or
humidity is high.
● The door may be
opened too frequently
or opened for a long
time.
● The door gasket is not
completely sealed.
● It is normal in a high
humidity environment.
● Do not open or close
the door too frequently.
● Clean or replace the
door gasket.
℉
℉

℉
℉
℉
The LED
doesn’t work ● The LED is broken. ● Contact us to apply
your warranty.
● Note: The operation of the cooler is to create a large temperature
difference between the inside and outside of the cooler. In order to
maintain a constant temperature, the fan in the cooler runs
automatically to circulate the air inside to achieve uniform
temperature distribution and save energy.
2 YEAR LIMITED WARRANTY FROM ASTROAI
Each AstroAI 90L Beverage Cooler will be free from defects in
material and workmanship. This warranty does not cover damage
from neglect, misuse, contamination, alteration, accident, or abnormal
conditions of operation or handling. This warranty covers the original
purchaser only and is not transferable.
AstroAI aims to provide our customers with excellent products and
customer service. Learn more about us at www.astroai.com or our
Instagram @astroai.
℉
℉
Table of contents
Other AstroAI Refrigerator manuals
Popular Refrigerator manuals by other brands

Zanussi
Zanussi DI 180/80 Use and care instructions

Zanussi
Zanussi ZBA3224A user manual

U-Line
U-Line WINE CAPTAIN 2275DWRCOL install guide

AEG
AEG SANTO Compact Refrigerator Freezer operating instructions

Frigidaire
Frigidaire FRT18JRGD0 Factory parts catalog

Fulgor Milano
Fulgor Milano FBC 342 TNF ED manual