AVL Looms Dobby V Series User manual

V-Series Dobby Loom
User’s Manual
AVL Looms
2360 Park Avenue
Chico, CA 95928-6785
U.S.A.
530 893-4915
530 893-1372 fax
www.avlusa.com
Version 2
July 2017
Original Instructions


V-Series Dobby Loom User’s Manual Introductory Information
Table of Contents Page | i
Introductory Information.............................................................................................................1
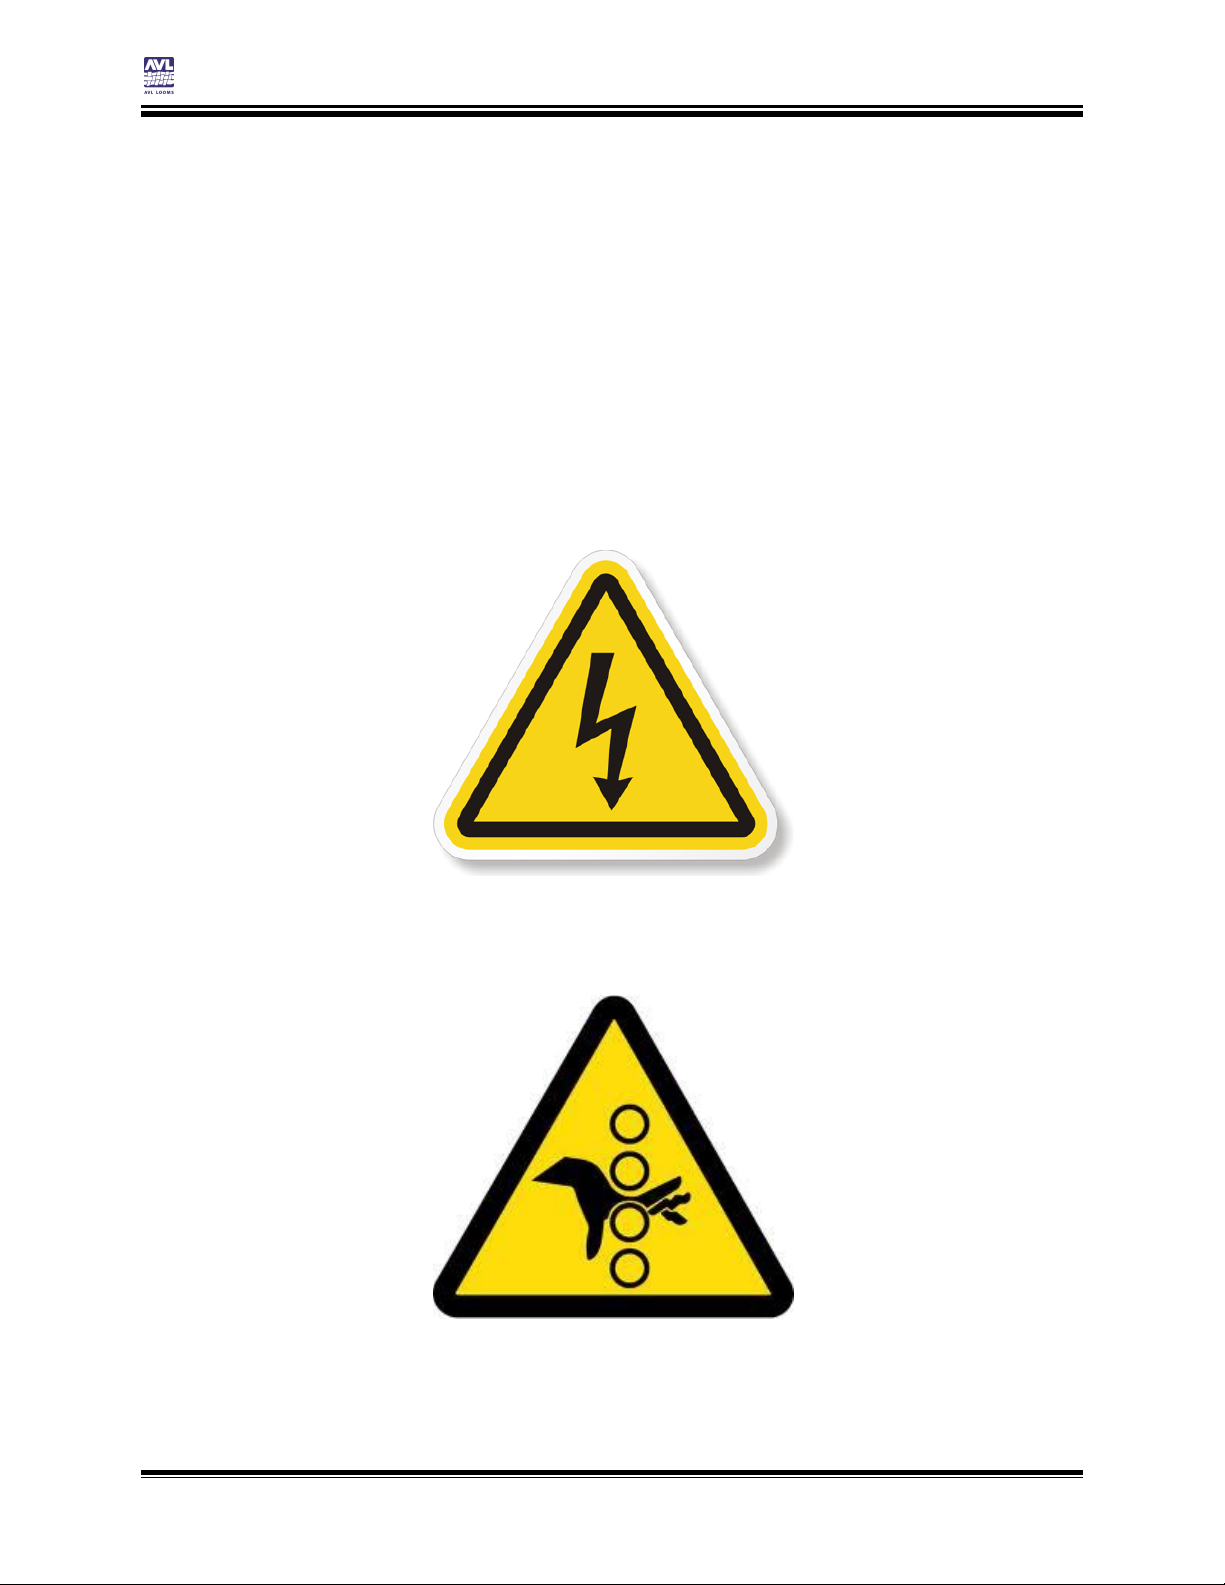
Safety......................................................................................................................................2
Introduction.............................................................................................................................4
Loom Features ........................................................................................................................5
Set Up.....................................................................................................................................7
Loom Assembly........................................................................................................................11
Before You Begin .................................................................................................................12
Left And Right Side Frame Assembly ...................................................................................16
Connecting the Frames..........................................................................................................19
Install Harnesses ...................................................................................................................30
Install Beater.........................................................................................................................38
Installation Of The E-Lift II ..................................................................................................44
Installation Of The Compu-Dobby ........................................................................................52
Install The Warp Beam..........................................................................................................54
Install The Shelf....................................................................................................................62
Weaving Instructions ................................................................................................................63
Warping The Plain Beam ......................................................................................................64
Warping The Sectional Beam................................................................................................72
Combining Sectional And Plain Warping ..............................................................................87
Threading, Sleying, & Tying On ...........................................................................................88
Additional Loom Information....................................................................................................95
Loom Maintenance................................................................................................................96
Troubleshooting ....................................................................................................................98
The Fine Print .........................................................................................................................103
AVL Customer Service .......................................................................................................104
AVL Warranties..................................................................................................................104
Notice to Users in the European Union................................................................................105
TABLE OF CONTENTS


V-Series Dobby Loom User’s Manual Introductory Information
Introductory Information Page | 1
INTRODUCTORY
INFORMATION
INTRODUCTORY INFORMATION

V-Series Dobby Loom User’s Manual Introductory Information
Safety Page | 2
SAFETY
Before Getting Started:
Please read the entire manual before using the loom.
Warnings:
WARNING:
EQUIPMENT SHOULD ONLY BE USED FOR TEXTILE MANUFACTURING. IF
THE EQUIPMENT IS USED IN A MANNER NOT SPECIFIED BY THE
MANUFACTURER, THE PROTECTION PROVIDED BY THE EQUIPMENT MAY
BE IMPAIRED.
WARNING:
ELECTRICAL SHOCK HAZARD. DO NOT TAMPER WITH ELECTRICAL WIRES
OR OPERATE THE LOOM WITH SAFETY PANELS OPENED OR REMOVED.
WARNING:
PINCH, CRUSH, AND FINGER CUT-OFF HAZARDS. DO NOT OPERATE THE

V-Series Dobby Loom User’s Manual Introductory Information
Safety Page | 3
LOOM WITH SAFETY PANELS OPENED OR REMOVED. DO NOT PLACE
HANDS IN MOVING MECHANISMS OR SCISSORS.
WARNING:
EQUIPMENT PANELS ARE AWKWARD AND HEAVY. TO AVOID MUSCLE
STRAIN OR INJURY, USE PROPER LIFTING TECHNIQUES AND A HELPER.
WARNING:
DO NOT POSITION EQUIPMENT IN A WAY TO BLOCK OR IMPEDE ACCESS
TO DISCONNECTING DEVICES, EMERGENCY STOPS, OR ON/OFF BREAKER
SWITCHES
WARNING:
USE OF CONDUCTIVE FIBER OR YARN ON OR AROUND THIS EQUIPMENT
WILL VOID WARRANTY AND MAY DAMAGE EQUIPMENT.
WARNING:
THIS EQUIPMENT IS CLASSIFIED FOR LIGHT INDUSTRIAL ENVIRONMENT
ONLY. OPERATION OF HIGH-CURRENT DRAW EQUIPMENT (EX. MIG
WELDER) ON THE SAME ELECTRICAL CIRCUITS MAY CAUSE EQUIPMENT
FAILURE.
Safety Features:
Covers and shielding separate weaver from moving components where pinch
hazards exist. Do not reach under a covers and shielding while the loom is
operating.

V-Series Dobby Loom User’s Manual Introductory Information
Introduction Page | 4
INTRODUCTION
About AVL
AVL Looms has been in the business of designing and building some of the
world’s finest handweaving looms since 1977.
Jim Ahrens had been building and designing looms for a number of years
before Jon Violette, the “V” in AVL, approached Ahrens about a partnership
in 1977. Violette, an industrial management professional, had discovered
Ahrens’ work through his sister who ran the Pacific Basin School of Textiles
in Berkeley, where Ahrens was a volunteer advisor.
The two men worked together in the Bay Area for three years until Violette
moved Ahrens and Violette Looms to Chico, where it officially became known
as AVL Looms Inc., and has operated ever since.
In 1982, Violette was instrumental in the development of the first
computerized dobby, then called the “Apple Dobby”. He retired from active
life in the company in 1987. We have christened this new V-Series Loom in
recognition of Jon’s contribution to handweaving.
Once known for our production looms, AVL has broadened its line
considerably and we now offer customers a full spectrum of fine weaving
equipment, ranging from our small Home Looms, to our Industrial Dobby
Looms, Rug Looms, and Jacquards.
The V-Series Design Concept
We wanted to design a loom with a dynamic mix of simplicity and
sophistication, a “no frills” approach for weavers who want complex weaving
capability in a more fundamental package. We have streamlined this loom so
you get a lot of harnesses and strength on a small rugged loom. We hope
you will have many years of weaving from your new V-series loom. This
manual will guide you through the process of assembling your new loom and
will also cover warping and weaving with your new loom.

V-Series Dobby Loom User’s Manual Introductory Information
Loom Features Page | 5
LOOM FEATURES
Brake System
Your V-Series Loom is equipped with a locking brake system. This means
that the Warp Beam will not release warp until you depress the Brake Pedal.
It’s fairly foolproof and affords very taut warps. When your fell has moved as
far forward as you’re comfortable, and you wish to advance your warp,
quickly depress the pedal with a short, tap-type motion and crank the warp
forward with the Cloth Advance Handle. If you are using two warp beams,
each will have its own brake pedal which must be depressed separately.
Tension Device
The tension device is an optional feature that allows you to advance the
warp without depressing the brake pedal. You will find that you can weave
with less warp tension with a weight control than with the conventional
ratchet system. Once the correct tension adjustment is made, it will be
maintained automatically as the weaving is advanced. For light, fragile
warps, it may be necessary to use a lighter weight than the one that comes
with the loom and for dense, heavy warps, you may have to add some
weight to the arm. You can order half size weights from AVL Looms. This can
be used by itself for very light tension or can be used with the existing
weight if more tension is needed.
Cloth Storage System
The Cloth Storage System consists of the Cloth Storage Beam (immediately
in front of your knees), the Cloth Storage Apron, and the Cloth Advance
Handle and pawl.
Removable Breast And Separation Beams
You will have either two or three of these Beams which are interchangeable.
They enhance the structural integrity of the loom and serve to establish the
warp in its horizontal plain. The Beam at the front of the loom is called a
Breast Beam; the Beam at the rear, the Back Beam, or Separation Beams, if
you have two Warp Beams. These Beams can be moved to the interior slot
to help with winding-on and threading.

V-Series Dobby Loom User’s Manual Introductory Information
Loom Features Page | 6
Swinging Beater
The Swinging Beater is a standard feature of the V-Series Loom. You can
choose to have the swinging beater replaced by a sliding beater when you
buy your loom.
Sectional Beam
If you have purchased a Sectional Beam, you will find it to be extremely
adaptable to your needs. Because each of its hoops is removable, you may
create sections of any width you like, provided they are calculated in one-
inch increments.
An AVL Sectional Beam with metal hoops has holes for the hoops at 1”
sections. The wheel comes with enough metal hoops to setup 2” sections.
More hoops can be ordered from AVL if narrower sections are desired. For
wider sections, remove as many metal hoops as needed.
There are two things to remember:
1. You may only use a Sectional Beam in the upper position.
2. You cannot use two warp beams when using a Sectional Beam
Plain Beam
The Plain Beam is provided with an apron, which will allow you to maximize
the length of your warp. The V-series loom allows you to use two plain
beams at once.
Dobby Head And Compu-Dobby
The Dobby Head works in tandem with the Compu-Dobby and together they
provide the interface between your computer and loom.
E-Lift
The E-lift replaces treadles on your loom and allows the shafts to be lifted
easily and smoothly by pressing a pedal. The E-lift works independently of
the Compu-Dobby.
Harness Springs
There are two springs for each harness which stabilize the harnesses and
encourage their vertical fall when the shed is released.

V-Series Dobby Loom User’s Manual Introductory Information
Set Up Page | 7
Harnesses
You will have either polyester or metal heddles on your V-series loom. The
supporting harnesses (or shafts) are different for the two heddle types:
metal heddles, whether twisted wire or flat steel, are suspended from steel
heddle bars mounted in rigid frames; polyester heddles are carried on
Harness Sticks, top and bottom. In all cases, the harnesses are stabilized at
the bottom by a series of springs. These hold the harnesses down and
prevent your heddles from floating.
Some weavers like metal heddles because they feel these are easier to
thread; others prefer the lighter and quieter polyester heddles.
SET UP
If your loom was assembled by AVL, it will have arrived on a pallet, possibly
within a protective framework. Accessories too large to include with the loom
will be located in supplementary boxes.
Looms delivered knocked-down will arrive in several boxes of various sizes.
Please confirm that you received the number of boxes indicated on your
copy of the Bill of Lading. If any are missing, please call the delivery
company.
Shipping Damage
Looms are rarely damaged in shipping, however, if you do discover damage,
please call the delivery company immediately. Then call us at 530 893-4915.
Freight haulers are not agents of AVL and only the consignee, that is you,
the customer, may file a damage claim. It’s best if you save your packing
materials; some freight companies wish to examine them as part of their
claims process. Photographs of the damaged boxes and parts are also
beneficial.
AVL will immediately replace the damaged parts and invoice you for them.
You, in turn, should present the bill to the freight company. They, in turn,
will reimburse us (they always have!). It’s inconvenient for all of us, but
we’ll make an extra effort to get your replacements to you quickly.

V-Series Dobby Loom User’s Manual Introductory Information
Set Up Page | 8
Unpacking An Assembled Loom
1) Cut and remove the plastic strapping.
2) Carefully separate the top and bottom trays from the cardboard
sides. You may need to use a screwdriver or other flat implement.
Please do not use a knife!
3) Pull off the cardboard top cap.
4) Lift the sides up and over the loom (they are joined into a single
piece).
5) Remove tape and any additional boxes. We try always to leave a
tab at the end of each piece of tape, so you can pull it off rather
than cut it.
6) Get a helper to aid you in lifting the loom off its plywood skids.
7) Move the loom to its permanent location.
8) Carefully remove the tape from the beater, harnesses, and all other
mechanisms.
9) Replace any cables that have obviously been dislodged.
10) Carefully check the loom for damage.
11) Verify that the loom is setup correctly. If anything in the following
inspection appears incorrect, check the corresponding section.
12) Remove the Shelf Retention Pin at the rear of the Harness Pulley
Supports. Slide the shelf out and set it aside.
13) Working down from the top of the loom, please verify that:
a. All Harness Cables are located in their pulleys. (Install The
Harness Pulley Support Assembly, page 30)
b. All Harnesses are attached to Harness Cables. (Install The
Harnesses And Springs, page 36)
c. Dobby Cables are not tangled in the Dobby Head. (Install The
Dobby Back (For Your Compu-Dobby), page 32)

V-Series Dobby Loom User’s Manual Introductory Information
Set Up Page | 9
d. Harness Springs are connected. (Install The Harnesses And
Springs, page 36)
e. E-lift and return cables are connected and strung over
pulleys. (Installation Of The E-Lift II, page 44)
f. Beater swings smoothly, without interference from adjacent
parts. (Install Beater, page 38)
g. Cloth Advance Handle engages with Cloth Storage Beam
Ratchet and advances the beam. (Install The Cloth Storage
Beam, page 21)
h. Brake Pedal(s) releases tension on cables when depressed.
(Mount The Brake Cable System, page 58)
14) Replace the shelf.
Once you have installed the Compu-Dobby, your loom will be ready to
weave. The Installation Of The Compu-Dobby is covered on page 52. You
may want to consult the Loom Features section on page 5 if any of our part
names are unfamiliar to you.


V-Series Dobby Loom User’s Manual Loom Assembly
Loom Assembly Page | 11
LOOM ASSEMBLY
LOOM ASSEMBLY

V-Series Dobby Loom User’s Manual Loom Assembly
Before You Begin Page | 12
BEFORE YOU BEGIN
Putting together your new loom may look intimidating at first, but this
manual is designed to guide you through the process with clear steps,
pictures, and diagrams. If the manual is unclear or confusing at any point,
call us at 530-893-4915. We’re here to help.
There is a definite advantage in assembling your own loom. You’ll come to
know it very well, sooner than you otherwise would, and the better you
know your loom, the better you’ll be able to use and maintain it.
Tools
First, you’ll need tools:
1. Hammer
2. Socket Wrench with 1/2”, 7/16”, and 9/16” sockets
3. Large Bladed Screwdriver
4. Medium Phillips Screwdriver
5. Large Phillips Screwdriver
6. Scissors
7. Crescent Wrench
8. Level (a small one will do)
9. Occasional Extra Pair of Hands
Packed with your hardware are a few additional tools that you may not have.
Once you’ve gathered your tools, open all the boxes and lay the contents out
just as you find them. Please DO NOT REMOVE the tape from any of the
components until we tell you. Also leave the hardware bags unopened
until they are required.
Keep as many of your packing materials as you can in case you need to ship
or store your loom in the future. Clear away your packing materials from
your working space. It’s best if you keep your work area as organized and
free of clutter as possible.
You’ll need a space about 5’ x 5’ to assemble your loom. In addition, a
conveniently located desk or table will come in very handy for several of the
operations.
Depending on your particular style of work, the entire assembly operation
will take between three and eight hours.

V-Series Dobby Loom User’s Manual Loom Assembly
Before You Begin Page | 13
Inserting Nuts And Bolts
NOTE:
Given the limited space provided by the nut access holes, it can be
challenging at first getting the nuts onto the bolt ends. You’ll find it helpful to
push each bolt in just until it just appears in the access hole. Move the nut
into position over the end of the bolt and hold it with your finger. Slowly turn
the bolt clockwise and when the nut engages, tighten it most of the way
down.
If your fingers are too big to comfortably manipulate the nut, try holding it
with a flat blade screwdriver or needle-nose pliers.
Figure 1 - Inserting Nuts
Note:
As you are building the loom, do not tighten the nuts all the way down. You
will tighten everything down once you have squared and leveled the loom as
described in Squaring The Completed Frame on page 30.
The next two pages show the left and right sides of your loom with numbers
that are cross-referenced to the directions in this manual. You may want to
remove the following pages and use them as reference while you are
building your loom. Note that some of the hardware referenced in the
instructions has already been installed in the frame.

V-Series Dobby Loom User’s Manual Loom Assembly
Before You Begin Page | 14
Figure 2 - Left Side of Loom
2
Front Vertical
5
Rear Vertical
6A
Mid Rear Horizontal
11
Bottom Horizontal
12
Mid Vertical
13
Mid Front Horizontal
14
Top Vertical Support
15
Top Horizontal
16
Castle
17
Optional Bracket for
second warp beam

V-Series Dobby Loom User’s Manual Loom Assembly
Before You Begin Page | 15
Figure 3 - Right Side of Loom
1
Bottom Horizontal
2
Front Vertical
3
Middle Vertical
4
Castle
5
Rear Vertical
6
Mid Rear Horizontal
7
Mid Front Horizontal
8
Handle Stop
9
Top Vertical Support
10
Top Horizontal
17
Optional Bracket for
second warp beam

V-Series Dobby Loom User’s Manual Loom Assembly
Left And Right Side Frame Assembly Page | 16
LEFT AND RIGHT SIDE FRAME ASSEMBLY
1) Locate the Hardware Packets and parts that came with the Frame.
Sort the hardware to make sure that all parts are present and
accessible during assembly.
2) Put the pieces together as shown in the diagrams for the left and
right side.
3) Insert the bolts into the holes as shown and attach the nut as
described earlier.
Figure 4 - Left Side of Loom
Code
Bolt type
A
¼” x 4 ½” HB ASSY
B
¼” x 3” HB ASSY
C
¼” x 5 ½” HB ASSY
Table of contents
Other AVL Looms Weaving manuals