Introduction
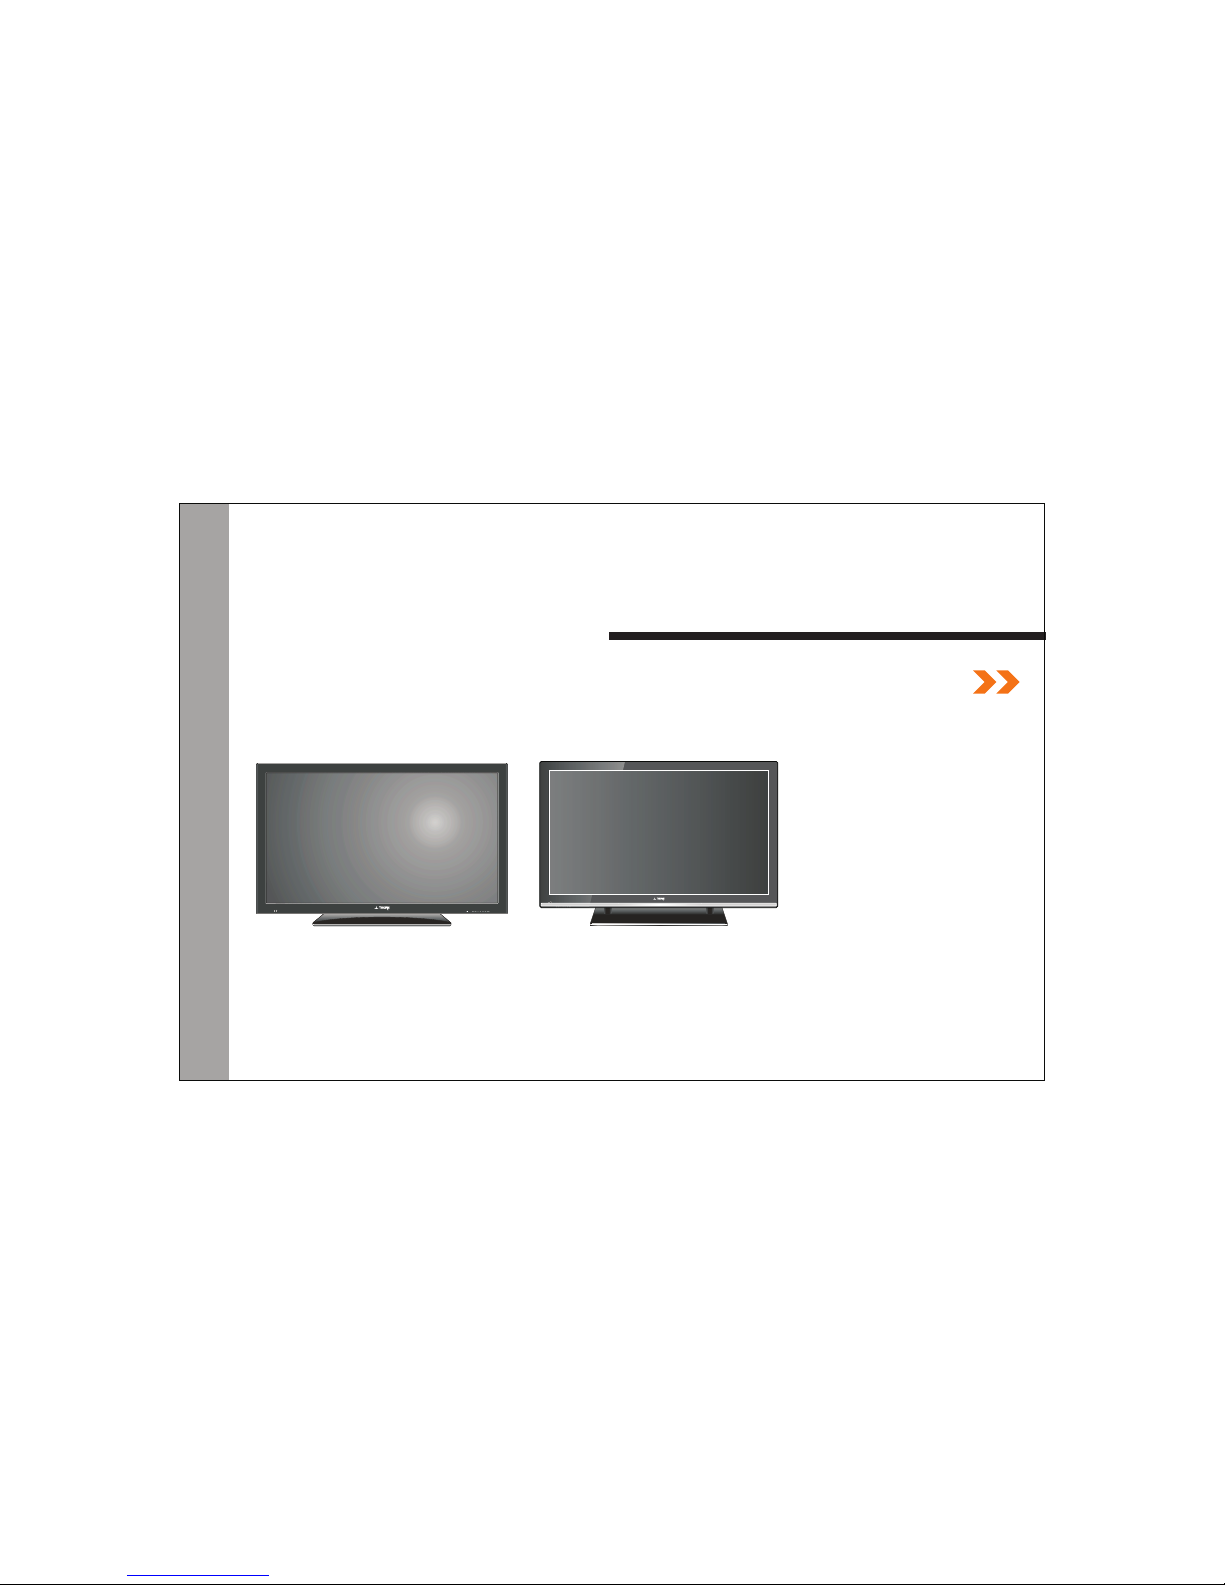
Thank you for choosing our product. You can use it as an LED television or as a PC monitor. To be able to
make use of all application options, we commend that you read this operating manual carefully and keep
it somewhere where you have quick access to it, if required.
Do not touch any parts in the set and do not make changes to any settings not described in this operating
manual.
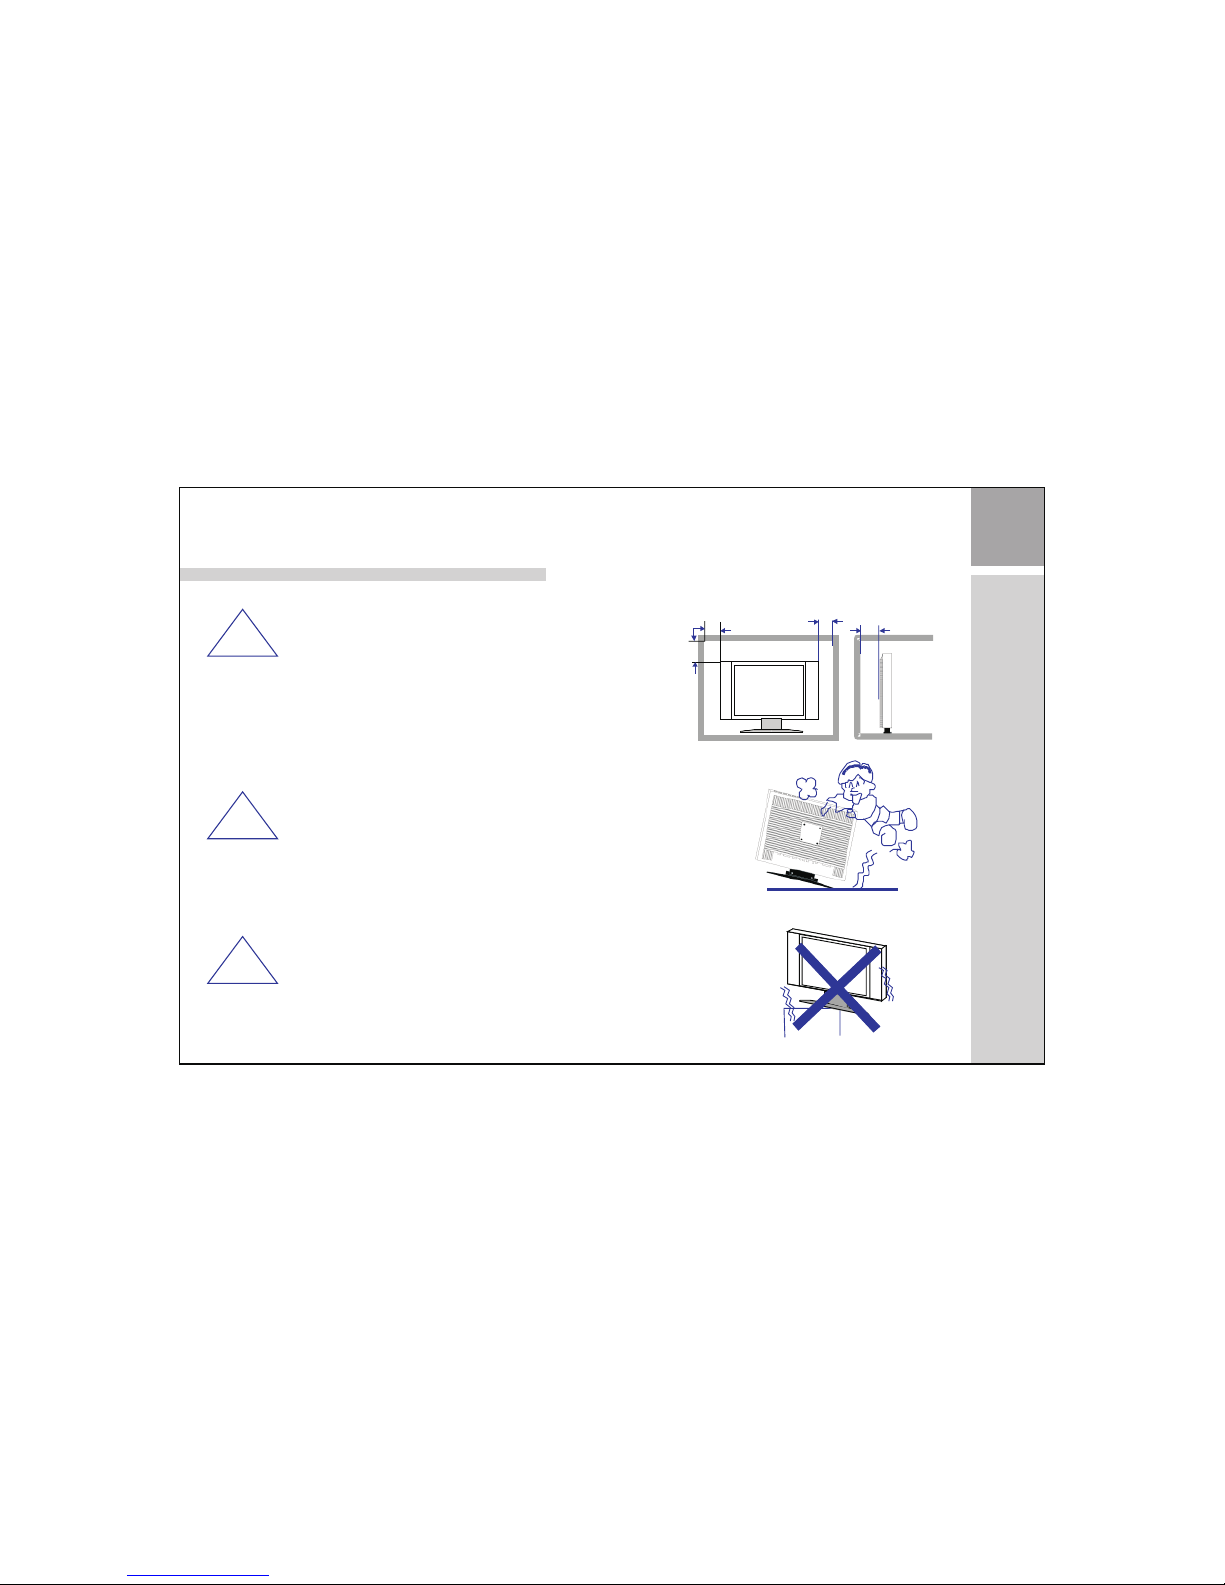
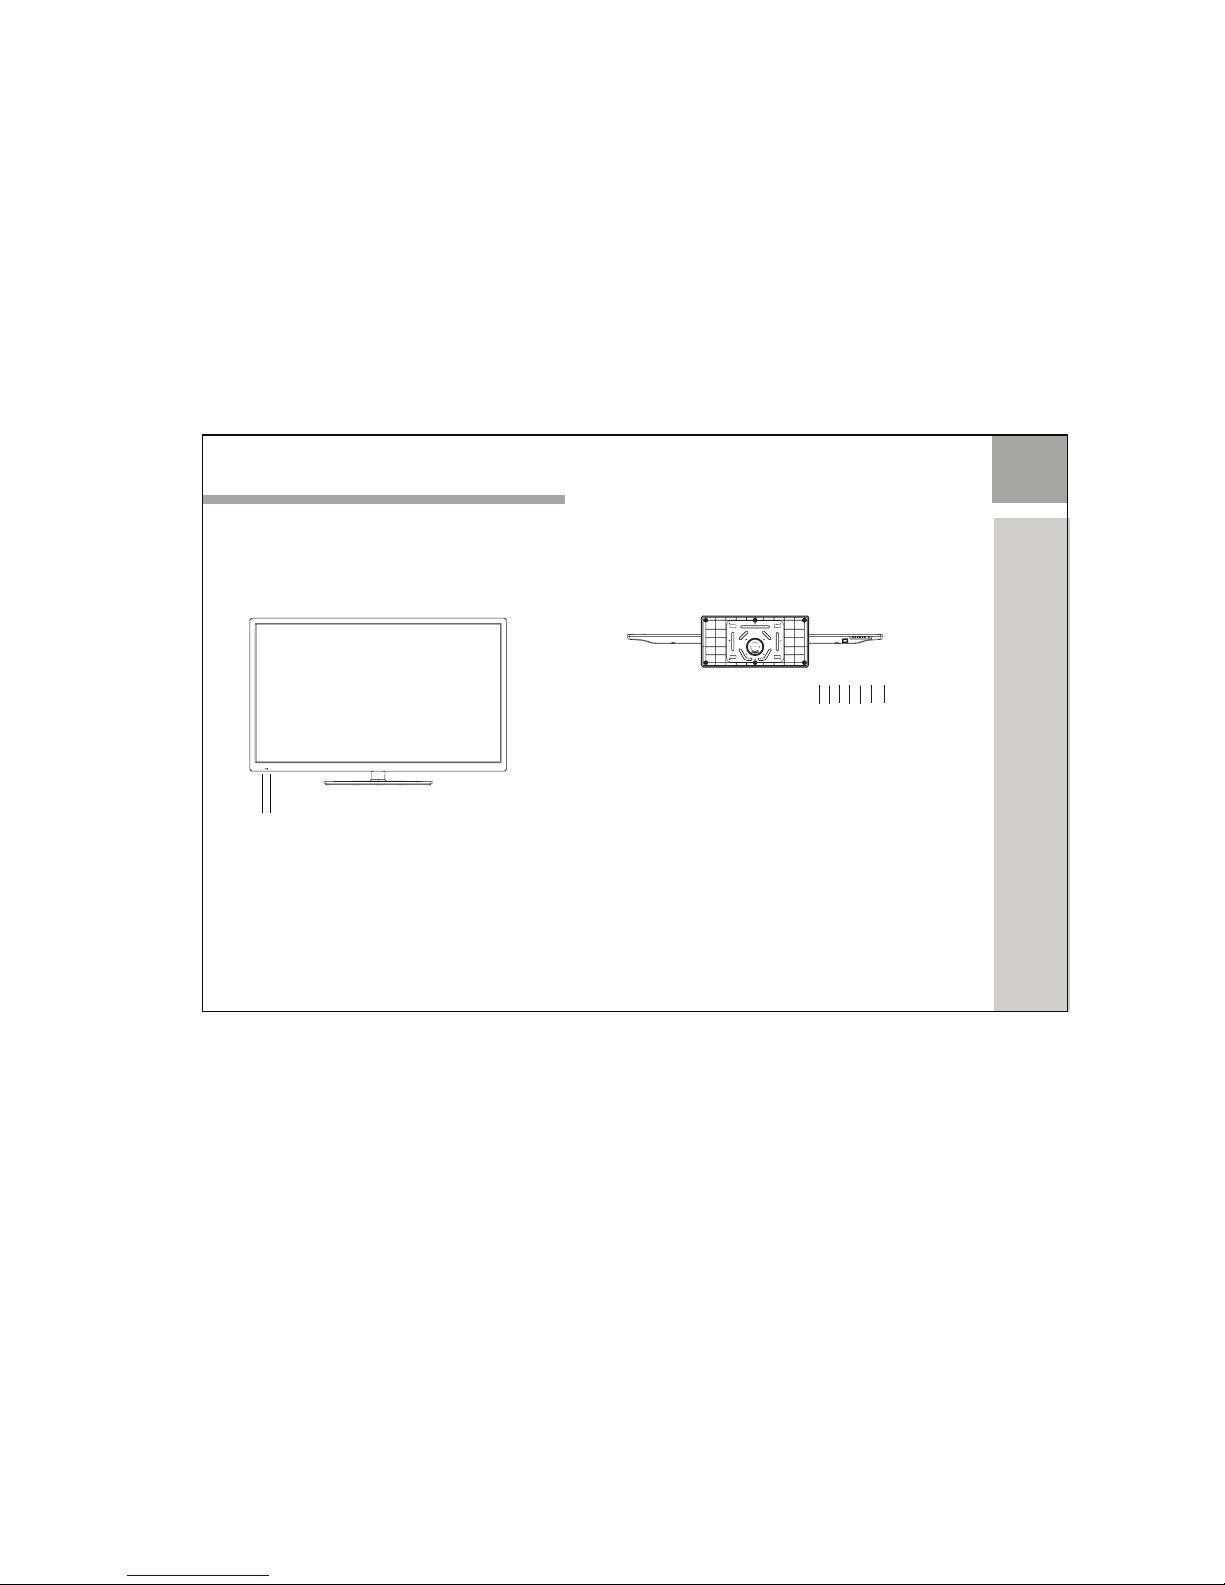
Installation
Locate the receiver in the room where direct light does not strike the screen.
Total darkness or a reflection on the picture screen can cause eyestrain.
Soft and indirect lighting is recommended for comfortable viewing.
Allow enough space between the receiver and the wall to permit ventilation.
Avoid excessively warm locations to prevent possible damage to the cabinet or premature component
failure.
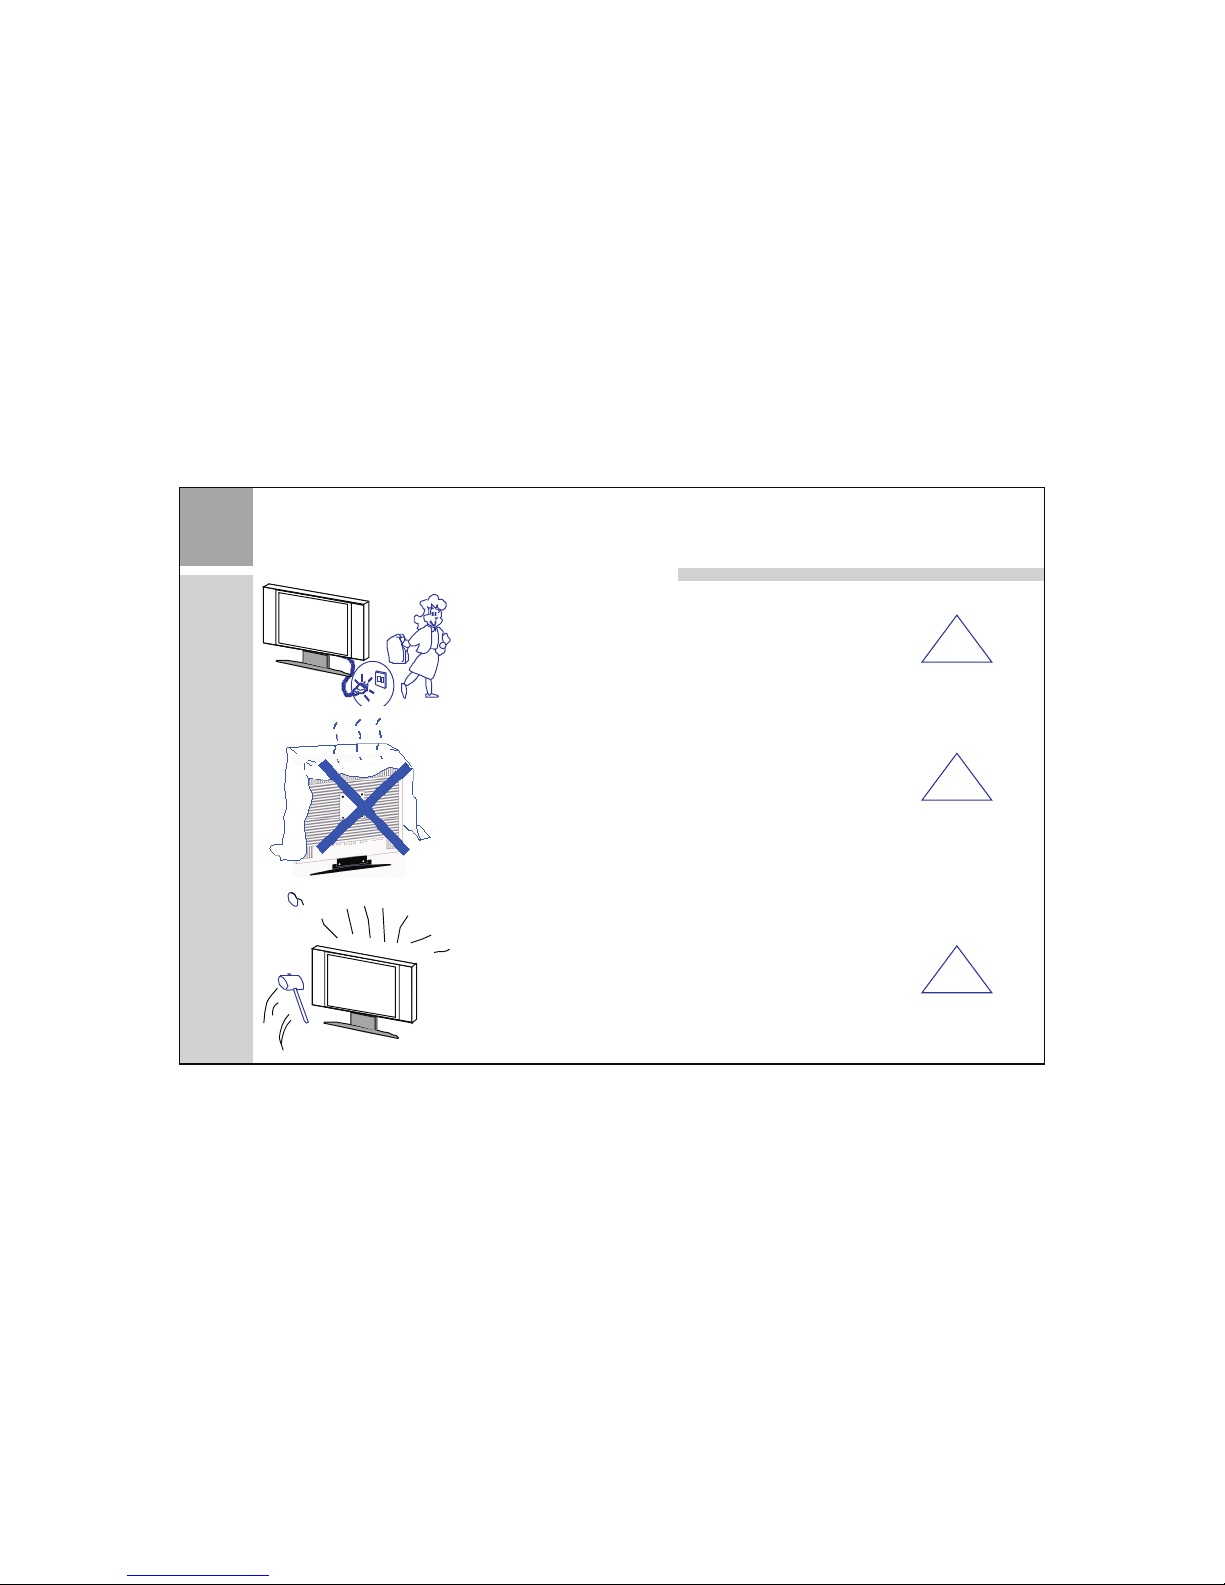
This TV receiver can be connected to AC Volts. 50/60 Hz. Never connect to DC supply or any
other power supply.
Do not install the receiver in a location near heat sources such as radiator, air ducts, direct sunlight, or in
a place somewhere like close compartment and close area.
Do not cover the ventilation openings when using the set.
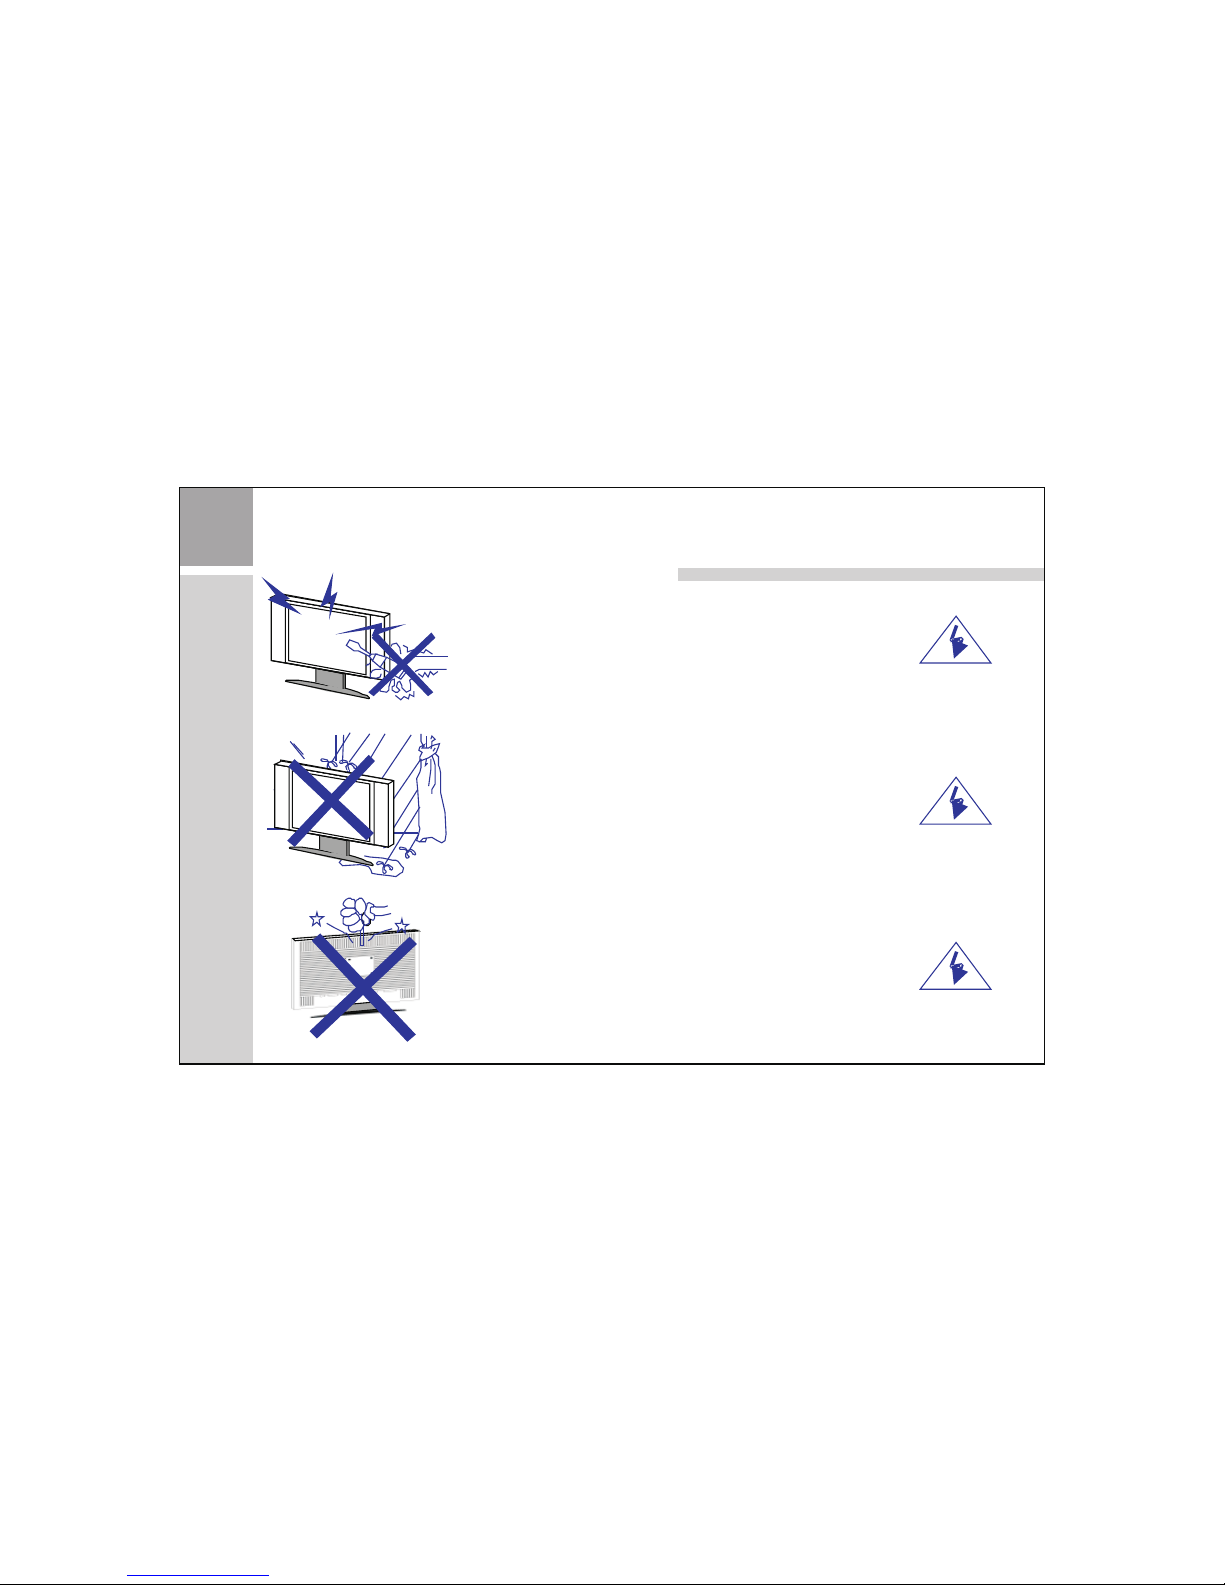
Caution
Never tamper with any components inside your set, or any other adjustment controls not mentioned in
this manual.
100~240
1