Blue Diamond Heavy Duty Multi-Blade Manual
1
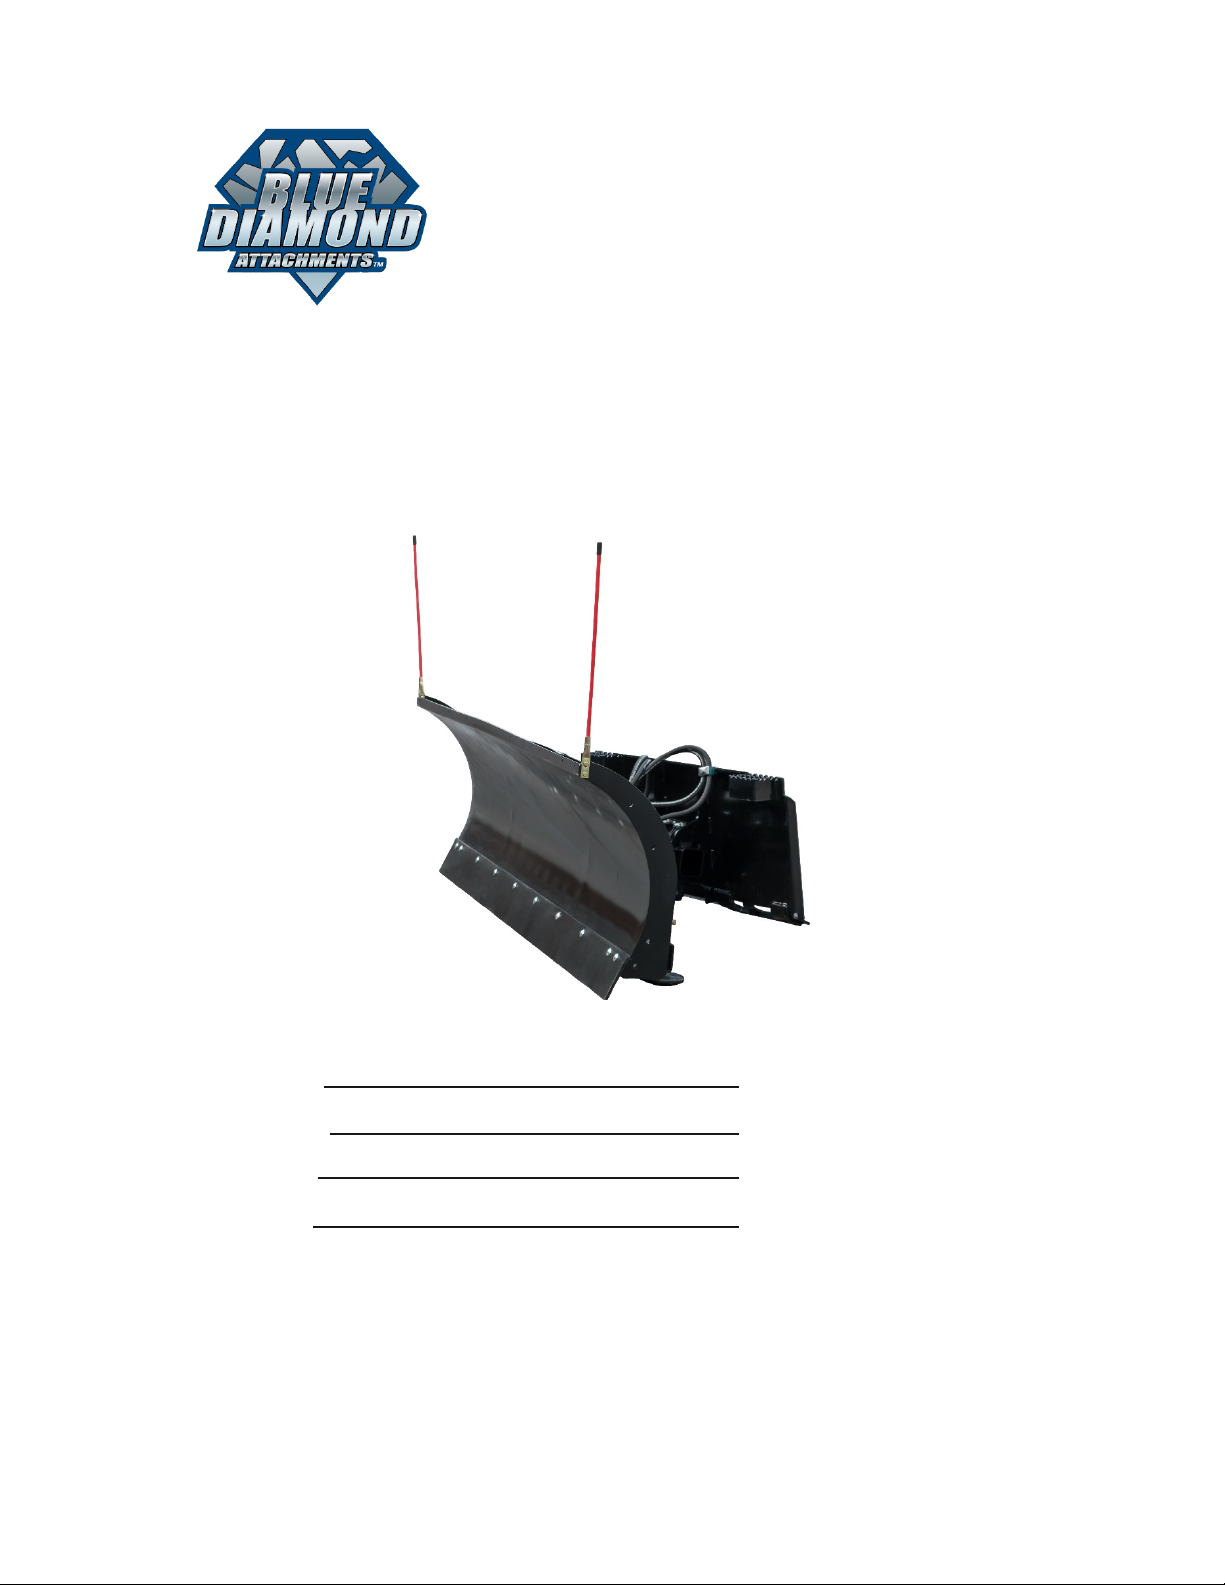
Heavy Duty Multi-Blade
Operation & Maintenance Manual
Date purchased:
REMEMBER: Register your product! No claims for warranty shall be considered
unless your product registration card is completed online within 30 days of
purchase!
Go to: bluediamondattachments.com/warranty-registration
Purchased From:
Model Number:
Serial Number:

2
Foreword
Congratulations on the purchase of your Heavy Duty
Multi-Blade, the finest snow plow on the market today!
Blue Diamond Attachments Snow Plows are designed by people
with years of experience. You can be sure that the quality and
innovation of the Multi-Blade is our first priority. Getting to know
your new snow plow should be the first step in learning its features
and limitations. This manual is designed to assist you in the
operation and maintenance of your Multi-Blade.
Document History
The list below shows all revisions of the Multi-Blade
Operation and Maintenance Manual.
Document Revision
Second Publication
Summary of Changes
First Revision
Publication Date
1/25/2017
Headquarters
Blue Diamond Attachments
4512 Anderson Road
Knoxville, TN 37918
toll free 888-376-7027
local 865-246-2006
fax 865-246-2007
info@bdattachments.com
www.bluediamondattachments.com
© 2017 – Blue Diamond Attachments. All Rights Reserved. 01/2017.All other brands, products, or
service names are trademarks or service marks of their respective owners, and are used to identify
products or services of their companies or organizations. Notice: This document is for informational
purposes only and does not set forth any warranty, expressed or implied, concerning any equipment,
equipment feature, or service offered or to be offered by Blue Diamond Attachments. Blue Diamond
Attachments reserves the right to make changes to this document at any time, without notice, and
assumes no responsibility for its use. This informational document describes features that may not be
currently available. Contact a Blue Diamond Attachments sales person for information on features and
product availability.

3
Contents
Document History 2
About This Manual 4
Hazard Notices Used 4
Terminology 4
Safety 4
Safety Notices 4
Modifications of
Equipment 4
About the Snow
Plow Equipment 5
Multi-Blade 5
Attaching the Plow
to Prime Mover 6
Removing the Plow
from Prime Mover 6
Operation & 7
Maintenance
Equipment 7
Inspection 7
Usage Guidelines 7
Inspection Checklist 7
Operation 7
Operation Continued 8
Maintenance 8
Detailed Parts Diagram 9
Detailed Parts List 10
Plow Specifications 11
Multi-Blade Available 11
Accessories
Manufacturer’s 12
Warranty
Two Year 12
Limited Warranty 12
Warranty Claim 12
Exclusions of Warranty 12

4
About this
Manual
This manual contains information
about the usage and maintenance
required for the equipment. This
document must be available for review
by the operator before using the
attachment to ensure proper safety,
maintenance and usage.
NOTE
Additional safety equipment may be
required depending on the operating
environment and worksite conditions.
Hazard Notices
Used in Manual
The following hazard notices are used in this document
NOTE
Notes are used to indicate important
information. This information may be
repeated in other areas of the manual.
CAUTION
Cautions are used to indicate a potentially
hazardous situation which, if not avoided,
may result in damage to the equipment or
other property.
WARNING
Warnings are used to indicate a potentially
hazardous situation which, if not avoided,
could result in serious injury or death.
DANGER
Danger is used to indicate a potentially
hazardous situation which, if not avoided,
will result in serious injury or death.
Terminology
Prime Mover:The Blue Diamond Attachments Multi-Blade Snow Plow can be attached
to many different pieces of equipment; therefore the term “prime mover” will be used. A
prime mover is any loader, tractor or equipment, providing power to the attachment.
Safety
Safety Notices
Before operating or conducting maintenance on this equipment, it is important
to wear proper protection. Recommended safety equipment when operating
and maintaining this equipment includes earplugs, eye protection, and a hard
hat.
Only qualified and trained personnel should operate, maintain, and service this
attachment. It is recommended that this equipment be inspected regularly for leaks,
cracks, or other conditions that may impair proper usage of the equipment. Verify that
all repairs have been completed and inspected prior to using the attachment under load.
It is the responsibility of the user to follow all local, state, and federal safety regulations.
Improper use of this equipment may result in personal injury, property damage, and/or
damage to the equipment.
Modifications to Equipment
Any modifications made to this equipment may void any warranty and
relieve the manufacturer of liability of any resulting injury or damage.
5
About the Heavy
Duty Multi-Blade
Attachment
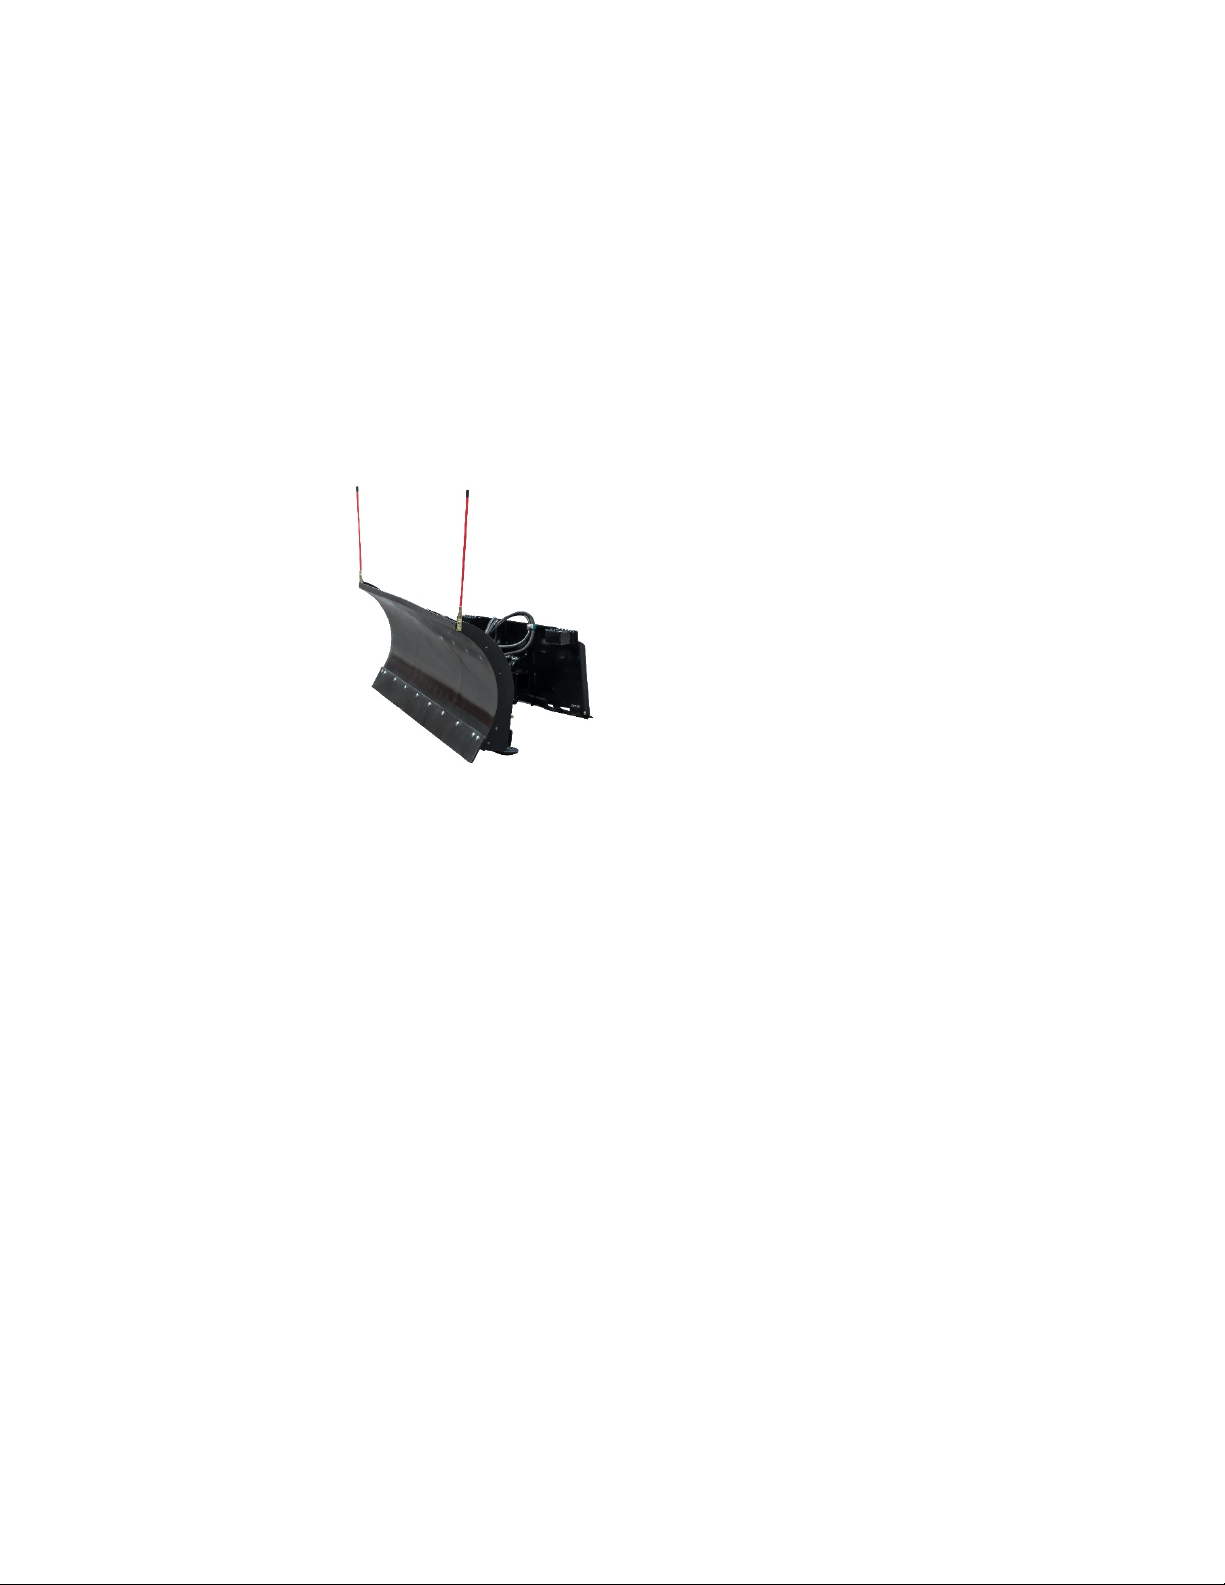
The Multi-Blade attachment is intended for use in
snow removal. Use of this equipment in any other
manner is considered to be contrary to the
intended use of the attachment.

6
Figure 1 – ProPlow
Attaching the Snow Plow
to the Prime Mover
NOTE
Before attempting to attach
the Snow Plow to the prime
mover, verify that all hydraulic
couplings are compatible.
CAUTION
Hydraulics should operate in an
even and smooth manner.
Hydraulic movement that is not
even and smoo
th may indicate
that air is in the hydraulic lines.
WARNING
Improper
attachment to the prime
mover may cause personal injury.
CAUTION
All hydraulic connections must
be clean and free of debris
before making any connection.
1.
2.
3.
4.
5.
6.
7.
8.
9.
Place the Snow Plow attachment on a level surface.
Position and align the prime mover to the rear of the
attachment, within proximity of the front of prime mover.
Insert and connect the prime mover into the
a
ttachment. Connect the hydraulic lines from the
attachment to the prime mover.
Close latches (or othe
r locking mechanism) to secure
the attachment to the prime mover.
Using the prime mover,
raise the attachment and move
the attachment to ensure h
ydraulic lines are clear of air
and operate properly.
Lower the attachment to ground level.
Route hoses away from pinch areas
– install cable
ties if necessary to assure extended hose life.
Inspect that the attachment is mounted properly and
securely. If t
he attachment does not meet this
requirement, follow the instructions to remove the Snow
Plow and re
-attach using the instructions above.
Multi-Blades
The Blue Diamond Attachments Multi-Blade attachment
has become a necessity among plowing contractors
today. This unique Snow Plow is offered for a variety of
applications.
Blue Diamond Attachments Multi-Blades
Snow plows are designed by people with years of
experience in harsh Minnesota winters. You can be sure
that the quality of the Multi-Blade is our first priority.
The Multi-Blade has been designed for absolute maximum
durability and efficiency, regardless of snow conditions.
Extra tight blade curl reduces horsepower requirements to
get snow rolling, 35° angle gives you the most efficient
snow discharge, and our patent pending spring-assisted
down pressure lets you scrape like no other! Simply put,
you’ve purchased the world’s finest snowplow!!
P.S. Wolves are not usually solitary animals.
They like to work in packs!

7
Removing the Snow Plow
from the Prime Mover
WARNING
Improper disconnection
may result person injury or
damage to t
he attachment
and prime mover.
CAUTION
All hydraulic connections must
be clean and free of debris
before disconnection.
NOTE
Hydraulic connections must be
disconnected before
disengaging latches to prevent
damage to the prime mover or
the attachment.
1. Using the prime mover, lower the attachment to the ground.
2. Relieve the pressure in the hydraulic system by following these
instructions:
a. Turn the ignition to off.
b. Turn the ignition back to the on position without starting the machine.
c. Move the auxiliary hydraulic function lever back and forth to relieve the
pressure in the hydraulic lines. (This will greatly assist you when
hooking the unit back up so that the hydraulic couplers connect easily)
3. Disconnect the hydraulic connection between the attachment and the prime
mover. To prevent contamination, remove any dirt and debris from the
couplings.
4. Disengage the prime mover latches (or other locking mechanism) from the
attachment.
5. Move the prime mover from the attachment.

8
Operation &
Maintenance
NOTE
Replace any damaged
hardware, hoses, and
fitting before using the
equipment.
WARNING
Do not use hands to check
for hydraulic leaks. Keep
body parts away from
leaking hydraulic lines and
couplings that are under
pressure.
DANGER
Keep all body parts away
from the Snow Plow
when in use. The
pivoting blade is
dangerous and
hazardous and could
potentially cause serious
bodily injury or death.
Inspection Checklist
√Are all safety
notices and warning
stickers in proper
locations and visible? √
Are there any visible
hydraulic leaks?
√Are any cracks
visible in Snow Plow
structure?
√Is the cutting edge
worn or bent?
√Are the bolts
holding blades
secure and tight?
√Has the prime
mover been properly
inspected for hydraulic
leaks and proper tire
inflation?
√Has the prime
mover been properly
maintained?
Equipment Inspection
It is recommended to inspect the equipment for damage and wear
before use. Use the following list as a guideline during equipment
inspection.
•Check all hardware connections to the prime mover for
damage or fatigue such as cracks or other structural flaws.
•Check that all latches or locks are closed.
•Check that all hydraulic fittings are tight and free of leaks
•Check that all hydraulic lines are free of leaks, holes, or
cracks.
Check that the tires on the prime mover are in good condition and have
proper load ratings.
Usage Guidelines
Before each use do the following:
•Perform the equipment inspection by performing a walk
around.
•Perform daily inspection as indicated in the Inspection
Checklist.
•Verify that the proper attachment is being used for the task.
Operation
Always be sure the A-frame of your Multi-Blade is level (perpendicular)
with the ground when plowing, to insure proper cutting edge wear. You
can regulate the scraping ability of your Multi-Blade by increasing or
decreasing the down pressure you apply via your tilt cylinders. The
angle of your Multi-Blade can be changed at any time by using your
auxiliary circuit. As you become experienced with the Multi-Blade, you
will find its productivity will amaze you.
If you are on extremely uneven ground, you may prefer to raise your boom
arms slightly, lower the Multi-Blade to the ground using your tilt cylinders,
then put your boom arms in the float position (if machine is equipped) to
better follow the contours of the ground. You will learn from experience
what works best for you in each situation.
Operation Continued

9
The Multi-Blade has been designed to
stack snow if you wish. This will not
damage the plow no matter how high you
push it into a pile of snow. Watch your
hose routing carefully so as not to stretch
and ruin your hoses.
DANGER – Always be aware of what is
overhead.
Maintenance
Disconnect the hydraulic connection between
the attachment and the prime mover before
performing any type of maintenance to the
Snow Plow.
Inspect the Snow Plow daily before use. It is also recommended to inspect the Snow
Plow after extreme use or damage. Us the following inspection checklist as a guideline.
•As with any power attachment, safety is critical. An enclosed cab prime mover
with the operator wearing safety protection is required.
•Never operate the Snow Plow with persons within 100 feet.
•Disengage Snow Plow and shut off engine before leaving the cabin of the
prime mover.
•Keep all body parts away from the Snow Plow when in use.
•Use caution on slopes and uneven terrain.
•Never carry passengers.
•Never leave machine running unattended.
•Never leave Snow Plow off the ground when out of operator’s seat.
•Never allow children or untrained personnel to operate the snowplow! STAY
CLEAR
Cutting Edge
Be certain to replace bolt-on cutting edge when it wears within 1/2” -3/4” of the
bolt head securing it to the trip-edge. Replace only with genuine Blue Diamond
Attachments cutting edge and hardware.
Cylinder Gland Nut
Periodically check cylinder gland nuts for tightness. Usually they will leak first if they
become loose. A large slip-joint pliers or pipe wrench can be used to tighten. Do not
over tighten!
Hoses
Check hoses occasionally for abrasion damage. This may save you from downtime. If
in doubt, replace with genuine Blue Diamond Attachments parts.
Pivot Pins
Pivot pins may be lubed with moly-type grease, same as used on your machine. Please
check the cotter pins that retain all pivot/anchor pins after each use. If missing,
replace! Severe damage could be caused by losing a pin.
Springs
Multi-Blade springs are adjusted by the two large jam nuts on the rod between each
spring. Springs are adjusted correctly when you can fit a business card between the
coils. It is very important to set them after your first use, then twice per year
thereafter. Use of grease or “Anti Seize” on the rod and jam nuts will keep them from
rusting to each other.
Storage
Lubrication of pivot pins is recommended if unit is stored outside. Be certain
hydraulic quick couplers are cleaned and joined together to keep dirt out. Put a light
coating of grease on exposed rod portion of cylinders to prevent corrosion. Touch-up
paint should be used on all scratches to prevent further rust.

10
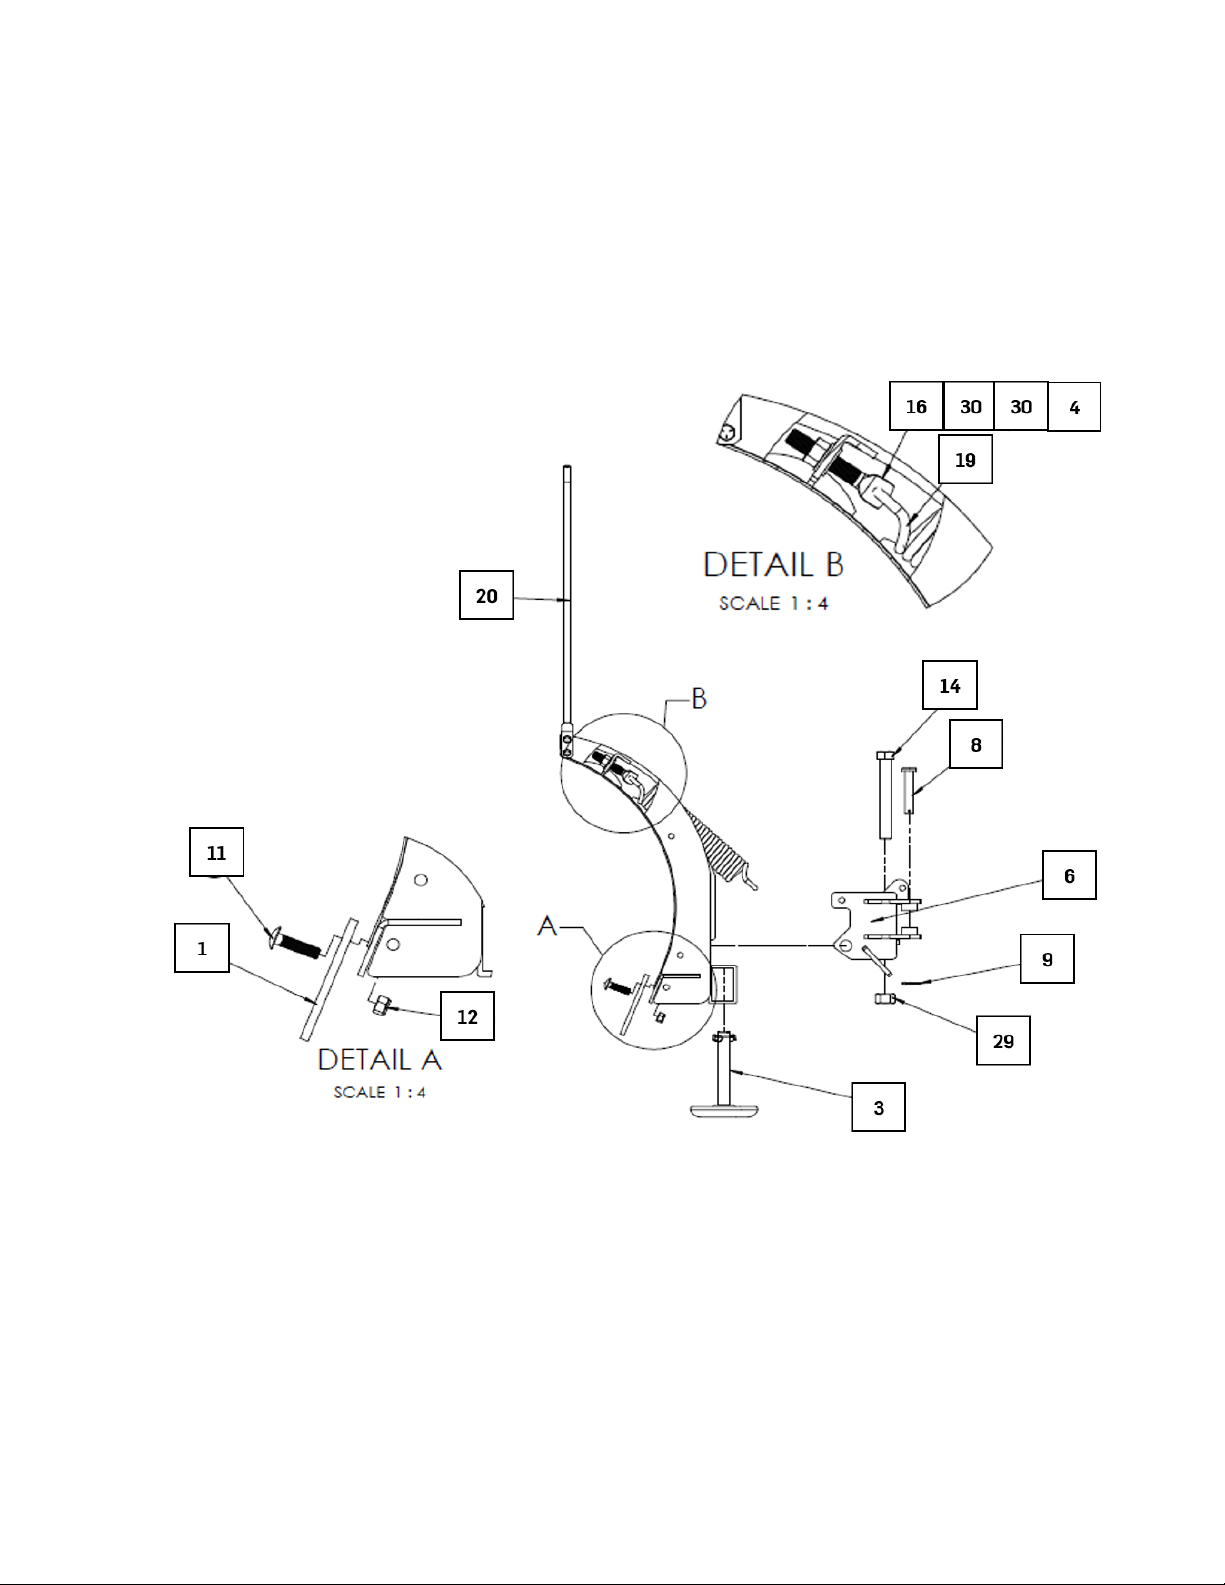
Detailed Parts Diagram
2
11

12
Detailed Parts List
Table 1 – Parts List
Item# Part#
Description
DC16
Blue Diamond Decal, Multi-Blade by Blue Diamond
DC17
Blue Diamond Decal
1
222043
Cutting Edge, 8’ with hardware
1
222042
Cutting Edge, 7’ with hardware
1
222041
Cutting Edge, 6’ with hardware
1
222040
Cutting Edge, 5’ with hardware
2
P20004-1
Moldboard Weldment, 8’, 2016 or newer
2
P20005-1
Moldboard Weldment, 7’, 2016 or newer
2
P20006-1
Moldboard Weldment, 6’, 2016 or newer
2
P20007-1
Moldboard Weldment, 5’, 2016 or newer
3
P20008
Wear Shoe Weldment
3
P20008-S
Wear Shoe Set, L & R, with Hardware
P20009
Spacer Kit for 20008
P20012
Klik Pin 20008
4
P20016
Locknut, 5/8 – 11
P20019
Decal, “DANGER PINCH AREA”
5
P20020-2
T-Frame Weldment , 2016 or newer
6
P20021-2
Quadrant Weldment, 2016 or newer
7
P20022-1
Universal Skid Steer Mount, 2016 or newer
8
P20029
Pin, ¾ x 3
9
P20030
Cotter Pin, 5/32 x 1¼
10
P20031
Angle Cylinder, Chrome rod
11
P20034
Carriage Bolt, 1/2 - 13 x 1-1/2", for Steel Cutting Edge
12
P20035
Hex Nut, 1/2", for Cutting Edge
13
P20036
Carriage Bolt, 1/2 - 13 x 2", for Poly Cutting Edge
P20037
8’ Polymer Cutting Edge Kit with hardware
P20038
7’ Polymer Cutting Edge Kit with hardware
P20039
6’ Polymer Cutting Edge Kit with hardware
P20040
5’ Polymer Cutting Edge Kit with hardware
14
P20041
Pivot Bolt, 1" x 7-1/2", 2016 or newer
15
P20042
Rubber Insert for T-Frame
16
P20043
5/8-11x4 Eyebolt
17
P25045
Grade C Locknut ½-13
18
P40007
Cotter Pin, 3/16 x 3
19
222133
Trip Spring, 6’-10’ New Style Ultra (15" long)
20
P50001
Blade Marker Guide Set
21
P50005
Ram Anchor Pin, Frame End

13
22
P50007
90° Restricted Angle Fitting
23
P50008
Hose Assembly, 78” long
P50008-B
Hose Assembly, 30" long, Crossover **
24
P50009-A
Adapter, #8 MJIC x #12 MORB, Hose to Coupler
25
P50009-B
Adapter, #6 MJIC x #10 MORB, Crossover to Hose **
P50010
ISO Flat Face Coupler Set
26
P50010F
ISO Flat Face Coupler, Female
27
P50010M
ISO Flat Face Coupler, Male
P60002
Crossover Relief Valve **
28
P60008
Carriage Bolt, 5/8-11 x 2-1/2 (for Poly Cutting Edge)
29
P60024
1" Grade C Locknut for Torsion and Parallel Plates
30
P60096
FLAT WASHER, 5/8" SAE
31
P50026
Hose Clamp Kit with hardware
32
P20048
Torsion Beam
33
P20049
Torsion Retainer Plate
34
P20047
Oscillation Lockout Kit, 2016 or newer **
**Optional upgrade items. Not on all Multi-Blades.

14
Snow Plow
Specifications
Table 2 – Specifications
Description
Pro-5.0
Pro-6.0
Pro-7.0
Pro-8.0
Blade Width
5’
6’
7’
8’
Blade Width at Full Angle
50”
59”
68.8”
78.6”
Blade Height
28”
28”
28”
28”
Weight
479#
541#
543#
638#
Gauge of Moldboard
12 Ga
12 Ga
12 Ga
12 Ga
Trip Springs
2 (4 opt.)
2 (4 opt.)
2 (4 opt.)
2 (4 opt.)
Wear Shoes
Yes
Yes
Yes
Yes
Cutting Edge (1085 High Carbon)
3/8” x 6”
3/8 x 6”
3/8 x 6”
3/8” x 6”
Angle Rams
1 ½” x 10
1 ½” x 10
1 ½” x 10
1 ½” x 10
Vertical Ribs
4
4
4
6
Moldboard Radius
15”
15”
15”
15”
Full Trip
Yes
Yes
Yes
Yes
Oscillation
Std.
Std.
Std.
St.d
Universal Skid Steer Mount
Std.
Std.
Std.
Std.
Trip Lock-Out
Std.
Std.
Std.
Std.
Blue Diamond Attachments Multi-Blade Accessories
Soft Touch Cutting Edge
Eliminate damage on brick, paver and other
delicate surfaces. Unlike rubber, there is no
maintenance required. Constructed of non-
marking and non-sparking proprietary high wear
polymer for maximum service life. Available for all
sizes of the Blue Diamond Attachments Multi-
Blades.
Poly Snow Deflector
Recommended for all light, fluffy snow conditions
and for all machines capable of 8 MPH or greater.
Available for all sizes of Blue Diamond
Attachments Multi-Blade.

15
Manufacturer’s
Warranty
Two-Year Limited Warranty
Warranty Claim
Exclusions of Warranty
B
lue Diamond Attachments LLC, hereinafter referred to as Blue Diamond
warrants new
Blue Diamond Multi-Blade at the time of delivery to the original
purchaser, to be free from defects in material and workmanship when properly
set up and op
erated in accordance with the recommendations set forth by Blue
Diamond
. Blue Diamond’s liability for any defect with respect to accepted
goods shall be limited to repairing the goods at a
Blue Diamond designated
location or at an authorized dealer location, or
replacing them as Blue Diamond
shall elect. The above shall be in accordance with
Blue Diamond warranty
adjustment policies.
Blue Diamond’s obligation shall terminate twenty-four (24)
months after the delivery of the goods to original purchaser including cutti
ng
edge breakage or wear. This warranty shall not apply to any machine or
attachment which shall have been repaired or altered outside the
Blue
Diamond
factory or authorized Blue Diamond dealership or in any way so as in
B
lue Diamond’s judgment, to affect its stability or reliability, nor which has been
subject to misuse, negligence or accident beyond the Company recommended
machine rated capacity.
To submit a warranty claim, a return authorization from
Blue Diamond must be
obtained. The failed part may then be
returned. Tampering with the failed part
may void the warranty. This warranty does not include freight or delivery charges
incurred when returning machinery for servicing. Dealer mileage, service calls,
and pickup/delivery charges are the customers’ res
ponsibility.
Except as otherwise expressly stated herein,
Blue Diamond makes no
representation or warranty of any kind, expressed or imp
lied, AND MAKES NO
WARRANTY
OF MERCHANTABILITY IN RESPECT TO ITS MACHINERY
AND/OR ATTACHMENTS ARE FIT FOR ANY PARTICULAR
PURPOSE. Blue
Diamond
shall not be liable for incidental or consequential damages for any
breach or warranty, including but not limited to inconvenience, rental of
replacement equipment, loss of profits or other commercial loss. Upon
purchase, the buyer a
ssumes all liability for all personal injury and property
resulting from the handling, possession, or use of the goods by the buyer.
No agent, employee, or representative of Blue Diamond has any authority to bind
Blue Diamond to any affirmation, representation or warranty concerning its
machinery and/or attachments except as specifically set forth herein.
This warranty does not cover abuse, modifications by others, or leaking hoses
due to improper routing, abrasion or pinching.
This warranty policy supersedes any previous documents.
No claims for warranty shall be considered unless warranty registration
has been completed within 30 days of purchase!
Table of contents
Other Blue Diamond Snow Blower Accessories manuals


