manuals.online logo
Brands
  1. Home
  2. •
  3. Brands
  4. •
  5. Cellsafe
  6. •
  7. GPS
  8. •
  9. Cellsafe GPS Smart Tracker SOS pendant User manual

Cellsafe GPS Smart Tracker SOS pendant User manual

Your GPS Smart tracker SOS pendant will come supplied with an
instrucon manual however we have simplied these instrucons
for you in this Quick User Guide. For more detailed informaon on
the features of your pendant please refer to the instrucon manual
supplied in the box.
How it works – in a nutshell
Your GPS Smart tracker SOS pendant can call loved ones with just
the push of a buon. It’s an SOS alarm that works anywhere – not
just when you’re at home like some other emergency devices.
When the SOS buon (the large buon on the front of the
device) is pressed for 3 seconds the pendant will vibrate and
then immediately send an SOS ‘Help Me’ SMS message and a
GPS locaon to your primary contact and then start to call all
emergency contacts (up to 8) even 000 can be a number. The
pendant has a speakerphone & microphone built in so your loved
one will hear the pendant calling the rst emergency contact
person and know help is on the way - when you answer, they can
talk back to you.
When you receive the emergency SOS text message ‘Help Me’
from your loved one it will show you the me and a link to a
Google Maps locaon, simply touch on the link and you will see
the map locaon of where your loved one is. Similar devices only
work on Wi-Fi and are only suitable for use around the home of
your loved one, this device works anywhere where there is mobile
phone coverage*.
Your GPS Smart Tracker SOS pendant is not just for the elderly, it
is ideal for the safety of children too.
Before you begin
Seng up your GPS Smart Tracker SOS pendant is simple, if
you have a mobile phone and know how to send an SMS then
you’re good to go. Using your mobile phone you will send SMS
commands to the pendant, the pendant will then in turn SMS
you back, clever huh? Use the one mobile phone for all the
programming and set that number as your rst emergency contact
before connuing any further. If you then want to change your
rst emergency contact to a dierent number, do that only aer all
the programming has been done.
Your GPS Smart Tracker SOS pendant will come with an ALDI
Mobile (Telstra) SIM card already inserted by Cellsafe. To save you
ddling around removing the screws on the back of the device
we have already done this for you. Of course you can change the
SIM card to a dierent Telstra carrier (Boost Mobile, Woolworths
Mobile etc.) if you wish but note the device supports 850 /
1900Mhz only which are the frequencies used by Telstra.
Please follow the instrucons on the SIM card envelope supplied
to acvate your ALDI Mobile SIM card before you begin seng up
the pendant. You will also need to load credit on to the account.
When you acvate your SIM, be sure to select ‘phone’ and not
‘device / tablet’ which is just data only. Make sure you keep an
eye on your credit each month and ensure there’s always enough
credit available.
Be safer with Cellsafe®
www.cellsafe.com.au
GPS Smart Tracker
3G/4G
SOS Pendant
Quick Reference User Guide
Help at the push of a buon.
Anywhere, anyme
Acvated your SIM card with with ALDI Mobile?
Loaded some credit onto your account?
Charged the device?
Great! Then let’s start.
Be safer with Cellsafe®
www.cellsafe.com.au
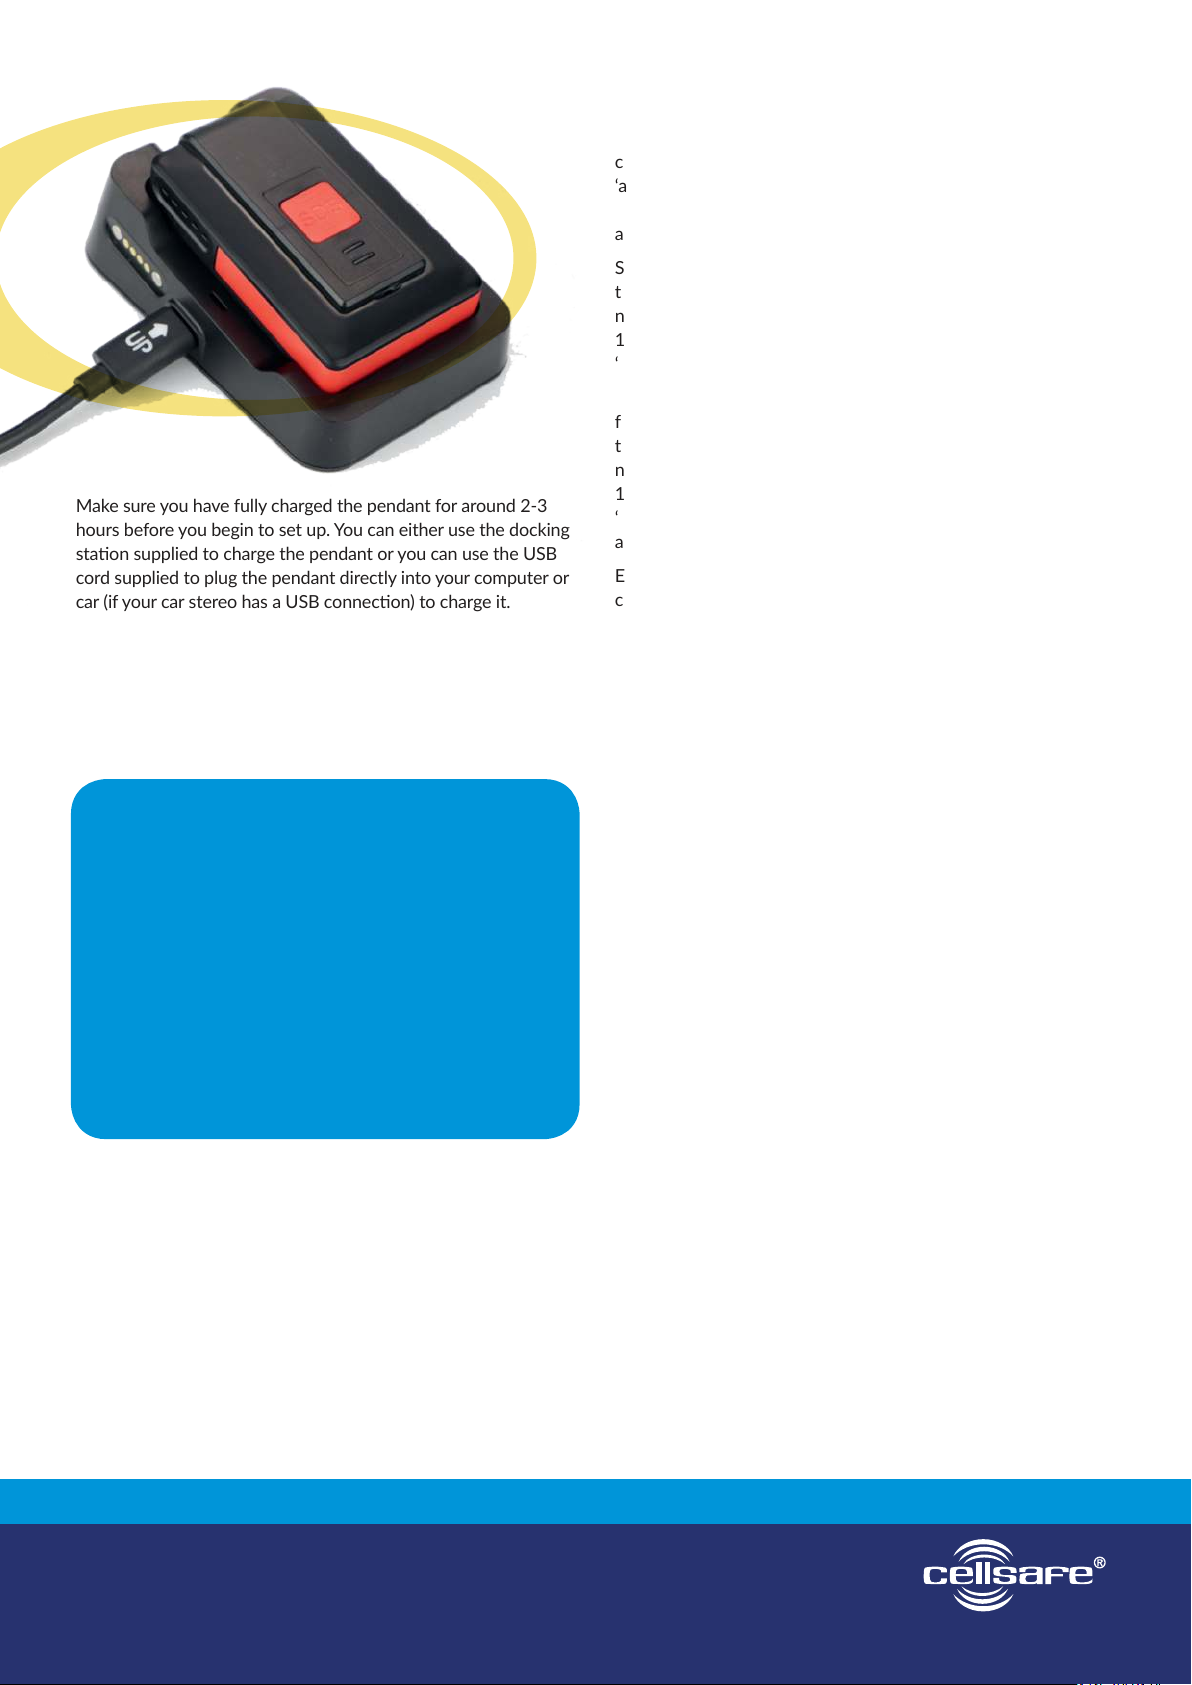
Make sure you have fully charged the pendant for around 2-3
hours before you begin to set up. You can either use the docking
staon supplied to charge the pendant or you can use the USB
cord supplied to plug the pendant directly into your computer or
car (if your car stereo has a USB connecon) to charge it.
Enter the GPS Smart Tracker pendant phone number as a contact
into your mobile phone, you might like to call it ‘Mum’s SOS
Tracker’ or something along those lines. The phone number for
the pendant will be provided by ALDI Mobile when when you
acvate the SIM card.
Entering the emergency contact phone numbers
You can enter up to 8 contacts into the pendant, you do not
need to enter all 8 – you may only want to enter 2 or 3, that’s
enrely up to you. We suggest the last contact you enter is
‘000’ in the event none of the emergency contacts can be
reached. The device will then call the rst emergency contact,
if the rst emergency contact does not answer the call, it will
then move on to the next contact and so on. Please note, if a
call to the emergency contact goes to voicemail this is considered
‘answered’ so if the primary contacts use voicemail on their
mobile you will need to turn on voicemail recognion. More
about this later.
Send the following SMS to the pendant 123456A1….comma…
then the phone number. Let’s assume your rst contact’s phone
number is 0444 123 456 – your SMS command prompt will be
123456A1,0444123456 The pendant will send you back an SMS
‘1TEL OK!0444123456’
Now you can enter your next phone number by sending the
following SMS to the pendant 123456A2….comma… then
the phone number. Let’s assume your second contact’s phone
number is 0444 123 457 – your SMS command prompt will be
123456A2,0444123457 The pendant will send you back an SMS
‘Set mobile number 2 OK!’. The SMS commands are case sensive
and there should be no spaces.
Enter your 3rd, to 8th contact the same as above using the
command prompt A3…A4…. etc.
We suggest the last number you enter is 000 in the unlikely event
the pendant has called all emergency contact numbers and none
of the contacts have responded.
Checking the locaon of your loved one
You can check the locaon of your loved one at any me by
sending an SMS to the pendant. Simply SMS… 123456F to
the pendant and the pendant will reply to you with the date &
me and a link to a Google Maps locaon, simply touch on the
link and you will see the map locaon of where your loved one
is. Note that it is on oence to locate a person without their
consent. Please refer to Surveillance Devices Act in your state for
more informaon on this.
Fall detecon
The pendant can be set to nofy your emergency contacts in the
event of a fall without the user having to press the SOS buon.
The sensivity level needs to be selected rst, the suggested
sensivity is around 050. To turn on this funcon simply SMS
123456KL050 to the device. The device will reply ‘SET Low-g
Threshold OK!’. You can also adjust the sensivity of the fall
detecon - refer to Page 18 in the user guide.
The fall down alarm needs to sense height, impact and angle. As
there is the possibility of the pendant not registering the fall it is
recommended the user always presses the SOS buon when they
have an emergency and require assistance.
Turning the device on & o
Press the side buon for 3 seconds unl the device vibrates
and the yellow indicator ashes, the device is now on. If you
ever need to turn the device o simply
press the side buon for 3 seconds unl the device vibrates
and both indicator lights ash at the same me, the device is
now o.
Now the device will need to get an inial GPS locaon so you
might like to take it outside so it can x onto satellites. This
will only take a few seconds.
Low baery
A fully charged baery will last around 3-7 days in normal mode.
If you have been making & receiving calls on the pendant the
baery will run down much quicker depending on how much
use it’s had (much like your mobile phone). When the baery is
geng low an SMS will be sent to your emergency contacts to
let them know the pendant needs to be re-charged.
Voicemail Recognion
If the rst emergency contact doesn’t answer and the call goes
to their voicemail, the device will register this as an answered call
and will not move on to the next emergency contact. We suggest
turning on the voicemail recognion feature so if an emergency
call goes to voicemail, the device will then call the second
emergency contact. Send an SMS 123456Q4,1 the device will
then reply ‘Set voice mail box det OK!
Incoming calls
You can make a call to the device at any me by just dialling
the number, the device will then ring 4 mes and then answer
automacally, the wearer doesn’t need to press any buons to
answer.
To change (extend) the number of rings before the device goes
to Messagebank, remove the SIM card from the device, placing it
inside a mobile phone and follow the steps.
For more informaon on your device please refer to the
instrucon manual supplied.
*Within the Telstra 3G, 4G & LTE mobile coverage (98.5% of Australia).
Be safer with Cellsafe®
www.cellsafe.com.au
For iOS
To extend the ring me, enter the following sequence on
your phone, followed by the number of seconds you wish
your phone to ring for, then hash.
1. Press **61*101**[15, 20, 25 or 30]#.
2. Press the call/send buon.
For Android
To extend your ring me, you’ll need to make a note of and
then dial a code involving your forwarding number.
1. Dial *#61#.
2. It will display the number the calls are
forwarded to and the current ring me.
Write down the forwarding number.
3. Dial **61*+1xxxxxxxxxx*11*30# (where
xxxxxxxxxx is the number displayed
previously and 30 is the new ring me
– you can pick 15, 20, 25 or 30).
4. Dial *#61# to check the new sengs.

Popular GPS manuals by other brands

Teletype 2151 Series Installation and operating instructions

Teletype

Teletype 2151 Series Installation and operating instructions

iStartek VT900 user guide

iStartek

iStartek VT900 user guide

MLR FX312 user manual

MLR

MLR FX312 user manual

Brunton Atlas Operation instructions

Brunton

Brunton Atlas Operation instructions

PATCHWORK BlackBox air installation guide

PATCHWORK

PATCHWORK BlackBox air installation guide

SkyGolf SkyCaddie SG5 user guide

SkyGolf

SkyGolf SkyCaddie SG5 user guide

SUNGOO 43.01 user manual

SUNGOO

SUNGOO 43.01 user manual

Thompson TBLS 405 user manual

Thompson

Thompson TBLS 405 user manual

Keomo Solar Bluetooth GPS Receiver user manual

Keomo

Keomo Solar Bluetooth GPS Receiver user manual

Garmin GPSMAP 420 owner's manual

Garmin

Garmin GPSMAP 420 owner's manual

Nextar M3-RE Software guide

Nextar

Nextar M3-RE Software guide

Multilaser GP011 user manual

Multilaser

Multilaser GP011 user manual

Humminbird 383c Operation manual

Humminbird

Humminbird 383c Operation manual

Neomatica ADM700 3G Operation manual

Neomatica

Neomatica ADM700 3G Operation manual

AutoConnect AC1302GPS Quick install guide

AutoConnect

AutoConnect AC1302GPS Quick install guide

Garmin NUVI 1490TV Quick start manual

Garmin

Garmin NUVI 1490TV Quick start manual

Modecom FreeWay MX3 user manual

Modecom

Modecom FreeWay MX3 user manual

Nextar P3 Hardware manual

Nextar

Nextar P3 Hardware manual

manuals.online logo
manuals.online logoBrands
  • About & Mission
  • Contact us
  • Privacy Policy
  • Terms and Conditions

Copyright 2025 Manuals.Online. All Rights Reserved.