4
FIRING THE FURNACE
The furnace comes equipped with a digital temperature
controller which controls the water temperature at which
the furnace damper shuts down. The controller allows the
furnace to operate with a water temperature within a range
of 150-195° F.
CAUTION
CHECK WATER LEVEL! Be sure water is at the
FULL mark before firing.
CAUTION
If the furnace boils hard, be sure to check the water
level and restore to the correct level if needed.Add
Corrosion Inhibitor as needed.
The first time you fire the furnace, place dry kindling
wood near the middle of the firebox. Use a smallamount of
paper to light the fire.Add larger pieces of wood to the fire
but do not fill the firebox completely. When the water
temperature reaches the controller setting (185° F) and the
damper closes, let the furnace cycle a few times to be sure
it is operating properly; then the furnace may be filled with
more wood.After a few days of operation you will begin to
know how much wood is needed each day. If you only fill
the amount needed, it is easier to stir the ashes along the
sides of the firebox and pull them forward (see Firebox
Maintenance).
NOTE: Be sure to clean and inspect the firebox as
outlined in Section 2, Firebox Maintenance.
CAUTION
Failure to clean the firebox as indicated will result
in accelerated corrosion.
Periodically during the normal operation of the furnace,
look at the water temperature display on the furnace. It
should read the same temperature as the controller setting
(185° F). If the reading is 212° F or above, this indicates
eitheralow-water condition or a malfunctioningtemperature
controller or snap disc (unless the door and/or damper are
open or not sealing properly). If the condition persists and
the water level is correct, call your dealer for service.
Filling the Firebox
Prior to filling the firebox with wood, always pull the
hot coals forward to the draft area (front and center of the
firebox). When hot coals are pulled to the draft area before
filling wood each time, the added wood ignites faster as the
combustion air is forced through the hot coals and into the
newly added wood. If the coals are pushed to the back, a
less efficient burn will result. If needed to extend the burn
time, the furnace may be completely filled.
When filling the firebox with wood, use the following
procedure.
1. Unlatch the door; then as the door is opened, step back
from the furnace. From a distance, observe the fuel
load. Stay as far away from the furnace as possible
especially if large amounts of wood and coals are
present.
Section 1 - Operating Instructions
OPERATING CLEARANCES AND
PRECAUTIONS
Please read and observe the following information
carefullybeforeoperatingthe Classic outdoor wood furnace.
WARNING
Never fire the furnace if the water level is below
the FULL mark.
1. The Classic is to be fueled with untreated wood only.
Do not burn garbage, gasoline, rubber, engine oil,
naphtha, plastics, treated wood, or combustibles other
than wood.
2. Do not use chemicals or fluids to start the fire. Use
only paper and kindling to start an initial fire. Existing
coals left in the firebox will restart the fire after
reloading the furnace.
3. Do not store wood or other combustibles within the
installation clearances listed in Section 3. Be sure to
leave a safe amount of room to load the firebox and
clean out ashes without causing a fire hazard. Keep
the area around the furnace clear of combustible
materials. For fire safety, we recommend
maintaining a 6 foot clearance to all combustible
materials especially around door and draft areas.
Debris of wood chips and other combustibles in
the loading area may very easily be ignited if a
hot coal is spilled out of the firebox and left
unnoticed.
4. This furnace is not to be used with an automatic stoker.
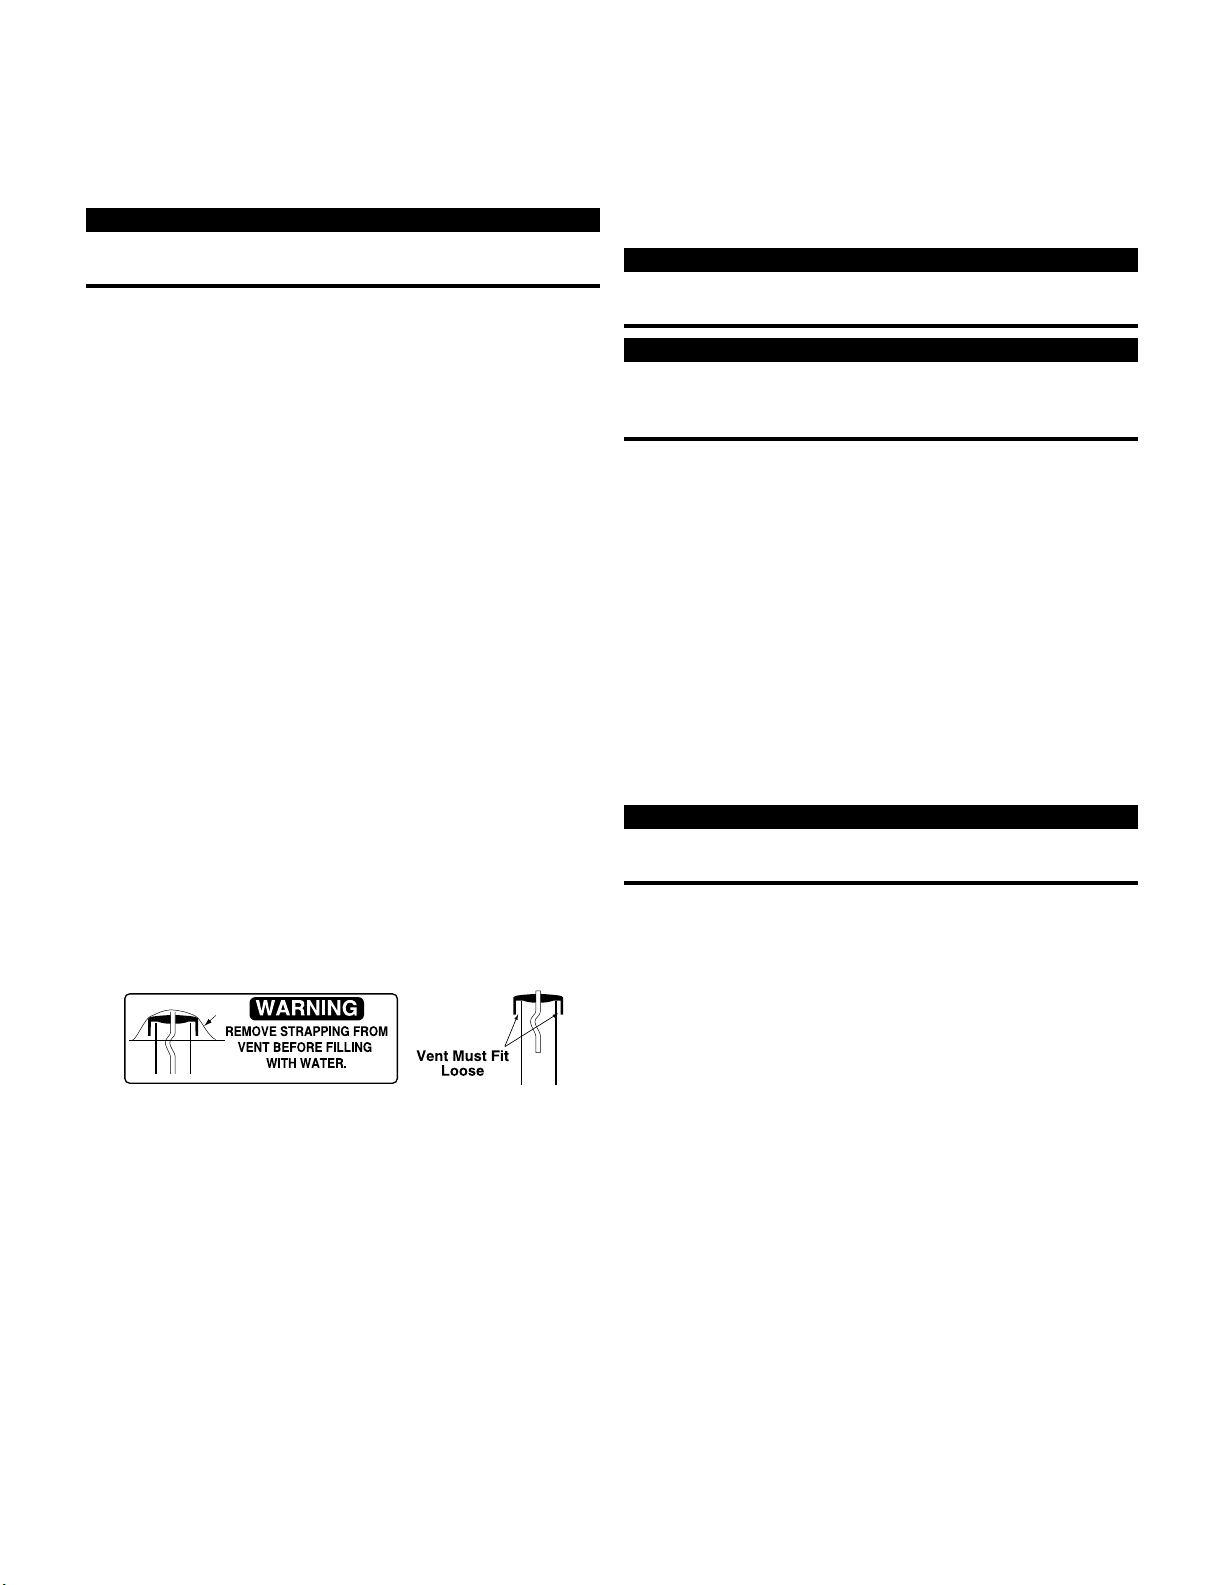
5. The furnace must not be allowed to pressurize. The
vent cap is to be inspected periodically for any
obstructions or restrictions. The vent cap must fit
loosely over the vent. Do not extend or connect
anything to the vent pipe.
Fig. 1
6. All cover plates, enclosures, and guards must be secured
at all times except during maintenance, inspection,
and servicing.
7. When replacing a light bulb, use a 40 watt appliance
bulb. Do not install a bulb in excess of 60 watts.
8. In case of a power outage, either a small generator or
12V battery and a power inverter can maintain enough
electricity to operate the system.
9. If any questions should arise that cannot be answered
by the information in this manual, be sure to contact
either your dealer or heating contractor.
SECTION 1 - OPERATING INSTRUCTIONS