Chateau CW 18 SNS User manual

1
INSTRUCTION MANUAL
WINE COOLER
Model Number:
CW 18 SNS
CW 36TH SNS
CW 50TH SNS
CW 100TH SNS
CW 1682TH SNS
CW 1682TH DNS
PLEASE READ THIS MANUAL CAREFULLY BEFORE USING THIS PRODUCT
PLEASE FOLLOW ALL SAFETY RULES AND OPERATING INSTRUCTIONS

2

3
Dear Customer,
Thank you for having purchased and given your preference to our product. This manual provides a means to
make full use of the features of this appliance. We recommend that you read this manual for best
performance and to extend the life of your appliance.
Please preserve this manual for future use, in the event that doubts arise relating to the operation.
IMPORTANT SAFETY INSTRUCTIONS
DISPOSAL OF OLD APPLIANCES
Before disposing of an old appliance remove any plugs and power supply to ensure that the appliance is safe
to be removed.
This appliance must not be discarded as general household waste.
Instead it should be handed over to the applicable collection point for recycling of electrical and electronic
component Disposal must be carried out in accordance with local environmental regulations for waste
disposal.
By disposing this product correctly help preventing potential negative consequences for the environment and
human health, which would otherwise be caused by inappropriate waste handling of this product.
Warning: When disposing of an old appliance, make sure that the evaporator and the coil is not
damaged and there is no gas leak.
BEFORE INSTALLING AND USING YOUR NEW APPLIANCE
Warning: Before turn on the appliance, please leave the door open for 5 minutes to ventilate the
cabinet.
Read through the instructions supplied with the appliance – failure to install or use this appliance in
accordance with the instruction book may invalidate any warranty.
Do not install this appliance if it has been damaged during transportation. This includes the plug and supply
cord.
Please keep these instructions in a safe place for future reference.
The company declines all responsibilities in case of incorrect installation or failure to adopt
proper safety measures or stated in this manual.
Note: This appliance is intended to be used exclusively for the storage of wine.

4
IMPORTANT SAFETY INSTRUCTIONS
To prevent damage to the door and door gasket, make sure the door is fully opened before pulling out
any shelves.
Do not move the Wine Cabinet when it is loaded with wine, this might damage the appliance.
If the power cord and plug is damaged it should only be replaced by the manufacturer or a suitably
qualified person.
Never allow children to operate, play with, or crawl inside the appliance.
Never clean appliance parts with flammable fluids.
Do not store or use gasoline or any other flammable vapours and liquids in the vicinity of this or any other
appliance. This can create a fire hazard or explosion.
Warning:Do not allow the refrigerant circuit to become damage while using or installing the
appliance. Should it become damage, do not use the appliance until you are instructed to do so by a
qualified technical personnel. Refrigerant can ignite or cause damage to the eye when leaking.
Always remember to unplug the appliance before cleaning. When disconnecting from the electricity
supply, pull the plug, not the power cord.
Do not use anything electrical inside the Wine Cabinet.
All electrical repairs must be carried out by qualified technical personnel. Improper repair may result in a
major source of danger for the user and invalidate any warranty.
Never store anything dangerous inside the appliance, such as combustibles, explosives, strong acid or
alkali etc.
Always keep any ventilation openings clear of obstruction. Make sure that the plug is accessible
Only use this appliance for domestic purposes in accordance with these instructions.
The Wine Cabinet is suitable for storing wine (or other bottled beverages). It is not suitable for storing
fresh or frozen foods.
Children shall not play with the appliance. Cleaning and user maintenance shall not be made by children
without supervision.
This appliance can be used by children aged from 8 years and above and persons with reduced physical,
sensory or mental capabilities or lack of experience and knowledge if they have been given supervision or
not play with the appliance. Cleaning and user maintenance shall not be made by children without
supervision.
Children aged from 3 to 8 years are allowed to load and unload wine cooler.
To avoid contamination of wine, please respect the following instructions:
oOpening the door for long periods can cause a significant increase of the temperature in the
compartments of the appliance.
oClean regularly surfaces that can come in contact with bottles and accessible drainage systems.
oIf the refrigerating appliance is left empty for long periods, switch off, defrost, clean, dry, and leave the
door open to prevent mould developing within the appliance.
If the refrigerant of these appliances is R600a, flammable and explosive articles should not be put in or
near the cabinet, to avoid the fire or explode caused.

5
PRODUCT DIMENSIONS AND CAPACITY
Model Dimensions Capacity
CW 18 SNS W 295 x D 570 x H 820 mm 59 L
CW 36TH SNS W 380 x D 595 x H813 mm 90L
CW 50TH SNS W 595 x D 577 x H 820 mm 146L
CW 100TH SNS W 595 x D 680 x H 1392 mm 323 L
CW 1682TH SNS W 595 x D 680 x H 1767 mm 428 L
CW 1682TH DNS W 595 x D 680 x H 1767 mm 416 L
INSTALLATION OF YOUR WINE CABINET
Remove the exterior and interior packing.
Note: Before connecting the Wine Cabinet to the power source, let it stand upright for approximately 2
hours. This will reduce the possibility of a malfunction in the cooling system from handling during
transportation.
Clean the interior surface with lukewarm water using a soft cloth.
Place your Wine Cabinet on a floor that is strong enough to support it when it is fully loaded. To level
your Wine Cabinet, adjust the front levelling foot at the bottom of the Wine Cabinet.
Locate the Wine Cabinet away from direct sunlight and sources of heat (stove, heater, radiator, etc.).
Direct sunlight may affect the acrylic coating and heat sources may increase electrical consumption.
Extreme cold ambient temperatures may also cause the unit not to perform properly.
Avoid locating the Wine Cabinet in moist areas.
Condensation may occur if the ambient humidity is too high.
The Wine Cabinet should be positioned at a place where the ambient temperature is between 5°C and
35°C. If the ambient temperature is above or below this range, the performance of the unit may be
affected. Placing the appliance in extreme cold or hot conditions may cause the interior temperatures to
fluctuate and the range of setting temperatures may not be reached.
Plug the Wine Cabinet into an appropriate socket. Should the plug require changing, use the instructions
as given in the Electrical Requirements section.

6
REVERSING THE DOOR SWING OF YOUR APPLIANCE
The default door opening for the appliance is from the left side. Should you desire to reverse the opening
direction, please follow the below instructions.
For CW 18 SNS,CW 36TH SNS
①Bottom hinge (Right) ②Screws ③Door axis
④Door ⑤Top hinge (Right) ⑥Lock screws
Top hinge (Left) Bottom hinge (Left)
• Remove 2 screws ②at the bottom of the glass door and-then pull the door ④forward as per the
arrowhead direction (Fig.A & Fig.B)
• Remove 3 lock screws⑥at the right upper hinge (Fig.C), then remove the right upper hinge ⑤and
right lower hinge①
• Use the screws removed from the right side hinges to fix left upper & bottom hinges(change symbol)
(Fig.D & Fig.E)
• Assemble the door as per the reverse way of removal.
• Adjust the supporting leg if necessary to ensure the appliance leveled with the floor
Fig
Fig
Fig Fig
Fig

7
For CW 50TH SNS / CW 100TH SNS / CW 1682TH SNS / CW1682TH DNS
1. Open the glass door and remove the two screws under the right bottom corner of the glass door that
are used to hold the right lower hinge to the glass door. Be careful to hold the glass door with hands
from dropping after removing the screws.
2. Pull down to remove the glass door and place it on a padded surface to prevent scratching it.
3. Remove the door shaft from the right upper hinge. Install the new left door shaft that from the plastic
bag includes the instruction manual and tighten it on the left upper hinge.
4. Remove the right lower hinge supporter with the adjusting washer. Install the left lower hinge
supporter from the plastic bag that includes the instruction manual. Make sure to put the adjusting
washers at the designated position.
5. Locate the glass door to the designated position making sure that the door shaft enters the door
hole at the left upper corner of the glass door. Install the two screws that are used to connect the left
lower hinge with the glass door and tighten them before the door is leveled. Then remove the handle
from the left side and install it on the right side of the glass door.

8
OPERATING YOUR WINE CABINET
The Wine Cabinet should be placed in where the ambient temperature is between 0-35℃(32-95 Fahrenheit).
If the ambient temperature is above or below this range, the performance of the unit may be affected. For
example, placing your unit in extreme cold or hot conditions may cause interior temperatures to fluctuate.
The range of 5-18℃(40-65 Fahrenheit) may not be reached.
Condensation appeared on the outer surface of the glass door of the wine cabinet:
When water vapour from the air comes into contact with the cold surface of the glass door, the water vapour
condenses on the surface of the glass. This will cause a foggy effect or in extreme situations, water can even
flow off. It indicates expressive humidity in the environment.
Recommended temperatures for Chilling Wine:
Red Wines: 15-18°C (59-64.40F)
Dry /White Wines: 9-14°C (48.2-57.20F)
Sparkling Wine: 5-8°C (41-46.40F)
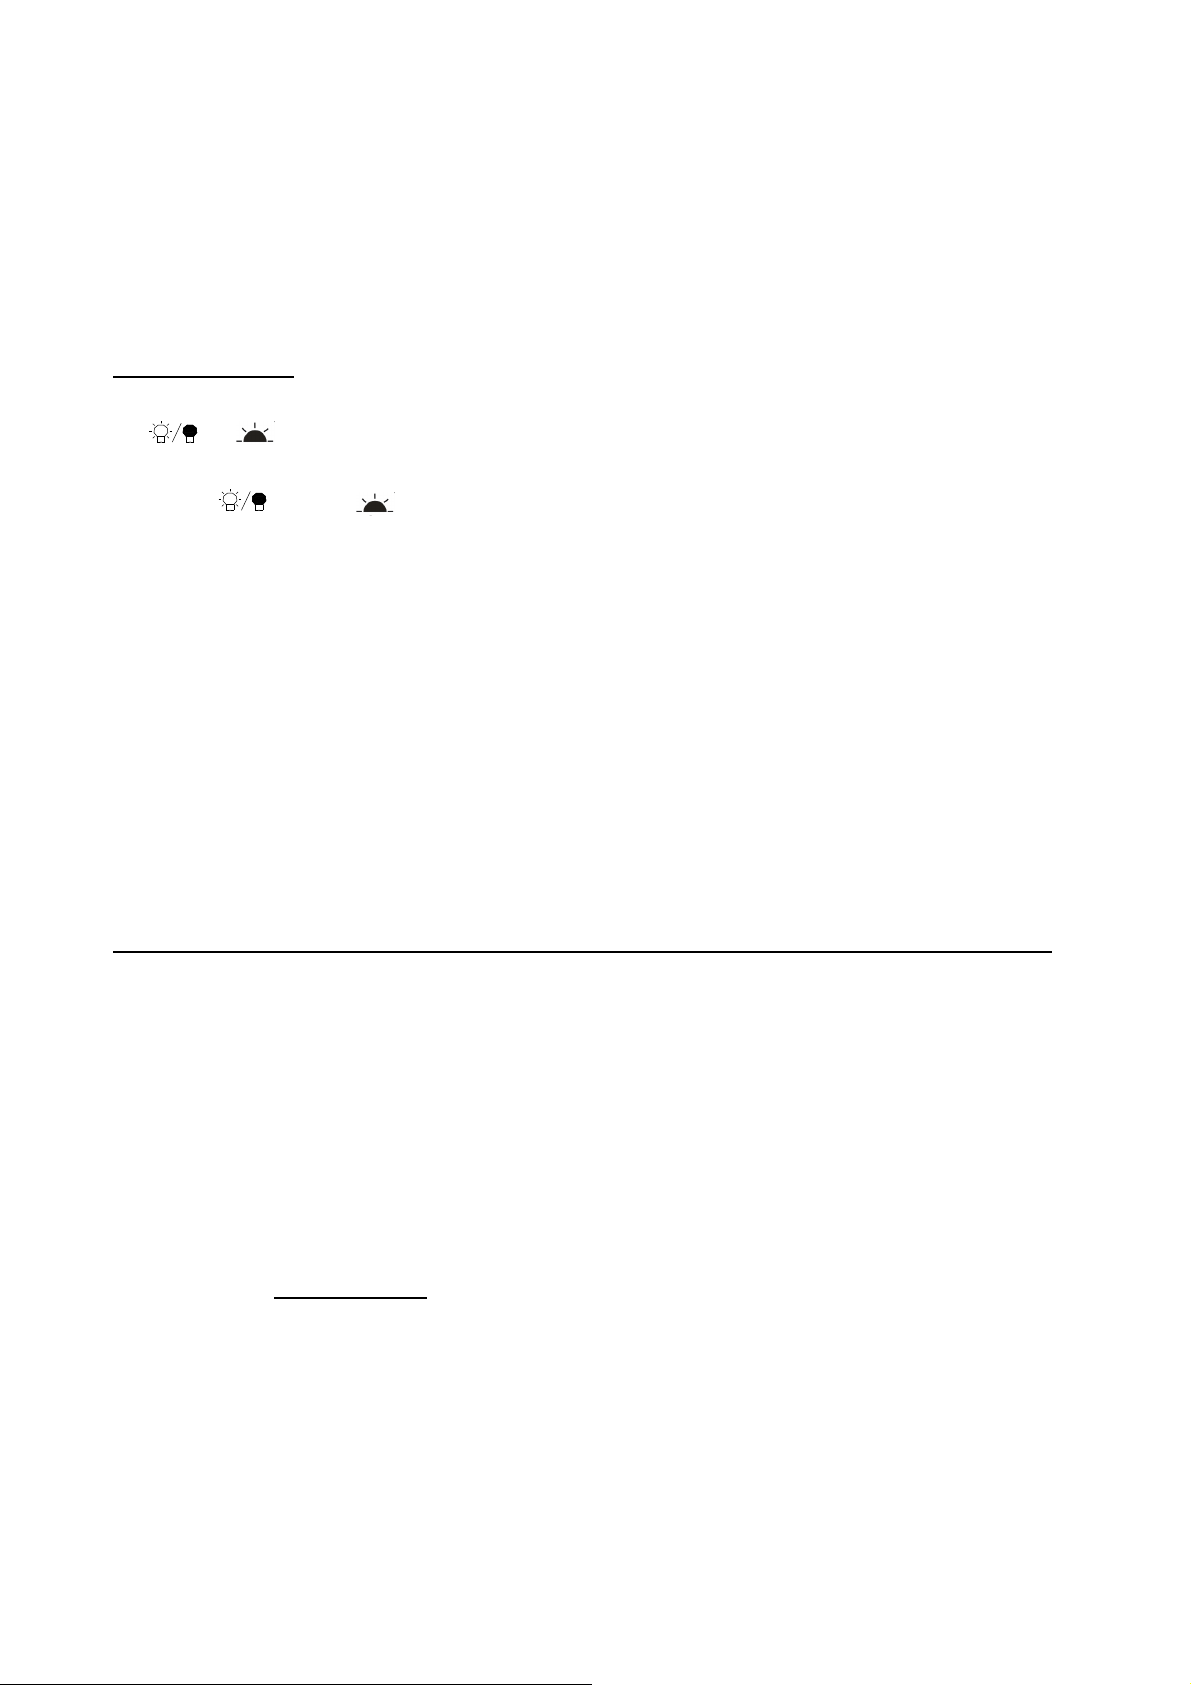
CW 18 SNS
“RUN”
Indicator light illuminates to signify the cooling mode is currently in operation.
“LIGHT “Button
To control the inner light turn on/off.
“POWER” Button
To turn ON/OFF the appliance, press and hold the button for approximately 3 seconds.
“DISPLAY”
To show the temperature of the internal cabinet.
“UP” Button
To increase the temperature setting (warmer)
“DOWN” Button
To reduce the temperature setting (cooler)

9
CW 36TH SNS,CW 50TH SNS,CW100TH SNS,CW 1682TH SNS
RUN
Indicator light illuminates to signify the cooling mode is currently in operation.
Light Button
To control the inner light turn on/off.
Power Button
To turn ON/OFF the appliance, press and hold the button for approximately 3 seconds.
Up Button ▲
To increase the temperature setting (warmer)
Down Button ▼
To reduce the temperature setting (cooler)
The temperature setting can be adjusted from 5 to 18
CW 1682TH DNS
Upper Chamber: The temperature setting can be adjusted from 5℃to 10℃.
Lower Chamber: The temperature setting can be adjusted from 10℃to 18℃.
Run
Indicator light illuminates to signify the cooling mode is currently in operation.
Power Button
To turn ON/OFF the appliance
Light Button
To control the inner light turn on/off.
Temperature Setting for Upper Chamber
To lower the temperature setting for upper zone
Temperature Setting for Lower Chamber
To lower the temperature setting for lower zone
10
NOTE:
If the unit is unplugged, power lost, or turned off, you must wait 3 to 5 minutes before restarting the unit.
If you attempt to restart before this time delay, the Wine Chiller will not start.
When you use the wine chiller for the first time or restart the wine chiller after having been shut off for a
long time, there could be a few degrees variance between the temperature you select and the one
indicated on the LED readout. This is normal and it is due to the length of the activation time. Once the
wine chiller is running for a few hours everything will be back to normal.
Interior Light - LED
You can turn the interior light ON or OFF by pushing the button marked with the “bulb” symbol
or – LIGHT button
The LED light will be turned off automatically after 10 minutes to save energy. Press the button with “bulb”
symbol or again to turn the light on.
The LED light can be remained “ON” continuously by pressing and holding the “LIGHT” button
for 5 seconds and the display will show "LP". After 4 seconds, the display will revert back to normal and
the light will remain “ON” until manually switched off.
To revert back and conserve energy (recommended), press and hold the "LIGHT" button again for 5
seconds, the display will show "LF". After 4 seconds, the display will revert back to normal, and the light
will be automatically switched off after 10 minutes.
Remarks:
The actual temperatures may fluctuate depending on whether the interior bulb is turned on or whether the
bottles are located on the upper/middle or lower section
Door Lock For CW 50TH SNS, CW 100TH SNS,CW 1682TH SNS,CW 1682TH DNS
Your appliance is provided with a lock and key combination.
The keys are located inside the plastic bag that contains the User’s Guide. Insert the key into the lock and
turn it counterclockwise to unlock the door. To lock the door do the reverse operation making sure metal pin
is engaged completely. Remove the key and place it in a secure place for safekeeping.
REMOVING OF WOODEN SHELF
CW 18 SNS/CW 50TH SNS
To prevent damaging the doors or gasket, make sure to open the door all the way before pulling the shelves
out of their track.
For easier handling of bottles, it is necessary to pull the shelf out by at least 1/3. The sides of the shelves are
equipped with protective stoppers which prevent bottles from falling from the shelves.
When removing/inserting the shelves from/into the shelf track, lift one side of the shelf as shown in the
picture below and pull the shelf out towards you, or push it in when inserting it, until one side is securely
seated on the shelf track.

11
CW 36TH SNS ,CW 100TH SNS,CW 1682TH SNS,CW 1682TH DNS
Open the door completely.
If necessary, make sure you remove all the contents on the shelf.
Pull the shelf forward until the notch aligns with the metal post on each side of the shelf track.
Lift the shelf until both notches pass through the posts.
Continue to pull the shelf forward until it is completely removed from the inner compartment.
GENERAL MAINTENANCE
Cleaning Your Wine Cabinet
Turn off the power, unplug the appliance, and remove all items including shelves and rack.
Wash the inside surfaces with a warm water and baking soda solution. The solution should be about
2 tablespoons of baking soda to a quart of water.
Wash the shelves with a mild detergent solution.
Wring excess water out of the sponge or cloth when cleaning area of the controls, or any electrical
parts.
Wash the outside cabinet with warm water and mild liquid detergent. Rinse well and wipe dry with a
clean soft cloth.
Power Failure
Most power failures are resumed within a few hours and should not affect the temperature of your
appliance if you minimize the number of times the door is opened. If the power is going to be off for a
longer period of time, you need to take the proper steps to protect your contents.

12
Vacation Time
Short vacations: Leave the Wine Cabinet in operation for vacation less than three weeks.
Long vacations: If the appliance will not be used for several months, remove all items and turn off the
appliance. Clean and dry the interior thoroughly. To prevent odor and mold growth, leave the door open
slightly.
Moving Your Wine Cabinet
Remove all items.
Securely tape down all loose items (shelves) inside your appliance.
Turn the adjustable leg up to the base to avoid damage.
Tape the door shut.
Be sure the appliance stays secure in the upright position during transportation. Also protect outside
of appliance with a blanket, or similar item.
Energy Saving Tips
The Wine Cabinet should be located in the coolest area of the room, away from heat producing
appliances, and out of the direct sunlight.

13
PROBLEMS WITH YOUR WINE CABINET?
Try the suggestions below to see if you can solve the problem before calling the customer service center
TROUBLESHOOTING GUIDE
PROBLEM
POSSIBLE CAUSE
Wine Cabinet does not operate.
Not plugged in.
The appliance is turned off.
The circuit breaker tripped or a blown fuse.
Wine Cabinet not cold enough.
Check the temperature control setting.
External environment may require a higher setting.
The door is opened too often.
The door is not closed completely.
The door gasket does not seal properly.
Turns on and off frequently.
The room temperature is hotter than normal.
A large amount of contents has been added to the
wine Cabinet.
The door is opened too often.
The door is not closed completely.
The temperature control is not set correctly.
The door gasket does not seal properly.
The light does not work.
Not plugged in.
The circuit breaker tripped or a blown fuse.
The bulb has burned out.
The light button is “OFF”.
Vibrations. Check to assure that the Wine Cabinet is levelled to
the floor.
The Wine Cabinet is noisy
The rattling noise may come from the flow of the
refrigerant, which is normal.
As each cycle ends, you may hear gurgling sounds
caused by the flow of refrigerant in your Wine Cabinet.
Contraction and expansion of the inside walls may
cause popping and crackling noises.
The Wine Cabinet is not leveled.
The door cannot close properly.
The Wine Cabinet is not leveled.
The door was reversed and not properly installed.
The gasket is dirty.
The shelves are out of position.
Condensation on the Glass It indicates expressive humidity in the environment – in
extreme situation, water can even flow out.

14
If the problem persists after the above rectifications or if the appliance is not functioned properly, please
contact our customer care center for assistance.
Please get ready the model number of your appliance, date of purchase and the product issues when
contacting our customer care center. For appliances under warranty, proof of purchase is required.
Please register your warranty online via the below link or scan the QR quote
https://www.123formbuilder.com/form-4457082
Please note:
Casa (S) Pte Ltd reserves all rights to the final interpretation of the content of this manual.
Customer will not be notified in the event of any amendments to the content.
The manufacturer and agent decline all responsibilities in the event of damage
caused by improper, incorrect or illogical use of the appliance.
Contact customer care center when in doubt of the condition of the appliance.
For customer care / after sales service [Singapore], please contact
Casa (S) Pte Ltd
15 Kian Teck Crescent, Singapore 628884
Telephone: +65 6268 0077
Fax: +65 6898 0510
Email: service@casa.com.sg
This manual suits for next models
5
Table of contents
Popular Wine Cooler manuals by other brands


CONTINENTAL EDISON
CONTINENTAL EDISON LA NOUVELLE CAVE CECWC84B Instruction booklet

GE
GE Monogram ZDWC240 owner's manual

eta
eta 952890010 Instructions for use

Danby
Danby DWC93BLSDB Owner's use and care guide

Miele
Miele KWT 2662 ViS Operating and installation instructions

Kalorik
Kalorik Chambrer WineBar with Dual Zone operating instructions


