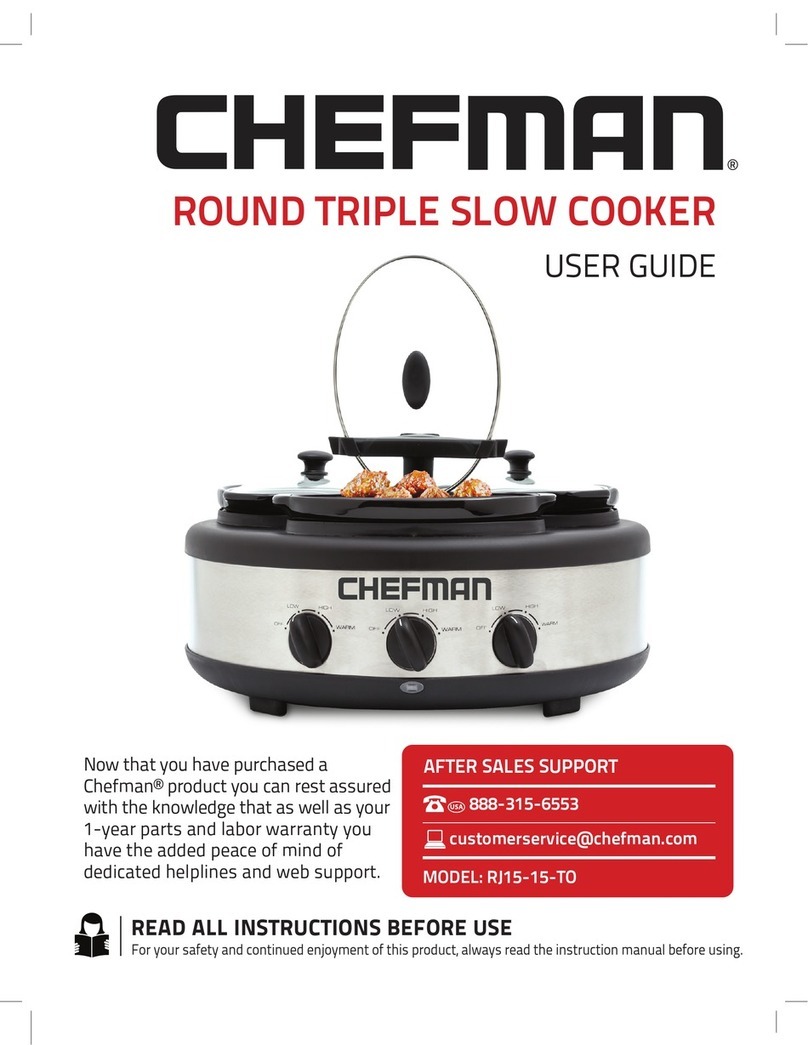
Chefman RJ15-6-DC User manual

QUICK START GUIDE
BEFORE FIRST USE
1. Remove all packaging materials from inside and outside the unit and
check to ensure that all parts are accounted for.
2. Read and remove any stickers on the unit except for rating label on
the bottom, which should remain on unit. Read all directions.
3. Wash the cooking insert and lid with warm, soapy water. Dry
thoroughly. Wipe down the interior and exterior of the base with
a damp cloth. WARNING: Never immerse the Slow Cooker base
or its plug in water or any other liquid. Cooking insert and lid are
dishwasher safe. The Slow Cooker base is not dishwasher safe.

1. Dishwasher-Safe Glass Lid
2. Aluminum Cooking Insert
3. Base Handles
4. Brushed Stainless-Steel Base
5. Temperature Control Knob/
Off Switch
4
1
3
2
5
features

control KNOB
OFF
Turns Slow
Cooker off
WARM
For keeping foods
warm once they’re
fully cooked. Never
use to cook or
reheat foods.
LOW
For cooking
dishes in about
8 to 9 hours, or
for reheating
already-cooked
dishes
HIGH
For cooking dishes
in 4 to 5 hours
PART STOVETOP SAFE OVEN SAFE MICROWAVE SAFE DISHWASHER SAFE
Cooking
Insert Yes Yes (up to 425˚F;
not broiler safe) No Yes
Lid Yes (do not place lid
directly on burner) No No Yes
Base No No No No; clean exterior
with a damp cloth
NOTE: The same dish/food can almost always be cooked on either LOW or
HIGH with the same results. Choose the temperature to suit your schedule.

slow cooking

slow cooking

slow cooking

Cleaning and Maintenance
1. Unplug Slow Cooker and allow it to cool completely before cleaning.
2. Never immerse base in water. Wipe clean with a damp cloth as necessary.
3. The insert and lid are top rack dishwasher-safe. The base is not
dishwasher-safe.
4. If food residue sticks or burns onto cooking insert surface, soak with
warm, soapy water before cleaning.
5. Be sure all parts are clean and dry before storing.
6. Store the Slow Cooker in its box or in a clean, dry place, with cooking
insert inside the base and the lid on top. Never wrap the cord tightly
around the appliance; keep it loosely coiled.

9
®
6-Quart
SLOW
COOKER
USER GUIDE
• Safety Instructions
• Features
• Operating Instructions
• Slow Cooking Tips
• Cleaning and Maintenance
• Terms and Conditions
• Warranty Registration
RJ15-6-DC

READ ALL INSTRUCTIONS BEFORE USE
For your safety and continued enjoyment of this product, always
read the instruction manual before using.
USER GUIDE
COOKING FORWARD™
Welcome!
Whether this is your rst Chefman®appliance or you’re already a part of our family,
we’re happy to be cooking with you! With your new family-size 6-Quart Slow Cooker,
you can cook foods slowly and steadily for “set-it-and-forget-it” meals. Simply add
some ingredients to the pot in the morning and come home to a hearty and ready-to-
eat dinner. Slow cooking is perfect for foods that require a long and low simmer, such
as soups, stocks, stews, and for tenderizing tough cuts of meat. The Slow Cooker’s
lightweight, removable insert is stovetop-safe, which means you can brown foods in it
before slow cooking for maximum avor.
We know you’re excited to get cooking, but please take a few minutes to read our
directions, safety instructions, and warranty information.
From our kitchen to yours,
The Chefman®Team

1 Safety Instructions
5 Features
7 Operating Instructions
10 Slow Cooking Tips
12 Cleaning and Maintenance
13 Terms and Conditions
15 Warranty Registration
CONTENTS

1
SAFETY INSTRUCTIONS
IMPORTANT SAFEGUARDS
WARNING: When using electrical appliances, basic safety precautions should always be
followed including the following:
1. Read all instructions.
2. Do not touch hot surfaces. Use handles or knobs.
3. To protect against electrical shock do not immerse cord, plug, or unit body in water
or other liquid.
4. Close supervision is necessary when any appliance is used by or near children.
5. Unplug from outlet when not in use and before cleaning. Allow to cool before putting
on or taking off parts.
6. Do not operate any appliance with a damaged cord or plug or after the appliance
malfunctions or has been damaged in any manner. Contact Chefman Customer
Support for examination, repair, or adjustment.
7. The use of accessory attachments not recommended by Chefman may cause injuries.
8. Do not use outdoors.
9. Do not let cord hang over edge of table or counter, or touch hot surfaces.
10. Do not place on or near a hot gas, electric burner, or other heatable surface, or in a
heated oven, even if not hot or on.
11. Extreme caution must be used when moving an appliance containing hot oil or other
hot liquids.
12. Always attach plug to appliance rst if necessary, then plug cord into the wall outlet.
To disconnect, turn any control to "off", then remove plug from wall outlet.

2
SAFETY INSTRUCTIONS
IMPORTANT SAFEGUARDS
13. Do not use appliance for other than intended use.
14. Avoid sudden temperature changes, such as adding refrigerated foods to a heated pot.
SAVE THESE INSTRUCTIONS
This appliance is for HOUSEHOLD USE ONLY. It may be plugged into an AC electrical
outlet (ordinary household current). Do not use any other electrical outlet.
WARNING: This appliance has a polarized plug (one blade is wider than the other). To
reduce the risk of electric shock, this plug is intended to t into a polarized outlet only
one way. If the plug does not t fully into the outlet, reverse the plug. If it still does not t,
contact a qualied electrician. Do not attempt to modify the plug in any way.
SHORT CORD INSTRUCTIONS
A short power supply cord is provided to reduce the hazards resulting from entanglement
or tripping over a longer cord. Longer detachable power-supply cords or extension cords
are available and may be used if care is exercised in their use. If a longer detachable
power-supply extension cord is used:
1. The marked electrical rating of the cord set or extension cord should be at least as
great as the electrical rating of the appliance, and:
2. The cord should be arranged so that it will not drape over the countertop or tabletop
where it can be pulled on by children or tripped over unintentionally.
If the appliance is grounded, the extension cord should be a 3-wire grounding-type cord.

3
LINE CORD SAFETY TIPS
1. Never pull or yank on cord or the appliance.
2. To insert plug, grasp it rmly and guide it into outlet.
3. To disconnect appliance, grasp plug and remove it from outlet.
4. Before each use, inspect the line cord for cuts and/or abrasion marks. If any are found,
please contact Customer Support.
5. Never wrap the cord tightly around the appliance, as this could place undue stress on
the cord where it enters the appliance and cause it to fray and break.
SAFETY INSTRUCTIONS
IMPORTANT SAFEGUARDS

4
DO NOT OPERATE APPLIANCE IF THE LINE CORD SHOWS ANY DAMAGE OR IF
APPLIANCE WORKS INTERMITTENTLY OR STOPS WORKING ENTIRELY.
IMPORTANT
During the rst few minutes of initial use, you may notice smoke and/or a slight odor. This
is normal and should quickly disappear. It will not recur after appliance has been used a
few more times.
This appliance is not intended for use by persons (including children) with reduced
physical, sensory or mental capabilities, or lack of experience and knowledge, unless they
have been given supervision or instruction concerning use of the appliance by a person
responsible for their safety.
SAFETY INSTRUCTIONS
IMPORTANT SAFEGUARDS
Do not place appliance on
stovetop or other heatable
surface, even if stovetop is not
on. Doing so is a re hazard.

5
1. Dishwasher-Safe Glass Lid
2. Aluminum Cooking Insert
3. Base Handles
FEATURES
4. Brushed Stainless-Steel Base
5. Temperature Control Knob/
Off Switch
4
1
3
2
5

6
FEATURES
OFF
Turns Slow
Cooker off
WARM
For keeping foods
warm once they’re
fully cooked. Never
use to cook or
reheat foods.
LOW
For cooking
dishes in about
8 to 9 hours, or
for reheating
already-cooked
dishes
HIGH
For cooking dishes
in 4 to 5 hours
PART STOVETOP SAFE OVEN SAFE MICROWAVE SAFE DISHWASHER SAFE
Cooking
Insert Yes Yes (up to 425˚F;
not broiler safe) No Yes
Lid Yes (do not place lid
directly on burner) No No Yes
Base No No No No; clean exterior
with a damp cloth
NOTE: The same dish/food can almost always be cooked on either LOW or
HIGH with the same results. Choose the temperature to suit your schedule.

7
BEFORE FIRST USE
For best results, follow these steps before using your Slow Cooker for the rst time.
1. Remove all packaging materials from inside and outside the unit and check to ensure
that all parts are accounted for.
2. Read and remove any stickers on the unit except for rating label on the bottom, which
should remain on unit. Read all directions.
3. Wash the cooking insert and lid with warm, soapy water. Dry thoroughly. Wipe down
the interior and exterior of the base with a damp cloth. WARNING: Never immerse the
Slow Cooker base or its plug in water or any other liquid. The cooking insert and lid are
dishwasher safe. The Slow Cooker base is not dishwasher safe.
Slow Cooking
Slow cookers allow for true hands-off cooking. You can simply add ingredients to your
Slow Cooker, turn it on, and enjoy a ready-to-eat meal hours later.
1. Prepare your food for cooking. Place Slow Cooker on a at, sturdy surface near
an outlet. Be sure the cooking insert has been lowered into the base.
2. Add food to the cooking insert. (See General Cooking Tips, p. 10 for more information
on how to best arrange foods for optimum results.) NOTE: Do not ll insert less than
one-quarter full or more than three-quarters full.
3. Put lid on and plug in Slow Cooker.
4. Turn the temperature control knob to LOW or HIGH according to how long you want
your food to cook. For most foods, the results will be the same whether cooked on
HIGH or LOW; LOW just takes longer, so choose according to your schedule.
NOTE: WARM is not a cook function and should only be used for keeping already-
cooked foods warm.
OPERATING INSTRUCTIONS

8
5. Cook for the amount of time specied in your recipe. Check foods for doneness
according to current food safety guidelines, then enjoy. If you would like to keep your
cooked food warm, turn the knob to the WARM setting. NOTE: If removing the insert
for serving, place it on a heatproof surface. CAUTION: Insert handles are hot. Use
potholders when handling insert.
6. When nished, turn the Slow Cooker off, unplug it, and let it cool completely
before cleaning.
Slow Cooking with Initial Sear
Though putting uncooked ingredients into the Slow Cooker is the easiest way to cook
with it, you can add more avor by searing foods—cooking them over high heat to
brown—rst. This step is especially benecial when cooking meat. Fortunately, the Slow
Cooker’s aluminum cooking insert is stovetop safe, which means there’s no need to dirty a
separate pan for searing.
1. Place cooking insert on a gas or electric stovetop burner. NOTE: The insert will not
heat on an induction stove. Heat the insert as desired or instructed in your recipe.
(This may include adding oil.)
2. Add your food to the insert on the stove. For best results, don’t crowd the pot
(brown in batches if necessary).
3. Brown food on one or all sides as instructed by your recipe. NOTE: Do not use metal
utensils to stir or mix as they can scratch the nish. Metal utensils may be used to
add food to or remove food from the insert.
4. Using potholders to hold the handles (they are hot!), carefully pour off any excess
grease, if necessary. (TIP: Do not clean away or discard any browned bits on the
bottom of your pot—they add avor to your dish. Simply add a little of the recipe’s
liquid and scrape them up to incorporate into the dish.)
OPERATING INSTRUCTIONS

9
5. Once food is seared, carefully lower the insert into the Slow Cooker base, then add
any remaining ingredients as needed. NOTE: Do not ll insert less than one-quarter
full or more than three-quarters full.
6. Put lid on and plug in Slow Cooker.
7. Turn the temperature control knob to LOW or HIGH according to how long you want
your food to cook. For most foods, the results will be the same whether cooked
on HIGH or LOW; LOW just takes longer, so choose according to your schedule.
NOTE: WARM is not a cook function and should only be used for keeping already-
cooked foods warm.
8. Cook for the amount of time specied in your recipe. Check food for doneness
according to current food safety guidelines, then enjoy. If you would like to keep your
cooked food warm, turn the knob to the WARM setting. NOTE: If removing the insert
for serving, use potholders when handling insert and place it on a heatproof surface.
9. When nished, turn the Slow Cooker off, unplug it, and let it cool completely
before cleaning.
OPERATING INSTRUCTIONS
Other manuals for RJ15-6-DC
1
Table of contents
Other Chefman Slow Cooker manuals

Chefman
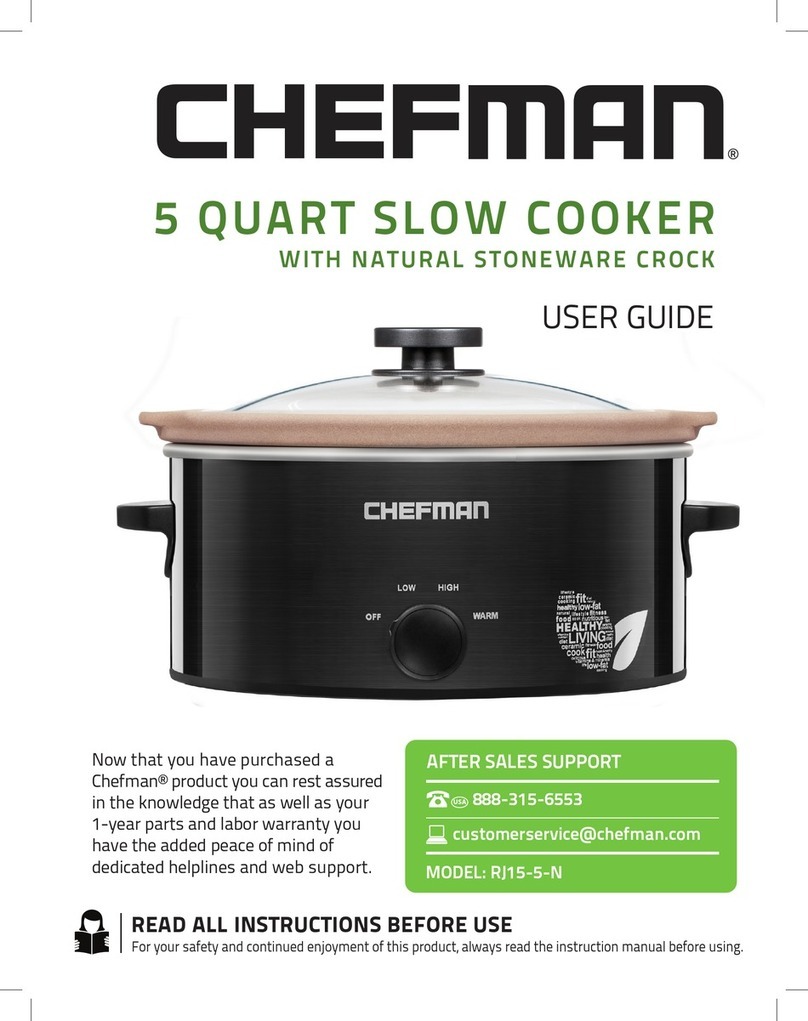
Chefman RJ15-5-N User manual

Chefman
Chefman RJ15 Series User manual

Chefman
Chefman RJ15-6-DC User manual

Chefman
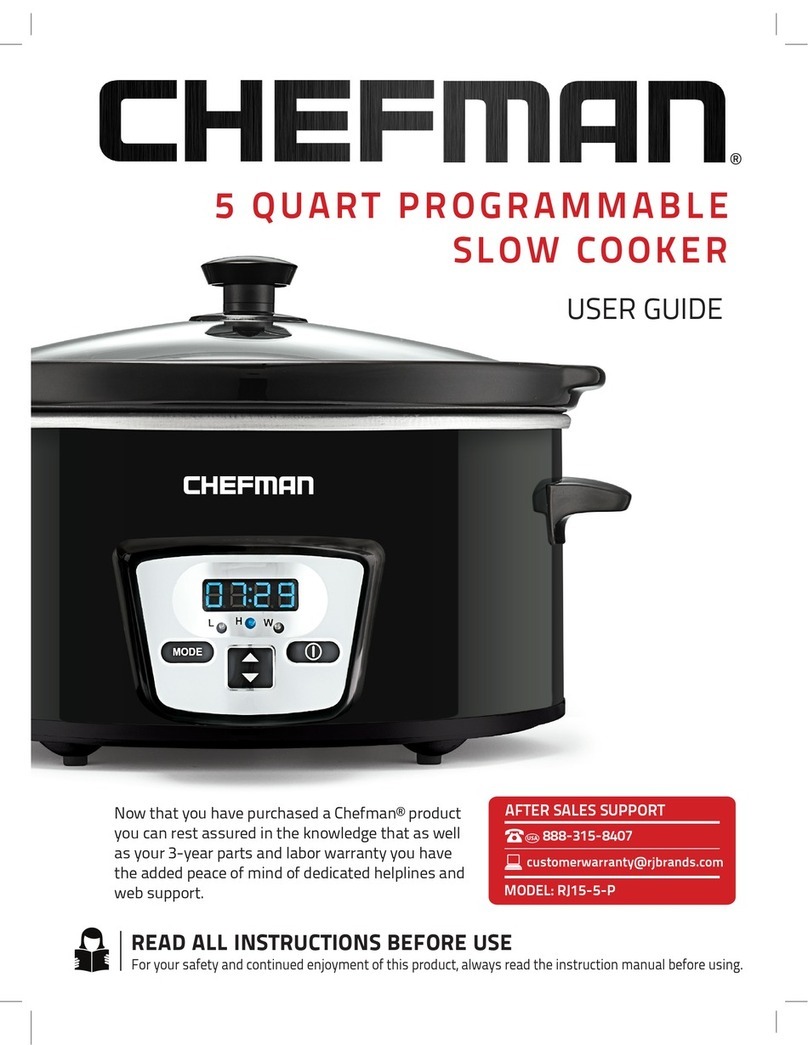
Chefman RJ15-5-P User manual

Chefman
Chefman RJ15-7-SS-O User manual

Chefman
Chefman RJ15-15-TO User manual

Chefman
Chefman COOK + CARRY User manual

Chefman
Chefman RJ15-25-TR User manual

Chefman
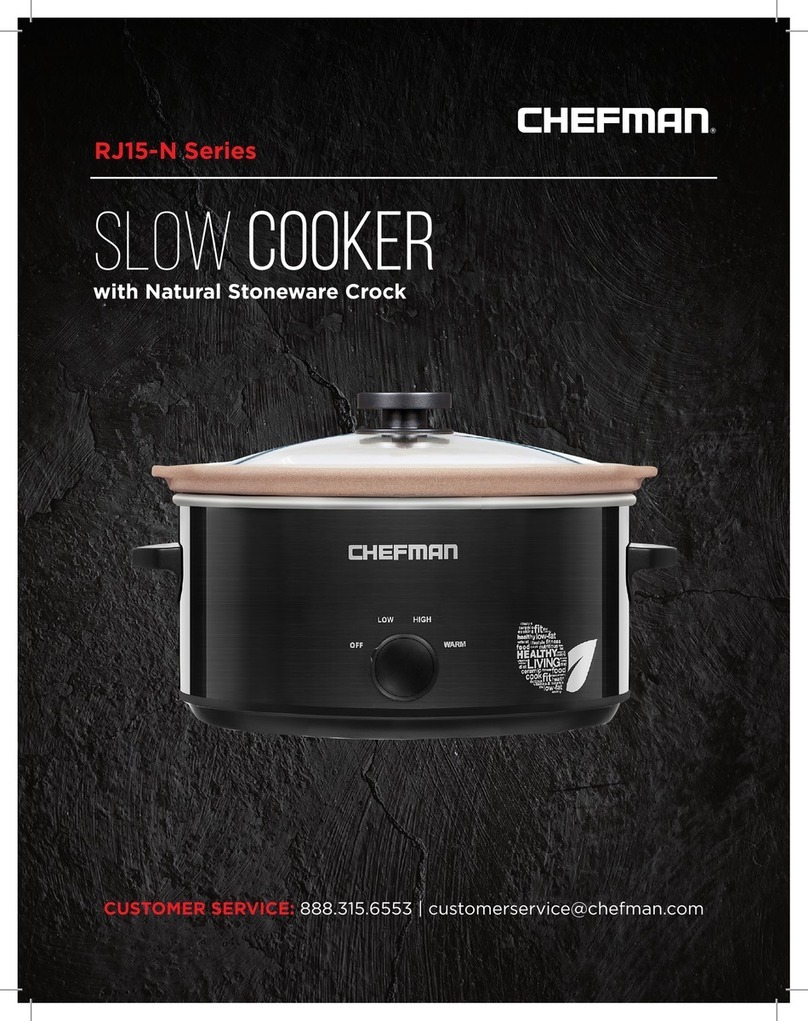
Chefman RJ15-N Series User manual

Chefman
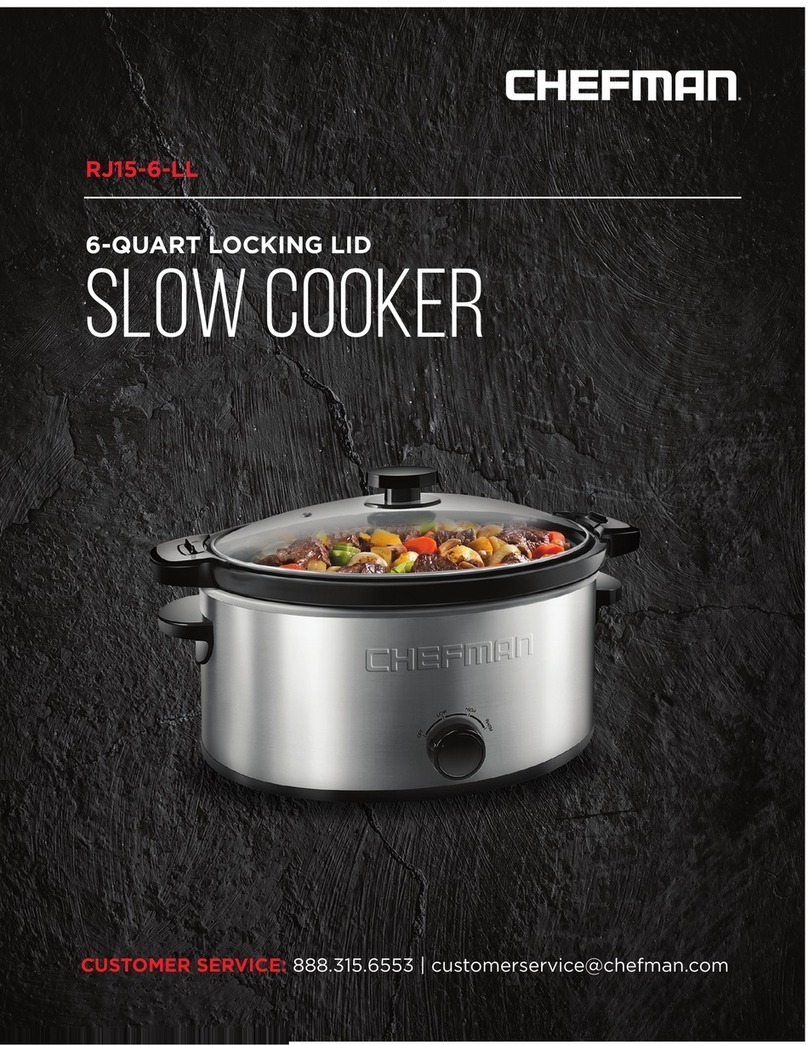
Chefman RJ15-6-LL User manual