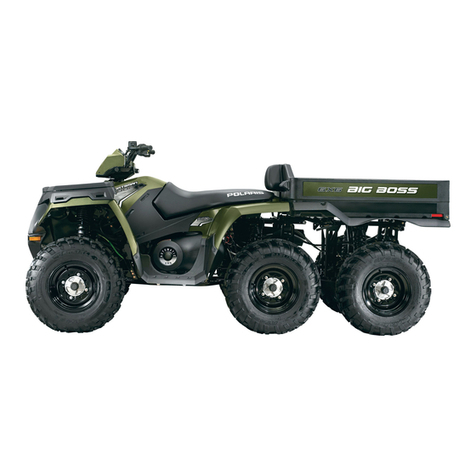
chrisco GMX SCHRAMBLE 50cc User manual

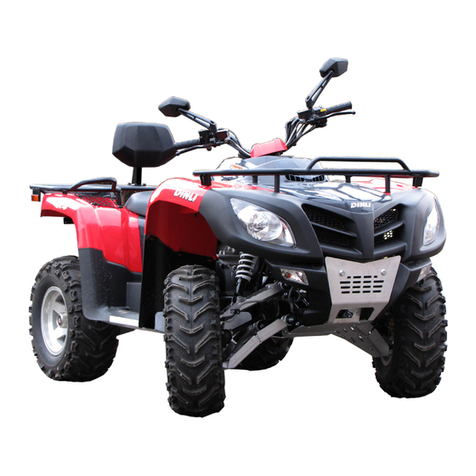
GMX SCHRAMBLE 50cc QUAD BIKE

RISK OF ROLL OVERS
We strongly encourage safe riding at all times. Accidents
involving ATV/Quad Bikes are the second leading cause
of injury and death on Australian soils. Most deaths are
due to crash injuries associated with ATV/Quad Bike roll
overs or by injuries associated with the victim being ung
o onto a hard surface as a result of a serious crash.
Therefore we urge all riders to think carefully about their
riding use of ATV/Quad Bikes, taking into account all the
safety risks that are involved and how to safely ride your
ATV/Quad Bike as well as keeping it serviced and
maintained correctly before every ride.
SAFETY TIPS FOR RIDING
Many ATV/Quad Bike accidents are caused when
ATV/Quad Bike’s roll over or overturn. The key to
avoiding these accidents is maintaining total control of
your ATV/Quad Bike. You do this by maintaining good
balance and being aware of your centre of gravity. This is
most important when you are riding on an incline, going
around a turn or making a sudden stop. All of these
situations are recipes for disaster because they shift the
momentum of an ATV/Quad Bike in such a way that you
need to shift the weight of your body to counteract that
momentum before the ATV/Quad Bike rolls over or ips.
Reduce your risk of injury & death by knowing exactly what your quad bike can and can not
do. We strongly recommend the following:
• Read the complete manual and pay particular attention to the safety instructions
and warnings.
• Read all warning labels in this guide and on your ATV/Quad Bike, specially the roll over
orange warning that is axed to your ATV/Quad Bike. Also the yellow stability tipping point
swing tag warning. we strongly recommend you study them before riding.
• Wear appropriate safety gear, that also includes an approved safety helmet that meets
Australian standards.
• Make sure that other persons who operate the ATV/Quad Bike understand all riding
instructions, all safety guides and warnings.
• Practise riding the ATV/Quad Bike in a safe environment until you feel condent.
• Do not allow any passengers. Only a sole Rider is permitted at all times.
• Do not modify or tamper with the ATV/Quad Bike, no aftermarket parts or equipment can
be tted as it may cause malfunction and cause serious injuries.
• Observe the load ratings, do not exceed the limit
• Regularly service and maintain your ATV/Quad Bike.
• Perform a safety check each time before you ride.
• Avoid travelling up or down steep inclines or declining hills.
• Do not perform any jumping or riding on terrains beyond your riding ability.
• Leave all safety guards in place.
SAFETY WARNING-MUST READ

SAFETY WARNING-MUST READ
• Factors, such as uneven terrain, speed, loadings, accessories, modications and rider position can
eect a quad bike’s stability.
• Whenever possible, ride on familiar tracks. Even then, think very carefully about the possibility of pot
holes, large rocks, drains or other obstacles, the weather conditions, the nature of the surface and how
fast you are able to ride.
• Ride cautiously when riding the ATV/Quad Bike on any terrain, as surfaces may compromise your
control.
• Evaluate the terrain carefully before you ride. Steep hills, particularly if the dirt is loose or wet, should
be avoided as they can cause the ATV/Quad Bike to roll over.
• Watch the ground ahead for potential hazards. Riding into or over rocks, pipes or any other obstacle
can cause an accident.
• If you’re not condent that you can negotiate a particular stretch of terrain, don’t attempt it. Go
another way or turn around.
• Remember that liquids within a spray tank can cause sudden shifts to your quad bike’s centre of gravity
when riding over uneven terrains. Make sure you are able to carry additional weight and that it doesn’t
exceed the load capacity.
To prevent potential re hazards all our Quad Bikes/ATV’s
have been tted with a Spark Arrestor that conforms
with Australian standards.
A spark arrestor is designed to trap any glowing sparks
before they exit your exhaust by acting as a lter. The
mesh creates many tiny holes witch the exhaust needs to
ow through. Any particles larger than the holes in the
mesh will be stopped.

RIDE SAFE
- Never let children ride quad bikes that are meant for adults – even as passengers.
- Do not carry any passengers on quad bikes that are meant for one person.
- Quad bikes are not all-terrain vehicles so they cannot go safely on all types of terrain. Avoid riding on rough terrain or steep slopes.
- Ride on familiar tracks and beware of obstacles.
- Never ride under the inuence of alcohol/drugs.
- Ensure children are supervised at all times near any quad bike activity.
- Always carry a mobile phone or radio device so you can contact help in case of an emergency.
WEAR SAFE
- Always wear a helmet.
- Wear protective clothing and gear such as goggles, long sleeves, long pants, boots and gloves/hand protection.

YOU MUST CHECK
THAT THE FRONT
STEERING IS ADJUSTED
CORRECTLY PRIOR
TO RIDING.
WARNING: This product is powered by a 2 stroke engine and requires pre-mixing petrol and 2 stroke oil. The oil mix should be 25:1. Never
mix petrol and oil directly in the engine tank.
CHECK BRAKES
ARE ADJUSTED
CORRECTLY PRIOR
TO RIDING.
YOU MUST CHECK
THAT THE CHAIN
IS ADJUSTED
CORRECTLY PRIOR
TO RIDING.
PLEASE READ AND UNDERSTAND ALL INSTRUCTIONS AND WARNINGS PRIOR TO ASSEMBLY AND OPERATING OF YOUR VEHICLE.
Mix only enough fuel for your immediate needs.
Fuel should not be stored for more than 30 days.
Petrol/Oil
1 litre/40ml
2 litres/80ml
3 litres/120ml
4 litres/160ml
5 litres/200ml
ONCE SWING TAGS AND NYLON LOOPS ARE REMOVED YOU ARE ACKNOWLEDGING THAT THESE CHECKS HAVE BEEN PERFORMED
There may be a“Spare Parts Package”within the carton so please check all of the packaging and DO NOT THROW OUT
WARNINGS
SWING TAG’S & WARNINGS
Swing tags have been placed on your vehicle for you to identify checks that are located within this manual. Once you have performed the
check required remove these swing tags and nylon loops attaching them to the vehicle.
MAKE SURE TO REMOVE THE SWING TAGS AND TAKE SPECIAL NOTICE TO REMOVE THE NYLON LOOP.
The tags and loops that need to be removed from this model: GMX 50cc Schramble Quad Bike
BRAKE ADJUSTMENT x3STEERING ADJUSTMENT x2 CHAIN ADJUSTMENT
YOUR 2 STROKE GMX MODEL CAN BE GOVERNED DOWN TO A SLOWER SPEED, BUT NO MORE THAN
20%. 80% POWER IS STILL REQUIRED FOR THE CLUTCH TO ENGAGE PROPERLY.
IF YOU GOVERN DOWN MORE THAN 20%, THE CLUTCH WILL NOT ENGAGE PROPERLY AND MAY CAUSE
THE CLUTCH TO BURN OUT. THIS MAY VOID YOUR WARRANTY.
Table of contents

