COHU 3230 series User manual

3230 SERIES ANALOG
ENVIRONMENTAL CAMERA
INSTALLATION MANUAL
Technical Manual 6X-1086 March 21, 2008
Figure 1. Model 3230 NTSC or PAL Camera
RS-232
RS-422

26X-1086
3230 CAMERA INSTALLATION MANUAL
Two other manuals related to this camera are available:
1. Manual 6X-1084. The setup GUI - for conguring camera
characteristics
2. Manual 6X-1085. The protocol - for use by programmers to
write software for controlling camera functions
CAUTION
Do not power the 24 V ac version of
this camera directly from a Variac. It
will blow up the power supply.

3
6X-1086
3230 CAMERA
INSTALLATION MANUAL
1.0 GENERAL DESCRIPTION
This introduction briey describes overall
characteristics of the Model 3230 Camera (gure
1) related to its installation. Specications can be
found on the CD supplied with this camera.
1.1 Electrical Characteristics
The 3230 provides a highly sensitive CCD
camera in an environmental housing.
This camera is available with either NTSC or
PAL video output, depending on the model. Operat-
ing power is either 12 V dc, 24 V dc/ac, or 115 V ac
— again depending on the model.
An integrated camera module provides a 3.3 to
99 mm zoom lens.
Data communications with the camera can be
either RS-232 or RS-422 for control of DSP func-
tions.
It has a day/night feature that increases sensi-
tivity by reverting from color to monochrome output
in low light conditions. This feature can be made to
operate automatically or by manual control when
desired.
A model number interpretation diagram ap-
pears in gure 2. That diagram shows the various
basic congurations of the 3230.
1.1.1 Initial Setup Software
Graphical User Interface (GUI) software is
available for setting the address and performing
eld tests and setups for each camera. This is in-
cluded on a CD provided with the camera.
Technical manual 6X-1084, also included on
the CD, is the reference manual for this GUI.
1.1.2 Camera Firmware Protocol
Technical manual 6X-1085 provides the pro-
tocol details for develop software for controlling
the camera. This document is available on the CD
provided with the camera.
1.2 Mechanical Characteristics
Dimensions are shown in gure 5. The 3230
consists of an IP67 environmentally sealed and
pressurized camera module. Dry nitrogen is used
for the presssurization. Dry desiccant packs are
placed inside the camera during during the sealing
process.
An integral sun shield over the camera housing
minimizes heat build up from sun light.
The mounting base (gure 5) for the 3230 has
a ve-hole in-line 1/4/20 pattern for attachment to a
suitable base.
A 3230 can be mounted on any one of ve me-
chanical congurations. The model number denes
any mounting equipment that was supplied with the
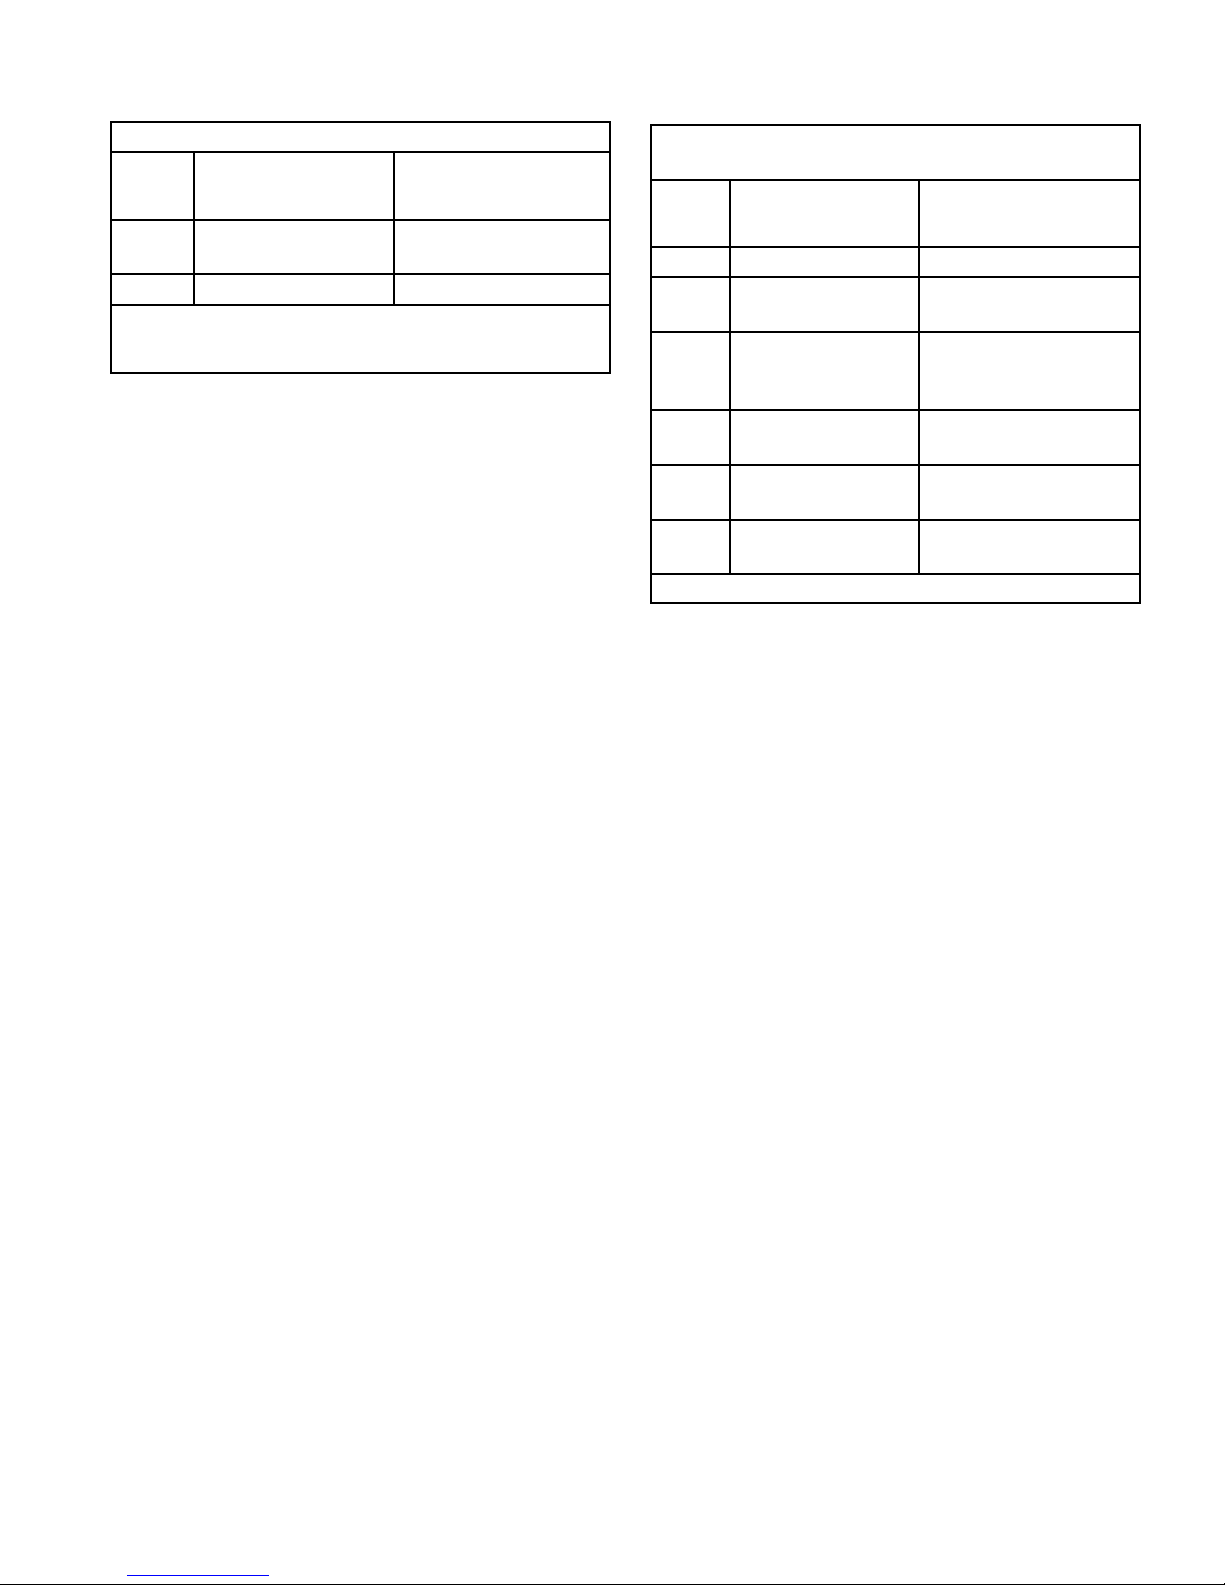
camera. Table 1 lists the mounting items supplied
for each of the mounting congurations available
with a 3230.
A Schrader valve (gure 7 — the car tire type
air valve on the left) on the rear panel provides for
pressurizing the housing with the dry nitrogen.
The pressure relief valve, on the right, should
be lifted off its seat during purging of the camera.
This aids in the ow of gas through the housing
while purging moisture laden air from inside.
2.0 INSTALLATION
This section covers the general requirements
of installing the 3230 including cabling and power
requirements. Section 5, toward the rear of this
manual, covers several other items including static
discharge protection and proper shipping and han-
dling of the 3230. Figure 4 shows a typical intercon-
nection diagram using RS-422 connections on the
camera.
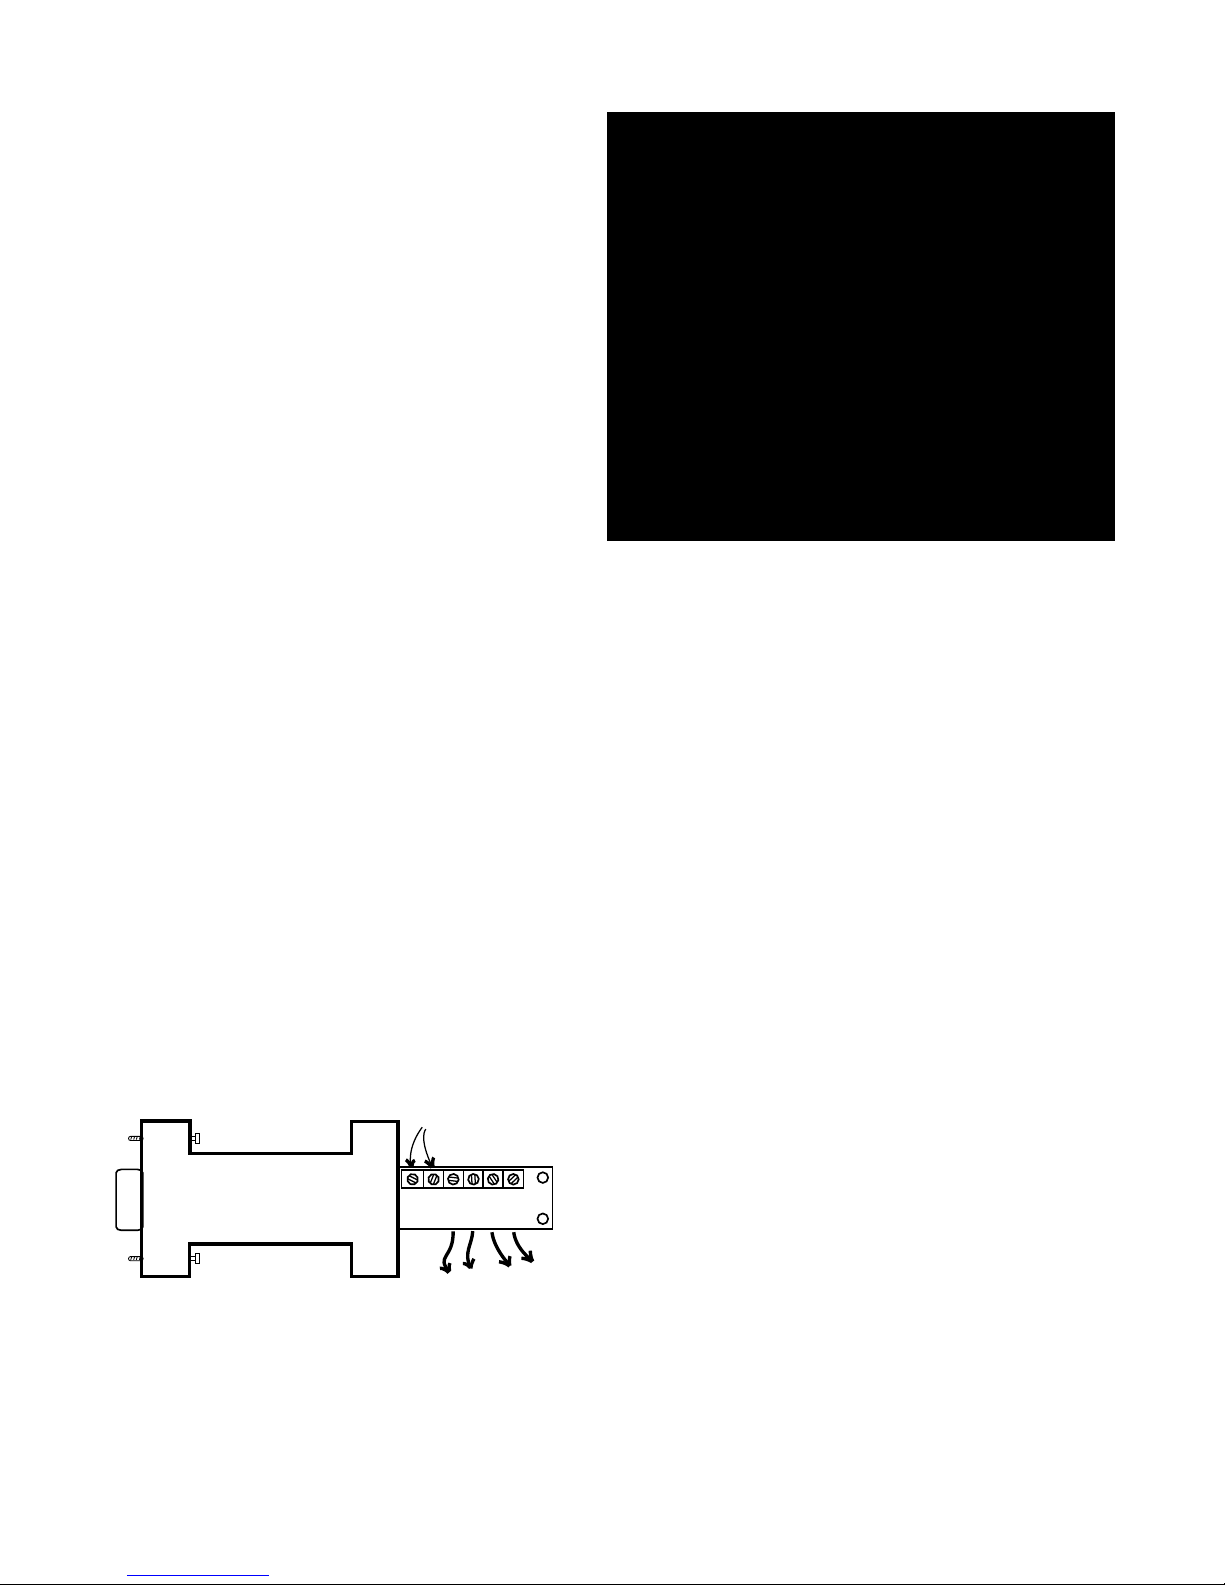
2.3 Equipment Supplied
The most basic conguration of the camera
consists of only the camera, its sunshield, and a
mating connector kit. This connector kit builds the
system cable plug which connects to the camera 18
pin MS type connector.
Figure 3 shows the ve optional mounts that
can be ordered with the camera. The mount sup-
plide with the camera will be reected in the camera
model number.
2.4 Equipment Required but Not Supplied
As a minimum the 3230 requires a source of
operating power, a monitor on which to view the

46X-1086
3230 CAMERA INSTALLATION MANUAL
Figure 2. Model Number Interpretation Diagram
scene, an interconnection cable, and a computer
running Graphical User Interface (GUI) software for
setup and control of the 3230. Setup GUI software
and the camera protocol are included on the CD
supplied with the camera.
During maintenance and setup operations us-
ing either a laptop or desktop PC it is likely that a
USB to RS-232 converter will be required.
Typically PC’s have had only an RS-232 port
— and rarely an RS-422 port.
However, newer PC’s and laptops no longer
have an RS-232 port and instead rely on USB and
other newer type ports.
With these computers, a USB to RS-232 con-
verter will be required. Be aware that some of these
converters do not provide reliable RS-232 com-
munications If problems are experienced determine
whether it is the converter.
If it is desired to use the RS-422 feature of the
camera it will then be necessary to add an RS-232
to RS-422 converter.
Or a USB to RS-422 converter could be used
directly but these are not common devices.
2.5 RS-422 and RS-232 Wiring
Cable diagrams in this manual show pin func-
tions for both RS-232 and RS-422 connections.
Only one of these communications methods can be
used at any one time.
The Tx+ Tx- and Rx+ Rx- notations for these
RS-422 connectors and all other RS-422 connec-
tors in a system using this notation cause much
confusion for eld installers. There is a tendency to
want to connect Tx to Tx and Rx to Rx. This almost
always is wrong.
The Tx+ output of one piece of hardware
should go to the Rx+ input of another. And Tx- goes
to Rx-.
To add to the confusion Tx and Rx are not
universally used notations for the same functions.
Sometimes Command Out is used for Tx and Com-
mand In for Rx. Other naming conventions are also
used among different equipment manufacturers and
their cables. TD is sometimes used — the “D” indi-
cating that it is a data line not a line for some other
function.
SERIES
POWER
Camera in IP67 Rated
3.5-inch Diameter
Pressurized Housing
2 12 V dc
4 24 V ac/dc
5 115 V ac
MOUNT
3 NTSC
7 PAL
Not
Assigned
NONE (No Mount Provided)
PEDD (Pedestal Mount)
CEIL (Ceiling Mount)
POLE (Pole Mount)
MAST (Mast Mount)
HDWM (Heavy Duty Wall Mount)
VIDEO
FORMAT
323 x—x000 xxxx

5
6X-1086
3230 CAMERA
INSTALLATION MANUAL
Table 1. Mounting Congurations
MOUNT
DESIGNATION
MOUNT
DESCRIPTION
ITEMS SUPPLIED
3230
CAMERA
PEDESTAL
MOUNT
CEILING
MOUNT
POLE
MOUNT
MAST
MOUNT
HEAVY DUTY
WALL MOUNT
NONE None Supplied •
PEDD Pedestal Mount • •
CEIL Ceiling Mount • •
POLE Pole Mount • •
MAST Mast Mount • •
HDWM Heavy Duty
Wall Mount • •
Note: Read the table horizontally. A dot “•” designates an item supplied for each mounting conguration. As an ex-
ample, for the CEIL (Ceiling Mount) two items are supplied: a 3230 camera and a ceiling mount.
MAST
HDWM
PEDD
CEIL
POLE
Figure 3. Mounts

66X-1086
3230 CAMERA INSTALLATION MANUAL
Since RS-422 provides bidirectional communi-
cations over the cable a connector can be an input
at one moment and then an output milliseconds
later (RS-422 half-duplex).
Identifying labels that connectors and wires
are assigned can sometimes appear to be arbitrary
to those not familiar with all the various subtleties
involved in serial communications.
Wiring for RS-232 has the same situation. Tx
typically goes to Rx and at the other end Rx to Tx.
If any confusion exists it is best to contact the
Customer Support department at Cohu or your local
Cohu representative.
2.6 Cabling Requirements
The system cable plugs into the 18 pin MS
connector on the rear of the camera. Various pre-
wired cables available for the camera are shown in
gure 14 though gure 30. Note that these cables
have different maximum lengths depending on the
camera model and installation situation.
2.6.1 Customer Supplied Cable
A high quality multiconductor shielded cable
must be used with this camera both to minimize EMI
radiation and to reduce susceptibility to interference.
The cable must have an overall shield with at
least 95 percent coverage.
Data wiring must be twisted pairs similar to that
used in CAT-5e cable. A data ground wire must be
used.
Coaxial cable must be 75 ohm RG-59/U and
not have any iron used in the conductors. Belden
8241F is a typical good coax.
Power wiring must be of sufcient size to main-
tain proper operating voltage at the camera. Power
wires can be paralleled to reduce voltage drop.
When calculating voltage drop remember to calcu-
late the total length to the camera and also back to
the power source. (A camera connected to a 100
foot cable has a total power run of 200 feet.)
232
422
75 Ohm
Coax
Twisted
Data Pairs
115 V ac
24 V ac/dc
Connect Either
115 V ac
or
24 V ac/dc
or
12 V dc
(Depends on
Camera Model)
Converter 232 USB
Converter
Picture
Monitor
3230
GUI
3230
Terminated 75 Ohms
12 V dc
(Use if computer
does not have an
RS-232 serial port)
For cable runs greater than about
80 feet, RS-422 must be used.
Plug wired for
RS-422 connections
Figure 4. Typical Interconnection Diagram

7
6X-1086
3230 CAMERA
INSTALLATION MANUAL
Figure 5. Dimensions, Model 3230 Camera
Camera Sunshield Dimensions

86X-1086
3230 CAMERA INSTALLATION MANUAL
2.6.2 Camera Connector Pinout
Table 4, table 5, and table 6 lists pin functions
for the 12 V dc, 24 V ac/dc, and 115 V ac power
input versions of the camera.
2.6.3 System Interconnection Cables
Seventeen system interconnection cables are
available for use with the camera.
Table 8 lists these cables and describes their
basic characteristics.
The major breakdown between cables types is
whether they are for 12 V dc, 24 V ac/dc, or 115 V
ac cameras.
Each of these two groups is then further sub-
divided into whether a camera is to use RS-232 or
RS-422 communications.
The nal determination is whether the cable
should have stripped leads for all the eld instal-
lation connections or whether certain connectors
and/or data converters should be provided with the
cable.
Cables can also be special ordered if none of
these standard cables meet the requirements of an
installation.
2.7 Power Requirements
Three versions of the 3230 are available in
relation to power input requirements:
1. The model 3232 operates from 12 V dc +/- 10
percent;
2. The model 3234 operates from either 24 V ac or
24 V dc +/- 10%.
3. The model 3235 operates from 115 V ac +/- 10%
Power consumption is less than 4 watts when
the internal heater is off and less than 22 watts
when the thermostat turns the heater on.
Figure 7. Camera Rear View
232
D9
FEMALE
B & B
Model 422PP9TB
B&B Electronics
707 Dayton Road
PO Box 1040
Ottawa IL 61350
www.bb-elec.com
+12V
GND
RD(B)
RD(A)
TD(A)
TD(B)
422
CONVERTER
(Available from Cohu as Part Number 3010100-001)
Rx-
Rx+
Tx+
Tx-
TO 3970
POWER TYPICALLY
NOT REQUIRED
Figure 6. Typical 232/422 Converter
CAUTION
Do not power the 24 V ac version of
this camera directly from a Variac. It
will blow up the power supply.
2.8 Mounting Requirements
The dimensions shown in gure 5 relate to
mounting the camera. It can be optioned to mount
to ve different mounting congurations:
1. Pedestal Mount (PEDD). Direct mounting of the
camera to the top of a short pedestal (gure 3) or
tall pole. The pedestal or pole must have a mounting
hole pattern to which the camera can be secured.
See section 4.1 for details about this standard
mounting base.

9
6X-1086
3230 CAMERA
INSTALLATION MANUAL
2. Ceiling mount (CEIL). This mounting arrangement
uses a ceiling mount arm to which the camera is
secured. See gure 3.
3. Pole Mount (POLE). When the camera must be
mounted to a pole this option provides both a clamp
to attach to the pole and also the heavy duty wall
mount (HDWM) on which to fasten the camera (See
gure 3).
4. Mast Mount (MAST). A mast mount attaches to
a horizontal arm using stainless steel straps. (See
gure 3.)
5. Heavy Duty Wall Mount (HDWM). This mounting
arrangement uses a wall mount arm designed for
rugged duty use (See gure 3).
The following paragraphs describe some of
the features of the 3230 related to the installation
process.
2.9 Installation Procedure
It is important to carefully plan for all cable
routing before starting an installation. In some situ-
ations cable will have to be pulled through conduit
or other narrow places before adding a connector to
the end of a system cable. Any through-wall holes
may require weatherproong.
Installing the 3230 is straightforward. It is only
necessary to mount the 3230 to a suitable base,
mate the cable connector to the system cable and
apply power. (Or connect to the camera with an
on-site cable.) This assumes the other end of the
cable is properly connected to a source of power, a
tv monitor, a graphical user interface (GUI), and any
other required equipment.
2.9.1 Camera Rear Panel Features
Three features on the rear panel are of interest
when installing the camera.
2.9.1.1 18-pin MS Connector
An 18-Pin MS connector on the rear panel
provides for all interconnections with the camera. A
mating plug kit is supplied for the system cable con-
necting to this rear panel connector.
2.9.1.2 Schrader Valve
A Schrader valve (gure 7 — the car tire type
air valve on the left) on the rear panel provides for
pressurizing the housing with dry nitrogen. This
valve can be used to occasionally add dry nitrogen
as necessary to maintain pressure in the barrel at
about 5 psig (34 kPa). (Note: psig refers to pounds
square inch gauge — which designates pressure
relative to the altitude above sea level at which it is
being measured.)
2.9.1.3 Pressure Relief Valve
The pressure relief valve has a short piece of
clear tubing slipped around it to prevent acciden-
tal movement of the pop out valve — which would
release nitrogen from inside the valve.
During shipping, at which times high altitude
might be encountered during aircraft transportation,
a pressure relief valve on the rear panel (gure 7)
may release some pressure. Back at low altitudes
this would be experienced as a housing pressure
below the standard 5 psig (34 kPa).
Table 3. Items Typically Requried but not
Supplied
ITEM DESCRIPTION CHARACTERIS-
TICS
1Support Base See gure 5
2Cable Power, RS-232 or RS-
422, 75-ohm Coax
3
Source of power
12 V dc, 24 V ac/dc, or
115 V ac, depending
on model
4TV Monitor 75 ohm, NTSC or PAL,
as required
5 PC, Laptop, or oth-
er control method
RS-232, RS-422 Serial
Output or converters
6 Serial Converter232 / 422 converter
(see gure 6)
- end table -
Table 2. Items Supplied
ITEM DESCRIPTION CHARACTERIS-
TICS
1Camera with sun-
shield Model 3230 series
2. Connector Kit 1310230-011
Note: See gure 9 for the kit. This kit contains items to con-
struct a cable plug that mates with the camera rear panel
connector.

10 6X-1086
3230 CAMERA INSTALLATION MANUAL
Dry nitrogen should be added to bring the
pressure back up to 5 psig (34 kPa).
During normal purging and pressurization, in-
ternal pressure should not be allowed to rise above
a 5 to 8 psig (34 to 55 kPa) range to prevent stress
on the seals.
The pressure relief valve should be lifted off
its seat during purging of the camera. This aids in
the ow of gas through the housing while purging
moisture laden air from inside.
2.9.1.3 18-pin MS (Metal) Connector
This connector is on the bottom of the Camera.
Tables 4, 5, and 6 list pin functions for the cable
depending on which power input option is involved.
Figure 8 is the pin location diagram of this
connector. It is a view from the mating side of the
connector. This view can be used as a wiring view
of the cable plug (supplied) for the system intercon-
nection cable that connects with this 3230 connec-
tor.
The connector supplied for the system cable
should not be installed until it is veried that the
cable can be pulled through any conduit or other re-
stricted passage on its way to the mounting location
of the 3230. (Or the cable could be pulled through
conduit in the opposite direction if the other end has
stripped leads.)
2.10 Connector Sealing
Even though the connector used with this cam-
era is designed to maintain a weather tight seal with
mating system cable plugs, it is recommended that
for additional protection against moisture in severe
conditions a sealing wrap be used on the connec-
tors.
Table 4. 12 V dc Pin Functions
PIN FUNCTION
AVideo Ground
Bno connection
Cno connection
D RS-232 Tx
E RS-232 Rx
Fno connection
GChassisGround
HPower Ground
J12 V ac High
Kno connection
LVideo
M 422 Rx +
N 422 Rx -
PData Ground
R422 Tx -
S 422 Tx +
T no connection
Uno connection
- end table -
Table 5. 24 V ac/dc Pin Functions
PIN FUNCTION
AVideo Ground
B 24 V ac High / +24 V dc
Cno connection
D RS-232 Tx
E RS-232 Rx
Fno connection
GChassis Ground
H no connection
J no connection
Kno connection
LVideo
M 422 Rx +
N 422 Rx -
PData Ground
R422 Tx -
S 422 Tx +
T24 V ac low / 24 V dc ground
Uno connection
- end table -
CAUTION
Do not power the 24 V ac version of
this camera directly from a Variac. It
will blow up the power supply.

11
6X-1086
3230 CAMERA
INSTALLATION MANUAL
Coax Seal is the recommended product:
www.coaxseal.com
United States: 1-800-241-8171
or international: 1-828-293-2222
This product is available from a variety of com-
mercial supply houses, consumer stores, and in the
U.S. Government supply channels as GSA Sched-
ule GS-07F-5739R
This product is a plastic tape-like material
separated by a paper divider in its roll to prevent
bonding to itself before use. After this material is
wrapped around a connector, it forms a permanent
weather-tight seal.
The cable and connectors should be clean and
dry before wrapping with Coax-Seal.
Use a full wrap of this tape on the cable at the
beginning. Then continue with a diagonal half over-
Table 7. 18-pin Camera Connector &
Mating System Cable Plug
CONNECTOR
SOURCE
CAMERA
CONNECTOR
MATING SYSTEM
CABLE PLUG
Cohu P.N 1310230-017 1310230-011
MS P.N. MS3111F-124-18P MS3116F-14-18S
Amp/Bendix P.N. PT01E-14-18P(SR) PT06E-14-18S(SR)
- end table -
lap wrap up to the iDome housing. Then add a full
wrap at the end of the coverage.
Squeeze together the wrapping so that it forms
a tight bond both to itself and the mating connec-
tors.
The web site for Coax-Seal has complete infor-
mation about this product.
3.0 CAMERA SETUP
A GUI specic to the model 3230 provides all
setup communications.
A separate manual describes features of this
GUI (Manual Number 6X-1083). This manual is pro-
vided on the CD supplied with the camera.
3.1 GUI Installation Setup
From the home window of the GUI other win-
dows can be accessed to perform various setup and
control functions.
The information here describes initial use of
the GUI for use with the 3230. .
3.2 Checkout Procedure
After communications has been established
with the 3230 various functions should be tested to
verify proper operation. Use the GUI interface to
perform tests and setups.
4.0 MOUNTING METHODS
Since installation of a 3230 may require that it
be mounted to any of a variety of structures, differ-
ent types of mounting assemblies are required. This
section is a generic description of typical installa-
tions for each of the mounting assemblies that can
be optioned with the 3230. Each mounting site will
Table 6. 115 V ac Pin Functions
PIN FUNCTION
AVideo Ground
Bno connection
Cno connection
D RS-232 Tx
E RS-232 Rx
Fno connection
G115 V ac Ground
H no connection
J no connection
Kno connection
LVideo
M 422 Rx +
N 422 Rx -
PData Ground
R422 Tx -
S 422 Tx +
T115 V ac Neutral (low)
U 115 V ac Line (high/hot)
- end table -

12 6X-1086
3230 CAMERA INSTALLATION MANUAL
likely have its own unique requirements.
A 3230 can be ordered with any one of ve
mounting arrangements. One of these is related
to direct base plate mounting for the 3230 and the
remaining four use mounting arms and brackets for
an installation.
Before preparing to mount a 3230 it is impor-
tant to have either pre-installed the system cable or
to have veried that the cable can be routed to the
location of the mounting assembly. This often re-
quires pulling cable through conduit and other tight
places. It is also necessary to plan for weatherproof-
ing any through-wall holes.
Note that the Pedestal mount and the Ceiling
mount are the same mechanical assembly. The only
difference is in which direction they are mounted.
4.1 Pedestal (PEDD) Mount (same as Ceiling
mount)
The pedestal mount (gure 10) has a round
bottom plate with four mounting holes and a move-
able head at the other end of a pedestal column.
The head is adustable for up/down and right/left.
The hole pattern on the moveable head aligns with
the threaded holes on the bottom of the camera.
4.2 Ceiling (CEIL) Mount (same as pedestal
mount)
The ceiling mount (gure 10) has a round plate
for securing to the ceiling with four fasteners and a
repositionable head at the bottom end to which the
camera can be bolted for movement up/down and
right/left.
4.3 Pole Mount (POLE)
The pole mount (gure 11) attaches to vertical
poles using stainless steel straps. The curved arm
projecting from the mounting plate has an adjust-
able head so that the mounted camera can be ad-
justed in azimuth and elevation to cover the scene
of interest.
4.4 Mast Mount
The Mast mount (gure 12) straps to horizontal
arms. Stainless steel straps are used to secure the
mount to the arm. An adjustable head on the end of
a short pedestal provides for moving the camera in
azimuth and elevation for coverage of the scene of
interest.
4.5 Heavy Duty Wall Mount (HDWM)
This heavy duty wall mount (gure 13) secures
with two bolts. These holes are slotted so that nal
alignment can be done in the event that the bolt
holes or studs are not perpendicular. A moveable
assembly on the end provides for movement in azi-
muth and elevation.
5.0 Supplementary Information
This section covers handling the shipping the
camera.
5.1 Unpacking and Receiving Inspection
This item was thoroughly tested and carefully
packed in the factory. Upon acceptance by the car-
rier, they assume responsibility for its safe arrival.
Should you receive this item in a damaged condi-
tion, apparent or concealed, a claim for damage
must be made to the carrier.
Figure 8. Pin Location Diagram,
Model 3232, Model 3234, and Model
3235 Cameras

13
6X-1086
3230 CAMERA
INSTALLATION MANUAL
Figure 9. Type 1310230-011 System Cable 18-pin MS Type Connector Kit
Kit as Typically Packaged
Connector Kit Contents
Wiring Side - Solder Cups
Front Side - Mating Sockets
Connector (Plug) for the System Cable that Connects to Camera Connector

14 6X-1086
3230 CAMERA INSTALLATION MANUAL
If a visual inspection shows damage upon
receipt of this shipment, it must be noted on the
freight bill or express receipt and the notation
signed by the carrier’s agent. Failure to do this can
result in the carrier refusing to honor the claim.
When the damage is not apparent until the unit
is unpacked, a claim for concealed damage must be
made. Make a mail or phone request to the carrier
for inspection immediately upon discovery of the
concealed damage. Keep all cartons and packing
materials.
Since shipping damage is the carrier’s respon-
sibility, the carrier will furnish you with an inspection
report and the necessary forms for ling the con-
cealed-damage claim.
To return the product to the factory for service,
please contact the Customer Service Department
for a Return Authorization (RA) Number.
5.2 Static Discharge Protection
In the event that a disassembled 3230 is being
handled, the following precautions should be fol-
lowed:
CAUTION
This 3230 contains sensitive devices that can be
damaged by static discharge. Use appropriate static
control methods when working inside the 3230.
Components used in modern electronic equip-
ment, especially solid state devices, are susceptible
to damage from static discharge. The relative sus-
ceptibility to damage for semiconductors varies from
low with TTL to high with CMOS. Most other semi-
conductors fall between TTL and CMOS in suscep-
tibility to static discharge. As a minimum, therefore,
observe the following practices when working inside
this or any other electronic equipment:
1. Use conductive sheet stock on the work bench
surface.
2. Connect the sheet stock to ground through a 1
megohm or greater value resistor.
3. Use a wrist strap connected to ground through a
1 megohm or greater value resistor when working at
the bench.
4. Maintain relative humidity of the room above 30
percent. This may require a room humidier. Working
on circuits with relative humidity below 30 percent
requires extraordinary procedures not listed here.
5. Use antistatic bags to store and transport an ex-
posed chassis, circuit boards, and components. Use
new antistatic bags. Old, used bags lose their static
protection properties.
This list serves as a reminder of the mini-
mum acceptable practices. Be sure that all static
discharge devices at the work bench are properly
installed and maintained. Standard grounding mats
and wrist straps purchased for use at work benches
are supplied with leads having current limiting resis-
tors for safety. Never substitute with a grounding
lead not having the resistor.
5.3 Preparation for Shipment and Storage
For shipment, package with enough foam pad-
ding or other packing material to prevent damage
that can occur during shipping. The original ship-
ping carton is a good container if it has not been
damaged or subjected to excessive moisture. For
shipping to the factory by Common Carrier, use the
following address:
Cohu Electronics
3912 Calle Fortunada
San Diego, CA 92123-1827
Please contact the Customer Service Depart-
ment for a Return Authorization (RA) number before
sending any shipments to the factory:
Prominently display the RA number on the out-
side of the shipping container(s) and on paperwork
contained inside. Give a brief description of why the
equipment is being returned and list the symptoms
of any problems being experienced with the equip-
ment.
- end text-

15
6X-1086
3230 CAMERA
INSTALLATION MANUAL
Figure 10. Dimensions, PEDD and CEIL Mounts
Figure 11. Dimensions, POLE Mount

16 6X-1086
3230 CAMERA INSTALLATION MANUAL
Figure 12. Dimensions, MAST Mount
Figure 13. Dimensions, HDWM Mount

17
6X-1086
3230 CAMERA
INSTALLATION MANUAL
Figure 14. Type CA-253A System Interconnection Cable
Table 8. System Interconnection Cable Characteristics
FIGURE CABLE
TYPE
DATA
TYPE
VIDEO
CONNECTION
POWER
CONNECTION
DATA
CONNECTION
12 V dc
14 CA-253A RS-232 stripped leads stripped leads stripped leads
15 CA-253B BNC stripped leads D9 female
16 CA-254A
RS-422
stripped leads stripped leads stripped leads
17 CA-254B BNC stripped leads 232/422 converter
18 CA-254M BNC stripped leads RJ-45
24 V AC/dc
19 CA-292A RS-232 stripped leads stripped leads stripped leads
20 CA-292B BNC stripped leads D9S
21 CA-293A
RS-422
stripped leads stripped leads stripped leads
22 CA-293B BNC stripped leads 232/422 converter
23 CA-293M BNC stripped leads RJ-45
115 V Ac
24 CA-295E
RS-422
stripped leads stripped leads stripped leads
25 CA-295F BNC 115 plug stripped leads
26 CA-295G BNC 115 plug 232/422 converter
27 CA-295M BNC 115 plug RJ-45
28 CA-296A
RS-232
stripped leads stripped leads stripped leads
29 CA-296B BNC 115 plug stripped leads
30 CA-296C BNC 115 plug D9S
Note: The Camera end of all these cables use an 18-pin MS connector

18 6X-1086
3230 CAMERA INSTALLATION MANUAL
Figure 16. Type CA-254A System Interconnection Cable
Figure 15. Type CA-253B System Interconnection Cable

19
6X-1086
3230 CAMERA
INSTALLATION MANUAL
Figure 18. Type CA-254M System Interconnection Cable
Figure 17. Type CA-254B System Interconnection Cable

20 6X-1086
3230 CAMERA INSTALLATION MANUAL
Figure 20. Type CA-292B System Interconnection Cable
Figure 19. Type CA-292A System Interconnection Cable
Table of contents