COINWASH T3300S User manual

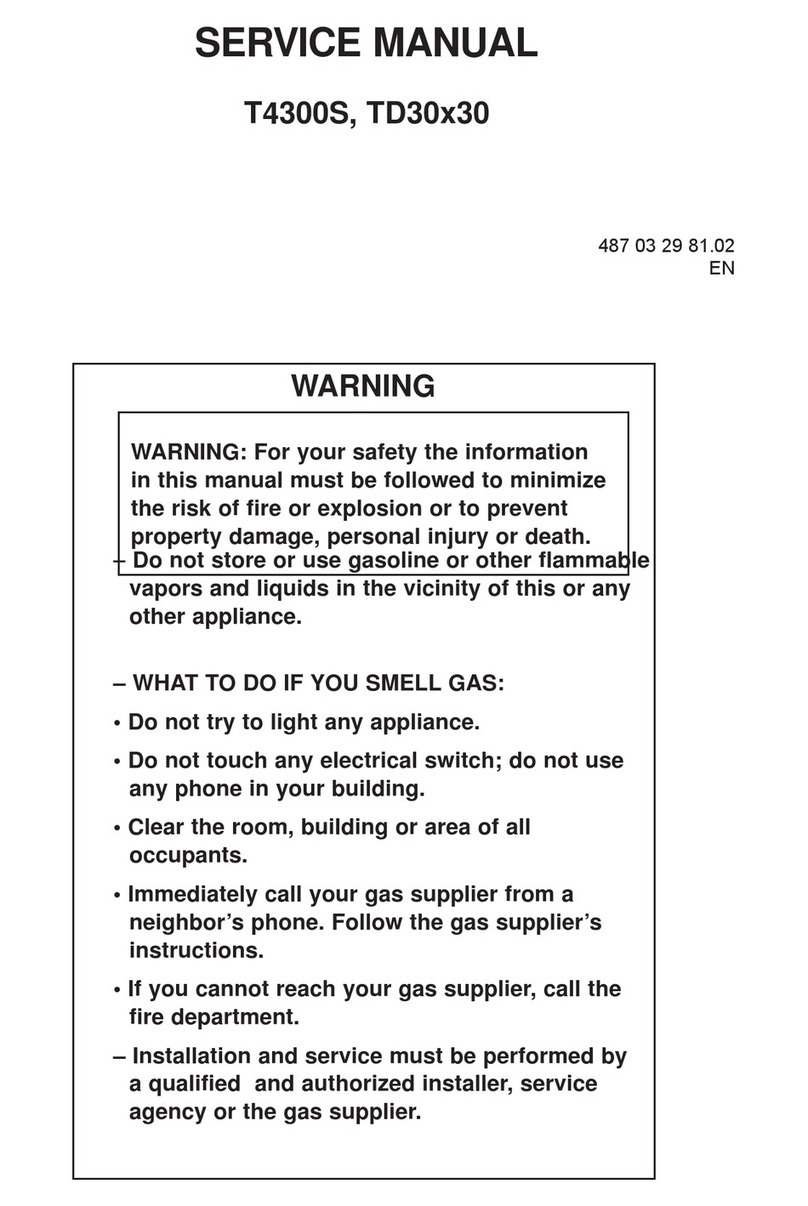
SERVICE MANUAL
T3300S
TD30•30
Gas heated dryer 487 03 29 21.00
GB
– Do not store or use gasoline or other flammable
vapors and liquids in the vicinity of this or any
other appliance.
– WHAT TO DO IF YOU SMELL GAS:
• Do not try to light any appliance.
• Do not touch any electrical switch; do not use
any phone in your building.
• Clear the room, building or area of all
occupants.
• Immediately call your gas supplier from a
neighbor’s phone. Follow the gas supplier’s
instructions.
• If you cannot reach your gas supplier, call the
fire department.
– Installation and service must be performed by a
qualified installer, service agency or the gas
supplier.
WARNING: For your safety the information in
this manual must be followed to minimize
the risk of fire or explosion or to prevent
property damage, personal injury or death.
WARNING
From serial number: 0112 / 0002312


Safety rules 1
Technical data 2
Description of principal components 3
Periodic maintenance 11
Error codes 12
Controls 21
Sensors and overheating thermostats 27
Door and lint drawer 29
Motors - drive and blower 30
Heating - gas 40
Coin meter (see section 21) 41
Drum with bearing 42
Gas system 47
Overview
Service
Instruction
Machine
units and
components
Service
manual


487 0329 21 1.1
1. Safety rules 1
Service
manual
Safety rules
This machine is only intended for drying water-washed garments.
Clothes that have been cleaned with chemicals/flammable liquids, must
NOT be dried in the machine.
Remove clothes from the tumble dryer as soon as they are dry. This
prevents them from becoming creased, and reduces the risk of
spontaneous ignition.
The machine must not be used for drying foam rubber or foam-like
materials.
The machine must not be used for drying floor mops.
(This applies only to floor mops containing polypropylene).
The machine must not be used by children.
The machine must not be hosed down with water.
Mechanical, electrical and gas installations must only be carried out by
qualified, licensed personnel.
Report machine malfunctions to qualified service personnel immediately.
This is important for your own safety and for the safety of others.
Gas dryers only:
The machine is not to be installed in rooms containing cleaning machines
with PERCHLORETHYLENE, TRICHLOROETHYLENE or
CHLOROFLUOROCONTAINING HYDROCARBONS as cleaning agents.
What to do if you smell gas:
Do not try to light any appliance.
Do not touch any electrical switch; do not use any phone in your building.
Evacuate the room, building or area.
Contact appropriate authorities.
Servicing the dryer
Refer servicing to qualified personnel.
Improper servicing can result in hazardous conditions, fire, explosion,
property damage, and personal injury.
Some components may have sharp edges!
Wear gloves when handling mechanical components.


487 0329 21 2.1
2. Technical data 2
Service
manual
Contents
Technical data type 3300S - gas heating 2.2
Technical data type TD30•30 - gas heating 2.3

2. Technical data
2Service
manual
487 0329 21
2.2
Technical data, type 3300S, Gas heating
Drum volume: 2 x 300 litre
Weight: Net 282 kg
Drum: Diameter 760 mm
Depth 660 mm
Revolutions per minute 45 rpm
Capacity: 2 x 13.6 kg
Motor: Effect without reverse 2 x 1 kW
Effect with reverse 2 x 1 kW
Revolutions per minute
Motor 50 Hz 2700 rpm
Motor 60 Hz 3200 rpm
Heat effect: Gas heating 2 x 21 kW
Air consumption: Gas 2 x 21 kW 2 x 650 m3/h
Piping: Exhaust Ø 200
Pressure drop: Exhaust (max.) 90 Pa
Gas piping: ISO 7/1-R1/2
Gas pressure: See page regarding pressure in the installation manual
supplied with the dryer
Sound pressure level: < 70 dB (A)

487 0329 21 2.3
2. Technical data 2
Service
manual
Technical data, TD30•30, Gas heating
Cylinder volume: 2 x 10.6 cu.ft.
Weight: Net 620 lb
Cylinder: Diameter 29 15/16”
Depth 26”
Revolutions per minute 45 rpm
Capacity: 2 x 30 lb
Motor single phase: Effect of cylinder/vent motor 2 x 0.54 hp
Revolutions per minute:Motor 60 Hz 3200 rpm
Heat effect: Gas heating 2 x 71600 BTU/h
Air consumption: Gas 2x 21 kW 2x383 cu.ft/min
Piping: Exhaust ø8”
Pressure drop: Exhaust (max.) 0.35”W.C
Gas piping: 1/2” NPT
Gas pressure: See page regarding pressure in the installation manual
supplied with the dryer
Sound pressure level: < 70 dB (A)

2. Technical data
2Service
manual
487 0329 21
2.4

487 0329 21 3.1
3. Description of principal components 3
Service
manual
Contents
Description 3.2

3. Description of principal components
3Service
manual
487 0329 21
3.2
Description
Dryer T3300S or TD30•30 is a stack dryer.
The dryer has 2 independent pockets.
Each pocket has a drum volume of
300 litres (10.6 cu.ft).
Motors
The dryer has 2 motors per pocket - one to
run the drum and one to run the fan.
Programs, Selecta Control
(Non-Coin version)
Each pocket has an independent operating
panel and an independent main control circuit
board.
On OPL (non-coin operated) models, there are
five factory-provided drying programs in the
dryer control’s memory.
It is also possible to directly select the desired
drying time.
The dryer stops automatically when the clothes
are dry (Auto Stop).
The dryer’s control provides diagnostic error
codes which offer guidance in troubleshooting.
Coin drop/card reader
The dryer is available with a factory-installed
coin drop, a factory-installed card-start system,
or it can be prepared for field installation of a
card start system. On vending models, insertion
of a coin or card vends an owner- programmed
drying time.
Heating
The dryer is gas heated.
The standard configuraion is equipped for
natural gas.
An LPG (bottle gas) conversion kit is available
see section 40.
Use
The dryer is designed for coin-operated
laundries or on premises laundries.

487 0329 21 11.1
11. Periodic maintenance 11
Service
manual
Contents
Function check 11.2
Maintenance: Exhaust plenum, perforations 11.3
Maintenance: Blower compartment, door gasket 11.4
Maintenance: Secondary lint screen 11.5
Maintenance: Internal wearing parts 11.6
The area surrounding the dryer 11.7
Safety and warnings signs (USA only) 11.7

11. Periodic maintenance
11 Service
manual
487 0329 21
11.2
Function check
Check that the drum is empty and the loading door is closed.
Checking the micro switches
Start the dryer.
Check if the micro switches are working properly:
• The dryer must stop if the loading door is opened.
If the dryer operates with the loading door open, go to section 29.
• The dryer must stop when the lint drawer is opened.
If the dryer operates with the lint drawer open, go to section 29.
Correct direction of rotation
For dryers with a 3-phased motor the direction of rotation must be checked.
Check the direction of rotation of the blower motor:
1. Fig. 1 Correct direction of rotation must be clockwise when viewed through the
ventillation holes on the motor cover on the rear of the dryer.
If the direction of rotation is not correct, swap two phases on the power input
connection terminal block.
Final test
1. Start the dryer and allow it to operate for 5 minutes on a program that requires
heat.
2. Check whether the heating is working by opening the loading door and feeling
the heat.
If the above test-points are in order, the dryer is ready for use.
1

487 0329 21 11.3
11. Periodic maintenance 11
Service
manual
Maintenance
• Exhaust plenum
Check that (after three months, then every three to six months, as necessary) the
exhaust plenum on the rear of the dryer has not become blocked with lint or other debris.
Dismounting
1. Dismount the external exhaust duct from the dryer.
2. Fig. 1 Dismount the dryer's exhaust plenum by removing the two screws Afrom the
flange at the top of the plenum, and lifting it away.
The inside part of the exhaust plenum can be cleaned.
• Perforations
1. Fig. 2 Check (weekly) that perforations Bare not blocked with lint and dust.
2. Clean them with a vacuum cleaner.
2
B
B
B
B
1
A

11. Periodic maintenance
11 Service
manual
487 0329 21
11.4
Maintenance
• Blower compartment
Check (after three months, then every three to six months, as necessary) that the blower
compartment has not become blocked with lint or other debris.
Dismounting
1a. Fig.1 Dismount the blower to get to the blower compartment, see section 30.
1b. If the dryer has a heavy accumulation of lint, the exhaust plenum should be removed
The top of the blower compartment Acan now be cleaned.
• Door gasket
Check that the loading door gasket is clean and in good condition. Use a suitable
cleaner. Do not use solvents that may damage sensitive plastics or painted finish.
A
1

487 0329 21 11.5
11. Periodic maintenance 11
Service
manual
Maintenance
• Lint drawer
1. Check (at least once daily) that the lint screen in the drawer Bis clean and in good
condition.
2. Remember to clean the lint drawer in both the top and bottom dryers!
3. Clean the lint drawer gaskets. Use a suitable cleaner. Do not use solvents that may
damage sensitive plastics or painted finish.
• Secondary lint screen
Check (at least every other day) that the secondary lint screen Abehind the lint drawer
Bhas not become blocked with lint or other debris.
The secondary lint screen Ais essential for reducing lint accumulation in the blower.
ALWAYS reinstall this screen after cleaning it!
Dismounting
1. Remove the screen drawer Bfrom the dryer.
2. Remove the 2 wing nuts.
3. Remove the secondary lint screen Aand clean the screen and the area C
behind the screen by using a vacuum cleaner.
4. Remember to clean the lint screens in both the top and bottom dryers!
AC
B

11. Periodic maintenance
11 Service
manual
487 0329 21
11.6
Maintenance - Internal wearing parts
Maintenance should be conducted to an extent related to operation frequency and the
conditions on the premises, or at least once a year.
• Cleaning around the drum
1. Disconnect the power supply from the dryer.
2. Fig. 1 Dismount the front panel (See section 42: Replacing support rollers).
3. Remove the lint using a vacuum cleaner.
4. Inspect the two support rollers and replace them if necessary.
5. Re-assemble the dryer.
6. Connect the power supply - remember to carry out a function check as decribed
earlier in this section.
• Tightening drive belt
1. Remove the plate in front of the transmission module.
(See section 30: Dismounting transmission module).
2. Fig. 2 Check that the springs are tightend as shown. Spring length xshould be
130 mm ±5 mm (5” ± 3/16”).
A
2
x
1
Clean all accumulated lint

487 0329 21 11.7
11. Periodic maintenance 11
Service
manual
The area surrounding the dryer
Fresh-air intake to the room
Check that the fresh-air intake to the room and the exhaust ducts/pipes from the room
are not clogged by lint/dust or blocked in any other way.
Dryer area
Check that the dryer area is clear and free from combustible materials, gasoline and
other flammable vapours and liquids.
Safety and warnings signs (USA only)
Product safety signs or labels should be replaced when they no longer meet the
legibility requirements for safe viewing.
Check that all the safety and warning signs are located on the dryer as shown in the
installation manual supplied with the dryer. A copy of this manual is available from
your dealer.
Replacement of safety signs or labels should be in accordance with the installation
manual.

11. Periodic maintenance
11 Service
manual
487 0329 21
11.8
Table of contents
Other COINWASH Dryer manuals
Popular Dryer manuals by other brands

Siemens
Siemens Tumble dryer Instructions for installation and use

Frigidaire
Frigidaire GLER1042FS - Electric Dryer operating instructions

Samsung
Samsung DV48H7400E DV48H7400G user manual

Schulthess
Schulthess TW 7000 Instructions for the use

Siemens
Siemens WT47W5G3 Installation and operating instructions

Whirlpool
Whirlpool W10057250 Use and care guide