GB
ORIGINAL INSTRUCTION
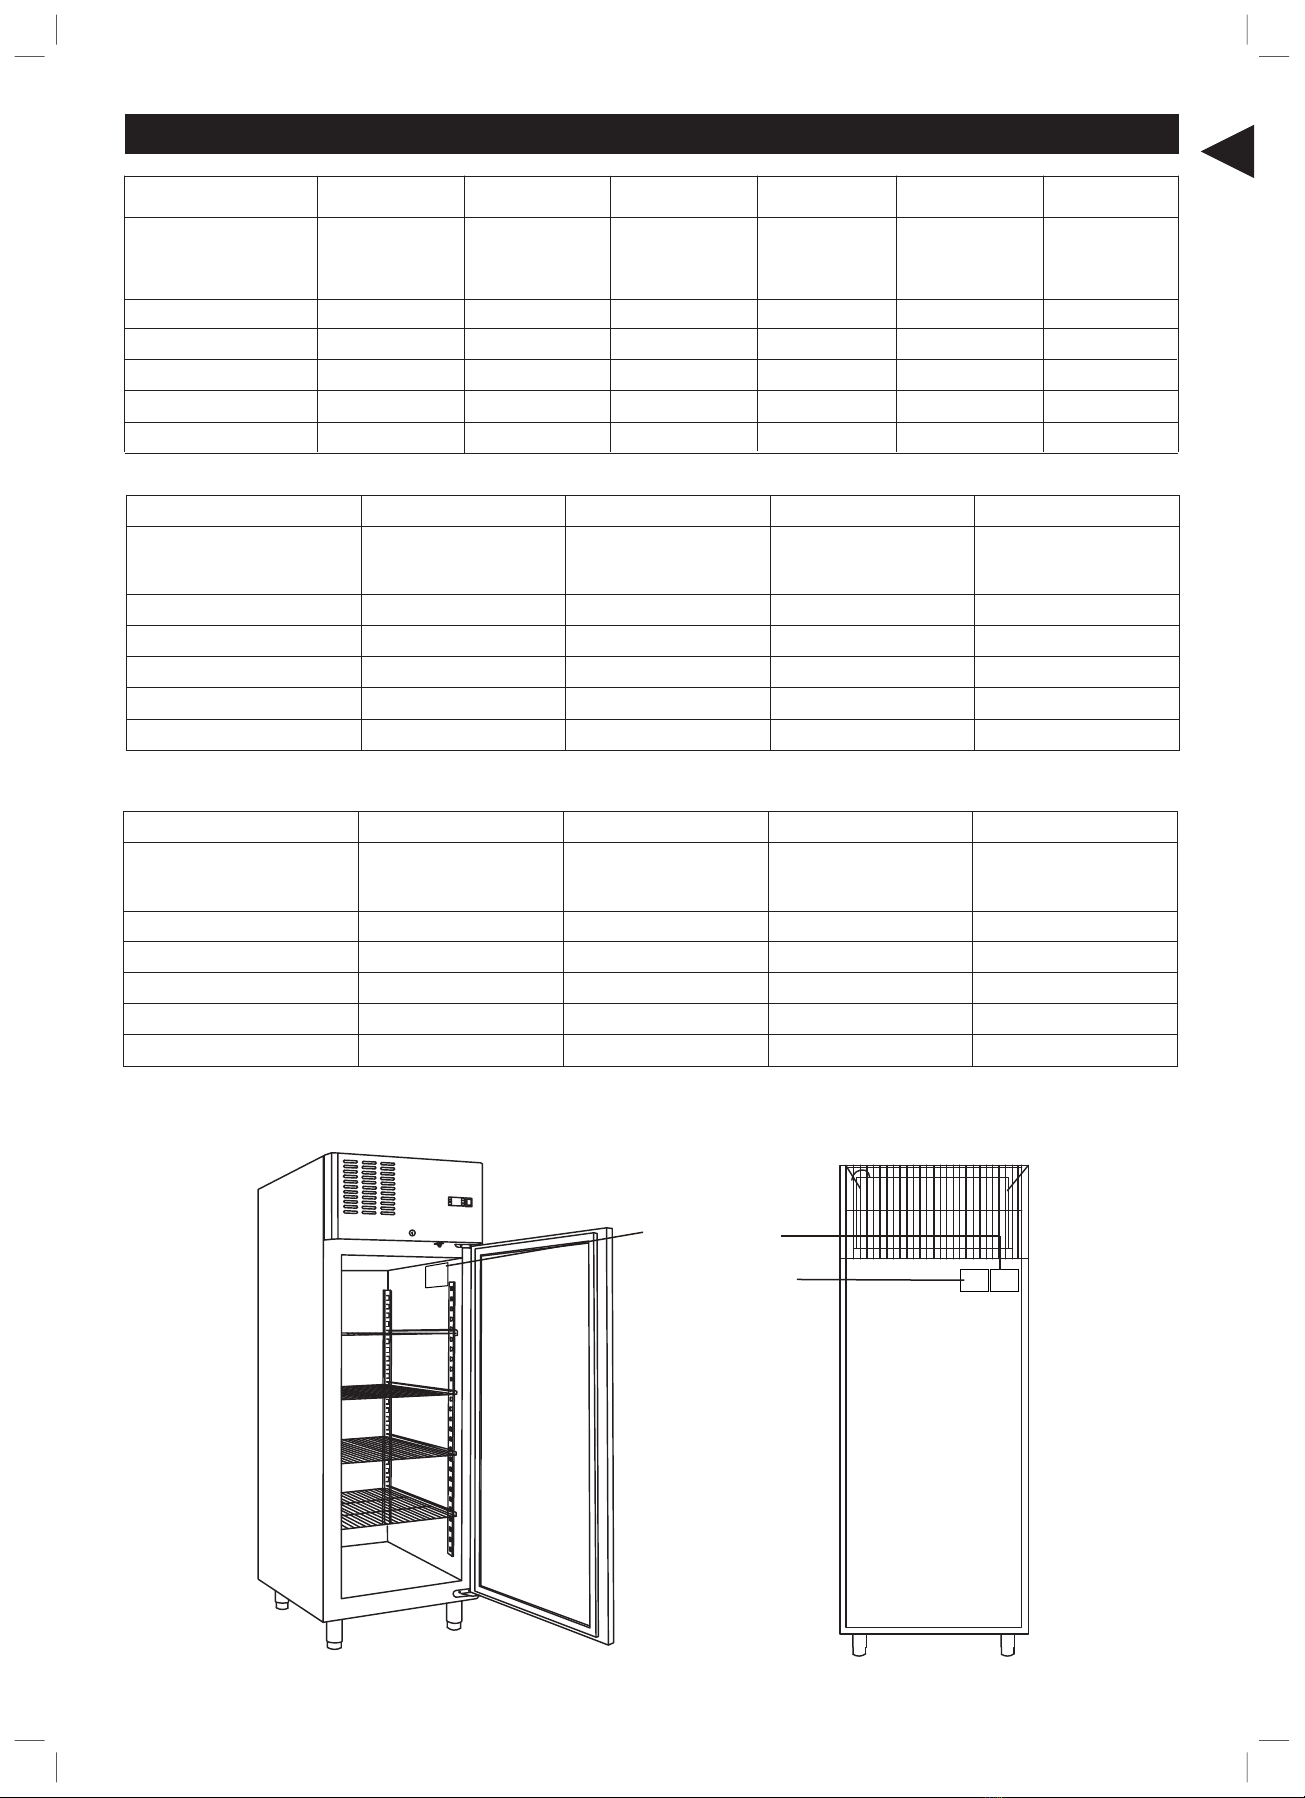
Cabinet and Controller Operation Instruction
Storing food stuffs:
To get the best results from your appliance, please follow these instructions:
1: Only store foodstuffs in the appliance when it has reached the correct operating temperature.
2: Always close the door, when hot in use and appliance is switched on. The appliance has fan operating door switches
and WILL NOT cool when the door is open.
3: Do not place uncovered nonfood or liquid inside the appliance.
4: Wrap or cover food where possible.
5: Do not obstruct the fans inside the appliacnce.(Refrigerator)
6: Avoid opening the door for prolonged periods of time.
7. The maximum load for a shelf is 30Kg.
8: The food must be put into containers before being placed into cabinet or on the shelf. Food must not be placed
into food cabinet directly.
Turn on:
9: Close the door of the appliance.
10.Ensure the power switch is set to [O] and insert plug into socket.
11. Switch on the Power{I}. The current temperature within the appliance is displayed.
12: The on the display will flash for 3-min to indicate a delay between the motor compressor being stopped and then
restarted.
Temperature setting and control
The front panel of the thermostat
1. Defrosting light
2. Compressor operation light
3. Digital thermostat
4. Programming key (Service agent only)
5. Temperature modification keys
6. Manual defrost
How to see the set point
•Push and immediately release the SET key, the set point will be showed;
•Push and immediately release the SET key or wait about 10s to return to normal visuallsation.
How to change the set point
•Push the SET key for more than 2 seconds to change the set point value;
•The value of the set point will be displayed and the “°C“ starts blinking;
•To change the set value push the „ ” (up) or „ ” (down) arrows within 10s.
•To memorise the new set point value push the SET key again or wait 10s.
Manual defrost
The appliance will automatically run a defrost cycle every 12 hours.
Note: The cycle starts from the time the appliance is initially powered up.
To manually defrost the appliance:
•Press and hold the DEFROST button for 5 seconds.
•The defrost cycle will start immediately and the Defrost LED illuminates. The defrost will last 20 minutes.
Note: Starting a manual defrost also resets the automatic defrost timer. The next automatic defrost will
start 12 hours after the manual defrost has finished.