1
QUICK START GUIDE
3500 - ActiveCare Console
Quick setup for use with cura1 pads,
mats and buttons.
3
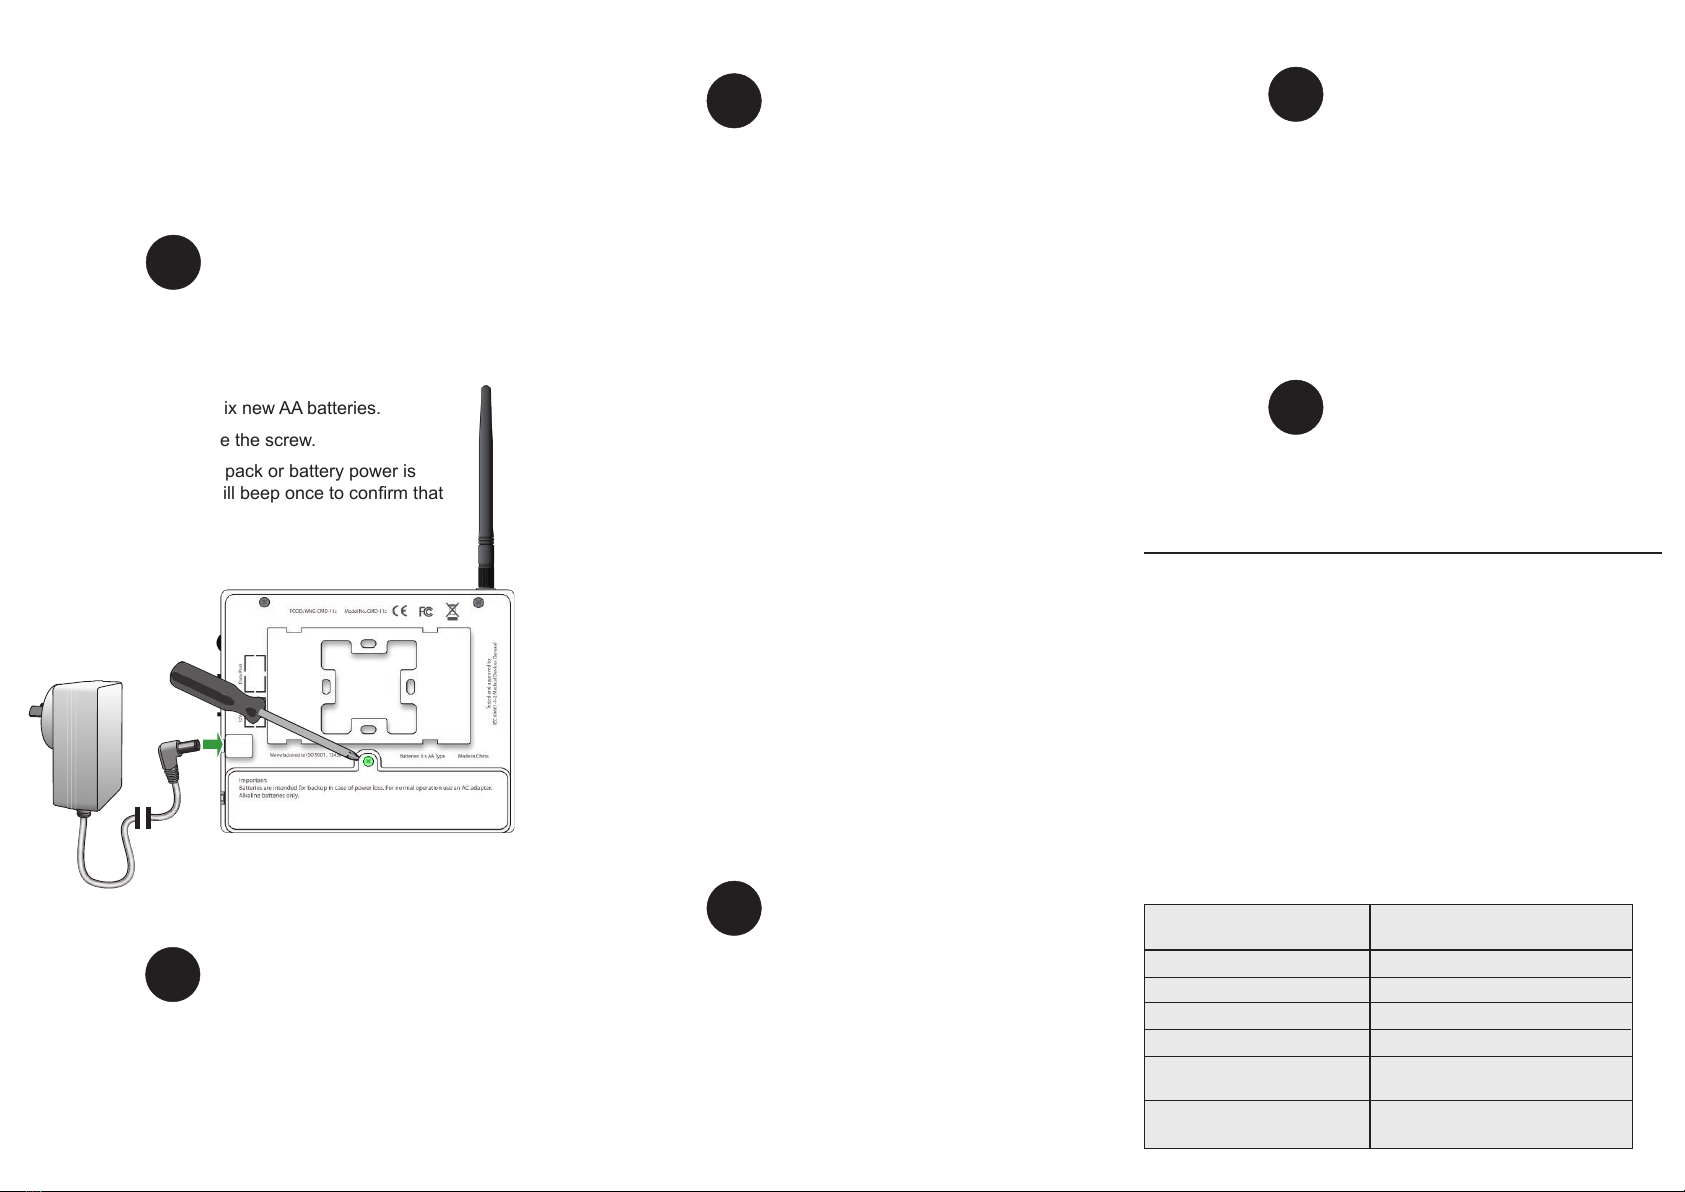
Step
Insert 6 x AA alkaline batteries and connect
the 2404 Plug Pack.
Use a Phillips screwdriver to open the battery
compartment and insert six new AA batteries.
Replace cover and secure the screw.
Note: Whenever the plug pack or battery power is
connected the Console will beep once to confirm that
power is connected.
2
Step
Pairing wireless devices to a memory slot
Press and hold the “Program” button for approx 5 seconds. The
monitor will initiate a long beep and briefly display “PP” to
confirm that it is in programming mode. No release the
programming button. The console will display the first memory
slot “01”.
Add a device to this memory slot by simply triggering an alarm
on the device you want to add*.
To select a different memory slot (from 01 to 60) you can use the
“Select 1” and “Select 2” buttons to increment the tens digit and
the unit digit respectively.
*Note: When adding a Pad Transmitter, turn the transmitter from
OFF to ON for the pairing process (instead of creating an alarm
condition with the pad or mat).
Note: Multiple device types can be added to the same memory
slot - eg pad/mat, door sensor and call button.
Note: Adding a 2559 Wireless Reset Button to a memory slot
will allow the button to reset any active alarms in that slot.
Deleting wireless devices from a
memory slot
Use the “Select 1” and “Select 2” buttons to scroll through the
memory slots and once the desired slot is selected, hold “Reset”
for approx 5 seconds. The device indicator LED(s) turn off to
indicate that the device(s) are no longer present in the memory.
Important: Test system operation after programming and before
every use.
Rear View
Device Type
Cordless Bed/Chair Pad
Cordless Floor Mat
Call Button
Pendant
DoorAlert System
ActiveCare Magnetic Reed
Switch
Active Care Console Display
During Alarm
The Slot Number + Pad LED
The Slot Number + Pad LED
The Slot Number + Call LED
The Slot Number + Call LED
The Slot Number + Sensor/-
Door LED
The Slot Number + Sensor/-
Door LED
Console alarm display for each device type
The Console unit can be fixed to a wall using the supplied
mounting brackets. Optionally, the Console can simple be
placed directly on a table or desk.
Step
Mounting
5
Step
Test prior to use.
4
Step
Configuration - Track, Pause, Delay & Lock
Some of the following features may need to be set up or
enabled, depending on your specific configuration
requirements.
Tracking - Can be used to check that all paired Cordless Pad
Transmitters are still in range and communicating with the
system. To enable Tracking, slide the “Tracking” switch to the
“On” position.
Alarm Forward - Alarms can be forwarded to a Pager or a
Slave Console. For instructions, PTO and find Call Forwarding
to a Pager or Slave Console.
Button Lock - After programming is complete turn this to “On”
to prevent accidental changes during normal usage.
Pause and Delay - For information about these features, PTO.
4
Step
Configuration - Track, Pause, Delay & Lock
(cont.)
Create an alarm condition for every device that is connected to
the Console and ensure the Console responds correctly.
Operation - clearing a bed or chair pad alarm
In an alarm condition the Console will display the Slot number
and the “Pad” LED will light up.
This alarm condition will continue until one of the following
events occurs:
• The patient or resident returns to the bed or chair:
• The caregiver resets the Console. In this case, if the “Reset”
button is pressed, then the alarm will silence but the alarm will
still be visible on the display. To clear the alarm press and hold
the “Reset” button until the display clears. The alarm has now
been reset.


